
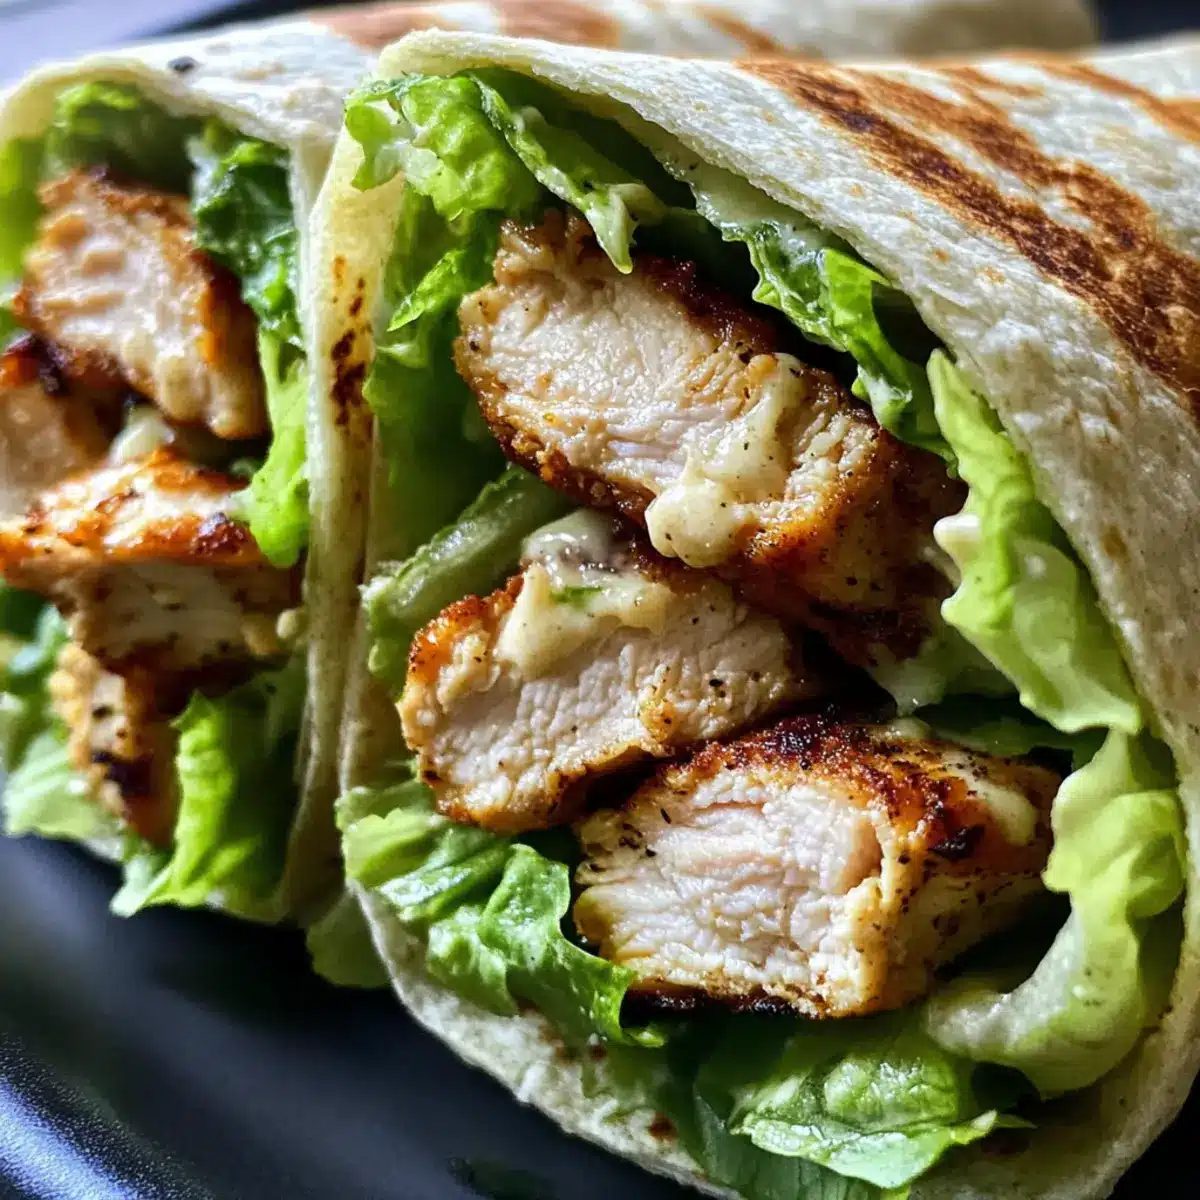
Have you ever found yourself standing in front of the fridge, wondering what to whip up for lunch? Enter the Grilled Chicken Caesar Wraps—your new go-to for quick and satisfying meals! With tender grilled chicken, crisp romaine lettuce, and a drizzle of creamy Caesar dressing, these wraps come together in just 25 minutes, making them perfect for busy days or a sunny beach picnic. Not only are they a delightful blend of flavors and textures, but they also offer a low-calorie option that doesn’t skimp on taste. So, are you ready to embrace the joy of homemade lunchtime magic? Let’s dive into this delicious recipe!
Why Choose Grilled Chicken Caesar Wraps?
Convenience at Its Finest: These wraps are ready in just 25 minutes, making them an ideal choice for a quick lunch or easy dinner after a hectic day.
Flavor Explosion: The combination of tender grilled chicken, crunchy romaine, and creamy Caesar dressing creates a burst of flavor that’s simply irresistible.
Healthy & Low Calorie: Enjoy a satisfying meal without the guilt, as these wraps are designed with low-calorie ingredients that keep your health goals on track.
Perfect for Meal Prep: Make-ahead friendly, these wraps can be prepared a day in advance, perfect for grabbing on the go!
Versatile Options: Switch things up by substituting proteins or adding extra veggies, making them customizable to your taste. For more delicious ideas, don’t miss out on our One Pot Chicken or Zesty Lemon Chicken.
Embrace the joy of flavorful, homemade meals with these delightful Grilled Chicken Caesar Wraps!
Grilled Chicken Caesar Wraps Ingredients
Get ready to create a delicious wrap that will satisfy your craving!
For the Filling
- Grilled Chicken – Provides protein and flavor; use leftover or rotisserie chicken for convenience.
- Romaine Lettuce – Adds crunch and freshness; substitute with spinach for a different texture.
- Caesar Dressing – Brings creaminess and zest; ranch or vinaigrette can be used for variation.
- Parmesan Cheese – Enhances flavor with a nutty note; choose grated or shaved for different textures.
For the Wrap
- Flour Tortillas – Serves as the base for wraps, providing structure; opt for whole wheat tortillas for a healthier option.
- Croutons – Adds delightful crunch; use homemade or store-bought, or skip for a gluten-free option.
Let’s gather these ingredients and bring your homemade Grilled Chicken Caesar Wraps to life!
Step‑by‑Step Instructions for Grilled Chicken Caesar Wraps
Step 1: Prepare Filling
In a large mixing bowl, combine your shredded grilled chicken, chopped romaine lettuce, creamy Caesar dressing, and grated Parmesan cheese. Use a spatula to toss the ingredients together until everything is evenly coated with the dressing, creating a luscious filling. This step will take about 5 minutes and ensures all flavors meld beautifully.
Step 2: Prep Tortillas
Lay out the flour tortillas flat on a clean work surface or cutting board. Ensure they are at room temperature for easy folding, which will help to maintain their flexibility. This should take no longer than a minute or two, as you organize your workspace for filling the tortillas.
Step 3: Fill Tortillas
Distribute the chicken mixture evenly onto each tortilla, leaving about an inch of space around the edges for easy wrapping. This step should take around 5 minutes. You want a generous portion on each wrap without overstuffing, ensuring a perfect balance of filling for your Grilled Chicken Caesar Wraps.
Step 4: Add Crunch
Sprinkle croutons atop the chicken mixture, adding delightful texture to your wraps. This will enhance the overall crunchiness and bring an extra layer of flavor. This step should take only 2 minutes, as you carefully scatter the croutons evenly over the filling.
Step 5: Wrap
Fold in the sides of each tortilla, then roll tightly from the bottom up, encasing the filling snugly. This method will help keep everything in place while you enjoy your wraps. Take about 3 minutes to ensure they are well wrapped, making for a neat and delicious Grilled Chicken Caesar Wrap.
Step 6: Slice & Serve
Once wrapped, cut each tortilla in half diagonally with a sharp knife, making them easier to handle for serving. Place the halves on a plate and enjoy immediately or pack them up for a meal on-the-go. This final step will only take 2 minutes, delivering you a delicious and satisfying dish ready to be savored.
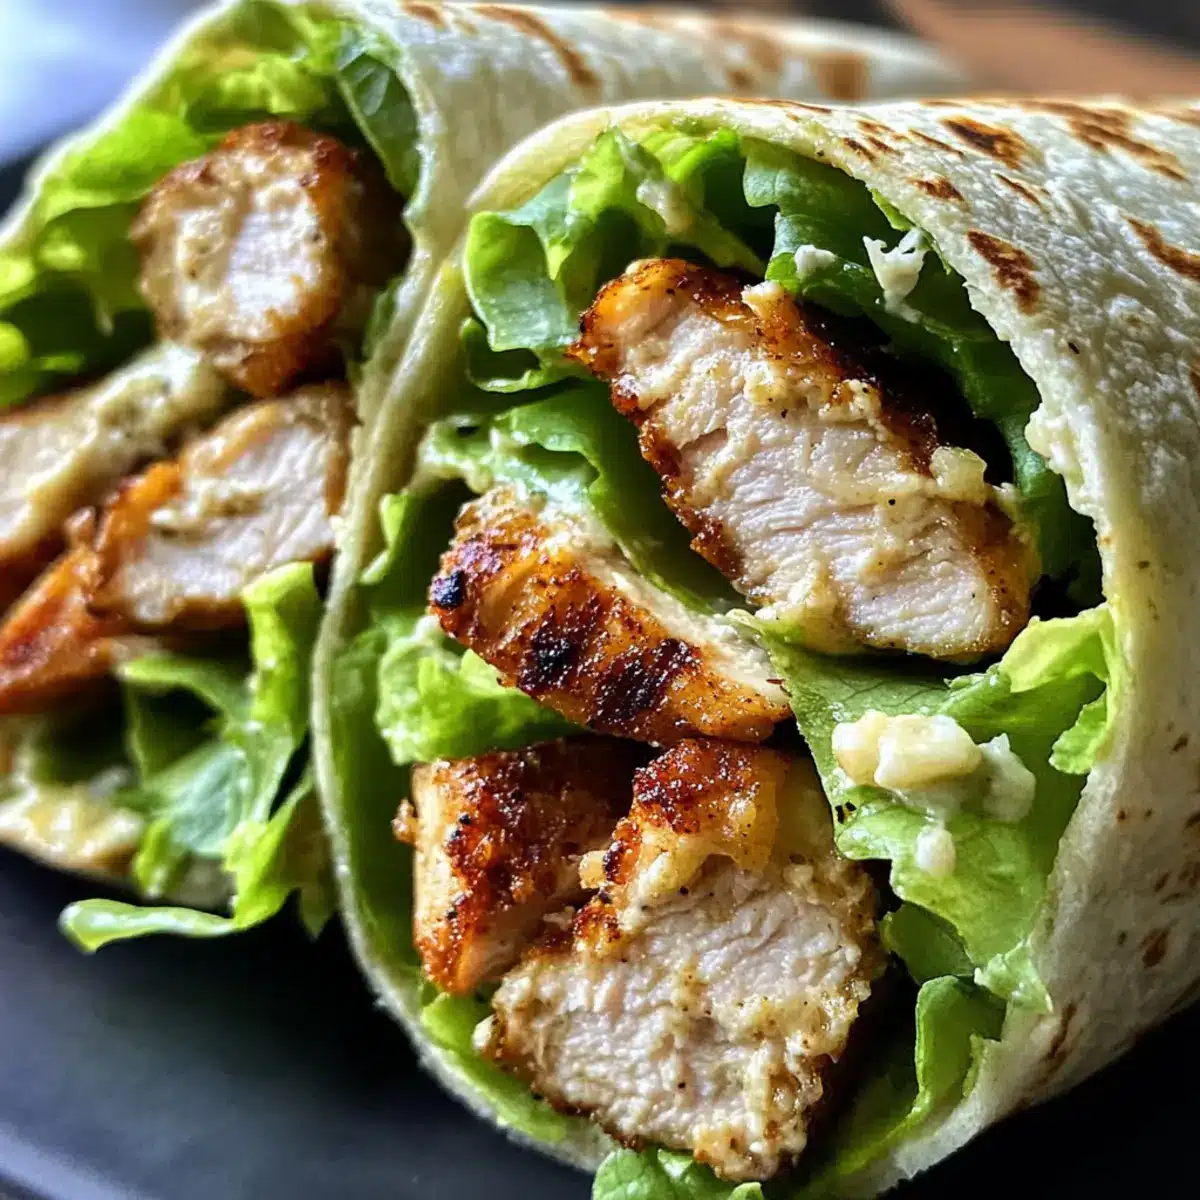
What to Serve with Grilled Chicken Caesar Wraps
Elevate your meal experience with delightful sides and refreshing beverages that perfectly complement every bite.
- Light Garden Salad: A crisp salad with mixed greens adds freshness and balances the creamy wrap.
- Chips and Salsa: The crunch of tortilla chips paired with zesty salsa offers a fun contrast to the wraps.
- Fresh Fruit Salad: A medley of seasonal fruits enhances the meal with a sweet and juicy touch.
- Iced Tea: A refreshing glass of iced tea provides a cool, thirst-quenching complement to the wraps.
- Lemonade: The tartness of lemonade brightens your palate and pairs beautifully with the savory flavors.
- Roasted Vegetables: Adding roasted veggies gives a warm, comforting side that adds depth to your meal.
- Potato Wedges: Crispy potato wedges bring a hearty crunch, perfect for dipping into your favorite sauce.
- Mini Desserts: End the meal with mini desserts like tartlets or cookies for a sweet finish.
Expert Tips for Grilled Chicken Caesar Wraps
-
Chicken Preparation: Ensure chicken is sliced thinly to facilitate easy mixing with the creamy Caesar dressing and crunchy lettuce, enhancing the flavors together.
-
Avoid Overstuffing: When filling the tortillas, keep a good balance and avoid overstuffing. This prevents spillage and ensures your Grilled Chicken Caesar Wraps stay intact.
-
Make-Ahead Magic: Wraps can be prepared a day in advance and stored in the fridge tightly wrapped. This makes them a quick grab-and-go option when you’re pressed for time.
-
Storage Savvy: Avoid freezing the whole wrap; instead, freeze the chicken mixture separately to maintain the best flavors and textures when ready to eat.
-
Texture Tips: For an extra layer of crunch, toast your croutons lightly before adding them to the wraps. This small step can elevate the overall texture and taste experience!
Make Ahead Options
These Grilled Chicken Caesar Wraps are a lifesaver for busy cooks looking to streamline their meal prep! You can prepare the chicken mixture (grilled chicken, romaine, dressing, and Parmesan) up to 24 hours in advance. Simply combine these ingredients in a bowl and store them in an airtight container in the refrigerator to keep everything fresh and flavorful. When you’re ready to enjoy your wraps, lay out the tortillas, fill them with the prepped mixture, sprinkle on croutons, and wrap them up. This ensures you’ll have a delicious, quick meal without any fuss on those hectic days! Remember, to maintain the best texture, avoid assembling the wraps until just before serving.
How to Store and Freeze Grilled Chicken Caesar Wraps
Fridge: Store leftover Grilled Chicken Caesar Wraps wrapped tightly in plastic wrap or foil for up to 2 days. This keeps them fresh and prevents drying out.
Freezer: For longer storage, freeze the chicken mixture separately in an airtight container for up to 3 months. Avoid freezing the whole wraps to maintain their best texture.
Reheating: When ready to enjoy, thaw the chicken mixture in the fridge overnight, then reheat gently on the stove or microwave. Avoid overheating to keep the tortillas soft.
Make-Ahead: These wraps can also be prepared ahead of time, making them a convenient option for busy days. Just store them in the fridge until you’re ready to serve!
Grilled Chicken Caesar Wraps Variations
Feel free to get creative with your Grilled Chicken Caesar Wraps and make them your own!
-
Turkey Twist: Swap out grilled chicken for sliced turkey for a leaner option. The flavors pair beautifully with Caesar dressing, yet give a slightly different taste profile.
-
Shrimp Sensation: Use grilled shrimp instead of chicken for a delightful seafood twist. It adds a touch of elegance and cooks quickly, making this easy showstopper an ideal choice for taco nights.
-
Veggie Delight: Add cucumbers, bell peppers, or avocado for extra crunch and freshness. These added ingredients not only boost the flavor but also create a vibrant, colorful wrap for your plate!
-
Spicy Kick: Toss in pepper jack cheese or a splash of hot sauce to the filling for a bold twist. This helps elevate the flavor profile and adds a fun spicy kick that’s sure to excite the palate.
-
Dairy-Free Option: Substitute traditional Caesar dressing with a dairy-free version, such as tahini or a cashew cream dressing. You’ll still get that creamy texture and flavor without the dairy!
-
Whole Wheat Wrap: For an even healthier option, use whole wheat tortillas. Not only do they pack more nutrients, but they also add a subtle nutty flavor that complements the fillings nicely.
-
Tropical Upgrade: Toss in some pineapple chunks or mango slices for a bright, tropical vibe. This unexpected twist will brighten your wraps and give them a summer feel, perfect for picnics or beach days.
Feel inspired by these variations? Try them out and discover a new favorite alongside your classic Grilled Chicken Caesar Wrap! And if you’re looking for more chicken inspirations, don’t forget to check out our Jalapeno Chicken Cheese or Hawaiian Chicken Sheet recipes!
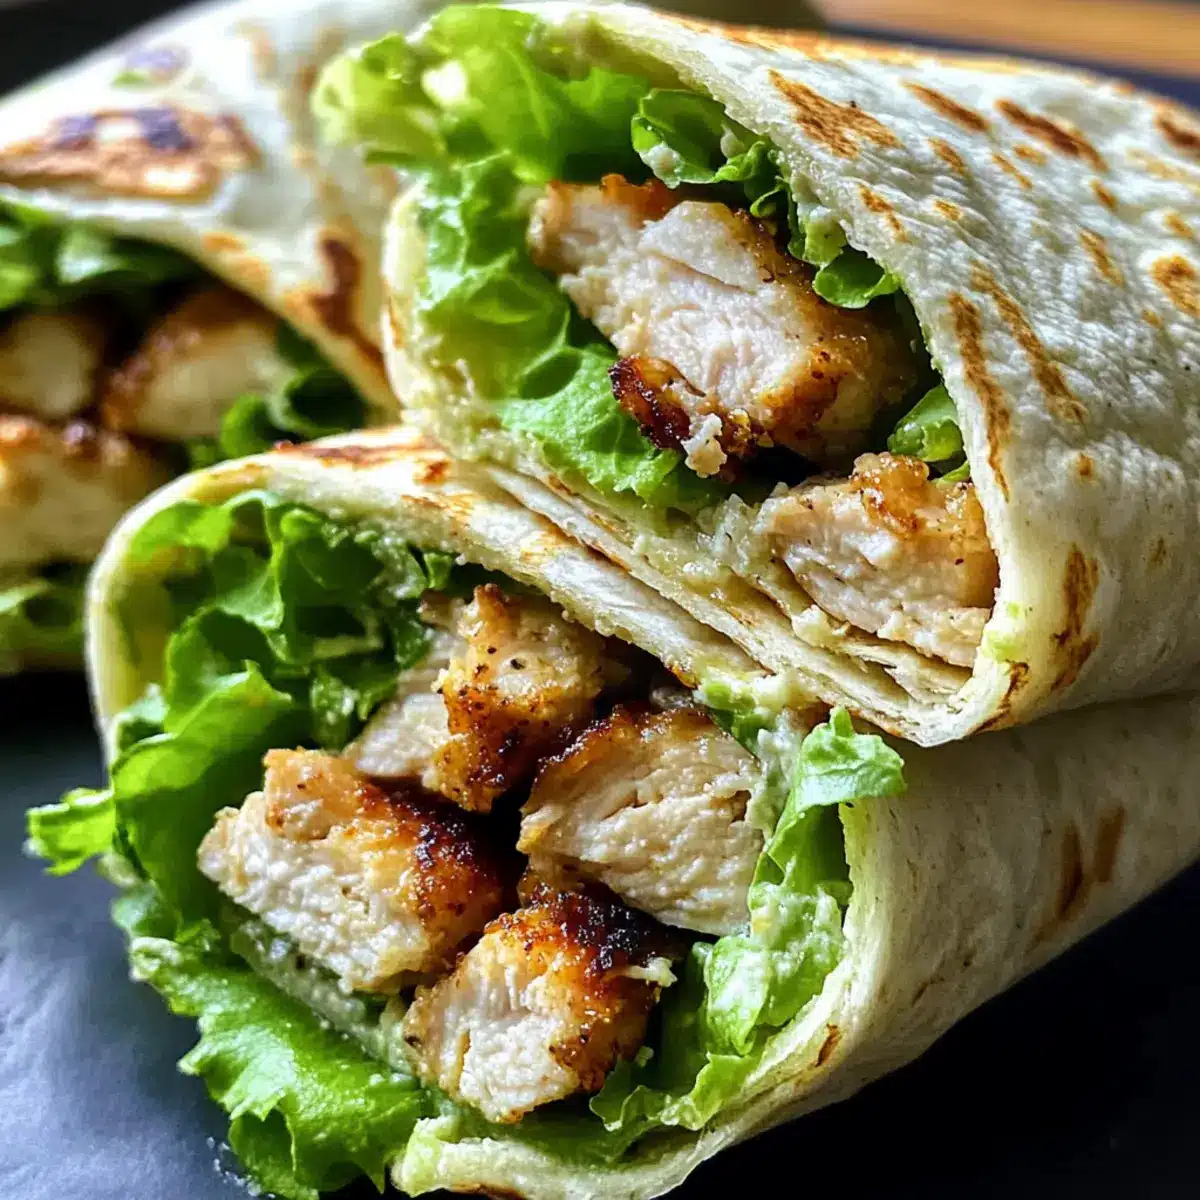
Grilled Chicken Caesar Wraps Recipe FAQs
What type of chicken should I use for the Grilled Chicken Caesar Wraps?
I recommend using grilled chicken breast for the best flavor and texture. If you’re short on time, leftover or rotisserie chicken works perfectly! Just ensure it’s sliced thinly so it combines effortlessly with the other ingredients.
How should I store leftover Grilled Chicken Caesar Wraps?
Store any leftover wraps tightly wrapped in plastic wrap or foil in the refrigerator for up to 2 days. This ensures they remain fresh and tasty for your next meal!
Can I freeze the Grilled Chicken Caesar Wraps?
While you shouldn’t freeze the whole wraps, you can freeze the chicken mixture separately. Just place it in an airtight container and it will stay fresh for up to 3 months. When you’re ready to enjoy, simply thaw in the fridge overnight before reheating gently.
What should I do if my wraps are falling apart?
If your wraps are falling apart, check if you overstuffed them. Aim for a generous portion, but leave space at the edges for wrapping. Additionally, keeping the filling snug can help maintain structure. Try using sturdier tortillas, such as whole wheat or spinach, for better durability.
Are there any allergens I should be aware of in this recipe?
Absolutely! This recipe contains gluten (from the flour tortillas) and dairy (from the Caesar dressing and Parmesan cheese). For gluten-free options, you can use gluten-free tortillas and substitute the dressing and cheese accordingly. Always check labels for allergens and adapt based on your dietary needs!
Can I prepare Grilled Chicken Caesar Wraps ahead of time?
Yes! These wraps can be made a day in advance. Just prepare the chicken mixture and fill the tortillas, then wrap them tightly and store in the fridge. This is perfect for meal prep, allowing you to grab a delicious and satisfying lunch on busy days!
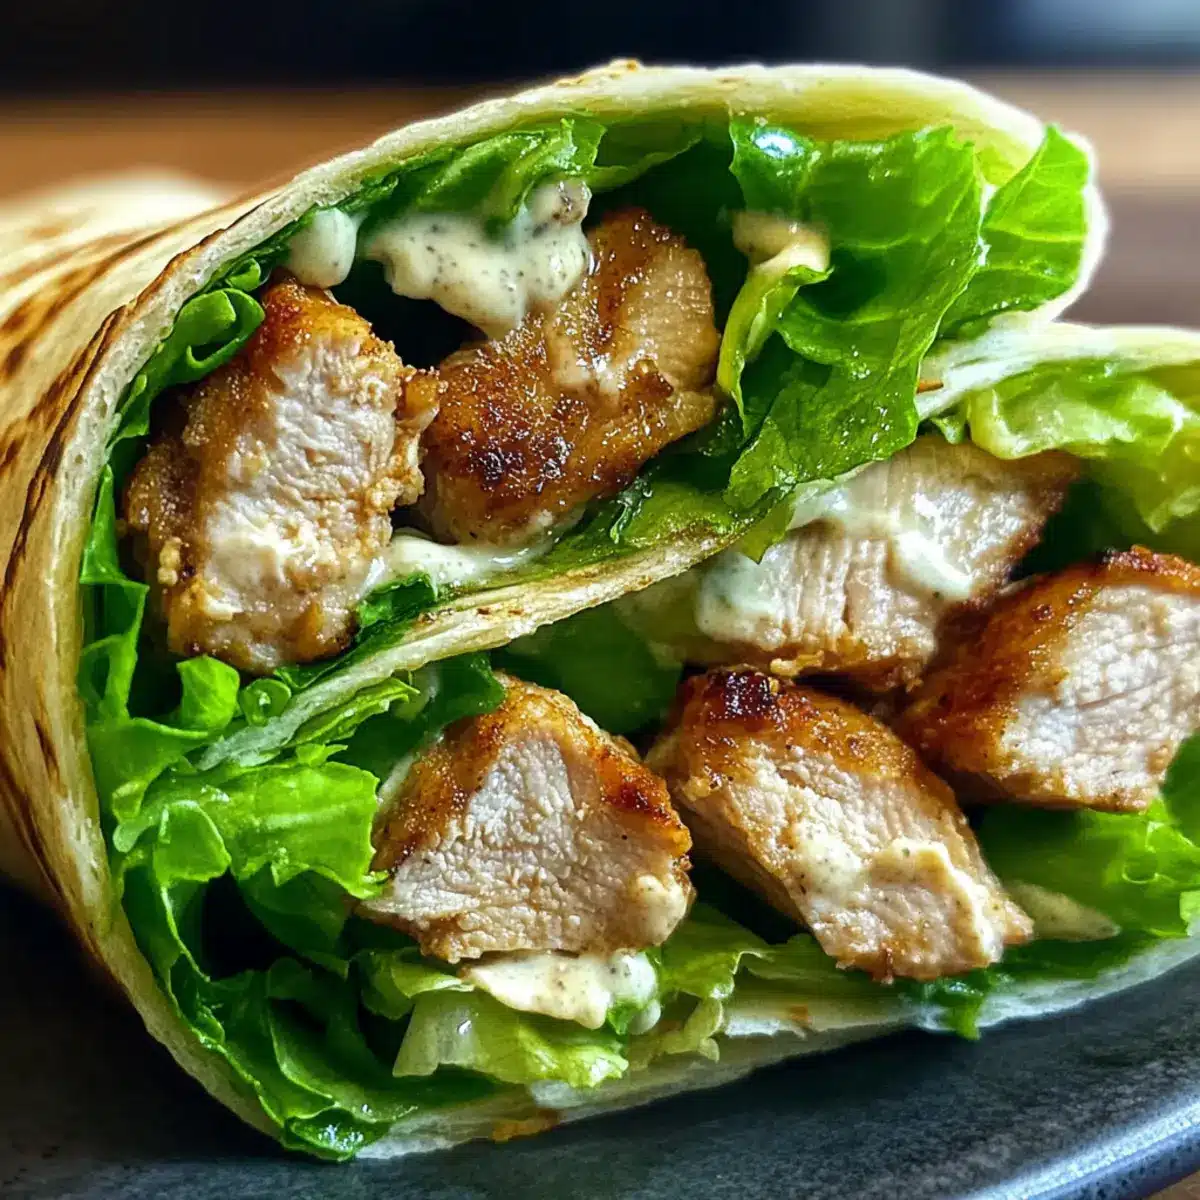
Grilled Chicken Caesar Wraps: Quick, Flavorful Bliss at Home
Ingredients
Equipment
Method
- In a large mixing bowl, combine your shredded grilled chicken, chopped romaine lettuce, creamy Caesar dressing, and grated Parmesan cheese. Toss until evenly coated.
- Lay out the flour tortillas flat on a clean work surface, ensuring they are at room temperature for easy folding.
- Distribute the chicken mixture evenly onto each tortilla, leaving about an inch of space around the edges for easy wrapping.
- Sprinkle croutons atop the chicken mixture for an added crunch.
- Fold in the sides of each tortilla, then roll tightly from the bottom up to encase the filling.
- Cut each tortilla in half diagonally with a sharp knife, making them easier to handle. Enjoy immediately or pack for later.
Leave a Reply