
As the aroma of freshly baked cookies swirls through the kitchen, it’s hard not to feel a rush of excitement. Today, I’m sharing my beloved recipe for Chocolate Espresso Cookies—perfect for anyone craving a little homemade indulgence. The combination of rich chocolate and bold espresso creates an unforgettable treat that’s not just a dessert but a delightful pick-me-up. These cookies are wonderfully chewy, thick, and require just a few simple steps, making them perfect for both novice and experienced bakers alike. Plus, they’re a fantastic way to elevate your coffee breaks or surprise your friends at gatherings. Are you ready to whip up a batch of these decadent delights that will have everyone asking for the recipe?
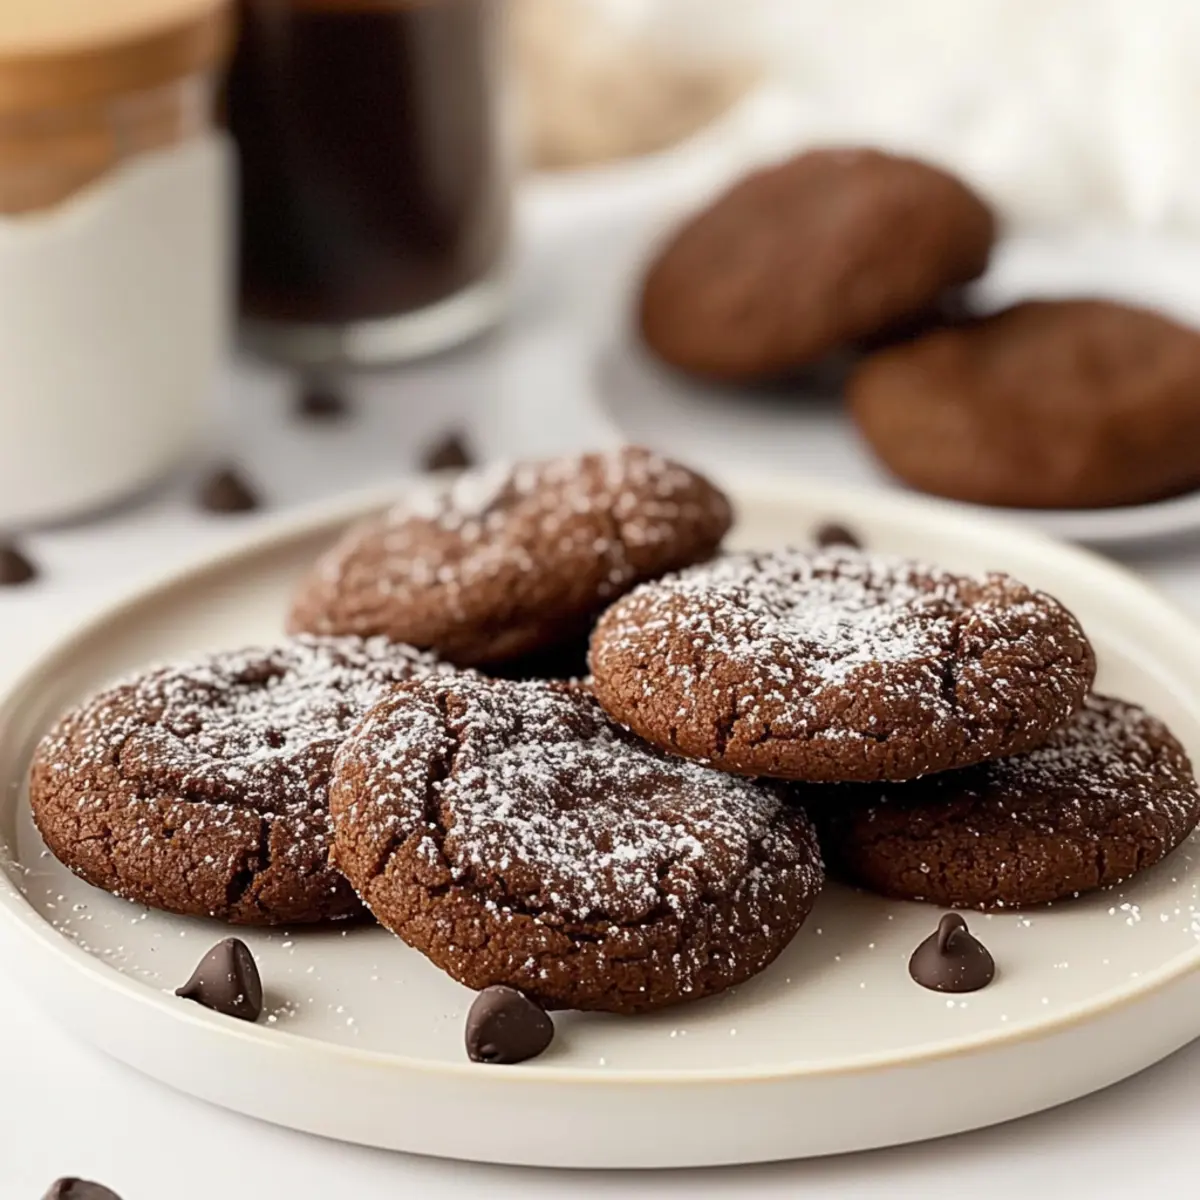
Why are these cookies a must-try?
Irresistible Flavor: Each bite of these Chocolate Espresso Cookies delivers a delightful punch of flavor, blending rich chocolate with robust espresso.
Easy to Make: The recipe is simple enough for anyone to tackle, whether you’re a baking newbie or a seasoned pro.
Chewy Texture: Enjoy the thick, chewy texture that creates a perfect contrast with melty chocolate chunks.
Versatile Ingredients: Feel free to experiment by adding nuts or using different types of chocolate, making every batch a unique treat.
Perfect Pairing: These cookies are fantastic with a cup of coffee or a glass of milk, creating an unforgettable snack experience.
Make sure to check out my Chocolate Chip Cookies for more baking inspiration!
Chocolate Espresso Cookies Ingredients
For the Cookie Base
- All-Purpose Flour – Essential for structure; gluten-free flour can be used for a different approach.
- Espresso Powder – Boosts chocolate flavor while adding coffee notes; substitute with instant coffee powder if needed.
- Baking Powder – Ensures the cookies rise properly; make sure it’s fresh for best outcomes.
- Salt – Balances the sweetness and enhances the overall flavor of the cookies.
- Semisweet Chocolate – Introduces a rich chocolate taste; coarsely chop for delightful texture or use dark chocolate for extra depth.
- Unsalted Butter – Contributes to the cookie’s tenderness; slightly soften for easier mixing.
- Light Brown Sugar – Provides moisture and a touch of caramel flavor; granulated sugar can be used in a pinch, though the texture varies.
- Large Eggs – Essential for binding; room temperature eggs work best for better incorporation.
- Semisweet Chocolate Chips – Infuses extra chocolatey goodness; feel free to swap with white chocolate chips or nuts for a fun twist.
For the Garnish
- Confectioners’ Sugar – Optional but adds a lovely finishing touch to your cookies before serving.
Indulge in these Chocolate Espresso Cookies that combine rich flavors for a truly delightful homemade treat!
Step‑by‑Step Instructions for Chocolate Espresso Cookies
Step 1: Whisk the Dry Ingredients
In a large mixing bowl, whisk together 1 ½ cups of all-purpose flour, 1 tablespoon of espresso powder, 1 teaspoon of baking powder, and ½ teaspoon of salt. This will ensure even distribution of all dry ingredients, enhancing the overall flavor of your Chocolate Espresso Cookies. Set the mixture aside while you prepare the wet ingredients.
Step 2: Melt Chocolate and Butter
In a microwave-safe bowl, combine 6 ounces of chopped semisweet chocolate and ½ cup of unsalted butter. Heat in the microwave in 30-second intervals, stirring between each, until the mixture is smooth and fully melted. Allow it to cool slightly, ensuring it’s warm but not hot before mixing with the sugars.
Step 3: Cream the Sugars with Chocolate
In a large mixing bowl, combine 1 cup of light brown sugar with the cooled chocolate and butter mixture. Using an electric mixer, beat the mixture on medium speed until it becomes light and fluffy, about 2-3 minutes. This step adds air to the mix, helping the cookies achieve their chewy texture.
Step 4: Incorporate the Eggs
Add 2 large room temperature eggs one at a time into the chocolate mixture, blending well after each addition. Continue mixing until the batter is well combined and smooth, which adds richness and helps bind the ingredients for your Chocolate Espresso Cookies.
Step 5: Combine Dry and Wet Ingredients
Gradually add the dry ingredients to the wet mixture, mixing on low speed until just combined. Be careful not to overmix—aim for a smooth dough. Gently fold in 1 cup of semisweet chocolate chips, enriching the cookies with extra bursts of chocolaty goodness throughout.
Step 6: Chill the Dough
Cover the cookie dough tightly with plastic wrap and refrigerate it for about 4 hours. Chilling the dough is essential for developing the flavors and ensuring that your cookies maintain their shape while baking, resulting in perfectly thick and chewy Chocolate Espresso Cookies.
Step 7: Preheat and Prepare Baking Sheets
About 20 minutes before you’re ready to bake, preheat your oven to 350°F (175°C). Line two baking sheets with parchment paper for easy cleanup. This ensures that the cookies bake evenly and don’t stick, making your cooking process smoother.
Step 8: Shape the Cookies
Scoop the chilled dough and roll it into balls, placing them 2 inches apart on the prepared baking sheets. This spacing allows the Chocolate Espresso Cookies to spread beautifully without overcrowding, giving each cookie the room it needs to bake to perfection.
Step 9: Bake the Cookies
Bake the cookies in the preheated oven for 9-10 minutes or until the edges are set and lightly browned. The centers may look slightly soft, which is fine; they will continue to bake on the pan. Keep a close eye to prevent overbaking, which can lead to drier cookies.
Step 10: Cool and Garnish
Once baked, remove the cookies from the oven and let them cool on the baking sheets for 5 minutes. Then, transfer them to wire racks to cool completely. For an extra touch, dust cooled cookies with confectioners’ sugar before serving, adding a delightful final presentation to your delicious Chocolate Espresso Cookies.
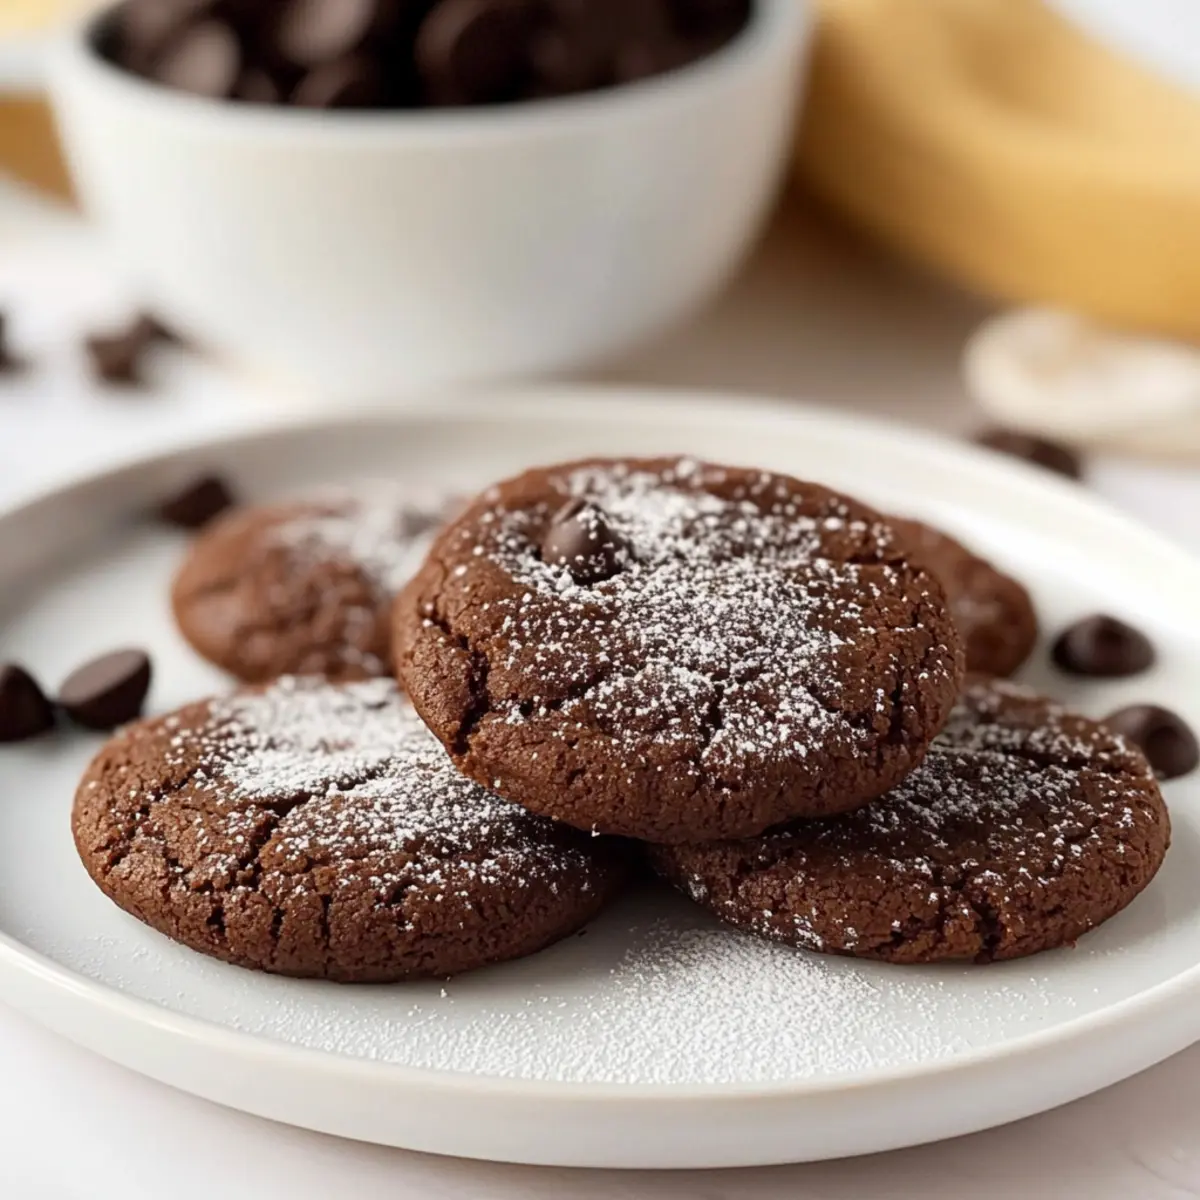
Chocolate Espresso Cookies Variations
Feel free to let your creativity shine by customizing these cookies to your heart’s desire!
-
Gluten-Free: Use a gluten-free all-purpose flour blend to make these delightful cookies suitable for gluten-intolerant friends. You won’t miss the gluten with their chewy texture!
-
Nutty Delight: Stir in ½ cup of chopped walnuts or pecans to give your cookies a lovely crunch and an added layer of richness. The nuts pair beautifully with the chocolate and espresso!
-
Cocoa Boost: Replace 1 tablespoon of espresso powder with cocoa powder for a chocolate-lover’s dream cookie. This double chocolate twist is sure to satisfy any sweet tooth.
-
Spicy Kick: Add a pinch of cayenne pepper or a splash of cinnamon for a warm, spicy note. This unexpected surprise will elevate the flavor profile and keep everyone guessing!
-
Fruit Fusion: Toss in ½ cup of dried cherries or cranberries for a tart contrast to the sweet chocolate. The fruity bites provide a joyful burst of flavor in every chewy cookie.
-
Minty Fresh: Include a teaspoon of peppermint extract for a refreshing mint flavor that pairs perfectly with chocolate. These cookies would be a fantastic addition to any holiday gathering!
-
Sea Salt Sprinkle: Before baking, sprinkle coarse sea salt on top of the cookie balls for an elegant touch. The contrast of sweet and salty will leave taste buds dancing.
-
Blended Coffee Flavor: Replace espresso powder with 1.5 teaspoons of instant coffee granules for an equally delicious coffee flavor. This alternative keeps the rich essence while offering a different experience.
Experimenting with these ideas can lead you to your perfect cookie creation—have fun in the kitchen! And for more cookie inspiration, be sure to explore my delicious Chocolate Chip Cookies.
What to Serve with Chocolate Espresso Cookies
As you relish the thick and chewy texture of these decadent cookies, consider pairing them with delightful accompaniments to enhance your experience.
- Cold Milk: A classic pairing that balances the rich flavors and adds a refreshing touch with every bite.
- Hot Coffee: For coffee lovers, a steaming cup amplifies the espresso notes, creating a harmonious flavor experience.
- Vanilla Ice Cream: The creamy sweetness of vanilla ice cream contrasts beautifully with the rich chocolate, making for a delightful dessert duo.
- Chocolate Fondue: For the adventurous, serve your cookies alongside a warm chocolate fondue for double the chocolatey pleasure.
- Whipped Cream: A dollop of lightly sweetened whipped cream adds a light, airy contrast to the dense cookies, making for a perfect treat.
- Berries: Fresh raspberries or strawberries add a burst of tartness that beautifully offsets the sweetness of the cookies, introducing a refreshing note.
- Cheese Platter: Pair with a selection of soft cheeses, like creamy brie, for a sophisticated touch that balances the sweetness with savory notes.
- Nutty Snack Mix: A side of lightly salted almonds or walnuts can offer a crunchy contrast, making your snacking experience even more enjoyable.
- Dessert Wine: Consider a sweet dessert wine for an adult pairing that enhances the cookie’s richness without overwhelming the palate.
How to Store and Freeze Chocolate Espresso Cookies
Room Temperature: Keep the cookies in an airtight container at room temperature for up to 5 days, ensuring they stay chewy and delicious.
Fridge: For longer freshness, you can store the cookies in the refrigerator for up to 1 week. Just remember to bring them back to room temperature before serving for the best texture.
Freezer: To enjoy your Chocolate Espresso Cookies later, freeze them in a single layer in a sealable bag or airtight container, where they can last for up to 3 months.
Reheating: When you’re ready to enjoy the frozen cookies, simply thaw them at room temperature or pop them in a preheated oven at 300°F (150°C) for about 5-7 minutes until warmed through.
Make Ahead Options
These Chocolate Espresso Cookies are a fantastic choice for busy home cooks looking to save time! You can prepare the dough up to 24 hours in advance by tightly wrapping it in plastic wrap after mixing. Chilling the dough not only enhances the flavor but also helps maintain that chewy texture. Alternatively, you can scoop and shape the cookies into balls and freeze them for up to 3 months—just bake from frozen, adding an extra minute or two to the baking time. When you’re ready to indulge, simply preheat your oven, and bake them fresh for delightful, warm cookies that taste just as delicious as if you made them on the spot!
Expert Tips for Chocolate Espresso Cookies
Chill the Dough: Always refrigerate the dough for at least 4 hours. This step is crucial for achieving the ideal chewy texture in your Chocolate Espresso Cookies.
Room Temperature Eggs: Use room temperature eggs for better incorporation. Cold eggs can lead to uneven mixing, affecting the rise of your cookies.
Watch the Baking Time: Keep a close eye on your cookies while they bake. Overbaking can result in drier cookies, so remove them when the edges are set but the centers remain slightly soft.
Ingredient Substitutions: If you don’t have espresso powder, instant coffee can be used instead. Adjust other liquid ingredients to maintain the right dough consistency.
Prevent Spread: Make sure to space the cookie dough balls 2 inches apart on the baking sheet to allow for even spreading during baking.
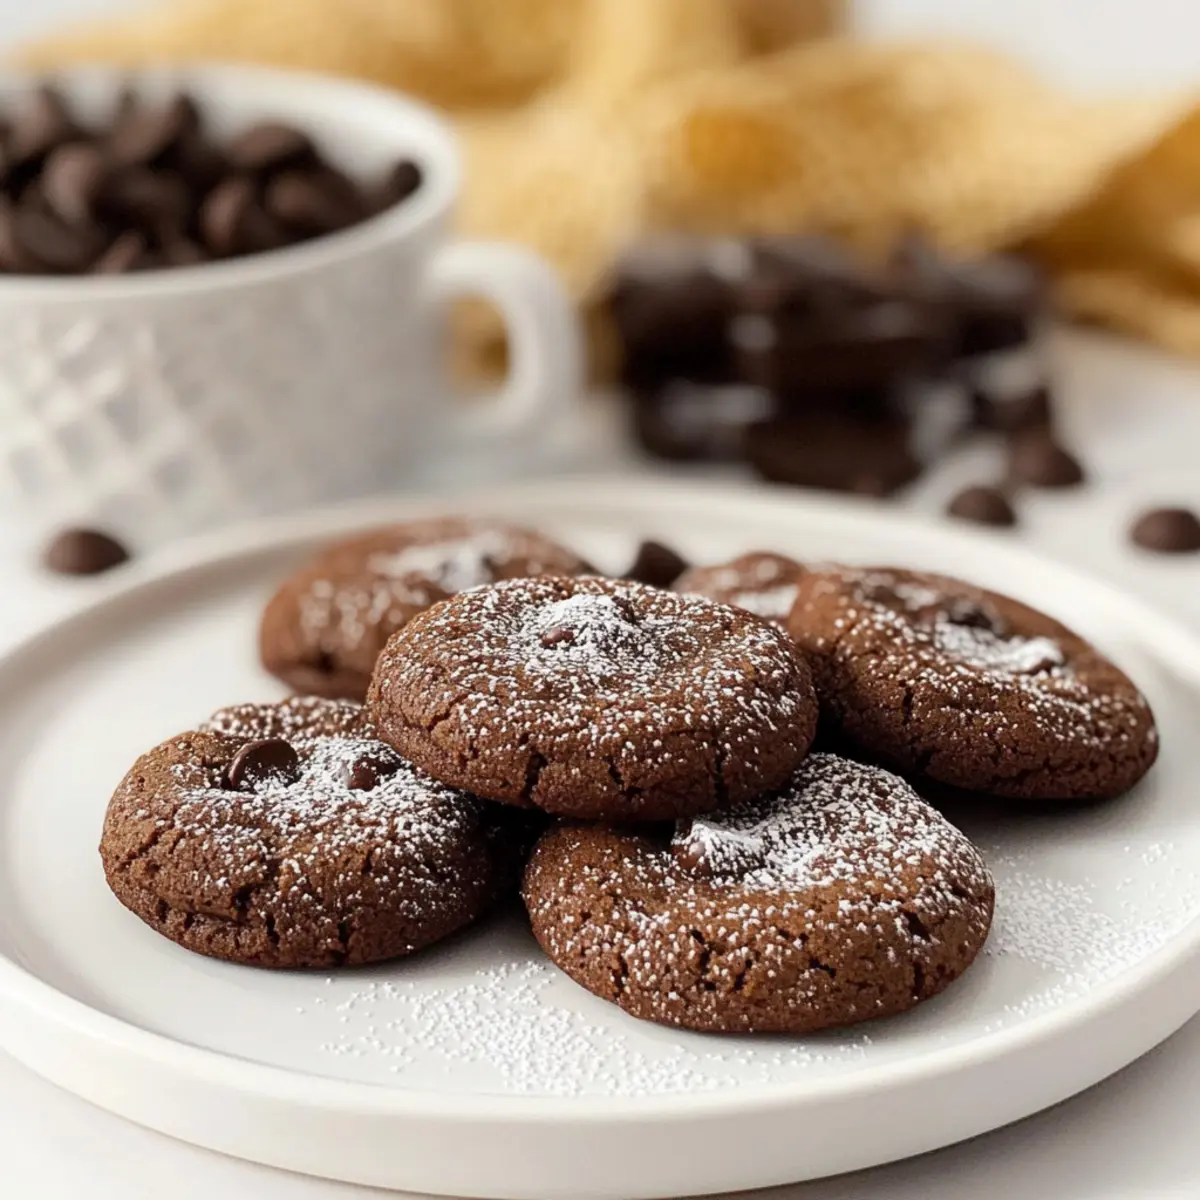
Chocolate Espresso Cookies Recipe FAQs
What type of espresso powder should I use for the cookies?
You can use high-quality espresso powder available in most grocery stores for the best flavor. If you can’t find it, feel free to substitute with instant coffee—1.5 teaspoons will do the trick. Just keep in mind that while espresso powder amplifies the chocolate flavor, instant coffee will provide a milder coffee note.
How should I store my Chocolate Espresso Cookies?
Store your cookies in an airtight container at room temperature for up to 5 days. If you want to enjoy them longer, you can place them in the refrigerator for up to 1 week. Always bring them back to room temperature for the best chewiness when serving!
Can I freeze Chocolate Espresso Cookies?
Absolutely! To freeze, let the cookies cool completely, then place them in a single layer in a sealable bag or airtight container. They can last for up to 3 months in the freezer. When you’re ready to enjoy them, simply thaw at room temperature or reheat in a 300°F (150°C) oven for 5-7 minutes.
Why are my cookies spreading too much during baking?
If your cookies are spreading excessively, it could be due to the dough being too warm. Ensure you chill the dough for at least 4 hours as instructed, and remember to shape the cookie balls and space them 2 inches apart on the baking sheet. If needed, refrigerate the dough balls for a few more minutes before baking.
Can I make these cookies gluten-free?
Certainly! You can replace the all-purpose flour with a gluten-free flour blend. Make sure it contains xanthan gum for texture, and consider chilling the dough longer to help with binding and structure since gluten-free varieties behave differently during baking.
Are there any dietary concerns with these cookies?
If you or your guests have allergies, be cautious about the chocolate ingredients, as they can contain milk or other allergens. Additionally, if making for pets, remember that chocolate is toxic to dogs and cats, so treat them with special homemade dog treats instead!

Chewy Chocolate Espresso Cookies to Energize Your Day
Ingredients
Equipment
Method
- Whisk together 1 ½ cups all-purpose flour, 1 tablespoon espresso powder, 1 teaspoon baking powder, and ½ teaspoon salt in a large mixing bowl.
- Melt 6 ounces chopped semisweet chocolate and ½ cup unsalted butter in a microwave-safe bowl, stirring until smooth.
- Combine 1 cup light brown sugar with the cooled chocolate and butter mixture, and beat until light and fluffy, about 2-3 minutes.
- Incorporate 2 large room temperature eggs one at a time into the chocolate mixture, blending well after each addition.
- Gradually add the dry ingredients to the wet mixture, mixing on low speed until just combined.
- Fold in 1 cup of semisweet chocolate chips.
- Cover the dough tightly with plastic wrap and refrigerate it for about 4 hours.
- Preheat oven to 350°F (175°C) and line baking sheets with parchment paper.
- Roll the chilled dough into balls, placing them 2 inches apart on the baking sheets.
- Bake for 9-10 minutes or until edges are set and lightly browned.
- Cool on baking sheets for 5 minutes before transferring to wire racks.
- Dust cooled cookies with confectioners’ sugar before serving.
Leave a Reply