
As I stood in the kitchen, the warm scent of vanilla and ripe bananas wafted through the air, instantly bringing back memories of family gatherings around the table. This Easy Banana Pudding Crunch Cheesecake marries the rich creaminess of cheesecake with the nostalgic flavors of banana pudding, creating a dessert that captures hearts and taste buds alike. What makes this cheesecake truly special is how effortlessly it comes together; no special equipment is needed, making it perfect for both budding bakers and seasoned pros. With a delightful crunch topping that adds texture, it’s not only a comforting treat but also a spectacular showstopper for any occasion. Are you ready to bring a slice of joy to your next gathering? Let’s dive into this delicious creation together!
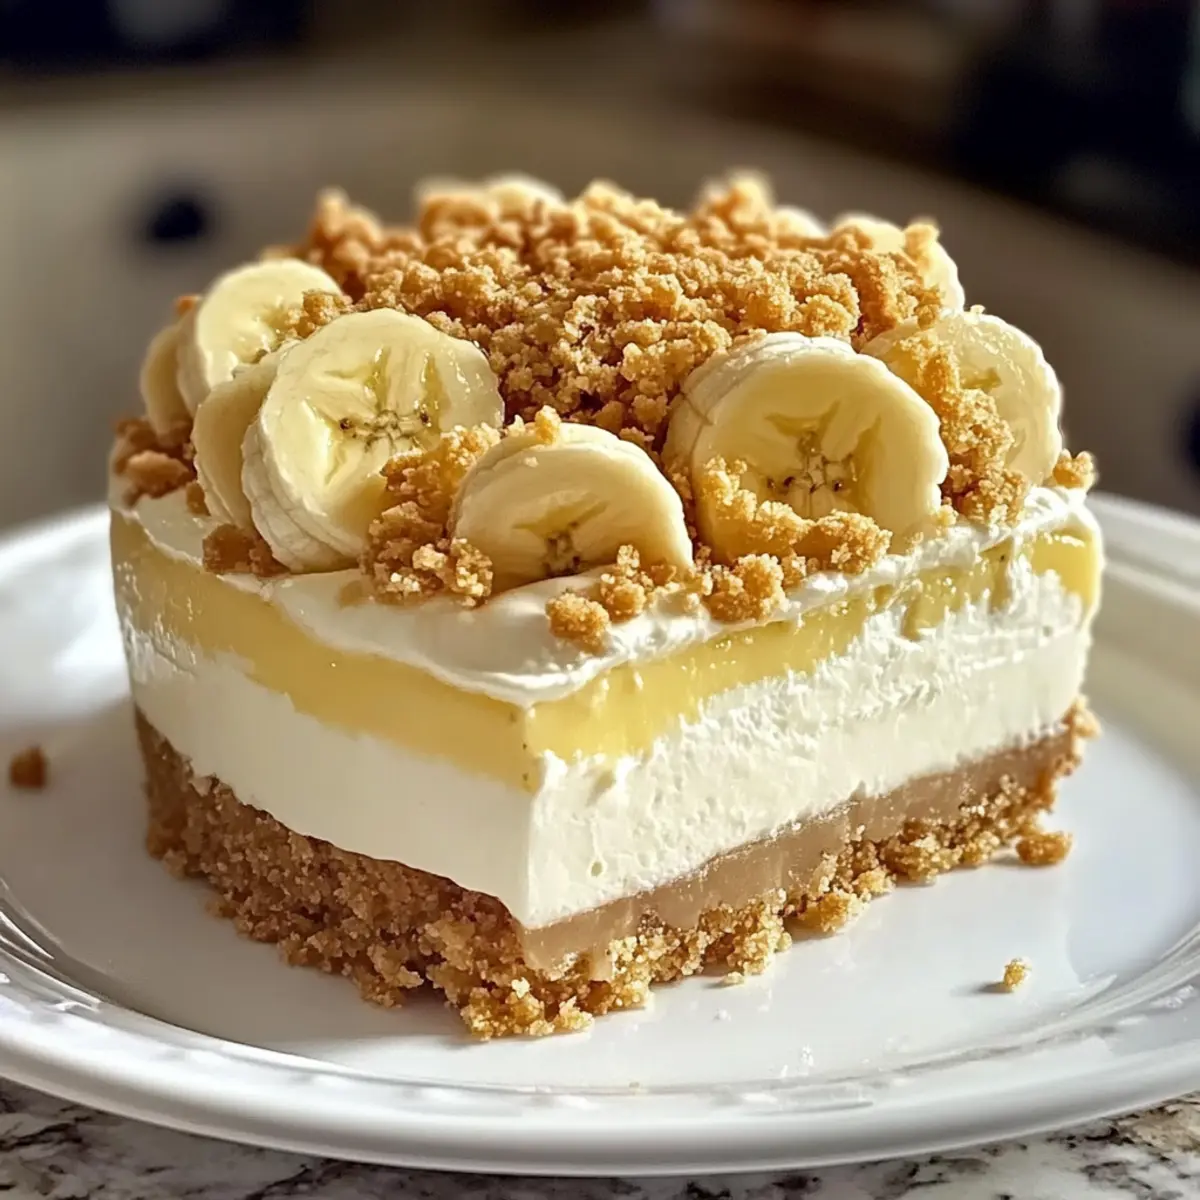
Why is this cheesecake a must-try?
Unforgettable Flavors: The fusion of creamy cheesecake and sweet banana pudding creates a flavor explosion that’s both nostalgic and indulgent.
No Special Equipment Needed: You can easily assemble this delightful dessert with just a few common kitchen tools—perfect for any home cook!
Impressive Presentation: With its vibrant layers and crunchy topping, this cheesecake is a visual feast that will have your guests in awe.
Quick and Simple: Despite its luxurious taste, this recipe comes together quickly, making it a fantastic option for last-minute gatherings.
Versatile Options: Feel free to experiment! Try it with flavored pudding mixes or even a chocolate twist for a fun spin.
You’ll love the combination of ease and taste in this Banana Pudding Crunch Cheesecake, making it a standout in any dessert lineup! For more comforting desserts, check out my delicious Apple Crumble Cheesecake or try something unique like Banana Rice Pudding.
Easy Cheesecake Ingredients
• Make your baking journey even sweeter with these simple ingredients!
For the Crust
- Vanilla Wafer Cookies – The sweet, crunchy base that holds everything together; substitute with graham crackers if desired.
- Granulated Sugar – Sweetens both the crust and filling to elevate the overall flavor.
- Unsalted Butter – Binds the crust nicely; for a dairy-free option, use vegan butter.
- Cinnamon – Adds warm flavor notes; omit for a more neutral crust if preferred.
For the Filling
- Cream Cheese – The key ingredient that gives the cheesecake its luxurious texture and rich flavor; full-fat is best for the ultimate creaminess.
- Large Eggs – Provide essential structure and stability; make sure they are at room temperature for easy blending.
- Pure Vanilla Extract – Enhances the cheesecake’s flavor; opt for real vanilla for a more aromatic experience!
- Sour Cream – Contributes creaminess and a touch of tang; Greek yogurt is a fine substitute if desired.
- Instant Banana Pudding Mix – Essential for that true banana flavor and creamy texture; feel free to use a homemade mix if you have one.
- Ripe Bananas (Mashed) – Brings natural sweetness and flavor to the filling; well-mashing ensures even distribution in the cake.
For the Topping
- Brown Sugar – Adds depth and sweetness, making your crunch topping irresistible.
Get ready to impress everyone at your next gathering with this Banana Pudding Crunch Cheesecake that combines comfort and elegance perfectly!
Step‑by‑Step Instructions for Banana Pudding Crunch Cheesecake
Step 1: Preheat the Oven
Begin by preheating your oven to 325°F (165°C). While the oven warms up, take a 9-inch springform pan and wrap it securely in aluminum foil. This will prevent any water from seeping in during the baking process, keeping your Banana Pudding Crunch Cheesecake perfectly smooth.
Step 2: Prepare the Crust
In a mixing bowl, combine crushed vanilla wafer cookies, granulated sugar, and optional cinnamon. Pour in the melted unsalted butter and stir until the mixture resembles wet sand. Press this crumbly blend firmly into the bottom of your prepared springform pan. Bake for 10 minutes until lightly golden, and then allow it to cool while you make the filling.
Step 3: Make the Filling
In a large mixing bowl, beat the cream cheese using a hand mixer on medium speed until smooth and creamy. Gradually add granulated sugar, mixing well after each addition. Next, add the eggs one at a time, ensuring each is fully integrated before adding the next. Fold in pure vanilla extract, sour cream, instant banana pudding mix, and well-mashed ripe bananas until everything is combined and smooth.
Step 4: Combine and Bake
Pour the cheesecake filling into the cooled crust, smoothing the top with a spatula for evenness. For baking, place the springform pan inside a larger pan filled with hot water—a technique called bain-marie—to maintain moisture. Slide it into the oven and bake for 60-65 minutes. The center of the cheesecake should jiggle slightly when done.
Step 5: Cool the Cheesecake
Once your Banana Pudding Crunch Cheesecake is baked, turn off the oven but leave the door ajar. Let the cheesecake cool gradually inside the oven for 1 hour, which helps prevent cracks. Afterward, transfer it to the countertop to cool completely at room temperature.
Step 6: Prepare the Crunchy Topping
While the cheesecake is cooling, prepare the topping. In a mixing bowl, combine any remaining crushed vanilla wafers with melted butter, brown sugar, and cinnamon. Spread this mixture evenly on a baking sheet and bake for 8-10 minutes until golden and crunchy, letting the warm aroma fill your kitchen.
Step 7: Chill Before Serving
Once the cheesecake has cooled completely, cover it and refrigerate for at least 4 hours, or preferably overnight. This chilling time allows the flavors to meld beautifully. Before serving, sprinkle the crunchy topping generously over the cheesecake and adorn with fresh banana slices or whipped cream if desired.
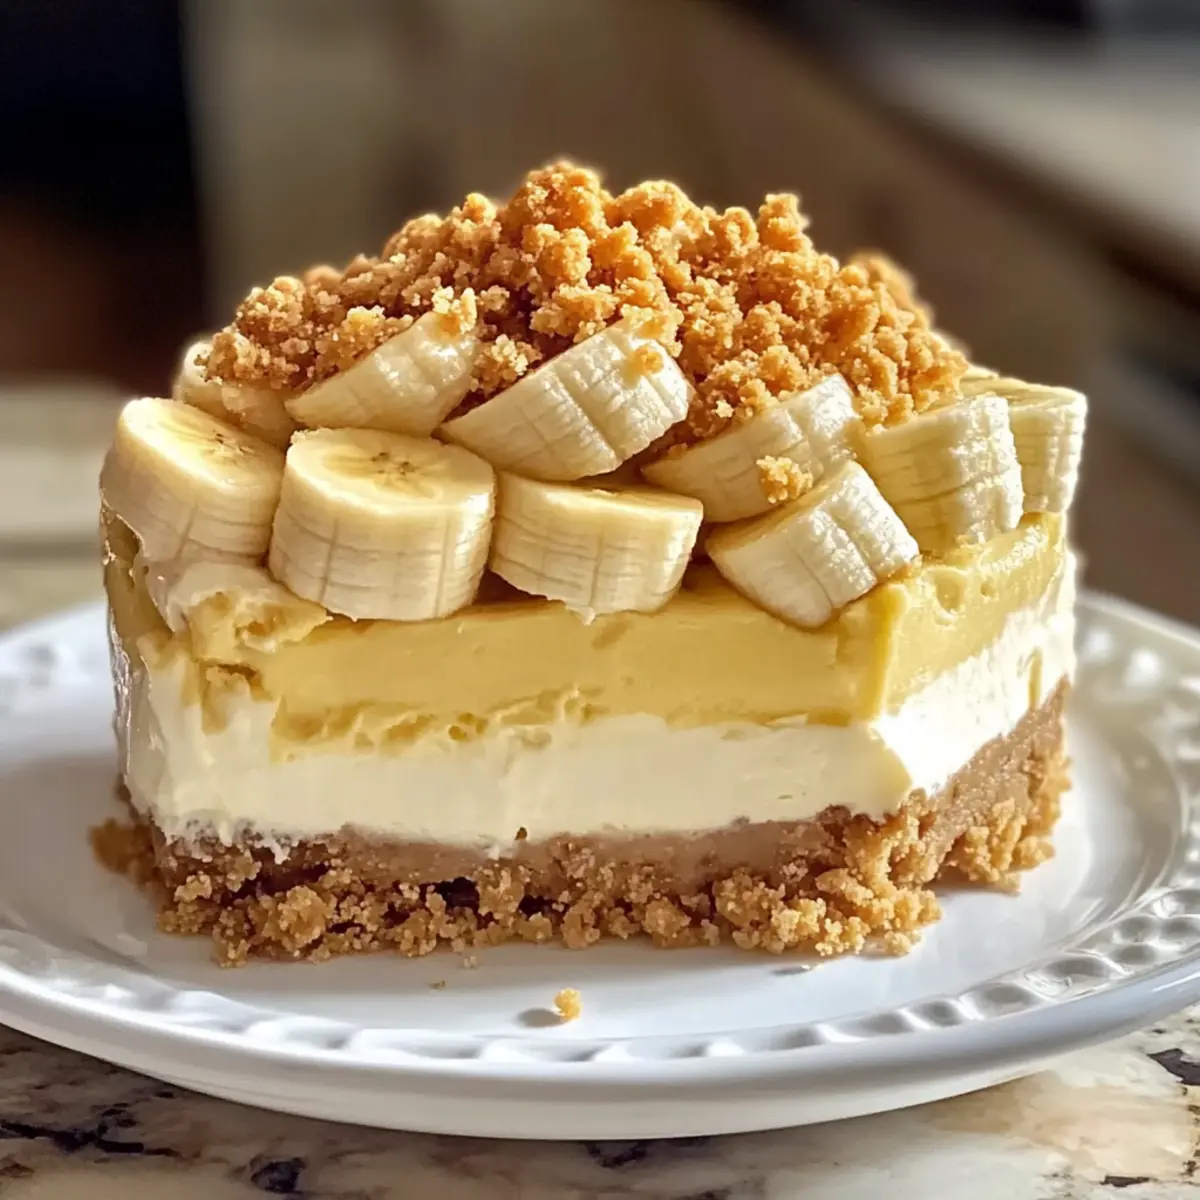
How to Store and Freeze Banana Pudding Crunch Cheesecake
Refrigerator: Store leftovers covered in an airtight container in the fridge for up to 5 days. This helps maintain the creamy texture of your cheesecake while keeping it fresh.
Freezer: For longer storage, wrap portions of the cheesecake tightly in plastic wrap and then in aluminum foil. Freeze for up to 2 months; simply thaw in the fridge overnight before serving.
Reheating: If desired, let the cheesecake come to room temperature before enjoying it. You can also pop individual slices in the microwave for a few seconds if you prefer a warm treat.
Serving After Storage: Once thawed, garnish with fresh banana slices or whipped cream to refresh its vibrant presentation and enhance the nostalgic flavor of your Banana Pudding Crunch Cheesecake.
Easy Cheesecake Variations & Substitutions
Feel free to get creative with this delightful cheesecake and make it your own—there’s always room for a little culinary magic!
-
Dairy-Free: Use plant-based cream cheese and sour cream to make a delicious vegan cheesecake without losing flavor.
This twist ensures everyone can indulge in the joy of this dessert, regardless of dietary restrictions! -
Graham Cracker Crust: Swap out vanilla wafer cookies for graham crackers to create a classic cheesecake base.
This variation veers into nostalgic territory, reminiscent of the cheesecake you might find at a summer picnic. -
Chocolate Lovers: Add melted chocolate or cocoa powder to the cheesecake filling for a rich, indulgent chocolate version.
Chocolate and banana are a match made in heaven, bringing a new level of decadence to your dessert! -
Flavor Boost: Experiment with different flavored pudding mixes, such as coconut or butterscotch, for a unique twist.
Each option brings its own delightful character, sure to surprise and please your guests! -
Nutty Crunch: Incorporate chopped nuts, like walnuts or pecans, into the crunchy topping for added texture and flavor.
This allows for a satisfying crunch that complements the creaminess of the cheesecake beautifully. -
Lemon Zing: Add a hint of lemon zest to the filling for a bright, refreshing contrast to the sweetness of the banana.
The citrus will elevate the overall flavor, creating a perfect balance in every bite! -
Caramel Drizzle: Top your cheesecake with a warm caramel sauce for a sweet and sticky finish.
This little indulgence transforms your cheesecake into a show-stopping dessert that will wow any crowd!
Don’t forget, for more delightful dessert recipes, check out my scrumptious Apple Crumble Cheesecake or warm up with a comforting bowl of Banana Rice Pudding. Enjoy the process of making this Banana Pudding Crunch Cheesecake your very own!
Expert Tips for Banana Pudding Crunch Cheesecake
Room Temperature Ingredients: Ensure all refrigerated ingredients, especially cream cheese and eggs, are at room temperature for a smooth, lump-free filling.
Water Bath Method: Use a bain-marie to bake your cheesecake. This technique keeps it moist and prevents unsightly cracks on the surface.
Gentle Mixing: Avoid overmixing the filling after adding the eggs; this maintains a light texture that’s creamy and delightful.
Cooling Process: Allow the cheesecake to cool in the oven with the door ajar. This gradual cooling helps to prevent a sudden temperature change that can cause cracks.
Chilling Time: Be patient and refrigerate your Banana Pudding Crunch Cheesecake for at least 4 hours, or overnight for the best flavor and texture.
What to Serve with Easy Banana Pudding Crunch Cheesecake
The perfect dessert deserves an equally delightful meal to accompany it; let’s create that memorable experience together!
-
Whipped Cream: A dollop adds a light and airy contrast, enhancing the cheesecake’s creamy texture.
-
Fresh Fruit Salad: The vibrant colors and refreshing flavors of a fruit mix, such as berries and citrus, brighten up the plate.
-
Chocolate Drizzle: Drizzled melted chocolate brings a rich sweetness that beautifully complements the banana flavor of the cheesecake.
-
Coffee or Espresso: A warm cup of coffee adds a comforting touch, balancing the sweetness while heightening the dessert experience.
-
Caramel Sauce: A generous drizzle of caramel adds a decadent layer of flavor, making each bite even more indulgent.
-
Sliced Bananas: Fresh banana slices placed on top of the cheesecake echo its flavors and provide a fruity freshness.
-
Mint Leaves: A few sprigs of fresh mint brings a pop of color and a refreshing hint that cuts through the richness.
-
Ice Cream: Serve with a scoop of vanilla or caramel ice cream for a luscious blend of creamy, cool, and crunchy textures.
-
Sparkling Water: A refreshing sparkling water with a splash of lemon or lime cleanses the palate and refreshes the senses after each delightful bite.
Make Ahead Options
These Banana Pudding Crunch Cheesecakes are perfect for busy home cooks looking to simplify their meal planning! You can prepare the crust and filling up to 24 hours in advance. Simply follow the initial steps to make the crust and filling, then pour the filling into the cooled crust and cover it tightly with plastic wrap before refrigerating. This not only saves time but also allows the flavors to develop for a richer taste. When you’re ready to serve, bake as directed and finish with the crunchy topping, which can also be made ahead and stored in an airtight container for up to 3 days. This way, you’ll have an impressive dessert that’s just as delicious with minimal last-minute effort!
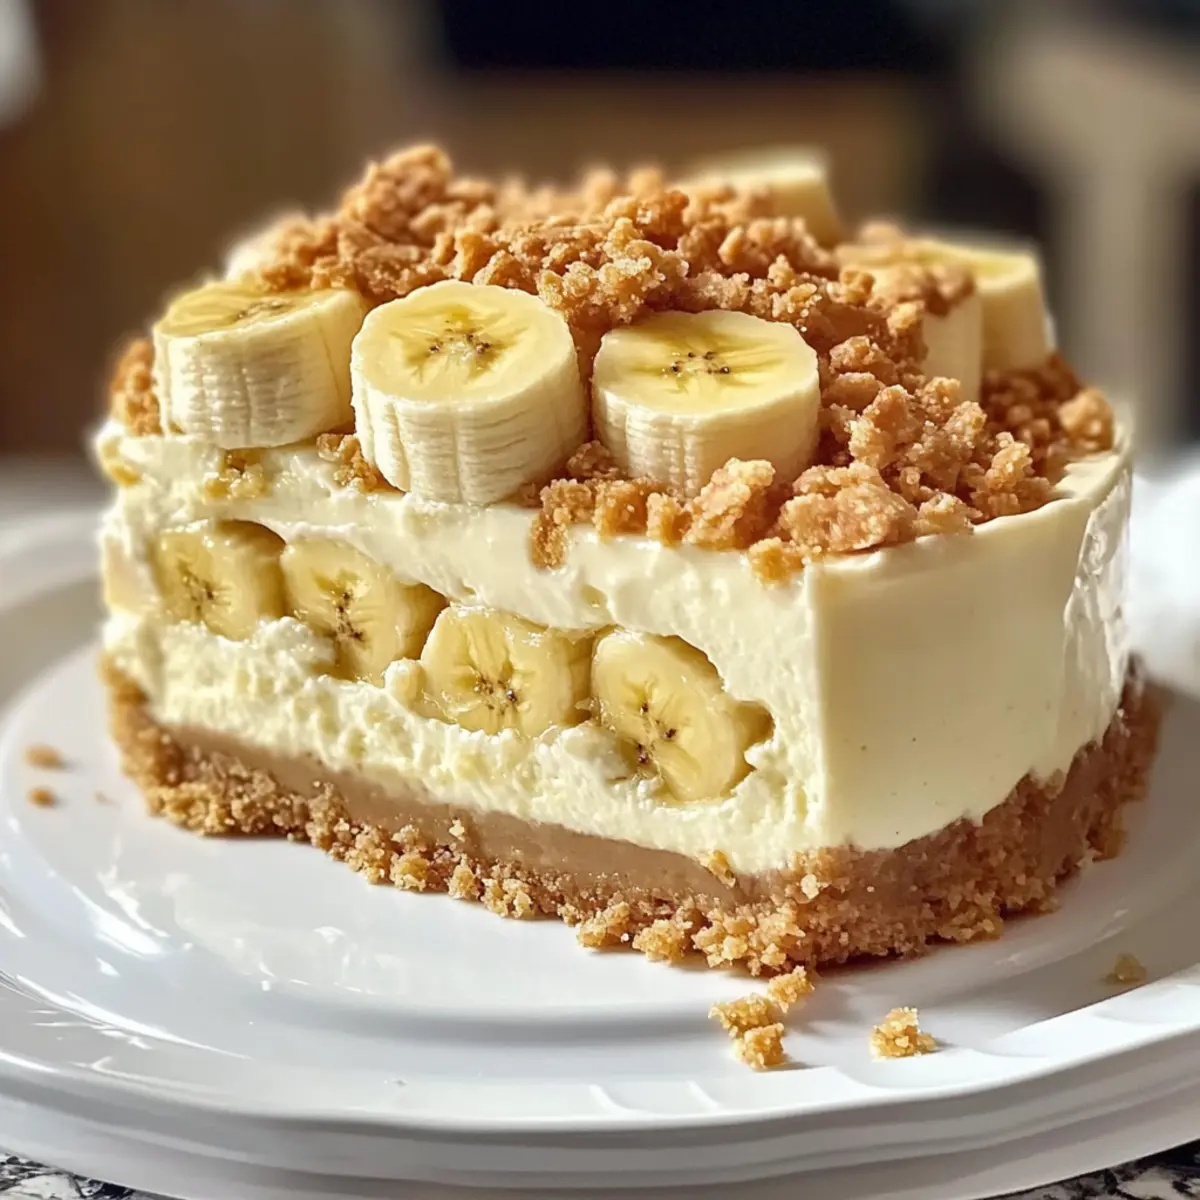
Banana Pudding Crunch Cheesecake Recipe FAQs
What type of ripe bananas should I use for the filling?
Absolutely! Choose bananas that are fully ripe for the best flavor—look for bananas that are slightly speckled with brown spots. Overripe bananas not only bring natural sweetness but also blend seamlessly into the filling. Avoid using bananas that are too firm or green, as they won’t provide the same rich flavor.
How should I store leftovers of the Banana Pudding Crunch Cheesecake?
To keep your cheesecake fresh, store any leftovers in an airtight container in the refrigerator for up to 5 days. Make sure to cover it well to prevent it from absorbing other odors in the fridge. If you want to prepare it in advance, it can also be made a day ahead and stored overnight in the fridge!
Can I freeze the Banana Pudding Crunch Cheesecake?
Absolutely! To freeze your cheesecake, wrap individual slices tightly in plastic wrap, then wrap them in aluminum foil for added protection. It can be stored in the freezer for up to 2 months. When ready to eat, simply thaw it in the fridge overnight to restore its creamy texture. It’s a great way to always have this delicious treat at hand!
What should I do if my cheesecake cracks while baking?
Very often, cracks are caused by temperature changes! To avoid this, use a water bath—or bain-marie—during baking to keep the cheesecake moist. Additionally, ensure you gradually cool the cheesecake in the oven with the door slightly ajar. If cracks still happen, don’t worry! You can cover them with your crunchy topping, and no one will notice!
Are there any dietary considerations I should be aware of?
Yes! If you’re serving this cheesecake to guests with dietary restrictions, you can easily make it more inclusive. Substitute cream cheese and sour cream with dairy-free alternatives. Also, be sure to check that your vanilla wafers are gluten-free if needed, and always ask about allergies concerning the bananas and other ingredients.
How can I make my cheesecake more flavorful?
To elevate the flavors, consider using high-quality vanilla extract and ensure your ingredients are at room temperature before mixing. This promotes even blending and a smoother filling. You can also add a teaspoon of lemon juice or zest for a refreshing twist that complements the sweetness of the bananas beautifully!
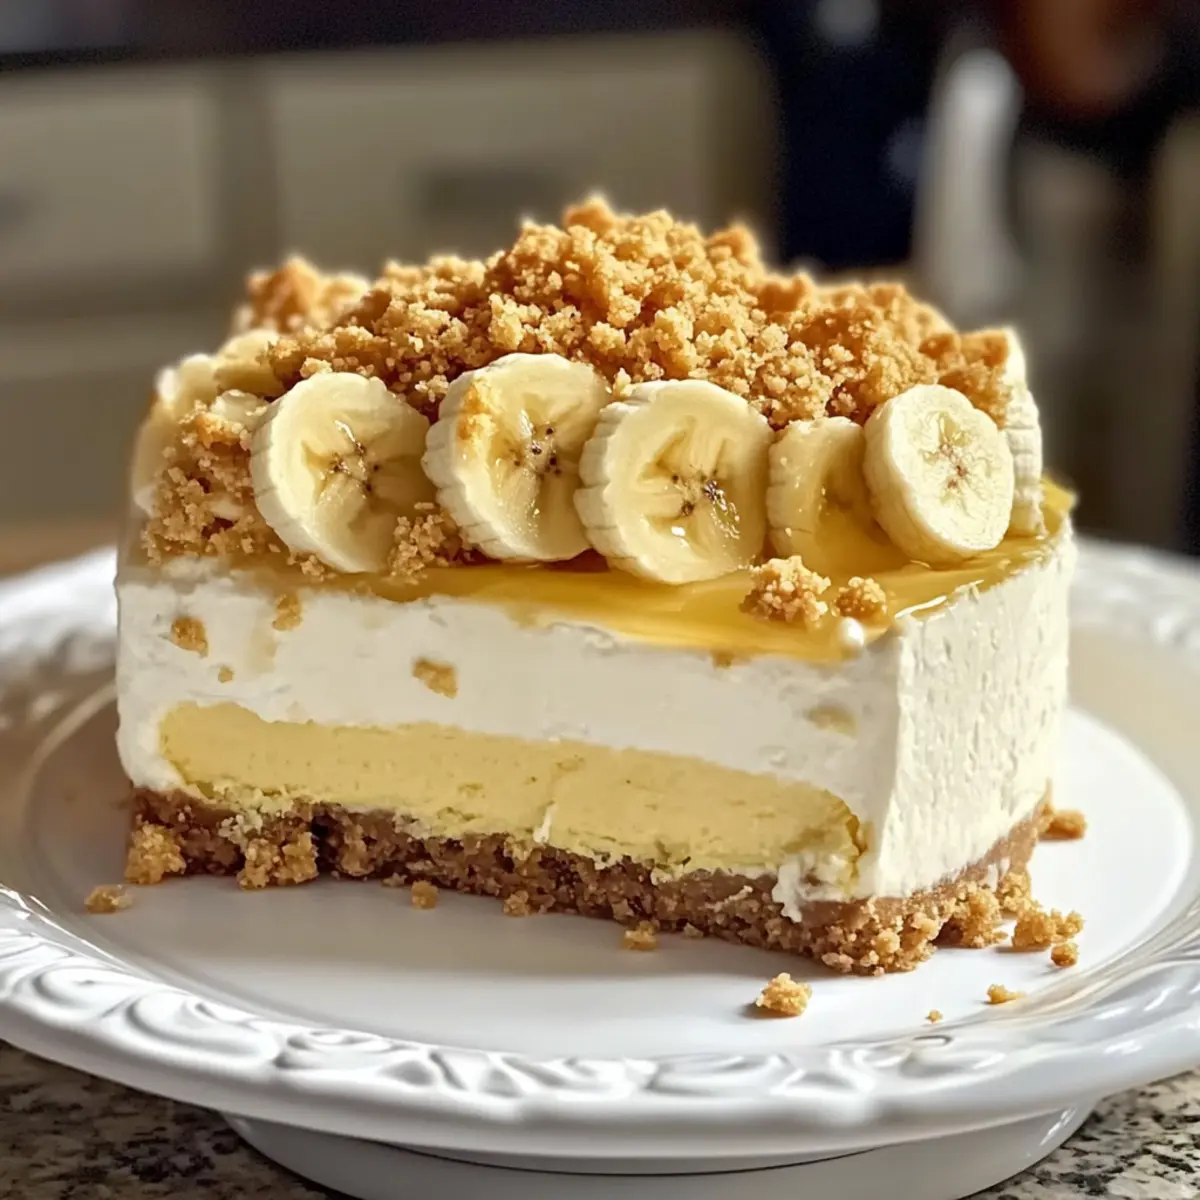
Banana Pudding Crunch Cheesecake That's a Total Showstopper
Ingredients
Equipment
Method
- Preheat your oven to 325°F (165°C) and wrap a 9-inch springform pan in aluminum foil to prevent water from seeping in.
- In a mixing bowl, combine crushed vanilla wafer cookies, granulated sugar, and cinnamon. Add melted unsalted butter and mix until resembling wet sand. Press firmly into the bottom of the springform pan and bake for 10 minutes. Allow to cool.
- Beat the cream cheese until smooth, gradually add granulated sugar, then eggs one at a time. Fold in vanilla extract, sour cream, pudding mix, and mashed bananas until smooth.
- Pour the cheesecake filling into the cooled crust and smooth the top. Place the springform pan inside a larger pan filled with hot water and bake for 60-65 minutes until the center jiggles slightly.
- Turn off the oven and leave the door ajar. Cool the cheesecake inside the oven for 1 hour, then cool completely at room temperature.
- Combine remaining crushed vanilla wafers with melted butter, brown sugar, and cinnamon. Spread evenly on a baking sheet and bake for 8-10 minutes until golden.
- Refrigerate the cheesecake for at least 4 hours, then sprinkle with the crunchy topping and serve.
Leave a Reply