
As I strolled through the bustling farmers’ market last weekend, the vivid colors of fresh produce caught my eye—especially the almost mythical avocados. With thoughts of creating something bold and delicious, I realized how much I craved the flavors of a Crispy Shrimp Sushi Bowl. This quick meal is not just a feast for the senses; it’s easy to whip up on a busy weeknight, making it perfect for anyone looking to elevate their dinner routine away from fast food. Bursting with protein and customizable to suit your taste, this shrimp sushi bowl recipe celebrates that perfect harmony of creamy avocado, zesty spicy mayo, and a rainbow of toppings. Ready to explore how you can make this healthy, family-friendly creation in your own kitchen? Let’s dive in!
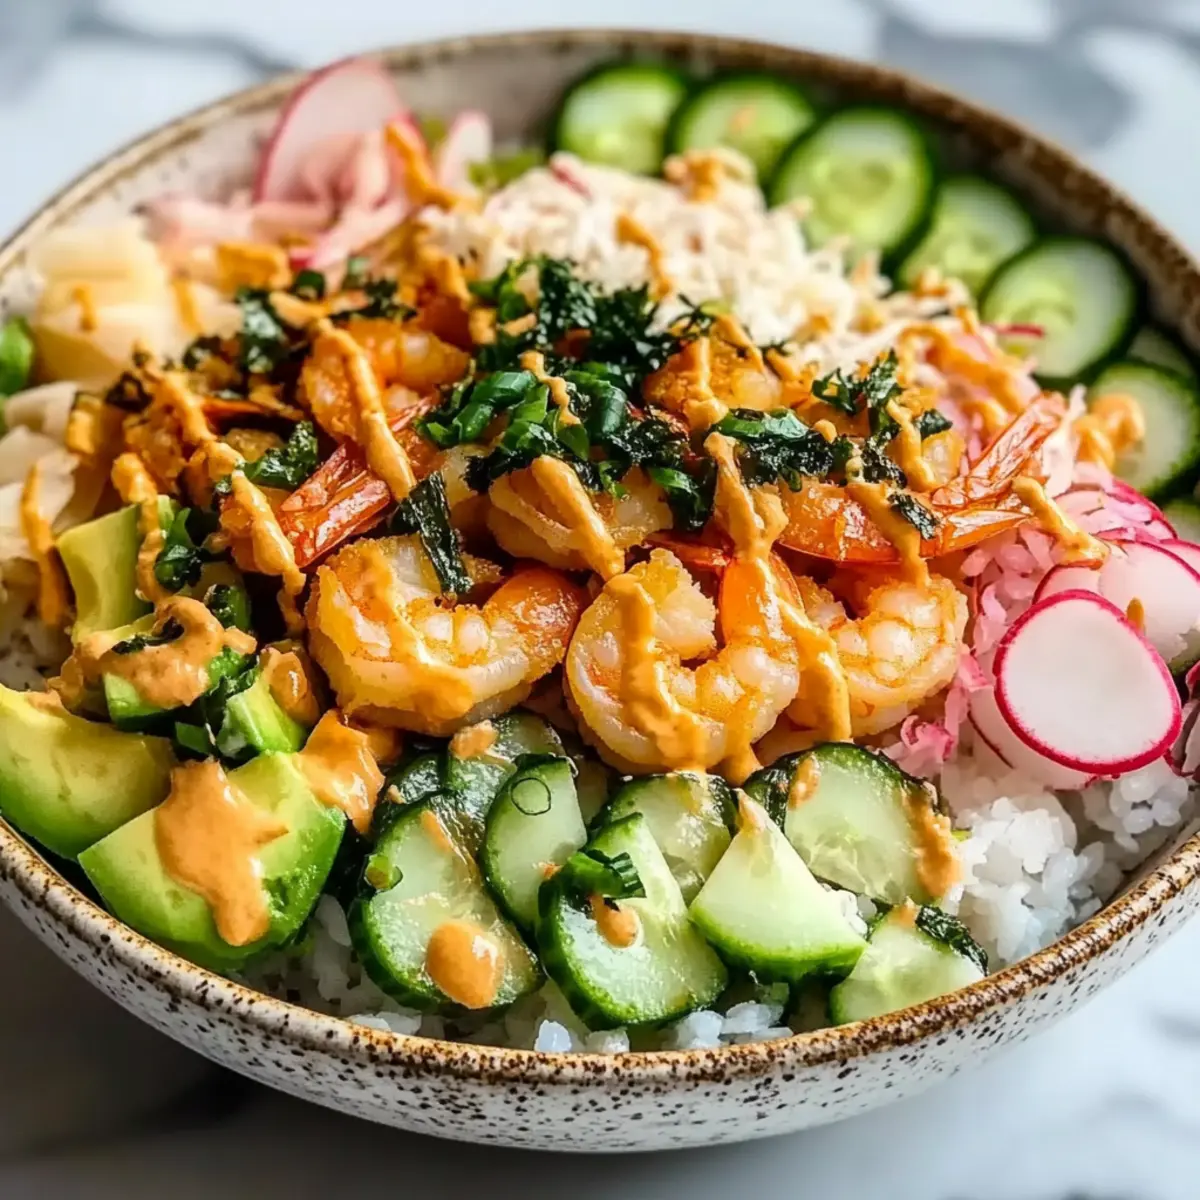
Why Make a Shrimp Sushi Bowl?
Ease of Preparation: This Crispy Shrimp Sushi Bowl is incredibly simple to put together, taking just minutes from prep to plate.
Customizable Adventure: With a variety of toppings and swaps, such as substituting shrimp with crispy tofu or adding pickled vegetables, you can make each bowl unique to your palate.
Protein-Packed Goodness: Each bite is loaded with protein, ensuring everyone stays satisfied, whether you’re feeding a family or having a casual gathering.
Vibrant Freshness: The combination of colorful ingredients not only pleases the eyes but offers a delightful crunch and flavor explosion.
Perfect for Weeknight Dinners: Quick and nourishing, this meal is ideal for busy lives—a stunning alternative to fast food nights!
If you’re a fan of simple yet satisfying meals, you might also enjoy my Egg Roll Bowl or Potsticker Noodle Bowl for more delicious options!
Shrimp Sushi Bowl Ingredients
• Here’s everything you need to create this delicious shrimp sushi bowl recipe!
For the Sushi Base
- Sushi Rice – The essential base providing a slightly sticky texture; white rice can be a quick substitute.
- Water – Needed for cooking the sushi rice; use three cups for every two cups of rice.
- Rice Wine Vinegar – Adds essential acidity and flavor; remember to mix it into the warm rice for best absorption.
- Sugar – Balances the tangy flavors of the vinegar.
- Salt – Elevates the overall taste of the rice.
For the Protein
- Medium Cooked Frozen Shrimp – Offers a tasty and protein-packed addition; feel free to swap in salmon or crispy tofu for variety.
For the Fresh Crunch
- English Cucumber – Lends a refreshing crunch; dice it well for easy eating.
- Avocados – Adds creamy texture; cut the avocado just before serving to keep it from browning.
For the Umami Flavor
- Seaweed Snacks – Provides umami and extra crunch; can be replaced with nori or omitted if desired.
- Soy Sauce – Crucial for that umami kick; tamari can be used for a gluten-free option.
For the Spicy Sauce
- Mayonnaise – Forms the base of the delicious spicy mayo.
- Sriracha – Infuses heat into the mayo; adjust according to your spice preference.
For the Garnish
- Sesame Seeds – Adds a nutty finish and delicate crunch.
- Fried Onions – Provides extra flavor and texture; sprinkle just before serving to retain their crunch.
- Green Onions – Fresher notes in your bowl; chop finely for maximum flavor impact.
Get ready to enjoy this shrimp sushi bowl recipe that’s not only delicious but also incredibly adaptable to your tastes!
Step‑by‑Step Instructions for Shrimp Sushi Bowl Recipe
Step 1: Rinse and Cook Sushi Rice
Begin by rinsing 2 cups of sushi rice under cold water until the water runs clear, removing excess starch for optimal texture. Then, add the rinsed rice with 3 cups of water to a rice cooker or a medium saucepan. Bring to a boil, then reduce heat to low, cover, and simmer for about 18 minutes until the rice is tender and water is absorbed. Remove from heat and let it sit covered for 10 minutes.
Step 2: Season the Rice
Once the sushi rice has cooked, transfer it to a large bowl while it’s still warm. In a separate bowl, mix together 1/4 cup of rice wine vinegar, 2 tablespoons of sugar, and 1 teaspoon of salt until dissolved. Gently fold this mixture into the warm rice using a wooden spoon, taking care not to smash the grains. Allow the rice to cool at room temperature for about 10 minutes while you prepare the other ingredients.
Step 3: Prepare Fresh Ingredients
As the rice cools, dice 1 medium English cucumber into small pieces for a refreshing crunch. Next, slice 1-2 ripe avocados just before serving to maintain their vibrant color and creaminess. Set aside the diced cucumber and avocados, as they will add essential freshness and texture to the Shrimp Sushi Bowl.
Step 4: Create Spicy Mayo
In a small bowl, combine 1/4 cup mayonnaise with 1-2 tablespoons of sriracha, adjusting the heat according to your preference. Whisk the ingredients together until smooth, creating a delightful spicy mayo that will elevate the flavors of your Shrimp Sushi Bowl. Set this spicy mayo aside for drizzling over the final dish.
Step 5: Warm the Shrimp
If desired, slightly warm 1 cup of cooked frozen shrimp in a saucepan over low heat for about 3-5 minutes. Alternatively, you can microwave the shrimp covered for about 30 seconds. Ensure the shrimp remains tender and is heated through, ready to be placed on top of the bowl ingredients.
Step 6: Assemble the Sushi Bowls
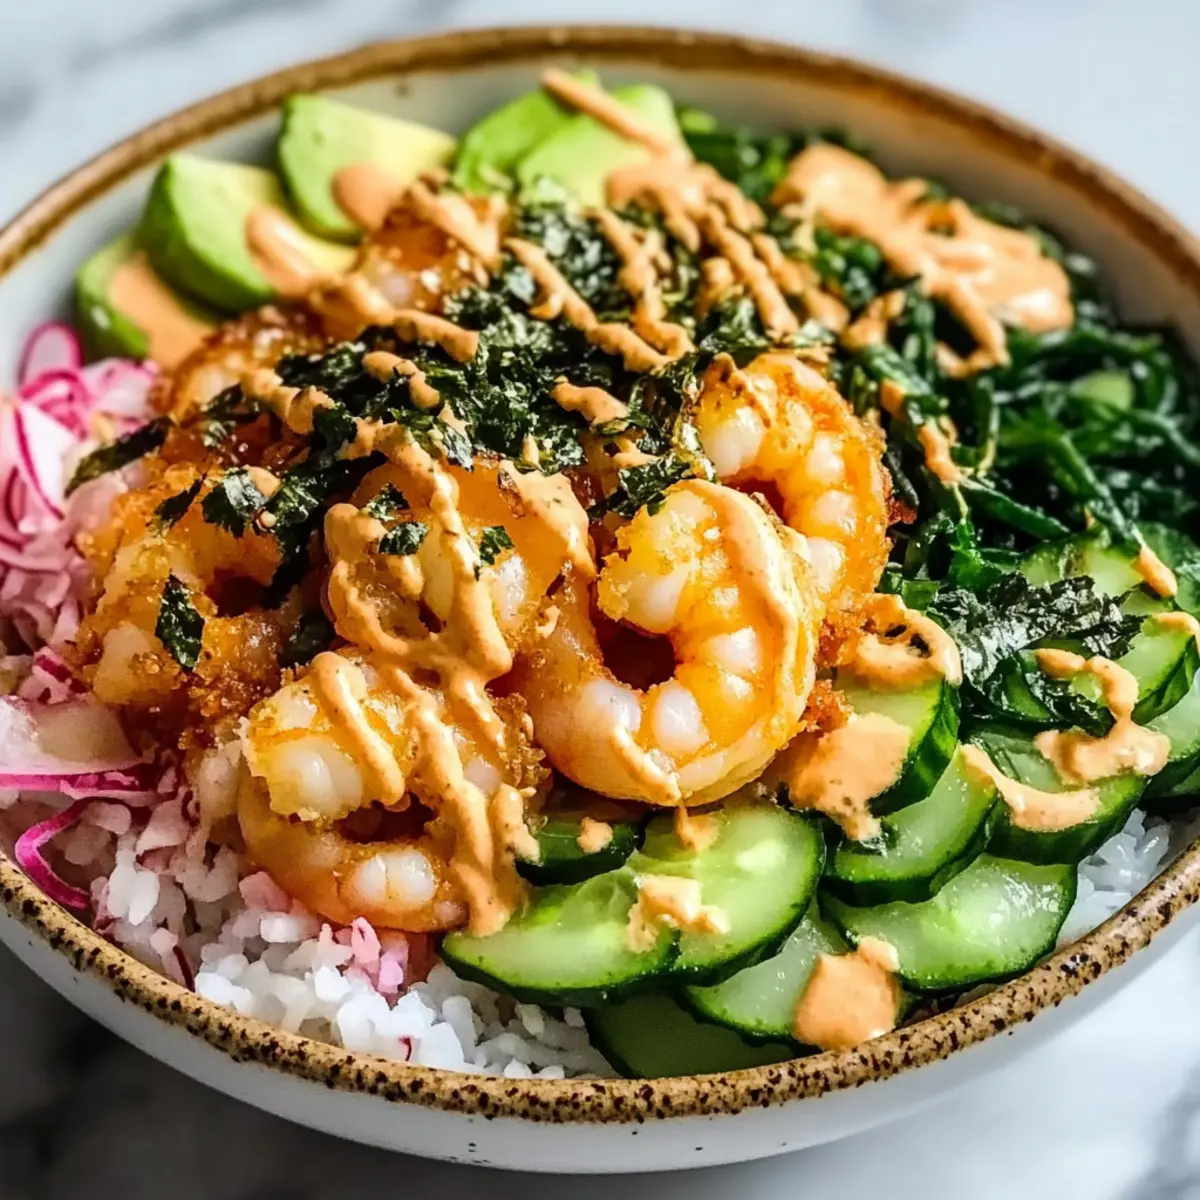
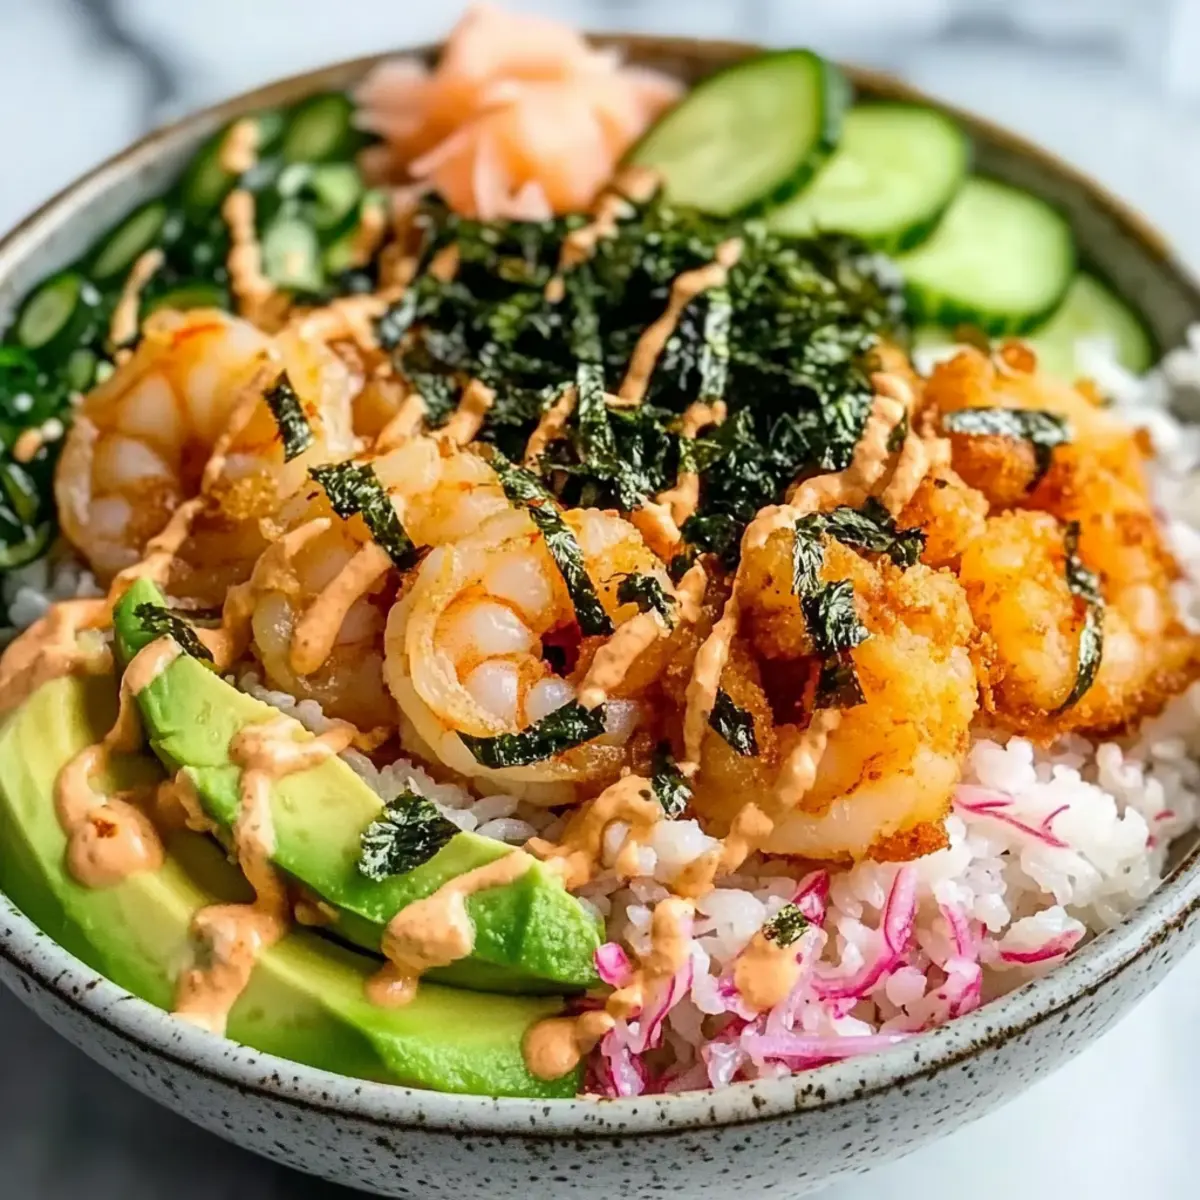
To assemble your Shrimp Sushi Bowl, start by spooning a generous portion of the seasoned sushi rice into each bowl, creating a soft and sticky base. Next, layer on the warmed shrimp, followed by the diced cucumber and avocado. For those who enjoy an umami crunch, add a few seaweed snacks or nori strips on top.
Step 7: Add the Finishing Touches
Drizzle the spicy mayo generously over the assembled ingredients and finish with a splash of soy sauce. For added flavor and texture, sprinkle sesame seeds, fried onions, and finely chopped green onions over each bowl. Your vibrant and adaptable Shrimp Sushi Bowl is now ready to be enjoyed!
Variations & Substitutions for Shrimp Sushi Bowl Recipe
Feel free to get creative and tailor this shrimp sushi bowl recipe to fit your cravings and pantry staples!
-
Jasmine Rice: Substitute sushi rice with jasmine or short-grain rice for a fragrant twist that complements the shrimp beautifully. The aroma will transport you straight to a warm beachside restaurant.
-
Greek Yogurt: Use Greek yogurt for a lighter, tangy sauce instead of mayonnaise. This swap maintains creaminess while adding protein, making it a healthier option.
-
Protein Swap: Replace shrimp with cooked salmon or crispy tofu for a different protein experience. Both options offer unique flavors while satisfying your hunger!
-
Crunchy Elements: Add radishes or pickled vegetables for a burst of acidity and extra crunch. Their vibrant colors and flavors will brighten up your bowl.
-
Vegetarian Delight: Craft a wholesome vegetarian version by replacing shrimp with bean curd or a mix of your favorite vegetables. You’ll still enjoy all the delightful textures.
-
Extra Heat: For spice lovers, consider adding pickled jalapeños or a drizzle of chili oil on top for an added kick. The warmth of these ingredients will enhance the entire dish.
-
Herbal Boost: Swapping out the green onions for fresh cilantro or mint provides an aromatic freshness that elevates every bite. It’s like a garden party in your bowl!
If you’re looking for more delicious recipes, consider trying my Korean Beef Bulgogi for a sweet and savory treat or whip up my delightful Ina Garten Cape Cod Salad Recipe for a refreshing side to complement your meal.
What to Serve with Crispy Shrimp Sushi Bowl
Elevate your dining experience with delightful accompaniments that bring out the best in your sushi bowl.
-
Miso Soup: A warm bowl of miso soup offers a comforting, savory note that complements the sushi flavors beautifully.
-
Steamed Edamame: These pods are a perfect snack, providing a pop of freshness and a satisfying bite while balancing your meal’s texture.
-
Crispy Tempura Vegetables: Lightly battered and fried veggies add crunch and a touch of indulgence, making your meal feel special and festive.
-
Spicy Tuna Tartare: A fresh, zesty tuna tartare offers bold flavors that pair well with the shrimp sushi bowl, enhancing the seafood theme.
-
Pickled Ginger: This tangy, refreshing condiment provides a palate cleanse between bites, allowing the flavors of the bowl to shine.
-
Seaweed Salad: Light yet flavorful, the umami-rich seaweed salad brings a crunchy, refreshing contrast to the creamy shrimp bowl.
-
Sake or Plum Wine: Enjoy a glass of chilled sake or sweet plum wine for a delightful drink pairing that complements the meal’s flavors.
-
Mango Sticky Rice: For dessert, indulge in sweet mango sticky rice, blending the creamy coconut with fruity freshness to complete your meal deliciously.
Expert Tips for Shrimp Sushi Bowl Recipe
• Rinse Rice Well: Thoroughly rinse your sushi rice until the water runs clear. This step prevents a gummy texture when cooked, ensuring perfect grains.
• Cool Before Toppings: Allow the seasoned rice to cool slightly before adding your toppings. This keeps the fresh ingredients, like avocado, vibrant and delicious.
• Adjust Spice Level: When mixing the spicy mayo, start with less sriracha and gradually add more to suit your heat preference. You can always add, but you can’t take away!
• Fresh Ingredients Matter: Dice your cucumber and avocado just before assembly to maintain their freshness and crunch. Browning avocados can dampen the bowl’s visual appeal.
• Explore Variations: Remember, this shrimp sushi bowl recipe is highly customizable—don’t hesitate to experiment with different proteins, such as tofu or salmon!
• Store Separately: If making ahead, store the rice, shrimp, and toppings in separate airtight containers. This ensures everything stays fresh and flavorful until ready to serve.
Make Ahead Options
Preparing this Crispy Shrimp Sushi Bowl ahead of time is a game changer for busy weeknights! You can cook and refrigerate the sushi rice for up to 3 days, ensuring it remains delicious and fresh. Store the shrimp and diced cucumber in separate airtight containers for maximum freshness—these can be prepped in 24 hours before serving. When you’re ready to enjoy, simply warm the shrimp and assemble the bowls with the prepped ingredients. Remember to cut the avocado just before serving to maintain its creamy texture. With these make-ahead tips, you can create a flavorful and satisfying shrimp sushi bowl recipe with ease, saving you precious time!
Storage Tips for Shrimp Sushi Bowl Recipe
Fridge: Store leftovers in airtight containers for up to 3 days. Keep rice, shrimp, and toppings separated to maintain freshness and texture.
Freezer: While I recommend enjoying the Shrimp Sushi Bowl fresh, you can freeze the unassembled sushi rice and shrimp for up to 1 month. Thaw in the fridge overnight before reheating.
Reheating: Warm the shrimp in a skillet over low heat or microwave for 30 seconds. For rice, add a splash of water and cover when reheating to retain moisture.
Preparation: Cut avocados just before serving to prevent browning. Assembling the bowl fresh ensures the best taste and visual appeal!
Crispy Shrimp Sushi Bowl Recipe FAQs
What type of sushi rice should I use for the Shrimp Sushi Bowl?
You should opt for authentic sushi rice to achieve that perfect slightly sticky texture. If you can’t find sushi rice, short-grain white rice will do in a pinch. Just make sure to rinse it until the water runs clear to avoid a gummy finish!
How long can I store my shrimp sushi bowl leftovers in the fridge?
You can store leftovers in airtight containers for up to 3 days. It’s best to keep the sushi rice, shrimp, and fresh toppings stored separately to maintain their texture and flavor—this way, your meal stays delicious!
Can I freeze the shrimp and sushi rice? How?
Absolutely! You can freeze the unassembled sushi rice and shrimp for up to 1 month. To freeze, ensure they are cooled completely, then place them in airtight freezer bags, squeezing out as much air as possible. Thaw in the fridge overnight before reheating gently on the stovetop or in the microwave with a splash of water.
How can I prevent my diced avocado from browning before serving?
To keep avocados from browning, it’s best to cut them just before you’re ready to assemble your Shrimp Sushi Bowl. You can also sprinkle a bit of lemon juice over them to help slow down the oxidation process if you need to prepare them a short while ahead of time.
What can I do if my sushi rice turns out too gummy?
If you find your sushi rice is too gummy, it could be due to insufficient rinsing or overcooking. For next time, make sure to rinse the rice thoroughly and ensure the ratio of water is correct—3 cups of water for every 2 cups of rice. If you’re already dealing with gummy rice, you can fluff it gently with a fork to separate the grains and improve the texture.
Are there any dietary considerations to keep in mind for this recipe?
Absolutely! If you’re cooking for someone with shellfish allergies, you can easily substitute the shrimp with crispy tofu or cooked salmon for a delicious alternative. Additionally, if you’re keeping it gluten-free, be sure to use tamari instead of soy sauce for that umami flavor without the gluten.
Crispy Shrimp Sushi Bowl Recipe for Easy Weeknight Dinners
Ingredients
Equipment
Method
- Rinse 2 cups of sushi rice under cold water until clear. Add rice and 3 cups of water to rice cooker or saucepan. Bring to boil, cover, and simmer for about 18 minutes. Remove from heat and let sit covered for 10 minutes.
- Transfer warm rice to a bowl. In a separate bowl, mix together 1/4 cup rice wine vinegar, 2 tablespoons sugar, and 1 teaspoon salt until dissolved. Fold into warm rice and let cool for about 10 minutes.
- Dice 1 medium English cucumber and slice 1-2 avocados just before serving. Set aside.
- In a small bowl, combine 1/4 cup mayonnaise with 1-2 tablespoons sriracha. Whisk until smooth.
- Warm 1 cup of cooked frozen shrimp in a saucepan over low heat for 3-5 minutes, or in the microwave for 30 seconds.
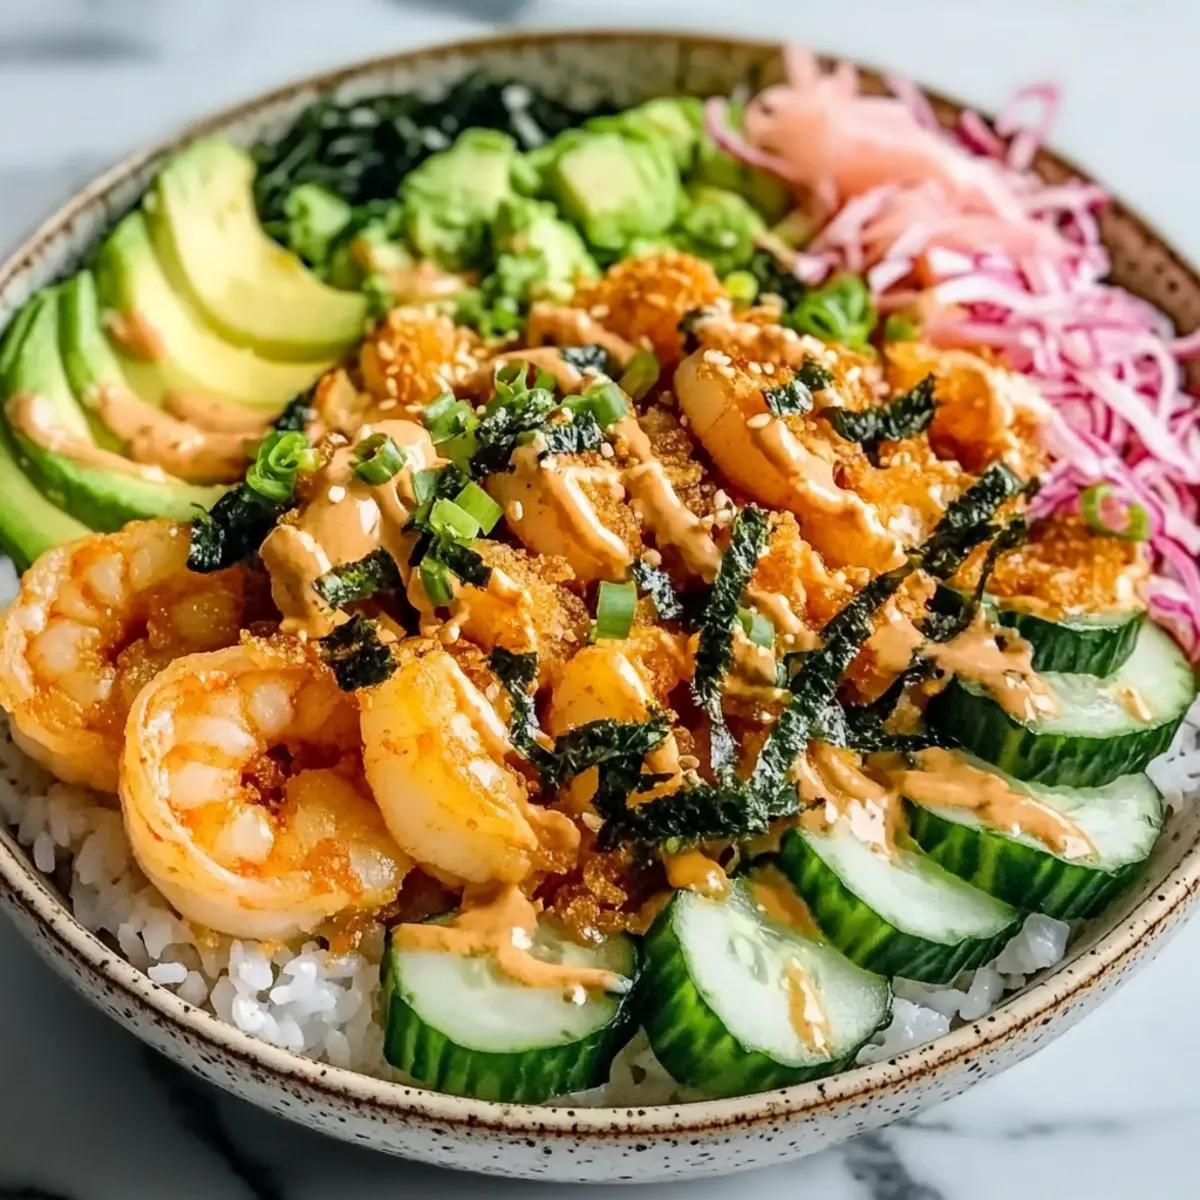
- To assemble bowls, spoon sushi rice into each bowl, then add warmed shrimp, diced cucumber, and avocado. Optionally add seaweed snacks on top.
- Drizzle spicy mayo over the top, add a splash of soy sauce, and sprinkle with sesame seeds, fried onions, and green onions.
Leave a Reply