
As the enticing aroma of freshly brewed coffee wafts through my kitchen, it transports me to cozy mornings and sweet gatherings. Nothing complements that warmth quite like a slice of Indulgent Chocolate Coffee Cake. This recipe marries rich chocolate with the deep flavors of coffee, creating a dessert that’s undeniably decadent yet surprisingly easy to make. Perfect for special occasions or a simple family treat, each moist slice is adorned with a luscious coffee buttercream that’s sure to impress. Plus, the quick prep means you’ll spend less time in the kitchen and more time enjoying the company of your loved ones. Are you ready to bake up some magic?
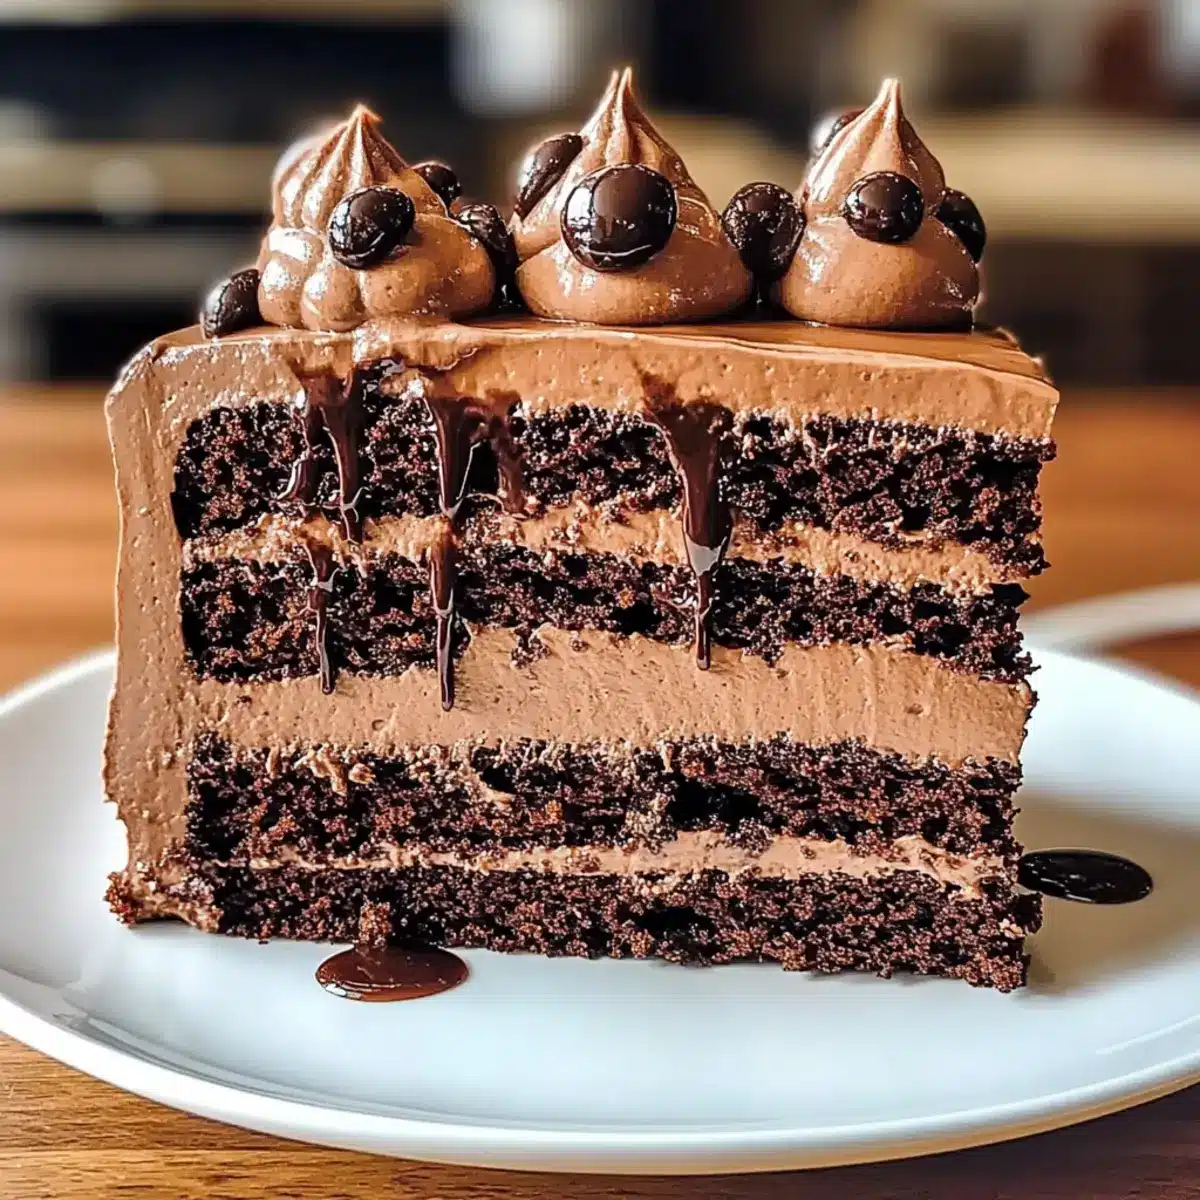
Why is This Cake So Irresistible?
Decadence at Its Finest: This Chocolate Coffee Cake combines rich, velvety chocolate with the aromatic notes of coffee, creating a dessert experience that’s deeply satisfying.
Simplicity Meets Sophistication: Despite its gourmet appeal, this cake is easy to prepare, making it perfect for both beginner and seasoned bakers alike.
Perfect for Celebrations: Whether it’s a birthday, holiday gathering, or just a cozy weekend, this cake is sure to dazzle your guests and make any occasion special.
Moist and Flavorful: Each slice is incredibly moist, enhanced by the creamy coffee buttercream frosting that takes the flavor to the next level.
Time-Saving Treat: With minimal prep time and straightforward instructions, you can whip up this indulgent dessert without stress—leaving you more time to enjoy with friends over a slice paired with a cup of coffee!
If you love chocolate and coffee together, check out my Chocolate Poke Cake for another rich, delightful dessert option!
Chocolate Coffee Cake Ingredients
• To create this indulgent Chocolate Coffee Cake, gather the following ingredients for a rich and flavorful experience.
For the Cake
- Cake Flour – Provides structure and lightness; can substitute with all-purpose flour for a denser cake.
- Granulated Sugar – Adds sweetness and moisture; consider using brown sugar for a deeper flavor.
- Dark Brown Sugar – Contributes to moisture and rich flavor; light brown sugar is a suitable replacement.
- Unsalted Butter – Adds richness; ensure it’s softened for easy mixing.
- Sour Cream – Adds moisture and a hint of tanginess; Greek yogurt can be used as a substitute.
- Vegetable Oil – Keeps the cake moist and tender; can swap with canola oil or melted coconut oil.
- Espresso Powder – Enhances the coffee flavor; instant coffee can be used for a similar effect.
- Whole Milk – Contributes moisture and richness; almond milk is a non-dairy alternative.
- Dark Cocoa Powder – Provides depth of flavor; use unsweetened cocoa; Dutch-process cocoa is also great.
- Eggs – Gives structure and moisture; flax eggs work well for a vegan option.
- Salt – Enhances overall flavor; fine sea salt is preferred for a delicate taste.
For the Frosting
- Heavy Cream – Adds creaminess; use non-dairy alternatives if needed.
- Brewed Coffee – Intensifies the coffee flavor in the frosting; can use decaf for a caffeine-free option.
- Powdered Sugar – Sweetens the frosting; coconut sugar can be used for a lower sugar alternative.
Embrace the rich flavors and simplicity of this chocolate coffee cake—it’s perfect for gatherings or any sweet moment!
Step‑by‑Step Instructions for Chocolate Coffee Cake
Step 1: Preheat and Prepare Pans
Begin by preheating your oven to 350°F (180°C). While it warms up, take two 8-inch round cake pans and line the bottoms with parchment paper. Grease the sides with butter to ensure easy cake release after baking. This essential prep will set the stage for a perfect Chocolate Coffee Cake.
Step 2: Combine Dry Ingredients
In a stand mixer, add the cake flour, granulated sugar, dark brown sugar, baking powder, baking soda, espresso powder, and salt. Blend these dry ingredients on low speed, then add softened unsalted butter. Mix until the mixture resembles coarse sand, which should take about 2–3 minutes. This step builds a solid base for your moist cake.
Step 3: Mix in Creamy Elements
With the dry mixture ready, incorporate the sour cream and vegetable oil into the batter. Stir the mixture on medium speed until it becomes thick and well-combined, ensuring that the texture is uniform. You’ll know it’s ready when the batter holds together beautifully and looks glossy, giving you a deliciously rich start on your Chocolate Coffee Cake.
Step 4: Whisk Wet Ingredients
In separate bowls, whisk together the eggs, whole milk, and vanilla extract until combined. Additionally, mix the hot brewed coffee with dark cocoa powder in another bowl, stirring until smooth. These wet ingredients will add moisture and depth to your cake, perfectly complementing the rich chocolate flavors.
Step 5: Combine Wet and Dry Mixtures
Gradually pour the egg mixture into the dry batter, mixing on low speed to combine. Once incorporated, carefully fold in the coffee-cocoa mix until just combined, being cautious not to overmix. The batter will be slightly thick but smooth, displaying the dark color that signifies an indulgent Chocolate Coffee Cake.
Step 6: Bake the Cakes
Divide the batter evenly between the prepared pans using a spatula for even distribution. Place the pans in the preheated oven and bake for 33–36 minutes. The cakes are done when a toothpick inserted in the center comes out mostly clean, with a few moist crumbs, promising a delightfully moist cake.
Step 7: Cool Before Frosting
Once baked, remove the cakes from the oven and allow them to cool in the pans for about 10 minutes. After this, transfer them onto wire racks to cool completely. This cooling step is crucial; it ensures your Chocolate Coffee Cake layers are stable and ready for luscious frosting without melting away.
Make Ahead Options
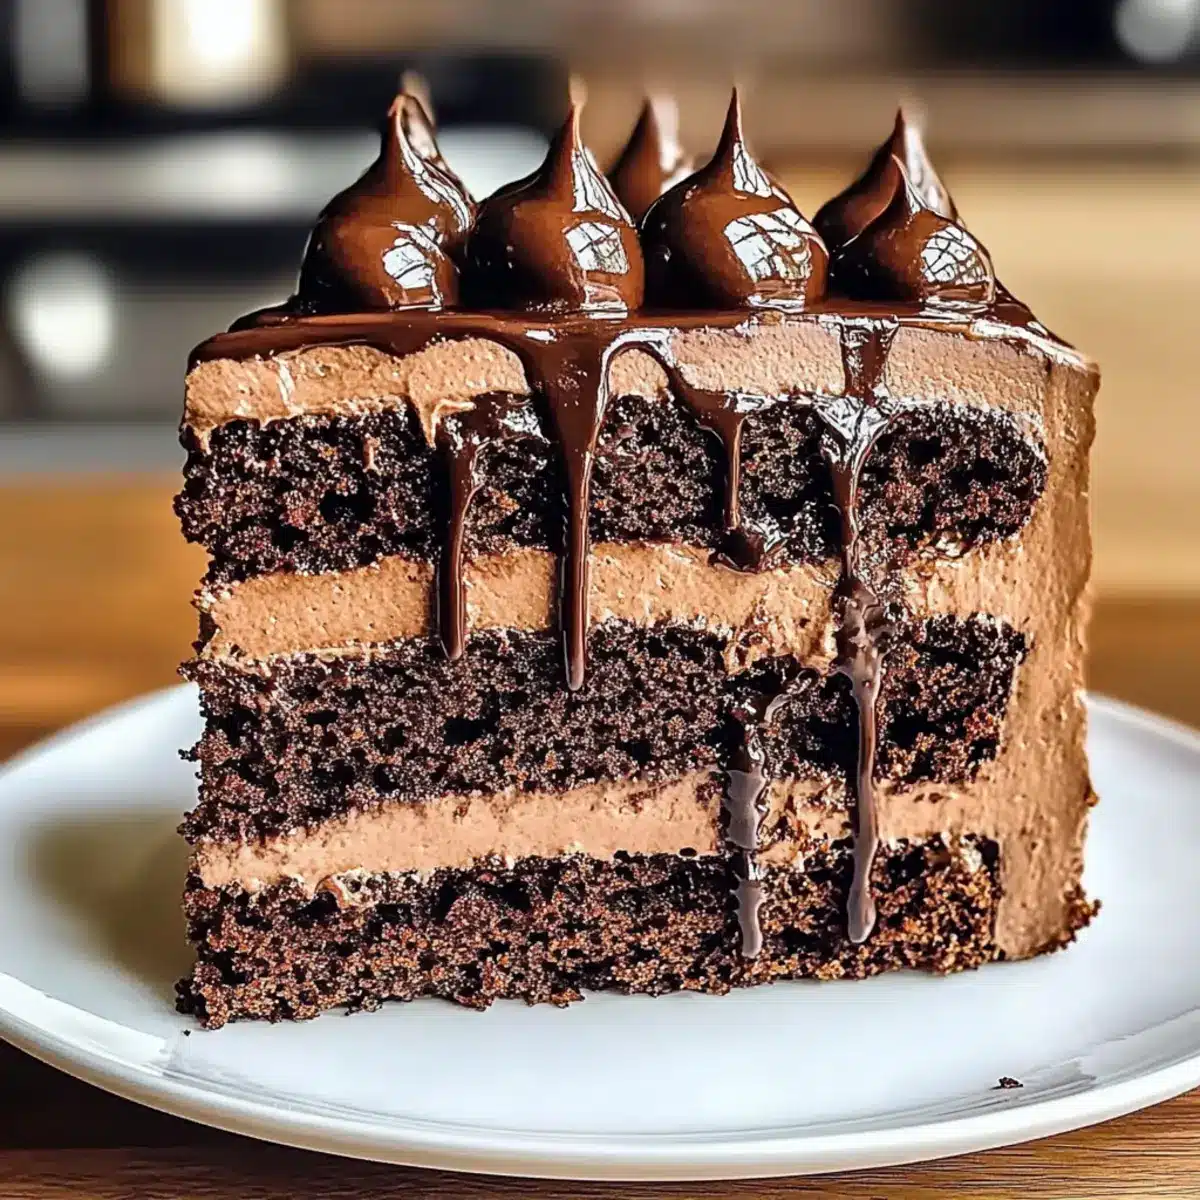
These Indulgent Chocolate Coffee Cakes are perfect for meal prep enthusiasts! You can bake the cakes up to 24 hours ahead of time and store them wrapped tightly in plastic wrap at room temperature, preserving their moisture. The coffee buttercream frosting can also be made up to 3 days in advance; just refrigerate it in an airtight container and bring to room temperature before frosting the cake. When you’re ready to serve, simply layer the cooled cakes with frosting and drizzle with chocolate coffee syrup for a finishing touch. This way, you’ll enjoy restaurant-quality results with minimal effort, making your busy weeknights a breeze!
How to Store and Freeze Chocolate Coffee Cake
Room Temperature: Store the cake in an airtight container at room temperature for up to 3 days. This keeps it moist and flavorsome for easy access.
Fridge: If not consumed within 3 days, refrigerate the Chocolate Coffee Cake for up to a week. Ensure it’s well-wrapped to maintain its lovely texture and prevent drying.
Freezer: For longer storage, wrap individual slices in plastic wrap and place them in a freezer-safe container. This way, it can last for up to 2 months.
Reheating: To enjoy a slice, thaw in the fridge overnight, then warm it in the microwave for about 15-20 seconds to bring back its delightful moisture.
Chocolate Coffee Cake Variations
Feel free to play with flavors and ingredients to create your ideal Chocolate Coffee Cake experience!
-
Decaf Delight: Use decaf coffee or espresso powder for a nighttime treat without the caffeine buzz.
-
Nutty Twist: Fold in toasted walnuts or hazelnuts into the batter for a delightful crunch and earthy flavor.
-
Vegan Option: Swap eggs for flax eggs and use almond milk instead of whole milk for a vegan-friendly cake.
-
Cocoa Boost: Enhance chocolate flavor by adding a bit more cocoa powder or folding in chocolate chips for surprise bites of richness.
-
Fruity Addition: Mix in fresh raspberries or sliced cherries into the batter before baking for a fruity contrast to the deep coffee and chocolate notes.
-
Mocha Frosting: For a flavor twist, infuse the frosting with more coffee or a dash of mocha extract for an extra coffee kick.
-
Spicy Kick: Add a pinch of cayenne pepper or cinnamon into the batter for a surprising hint of warmth that complements both chocolate and coffee beautifully.
-
Gluten-Free: Substitute all-purpose flour with a certified gluten-free blend, ensuring everyone can enjoy this delicious cake!
And if you’re in the mood for something equally indulgent but different, don’t forget to explore my Chocolate Peanut Butter treats or try out the luscious Velvet Gothic Cake for a delightful twist!
Expert Tips for Chocolate Coffee Cake
-
Butter Matters: Make sure your unsalted butter is truly softened to room temperature. This helps incorporate air, adding to the fluffiness of your Chocolate Coffee Cake.
-
Avoid Overmixing: When combining wet and dry ingredients, mix just until incorporated. Overmixing can lead to a dense cake, losing that moist, airy texture we all love.
-
Egg Temperature: Use room temperature eggs for better integration into the batter, leading to a more uniform crumb and moisture throughout your Chocolate Coffee Cake.
-
Cooling is Key: Allow the cakes to cool completely on wire racks before frosting. This prevents the frosting from melting and ensures a beautiful, layered presentation.
-
Flavor Enhancements: Get creative! Consider adding a splash of almond or hazelnut extract to elevate the flavor profile of your cake and frosting.
-
Proper Storage: Store leftovers in an airtight container to maintain freshness or simply refrigerate for up to a week, ensuring your indulgent treat lasts longer.
What to Serve with Chocolate Coffee Cake
As the aroma of this cake fills your kitchen, think about how to elevate your dessert experience with delightful pairings.
-
Vanilla Ice Cream: A scoop of creamy vanilla ice cream provides a refreshing contrast to the rich chocolate and coffee flavors, making each bite a delight.
-
Fresh Berries: Bright, juicy berries like raspberries or strawberries add a burst of freshness and acidity, perfectly balancing the cake’s sweetness.
-
Whipped Cream: Lightly sweetened whipped cream can be dolloped on top, offering a delightful creamy texture that complements the cake beautifully.
-
Espresso: A steaming cup of espresso intensifies the coffee notes in the cake while delivering a warm, comforting beverage to round out the experience.
-
Chocolate Sauce: Drizzling some chocolate sauce over each slice enhances the chocolate flavor and adds a decadent touch, making every bite richer.
-
Chocolate Covered Almonds: These crunchy treats provide a delightful texture contrast and a nutty flavor that adds another layer of indulgence.
-
Mint Tea: A soothing cup of mint tea after a slice can refresh the palate and bring a cooling contrast to the rich cake.
-
Coffee Liqueur: For an adult twist, drizzle your slice with coffee liqueur, which enhances the coffee essence and adds a sophisticated touch.
-
Coconut Macaroons: These chewy, sweet treats echo the cake’s richness while offering a different texture, making for a fun dessert duo.
-
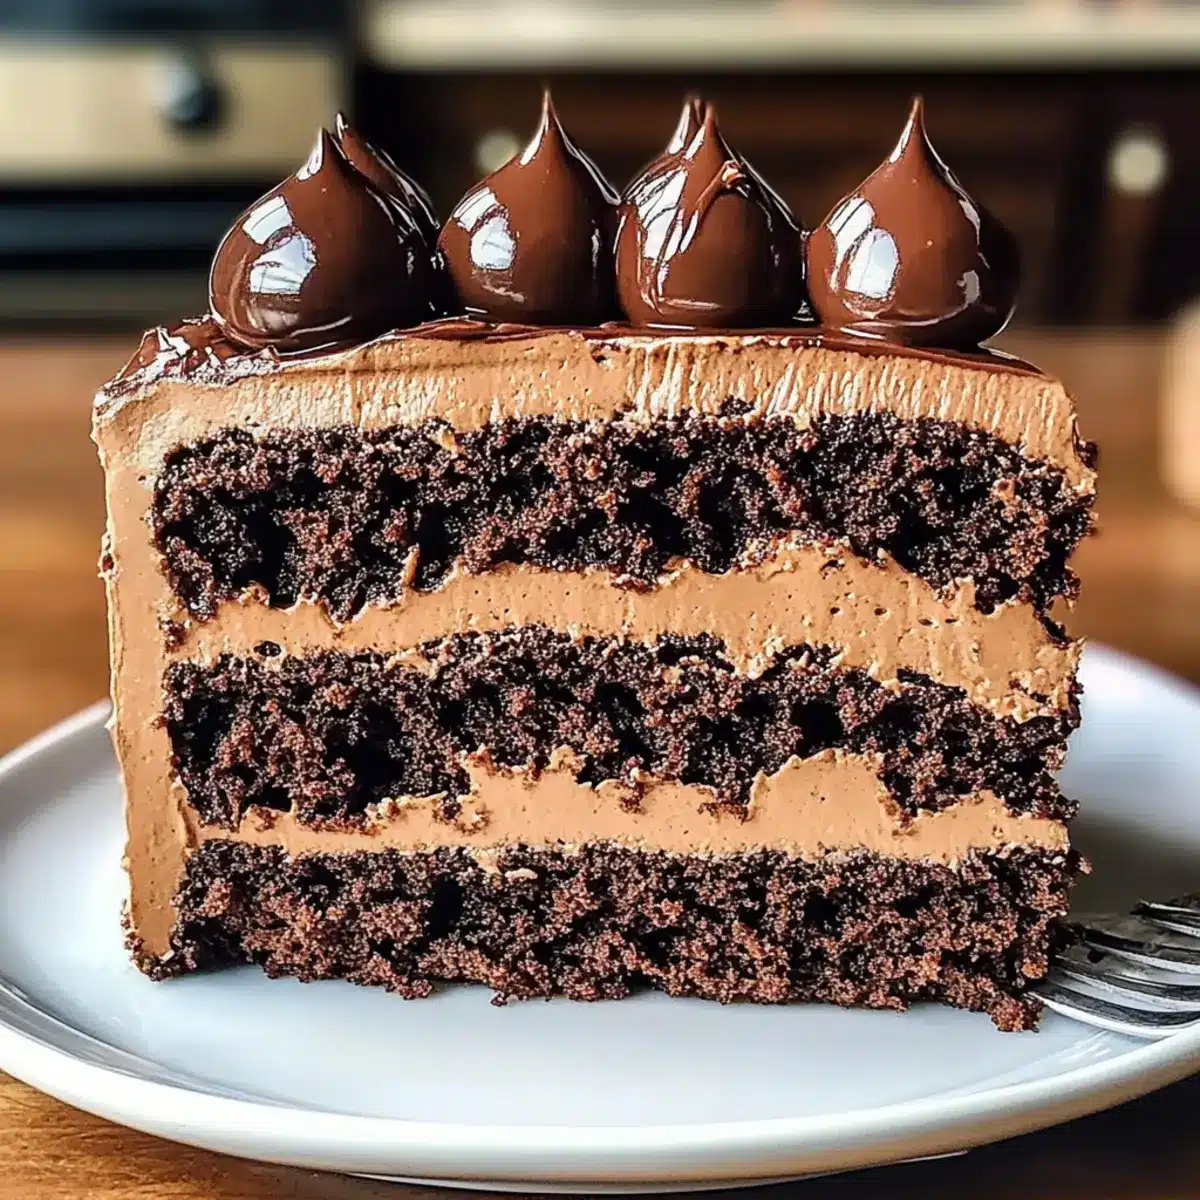
Dark Chocolate Shavings: Sprinkling dark chocolate shavings atop the cake adds visual appeal and a little extra chocolatey goodness, enticing every chocolate lover.
Chocolate Coffee Cake Recipe FAQs
How do I choose the right ripeness of ingredients?
Absolutely! For optimal flavor, use room temperature eggs and softened butter, which should easily give under pressure without being overly melted. When selecting sour cream, make sure it’s fresh—check for a smooth consistency and no dark spots, as this indicates spoilage.
What is the best way to store leftover Chocolate Coffee Cake?
For maximum freshness, store the Chocolate Coffee Cake in an airtight container at room temperature for up to 3 days. If you need to keep it longer, you can refrigerate it for up to a week. Just make sure to keep it well-wrapped to maintain its moisture.
Can I freeze Chocolate Coffee Cake, and how should I do it?
Yes, you can absolutely freeze the Chocolate Coffee Cake! To do this, wrap individual slices tightly in plastic wrap, making sure there are no air pockets. Place the wrapped slices in a freezer-safe container or a resealable plastic bag. This method keeps them fresh for up to 3 months. When you’re ready to enjoy, simply thaw them in the fridge overnight and warm briefly in the microwave.
What should I do if my cake turns out too dense?
Very well! If your cake ends up dense, it’s possible you overmixed the batter or used ingredients straight from the fridge instead of bringing them to room temperature. To prevent this, mix just until incorporated and ensure your eggs and butter are at room temperature before starting. If you find your cake is dense, try slicing it in half and adding a layer of frosting in between for extra moisture.
Are there any dietary considerations I should be aware of?
Absolutely! If you have allergies, this recipe contains gluten and dairy. For a gluten-free version, you can substitute the cake flour with a gluten-free blend. Additionally, for those avoiding dairy, simply use a plant-based yogurt in place of sour cream and a non-dairy milk alternative, such as almond milk.
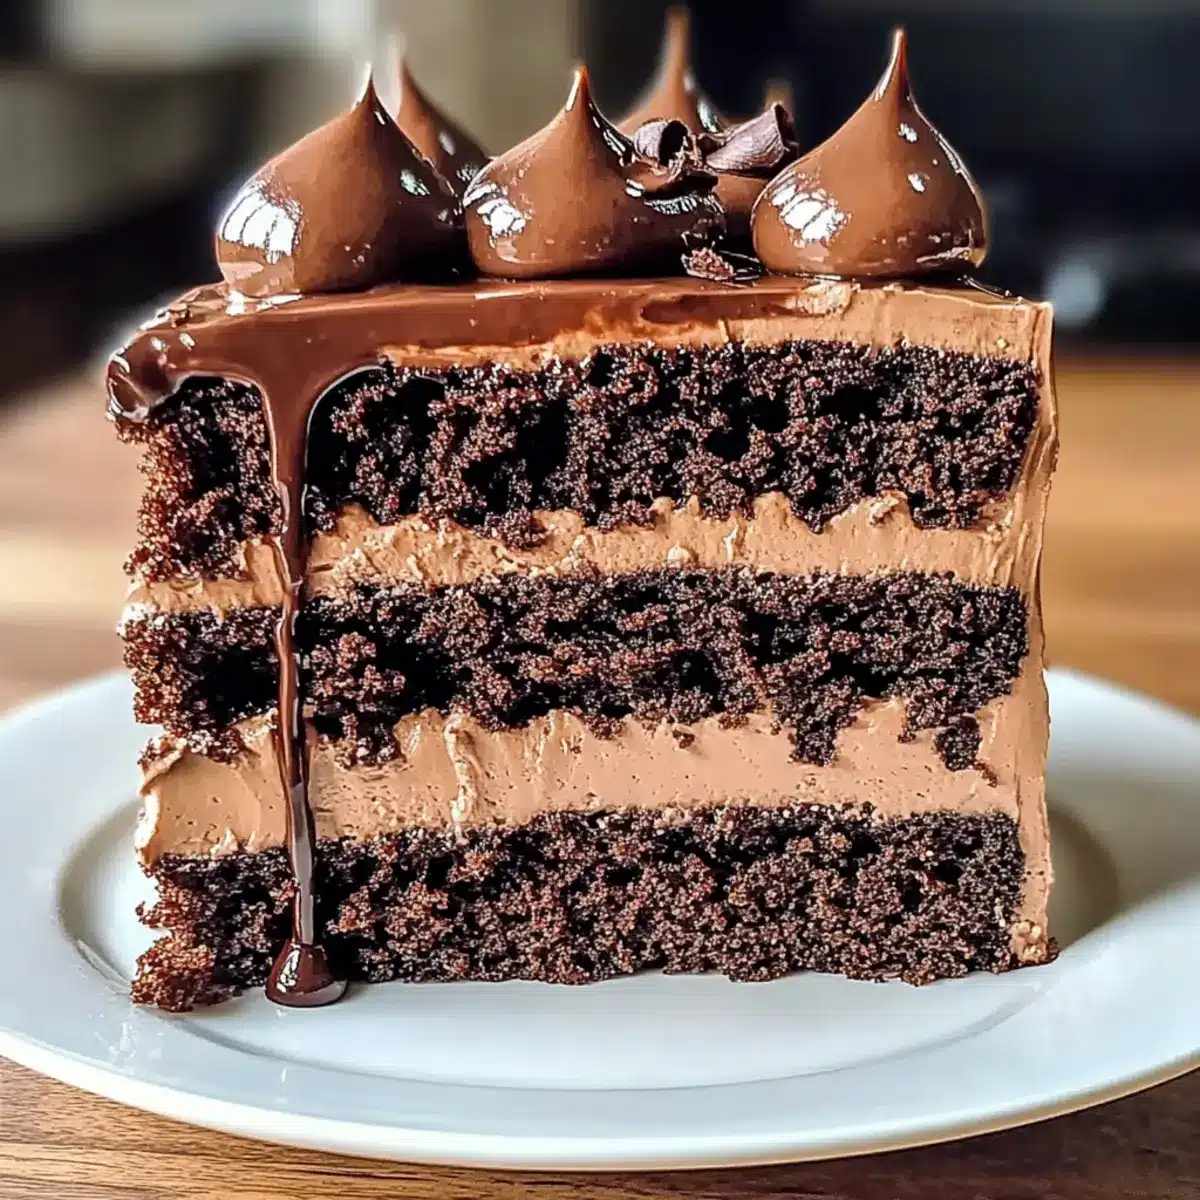
Decadent Chocolate Coffee Cake to Elevate Your Desserts
Ingredients
Equipment
Method
- Preheat your oven to 350°F (180°C) and prepare two 8-inch round cake pans with parchment paper and butter.
- In a stand mixer, combine cake flour, granulated sugar, dark brown sugar, baking powder, baking soda, espresso powder, and salt on low speed. Add softened unsalted butter until resembling coarse sand.
- Incorporate sour cream and vegetable oil into the batter, mixing on medium speed until thick and well combined.
- Whisk eggs, whole milk, and vanilla extract in separate bowls. Mix hot brewed coffee with dark cocoa in another bowl.
- Gradually pour the egg mixture into the dry mixture, mixing on low speed to combine. Fold in the coffee-cocoa mix only until just combined.
- Divide the batter between the prepared pans and bake for 33-36 minutes, until a toothpick inserted comes out mostly clean.
- Allow cakes to cool in the pans for 10 minutes before transferring them to wire racks to cool completely.
- Whip heavy cream until soft peaks form. Gradually add powdered sugar and brewed coffee to reach desired frosting consistency.
- Once cakes are completely cool, frost the top of one layer, place the second layer on top, and frost the top and sides of the cake.
Leave a Reply