
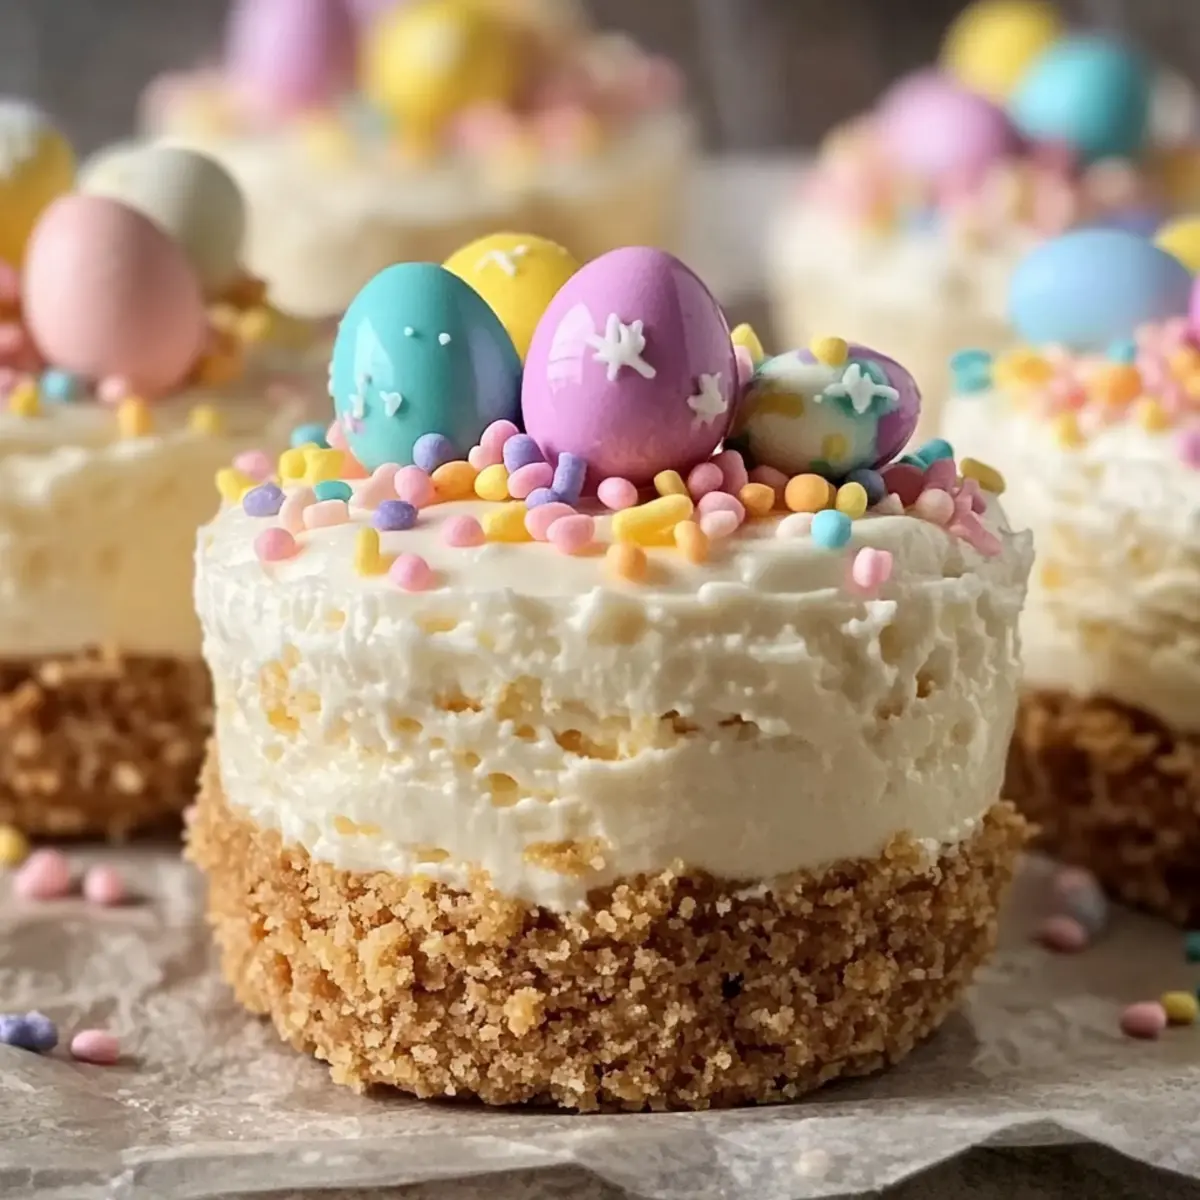
As the soft breeze of spring fills the air, I find myself dreaming of delightful desserts that truly capture the season’s spirit. Enter the Easter No-Bake Mini Cheesecakes! These charming treats blend creamy cream cheese with fluffy whipped cream, all resting on a crunchy graham cracker crust. With their vibrant pastel hues, they’re not just easy to make but also a stunning centerpiece for any gathering. Plus, these no-bake delights are both vegetarian-friendly and a breeze to whip up, so you can spend less time in the kitchen and more time celebrating with loved ones. Curious about how to elevate your spring celebrations with these little joys? Let’s dive into this sweet adventure together!
Why Are These Cheesecakes a Must-Try?
Ease of Preparation: With just a few simple steps, you can whip up these no-bake mini cheesecakes, making them perfect for both novice cooks and seasoned chefs alike.
Versatile Customizations: Feel free to play with toppings and flavors—swap in different extracts or even create a rainbow of toppings for holidays or gatherings!
Festive Appeal: Their pastel colors and fun decorations make these cheesecakes a visual treat, ideal for spring celebrations or any festive occasion.
Crowd-Pleasing Dessert: Who can resist a creamy cheesecake? These mini treats are bound to impress family and friends, leaving them wanting more.
Make-Ahead Friendly: Prepare them in advance and store them in the fridge, ensuring you have a delightful dessert ready to go whenever guests arrive. You might also enjoy putting together some Bake Samoa Cookies as an additional treat!
Easter No-Bake Mini Cheesecakes Ingredients
• Let’s gather everything you need to create these delightful treats!
For the Crust
- Graham Cracker Crumbs – Provides the crust’s structure; can substitute with pre-made crusts for quicker preparation.
- Unsalted Butter – Binds the crust ingredients together and adds richness; use margarine as a dairy-free option.
- Granulated Sugar – Sweetens the crust; no substitutes needed, but adjust based on desired sweetness.
For the Filling
- Cream Cheese – Forms the creamy filling; ensure it’s at room temperature for easier mixing. You can substitute half with Greek yogurt for added protein.
- Powdered Sugar – Sweetens the cheesecake filling; adjust based on taste preference.
- Vanilla Extract – Enhances flavor; almond extract can be a great alternative for a different profile.
- Heavy Whipping Cream – Whipped to add lightness and volume to the filling; can use coconut cream for a dairy-free version.
For the Decoration
- Pastel-colored Candy Melts – Used for decoration and visual appeal; other melted chocolates can be substituted.
- Mini Chocolate Eggs or Jelly Beans – Toppings that add fun and color; choose any candy for customization.
- Pastel Sprinkles – For festive decoration; use any color sprinkles appropriate for the occasion.
Step‑by‑Step Instructions for Easter No-Bake Mini Cheesecakes
Step 1: Prepare the Crust
In a mixing bowl, combine graham cracker crumbs, melted unsalted butter, and granulated sugar until the mixture resembles damp sand. This process should take about 3 minutes. Make sure to blend everything well for a consistent crust. The aroma of the buttery crumbs will signal that you’re on the right track!
Step 2: Press Crust into Muffin Tin
Line a muffin tin with cupcake liners and firmly press the crumb mixture into the bottom of each cup, creating a compact layer. Use the bottom of a glass or your fingers to ensure an even distribution. Aim for about 1/4 inch thick; this should take approximately 5 minutes. The crust should feel solid and ready to hold the cheesecake filling.
Step 3: Chill Crust
Place the muffin tin in the refrigerator for at least 15 minutes to allow the crust to firm up. This cooling step is crucial for achieving the right texture. While you wait, envision how delightful the Easter No-Bake Mini Cheesecakes will look once assembled, putting you in a festive mood!
Step 4: Beat Cream Cheese
In a large bowl, beat the softened cream cheese with an electric mixer on medium speed for 2-3 minutes, until it’s smooth and creamy, with no lumps. Ensure your cream cheese is at room temperature to make this step easier. The mixture should be silky and rich, ready for the next ingredients.
Step 5: Mix in Sugar and Vanilla
Add the powdered sugar and vanilla extract to the cream cheese mixture. Beat on low speed until combined, then increase to medium speed for an additional 1-2 minutes until smooth. The sweetness should balance beautifully, creating a lovely base for your Easter No-Bake Mini Cheesecakes.
Step 6: Whip Cream
In a separate bowl, pour the heavy whipping cream and beat it on high speed until stiff peaks form, which takes about 3-4 minutes. The cream should double in volume and appear fluffy and light. This step is essential for giving your cheesecakes a delightful airy texture!
Step 7: Fold in Whipped Cream
Gently fold the whipped cream into the cream cheese mixture using a spatula. Work slowly to maintain the airy texture, mixing until just combined. This should take about 1-2 minutes. The filling will transform into a light and creamy consistency, perfect for your cheesecakes.
Step 8: Fill the Crusts
Spoon or pipe the creamy filling into the chilled crusts until they are generously filled. Smooth the tops with a spatula or a small offset knife for a polished look. This process should take roughly 5-7 minutes. Admire your creations as they begin to resemble charming mini cheesecakes!
Step 9: Refrigerate to Set
Place the filled muffin tin back in the refrigerator for at least 2 hours, allowing the cheesecakes to set. This chilling time is vital for achieving the right firmness. During this wait, you may notice a delightful anticipation for how wonderful your Easter No-Bake Mini Cheesecakes will taste.
Step 10: Melt Candy Melts
Melt the pastel-colored candy melts in a microwave-safe bowl in 30-second intervals, stirring until smooth. This should take about 1-2 minutes total. Use the melted chocolate to create a delightful drizzle over the chilled cheesecakes for an appealing finish.
Step 11: Add Toppings
Finally, decorate your Easter No-Bake Mini Cheesecakes with mini chocolate eggs, jelly beans, and sprinkles. Get creative with your designs, and take care to arrange them beautifully on top. This final touch should take about 5 minutes and will make each cheesecake a delightful visual treat!
What to Serve with Easter No-Bake Mini Cheesecakes?
Enhance your festive gathering with perfect pairings that complement the delightful sweetness of these mini cheesecakes.
-
Fresh Berries: The tartness of strawberries and raspberries balances the creamy texture, making each bite even more refreshing.
-
Whipped Cream: A dollop of homemade whipped cream adds lightness and an extra layer of indulgence to the dessert.
-
Mint Leaves: A sprig of fresh mint brings a bright, herbal note that contrasts beautifully with the sweetness, elevating its flavors.
-
Chocolate-Covered Strawberries: These decadent treats offer a lovely indulgence that harmonizes with the cheesecakes while providing an elegant touch.
-
Iced Tea: The cool, refreshing flavors of iced tea provide a wonderful contrast, making it the perfect drink to enjoy alongside the cheesecakes.
-
Sparkling Raspberry Lemonade: The fizz and fruity notes in this drink can cut through the richness of the cheesecakes, creating a delightful dining experience.
-
Chocolate Mousse Cups: For an extra chocolatey fix, these airy desserts complement rather than compete, offering a lovely balance.
-
Fruit Salad: A light and bright mix of seasonal fruits adds freshness and color, enhancing the overall celebratory feel of your dessert table.
-
Baking Samoa Cookies: These cookies become an ideal additional treat, pairing perfectly with the mini cheesecakes for a memorable dessert experience.
Easter No-Bake Mini Cheesecakes Variations
Feel free to mix things up with these delightful twists on the classic mini cheesecakes; your taste buds will thank you!
-
Dairy-Free: Substitute cream cheese with vegan cream cheese and use coconut cream for the whipped topping to enjoy without dairy.
-
Fruit-Infused: Fold in pureed strawberries or raspberries into the cream cheese mixture for a fruity, refreshing flavor. This adds a pop of color and flavor that pairs beautifully with the rich texture.
-
Lemon Zest: Add lemon zest to the filling for a zesty kick that lightens up the dessert. This bright flavor complements the sweetness wonderfully!
-
Nutty Crust: Swap graham cracker crumbs for almond flour or crushed nuts for a gluten-free, nutty variation of the crust. This twist adds an exciting texture and richer flavor.
-
Chocolate Lovers: Stir in chocolate chips to the filling or use chocolate wafer cookies for the crust. A chocolate extravaganza in each bite!
-
Tropical Vibes: Mix in some crushed pineapple for a tropical flavor profile or top with macadamia nuts to evoke beachy vibes. This variation is both refreshing and fun for summer or spring gatherings.
-
Spiced Version: Blend in a pinch of cinnamon or nutmeg for a warm, spiced flavor that adds depth. This twist is fantastic for festive occasions!
-
Decorative Options: Get creative with toppings! Consider edible flowers or candied citrus for an elegant finish. Not only are they stunning, but they also enhance the flavor profile perfectly.
For those looking for more sweet ideas, don’t forget to check out these amazing Bake Samoa Cookies for another delicious homemade treat!
How to Store and Freeze Easter No-Bake Mini Cheesecakes
Fridge: Keep the mini cheesecakes in an airtight container in the refrigerator for up to 5 days. This ensures they stay fresh and delightful for your next sweet craving.
Freezer: For longer storage, freeze the cheesecakes individually wrapped in plastic wrap and placed in an airtight container for up to 1 month. This way, you can enjoy these Easter No-Bake Mini Cheesecakes anytime!
Thawing: When ready to eat, simply remove the desired quantity from the freezer and thaw overnight in the refrigerator. This method preserves their creamy texture.
Reheating: These cheesecakes are best enjoyed chilled, so avoid reheating them. Just take them out of the fridge and savor their refreshing taste!
Make Ahead Options
These Easter No-Bake Mini Cheesecakes are perfect for meal prep enthusiasts looking to save time! You can prepare the graham cracker crust up to 3 days in advance, simply refrigerate it in an airtight container to maintain its crispness. Likewise, the cheesecake filling can be made a day ahead; just whip the cream and fold it into the cream cheese mixture, then store it covered in the fridge. When it’s time to serve, spoon the prepped filling into the crust and chill for an additional 2 hours to set. This way, you can enjoy a delicious dessert with minimal last-minute effort, all while keeping the quality just as delightful!
Helpful Tricks for Easter No-Bake Mini Cheesecakes
-
Room Temperature Cream Cheese: Ensure your cream cheese is at room temperature to avoid lumps. This makes mixing smoother for your Easter No-Bake Mini Cheesecakes.
-
Stiff Peaks: Whip the heavy cream until stiff peaks form. This airy consistency is key to creating a light and fluffy filling.
-
Chill Time: Allow a full 2 hours of chilling after filling the crusts. This ensures the cheesecakes set perfectly, so avoid the temptation to skip this step!
-
Decorative Drizzle: For a stunning finish, melt candy melts carefully and drizzle over the tops. Work quickly before they set to achieve a beautiful design.
-
Experiment with Flavors: Don’t hesitate to swap out extracts or toppings. It’s a fun way to customize your Easter No-Bake Mini Cheesecakes for every celebration!
Easter No-Bake Mini Cheesecakes Recipe FAQs
What is the best way to select ripe ingredients for this recipe?
Absolutely! For the cream cheese, choose a block that’s fresh and soft — the best ones are free from cracks and have a smooth texture. When it comes to heavy whipping cream, opt for a carton that lists a longer shelf life, indicating it’s fresher. Always check expiration dates on all dairy ingredients!
How should I store leftover Easter No-Bake Mini Cheesecakes?
To keep your mini cheesecakes fresh, store them in an airtight container in the refrigerator. They’ll stay delicious for up to 5 days. Make sure they’re well-covered to prevent them from absorbing any fridge odors. Enjoy them as a delightful treat even days after making!
Can I freeze these mini cheesecakes? If so, how?
Yes! You can freeze these Easter No-Bake Mini Cheesecakes for up to 1 month. Individually wrap each cheesecake in plastic wrap and place them in an airtight container to prevent freezer burn. When you’re ready to enjoy, remove the desired number from the freezer and thaw them overnight in the refrigerator. This careful method keeps them creamy and delightful!
What should I do if the mixture is too lumpy?
If you find that your cream cheese mixture is lumpy, don’t worry! Simply use a hand mixer or stand mixer to blend it at medium speed until smooth. Make sure your cream cheese is at room temperature before mixing, as this helps create a creamy consistency without lumps. Blend for 2-3 minutes, and that should do the trick!
Are there any dietary considerations for this recipe?
Yes! The Easter No-Bake Mini Cheesecakes are vegetarian-friendly. If you’re catering to specific dietary needs, consider using dairy-free alternatives like coconut cream or margarine. Always check candy packaging for allergens, especially if you’re serving guests with allergies or food restrictions. It’s always better to double-check to ensure everyone can enjoy these festive treats!
Can I customize the colors and toppings for different occasions?
The more the merrier! Feel free to mix and match pastels or even use darker tones for holidays like Halloween. Switch up the toppings using seasonal candies, fresh fruit, or themed sprinkles to create delightful variations that celebrate any occasion!
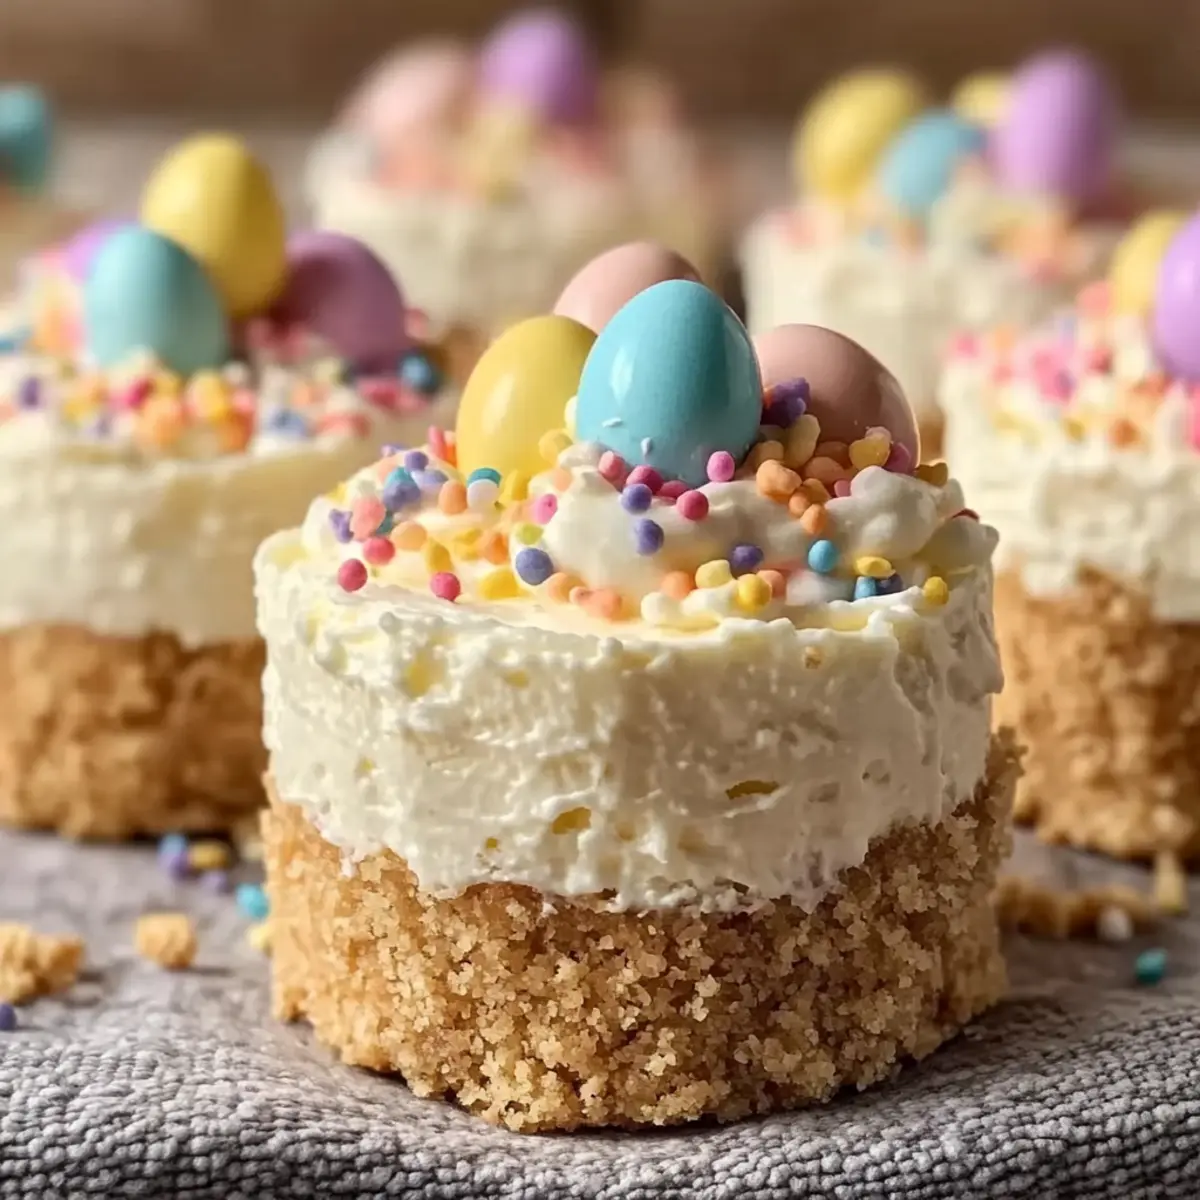
Easter No-Bake Mini Cheesecakes Perfect for Spring Celebrations
Ingredients
Equipment
Method
- In a mixing bowl, combine graham cracker crumbs, melted unsalted butter, and granulated sugar until the mixture resembles damp sand. This should take about 3 minutes.
- Line a muffin tin with cupcake liners and firmly press the crumb mixture into the bottom of each cup, creating a compact layer. Aim for about 1/4 inch thick; this should take approximately 5 minutes.
- Place the muffin tin in the refrigerator for at least 15 minutes to allow the crust to firm up.
- In a large bowl, beat the softened cream cheese with an electric mixer on medium speed for 2-3 minutes, until it’s smooth and creamy, with no lumps.
- Add the powdered sugar and vanilla extract to the cream cheese mixture. Beat on low speed until combined, then increase to medium speed for an additional 1-2 minutes until smooth.
- In a separate bowl, pour the heavy whipping cream and beat it on high speed until stiff peaks form, which takes about 3-4 minutes.
- Gently fold the whipped cream into the cream cheese mixture using a spatula for about 1-2 minutes.
- Spoon or pipe the creamy filling into the chilled crusts until they are generously filled. Smooth the tops with a spatula.
- Place the filled muffin tin back in the refrigerator for at least 2 hours, allowing the cheesecakes to set.
- Melt the pastel-colored candy melts in a microwave-safe bowl in 30-second intervals, stirring until smooth.
- Decorate your Easter No-Bake Mini Cheesecakes with mini chocolate eggs, jelly beans, and sprinkles.
Leave a Reply