
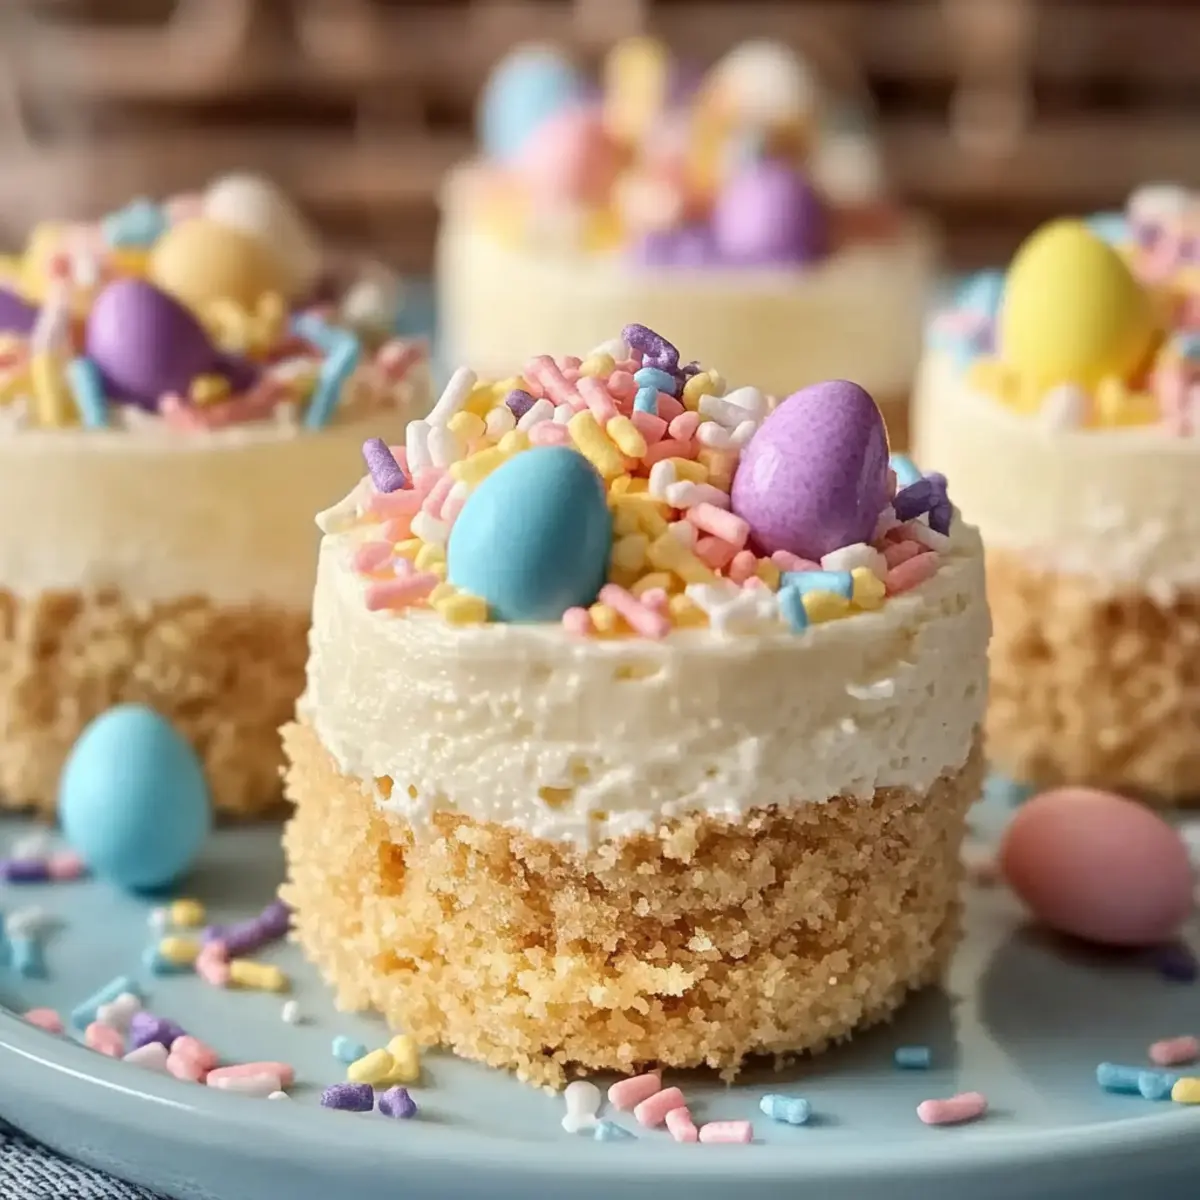
As I stood in my kitchen, the scent of sweet cream cheese wafting through the air, I couldn’t help but smile at the thought of Easter gatherings filled with laughter and delightful treats. That’s when I decided to whip up these easy Easter No-Bake Mini Cheesecakes, a dessert that captures the essence of spring with their vibrant pastel colors and creamy texture. The beauty of this recipe lies in its effortless 20-minute prep time—no baking required! Whether you’re a seasoned home chef or just starting out, these customizable little treats will impress your guests and satisfy your sweet tooth. Plus, they can be made ahead and stored for a stress-free celebration, allowing you to focus on what truly matters—creating cherished memories. So, who’s ready to bring a touch of spring to your dessert table?
Why Are These Cheesecakes a Must-Try?
Simplicity at Its Best: The no-bake process means you can create stunning desserts without the hassle of baking, perfect for busy schedules.
Customizable Flavors: With endless topping options—from fresh fruits to colorful candy melts—you can tailor them to any occasion.
Festive Presentation: Vibrant pastel colors and playful decorations make these mini cheesecakes a hit at Easter gatherings.
Crowd-Pleasing Delight: They appeal to both kids and adults, ensuring everyone leaves with a smile.
Make Ahead Convenience: Prepare them days in advance, so you can enjoy the festivities stress-free. Not sure where to start? Bake Samoa Cookies for more delightful no-bake ideas!
Easter No-Bake Mini Cheesecakes Ingredients
For the Crust
• Graham Cracker Crumbs – Provides the base and structure; for quicker prep, consider using pre-made graham cracker crusts.
• Unsalted Butter – Binds the crust and enhances its flavor.
• Granulated Sugar – Adds just the right sweetness to the crust.
For the Cheesecake Filling
• Cream Cheese – Forms the creamy main filling; for a healthier twist, substitute half with Greek yogurt.
• Powdered Sugar – Sweetens the filling smoothly without any graininess.
• Vanilla Extract – Infuses depth of flavor into the cheesecake.
• Heavy Whipping Cream – Creates a light, airy texture; be sure to whip it to stiff peaks for best results.
For Decoration
• Pastel-Colored Candy Melts – Customize your mini cheesecakes; they’re perfect for festive presentations.
• Mini Chocolate Eggs or Jelly Beans – Adds visual appeal and a delightful crunch on top.
• Easter-Themed or Pastel Sprinkles – Enhances the festive look of your Easter No-Bake Mini Cheesecakes.
Step‑by‑Step Instructions for Easter No-Bake Mini Cheesecakes
Step 1: Prepare the Crust
In a mixing bowl, combine graham cracker crumbs, melted butter, and granulated sugar. Mix until the mixture resembles wet sand, ensuring the crumbs are well coated. This will serve as the base for your Easter No-Bake Mini Cheesecakes.
Step 2: Press Crust into Muffin Tin
Line a muffin tin with paper liners, and firmly pack the crumb mixture into each cup to form a solid foundation. Use the back of a spoon or your fingers to ensure an even layer, and make sure it’s tightly packed for stability.
Step 3: Chill Crust
Place the muffin tin in the refrigerator for about 10-15 minutes to allow the crust to set and firm up. This chilling step will make it easier to handle when you add the creamy filling later, ensuring that your cheesecakes hold their shape.
Step 4: Beat Cream Cheese
In a large mixing bowl, beat the cream cheese with an electric mixer on medium speed until smooth and creamy, approximately 2-3 minutes. This step is essential for creating a lump-free filling, which will make your Easter No-Bake Mini Cheesecakes delightful and velvety.
Step 5: Add Sugar and Vanilla
Gradually add the powdered sugar and vanilla extract to the cream cheese mixture, continuing to mix on low speed until fully incorporated and smooth. This combination will add sweetness and depth to the filling, enhancing the overall flavor of your mini cheesecakes.
Step 6: Whip Cream
In a separate bowl, beat the heavy whipping cream using an electric mixer until stiff peaks form, about 3-4 minutes. This is a crucial step for achieving a light and airy texture in your cheesecake filling; the whipped cream will add volume and fluffiness.
Step 7: Fold in Whipped Cream
Carefully fold the whipped cream into the cream cheese mixture using a spatula. Be gentle to maintain the airiness of the whipped cream, which will ensure your Easter No-Bake Mini Cheesecakes are light and fluffy.
Step 8: Fill Crusts
Spoon or pipe the creamy filling into the chilled crusts, smoothing the tops for an even finish. Make sure to fill each crust generously to achieve that delightful cheesecake look that makes these treats irresistible.
Step 9: Refrigerate to Set
Cover the muffin tin with plastic wrap and refrigerate the filled cheesecakes for at least 2 hours, or until they are fully set. This chilling time allows the flavors to meld and ensures that your mini cheesecakes have a perfect texture.
Step 10: Melt Candy Melts
Following the package instructions, melt the pastel-colored candy melts in a microwave-safe bowl, stirring every 30 seconds until smooth. These vibrant colors will add a festive flair to your Easter No-Bake Mini Cheesecakes.
Step 11: Drizzle Over Cheesecakes
Once the candy melts are melted, drizzle them creatively over the set mini cheesecakes. Use a spoon or piping bag to make playful designs, allowing the colors to enhance the festive presentation for your guests.
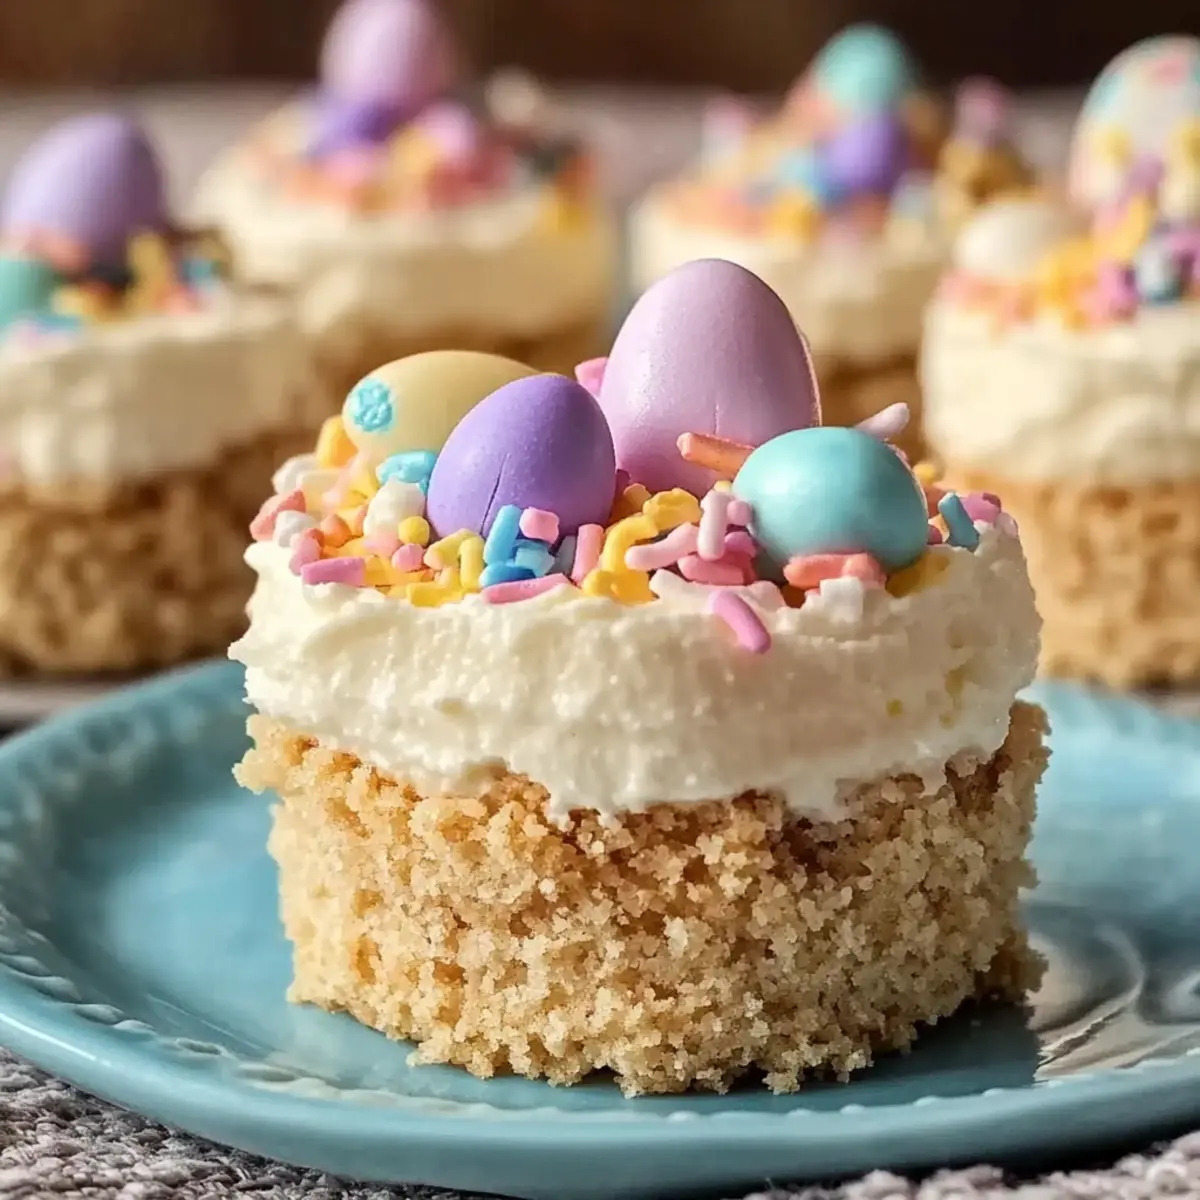
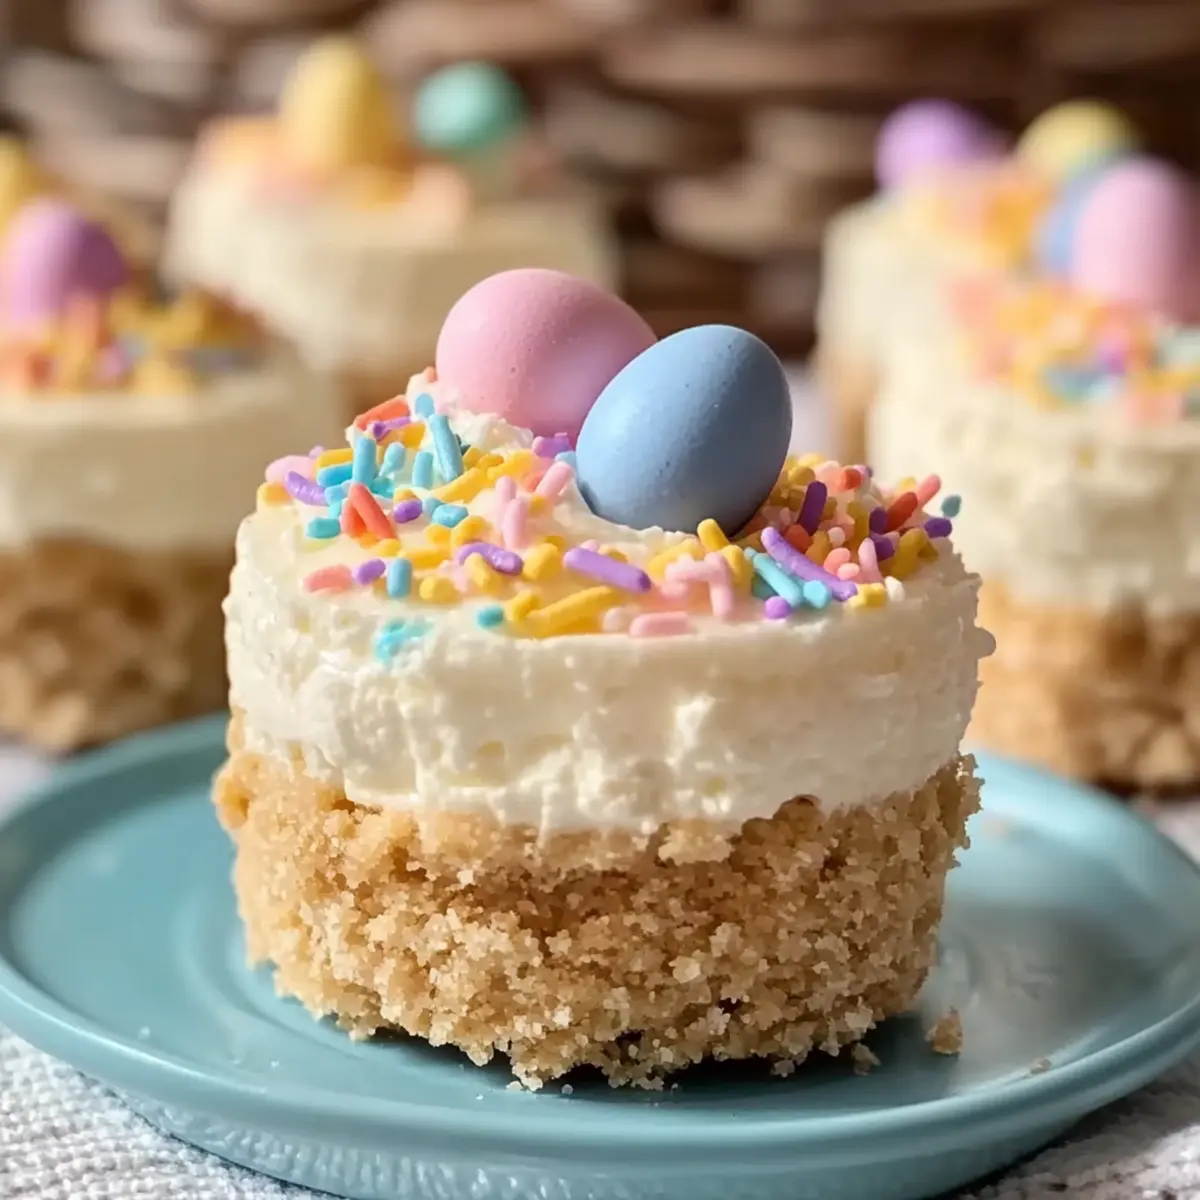
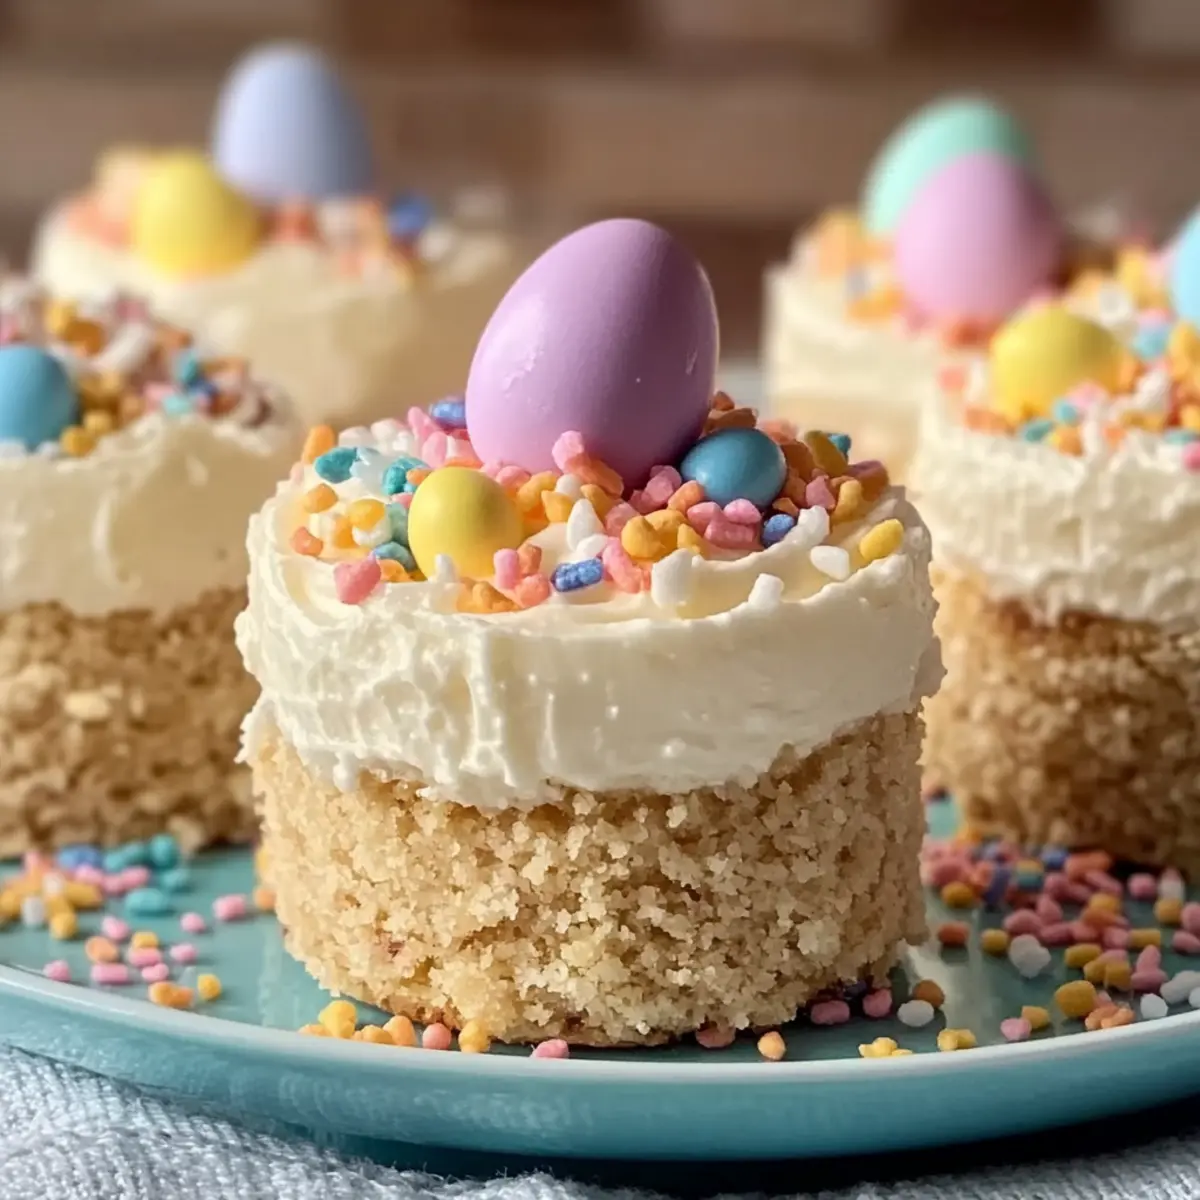
Step 12: Add Toppings
Finish off your Easter No-Bake Mini Cheesecakes with mini chocolate eggs, jelly beans, and a sprinkle of pastel sprinkles for that extra crunch and visual appeal. These decorations will make your desserts not only delicious but visually stunning as well.
Easter No-Bake Mini Cheesecakes Variations
Feel free to get creative with these delightful treats and make them your own!
- Different Extracts: Substitute almond or lemon extract for vanilla to add a unique twist to your cheesecake filling.
- Flavorful Toppings: Use fresh fruits like strawberries, blueberries, or kiwi for a fresh burst of flavor on top!
- Graham Cracker Swap: Try using cookies like Oreo or ginger snaps for a different crust flavor that adds a tasty surprise.
- Cheesecake Flavors: Mix in melted white chocolate or peanut butter to the filling for a rich twist—who can resist that?
- Colorful Swirls: Swirl in some fruit puree like raspberry or mango before refrigerating for a beautiful marbled effect.
- Dairy-Free Version: Replace cream cheese with dairy-free cream cheese and use a coconut whipped cream for a vegan option.
- Mini Cupcakes: Bake these in mini cupcake liners and add different candies for a fun twist—perfect for kids’ parties.
- Layered Desserts: Create layers by alternating the crust and cheesecake filling in clear cups, allowing your guests to see the delicious layers.
All these variations are sure to impress your guests without any baking fuss! If you want more no-bake inspiration, check out how to Bake Samoa Cookies or explore new flavors with your other favorite treats!
How to Store and Freeze Easter No-Bake Mini Cheesecakes
Fridge: Store your Easter No-Bake Mini Cheesecakes in an airtight container for up to 5 days. This keeps them fresh and delicious for your gatherings.
Freezer: For longer storage, these cheesecakes can be frozen for up to 1 month. Wrap each cheesecake tightly in plastic wrap, then place them in a freezer-safe container.
Thawing: To enjoy again, thaw in the fridge overnight before serving. This ensures your cheesecakes maintain their creamy texture and rich flavor.
Make-Ahead Tip: You can prepare these mini cheesecakes up to 2 days in advance. Storing them in the fridge before your event will save you time and reduce stress!
Make Ahead Options
These Easter No-Bake Mini Cheesecakes are ideal for meal prep, allowing you to enjoy stress-free celebrations! You can prepare the crust up to 24 hours in advance; store it tightly covered in the refrigerator to maintain its crunch. Additionally, the cheesecake filling can be made a day ahead and stored in an airtight container in the fridge. When you’re ready to serve, simply fill the pre-made crusts with the filling, decorate with melted candy, and add your favorite toppings just before serving. This thoughtful planning means you can whip up a stunning, delicious dessert while freeing up time for family festivities!
What to Serve with Easter No-Bake Mini Cheesecakes
Elevate your festive gathering with delightful options that beautifully complement these luscious, creamy treats.
-
Fresh Berry Salad: This vibrant mix of strawberries, blueberries, and raspberries adds a refreshing contrast to the sweetness of the cheesecakes. Enjoy it as a light palate cleanser.
-
Crisp Green Salad: A simple arugula salad with a lemon vinaigrette provides a delightful crunch and balances the rich flavors of the desserts.
-
Chocolate-Covered Strawberries: Indulge your guests with these classic treats that pair perfectly with the creaminess of the cheesecakes. Their rich taste will make the dessert table irresistible.
-
Pineapple Coconut Mocktail: Serve a fun, fruity drink that mimics tropical vibes, marrying perfectly with the cheesecake’s creamy texture. The sweetness and lightness of the mocktail refreshes the palate and enlivens the party!
-
Mini Carrot Cakes: These bite-sized treats echo the spring theme and add a subtle spice to your dessert spread, creating an exciting variety and texture to enjoy alongside the cheesecakes.
-
Coffee or Tea: A warm cup of coffee or a fragrant herbal tea rounds out your dessert experience, helping to balance the sweetness while enhancing the flavors of the mini cheesecakes.
Expert Tips for Easter No-Bake Mini Cheesecakes
-
Room Temperature Cream Cheese: Ensure your cream cheese is at room temperature to avoid lumps in the filling. This helps create a smooth and creamy texture for your Easter No-Bake Mini Cheesecakes.
-
Whip to Stiff Peaks: When whipping the cream, make sure to reach stiff peaks. This is crucial for the airiness of the filling, contributing to the light texture of your cheesecakes.
-
Chill for Better Handling: Don’t skip the chilling time for the crust; it makes a significant difference in handling when adding the filling. A firm crust will hold the shape of your delicious Easter No-Bake Mini Cheesecakes.
-
Drizzle Decoration Tip: For a beautiful drizzle with melted candy melts, let them cool slightly before applying to prevent pooling. This keeps your cheesecakes looking neat and festive.
-
Add Personal Touches: Experiment with different flavors of extracts and toppings based on personal preference. Customizing your Easter No-Bake Mini Cheesecakes will make them even more special for your guests.
Easter No-Bake Mini Cheesecakes Recipe FAQs
How do I know if my cream cheese is ripe for the recipe?
Absolutely! For the best results, make sure your cream cheese is at room temperature—this enhances its creaminess. Simply take it out of the fridge about 30 minutes before you start mixing. It should be soft to the touch, allowing for easy blending without any lumps.
What’s the best way to store Easter No-Bake Mini Cheesecakes?
Very! Store your cheesecakes in an airtight container in the fridge for up to 5 days. If you’d like to keep them longer, they can be frozen for up to 1 month. Just wrap each cheesecake tightly in plastic wrap, then place them in a freezer-safe container or bag. They’ll be just as delightful when you’re ready to enjoy them again!
Can I freeze my Easter No-Bake Mini Cheesecakes? If so, how?
Absolutely! To freeze, you’ll want to follow these detailed steps:
- Wrap each cheesecake individually in plastic wrap to prevent freezer burn.
- Place the wrapped cheesecakes in a freezer-safe container or a resealable freezer bag.
- Label with the date to keep track of freshness.
They will maintain their flavor and texture for up to 1 month. Remember to thaw them in the refrigerator overnight before serving for the best results.
What if my whipped cream doesn’t reach stiff peaks?
Don’t worry, it happens! If your whipped cream doesn’t reach stiff peaks, you can try chilling the bowl and beaters in the fridge for about 10 minutes before whipping again. This can help stabilize it. If it’s still too soft, you can gently fold in a bit of softened cream cheese or even a tablespoon of cornstarch to give it a boost.
Are these cheesecakes safe for people with certain dietary restrictions?
Very! These Easter No-Bake Mini Cheesecakes are vegetarian-friendly. However, if you have guests with dairy allergies, you can substitute the cream cheese with a dairy-free alternative like vegan cream cheese or a cashew cream for a creamy texture. Always check your toppings as well to ensure they meet dietary needs!
Easter No-Bake Mini Cheesecakes That Wow Your Guests
Ingredients
Equipment
Method
- In a mixing bowl, combine graham cracker crumbs, melted butter, and granulated sugar. Mix until the mixture resembles wet sand.
- Line a muffin tin with paper liners and firmly pack the crumb mixture into each cup.
- Place the muffin tin in the refrigerator for about 10-15 minutes to allow the crust to set.
- Beat cream cheese with an electric mixer until smooth, about 2-3 minutes.
- Gradually add powdered sugar and vanilla extract to the cream cheese mixture, mixing until smooth.
- Beat heavy whipping cream until stiff peaks form, about 3-4 minutes.
- Carefully fold the whipped cream into the cream cheese mixture using a spatula.
- Spoon or pipe the creamy filling into the chilled crusts, smoothing the tops.
- Cover the muffin tin with plastic wrap and refrigerate for at least 2 hours until fully set.
- Melt pastel-colored candy melts following package instructions, stirring until smooth.
- Drizzle melted candy melts creatively over the set mini cheesecakes.
- Finish off with mini chocolate eggs, jelly beans, and pastel sprinkles.
Leave a Reply