
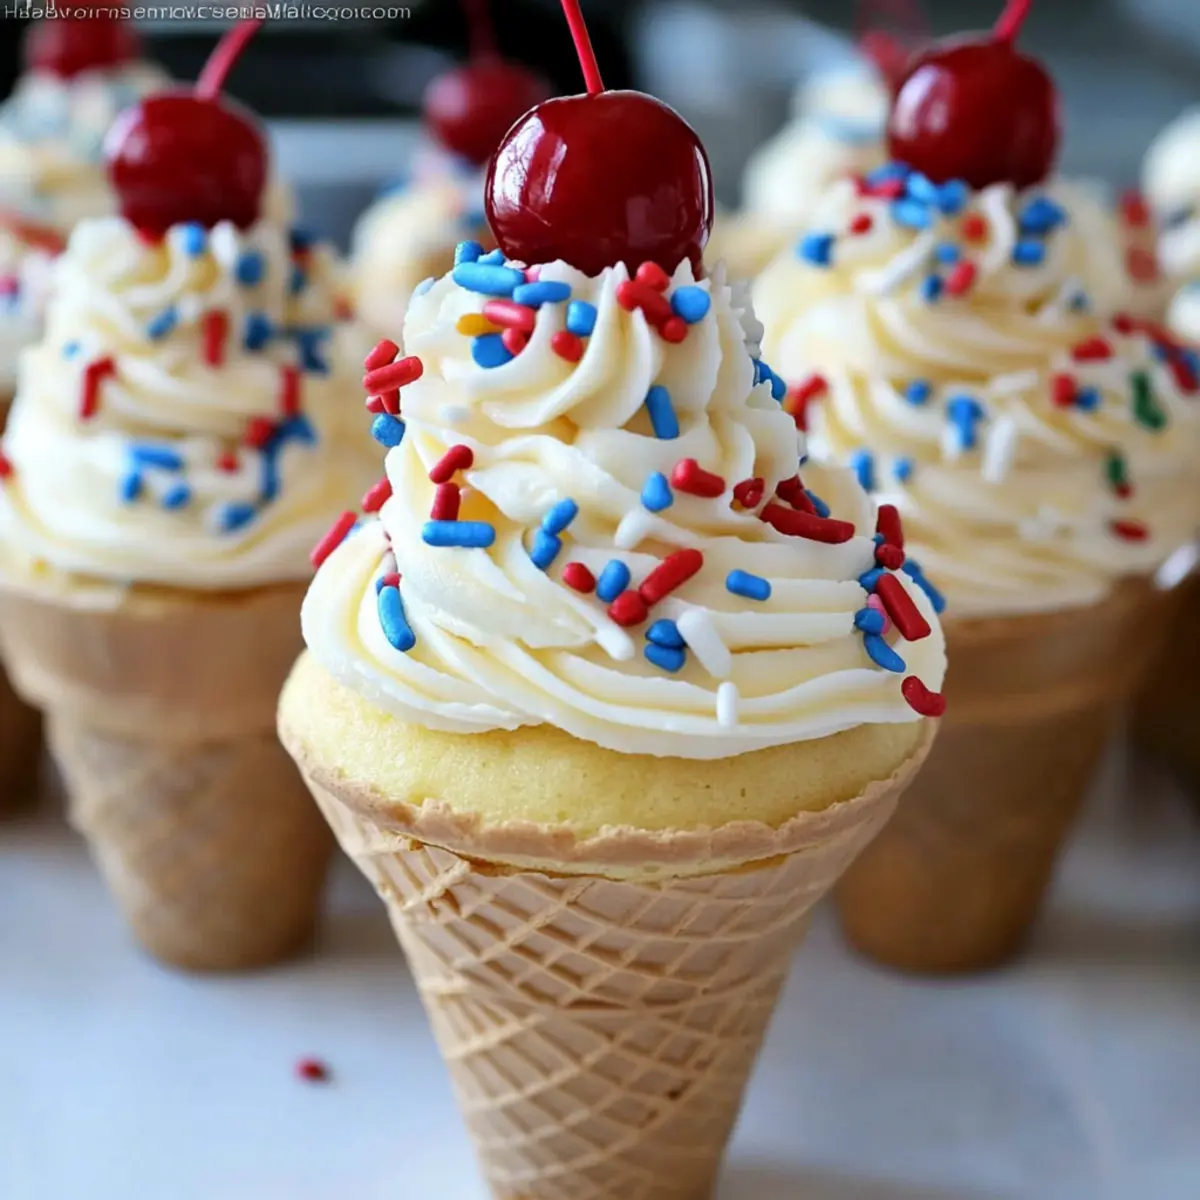
The laughter of children fills the air as I revel in the nostalgia of summer picnics, where nothing beats the thrill of a sweet treat that’s as delightful to behold as it is to eat. Enter Ice Cream Cone Cupcakes—an enchanting twist on your typical cupcakes that will have everyone racing to the dessert table. These kid-friendly delights combine the best of both worlds, offering quick prep and endless customizable flavors, making them an irresistible option for birthday parties, summer barbecues, or just an afternoon snack. With a light, fluffy texture topped with creamy buttercream, they’re sure to be a hit with both children and adults alike. So, are you ready to scoop up some fun in the kitchen? Let’s dive into this deliciously creative recipe!
Why Are Ice Cream Cone Cupcakes a Hit?
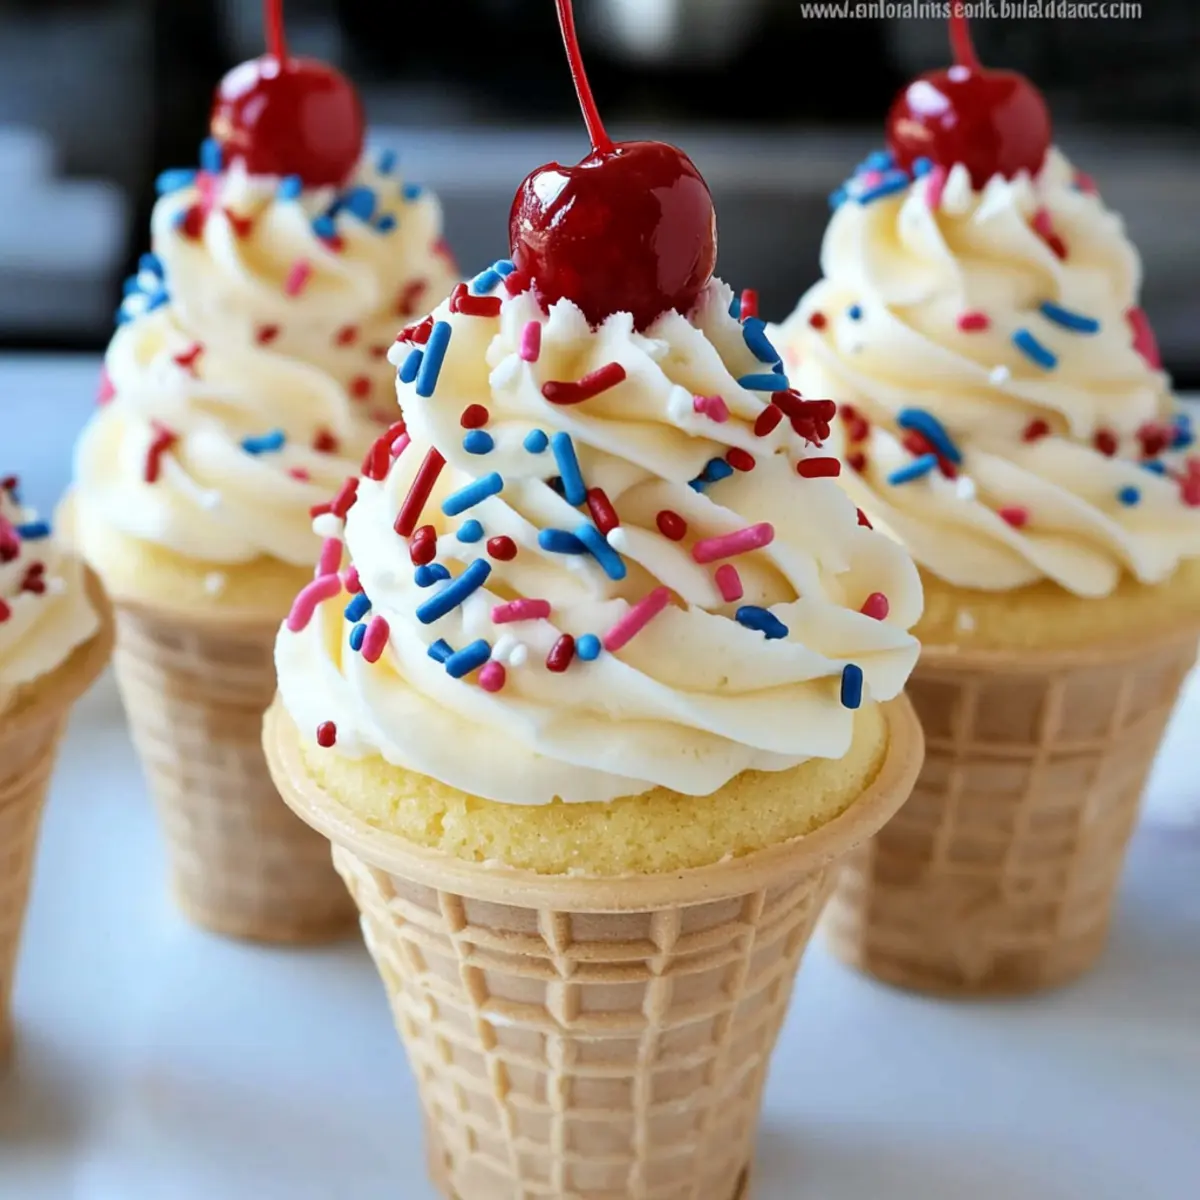
Fun and whimsical, these Ice Cream Cone Cupcakes are a surefire way to brighten up any gathering. Customizable to fit everyone’s taste preferences, you can mix and match cake flavors like chocolate or vanilla for endless possibilities. Kid-friendly and easy to make, these treats engage young hands while allowing room for creativity. Perfect for summer, they double as a playful dessert and nostalgic childhood favorite. Plus, they are quick to prepare, making them an ideal addition to birthday parties or holiday picnics. Why not pair them with a refreshing drink to complete the festive vibe?
Ice Cream Cone Cupcake Ingredients
-
For the Cupcakes
• Box Cake Mix – Choose any flavor such as chocolate or vanilla for delightful variations.
• Cake Ice Cream Cones – These act as the quirky holders that make serving a breeze. -
For the Frosting
• Softened Butter – This ingredient gives your buttercream frosting that creamy texture everyone loves.
• Powdered Sugar – Adds the sweetness needed for your frosting; adjust the quantity for your taste.
• Milk – Use to achieve the perfect consistency for spreading or piping on the cupcakes.
• Vanilla Extract – A classic flavor enhancer; replace it with almond extract for something unique. -
For the Toppings
• Maraschino Cherries – A traditional cherry on top to capture that ice cream sundae feel.
• Sprinkles – A fun way to jazz up your cupcakes and make them extra special.
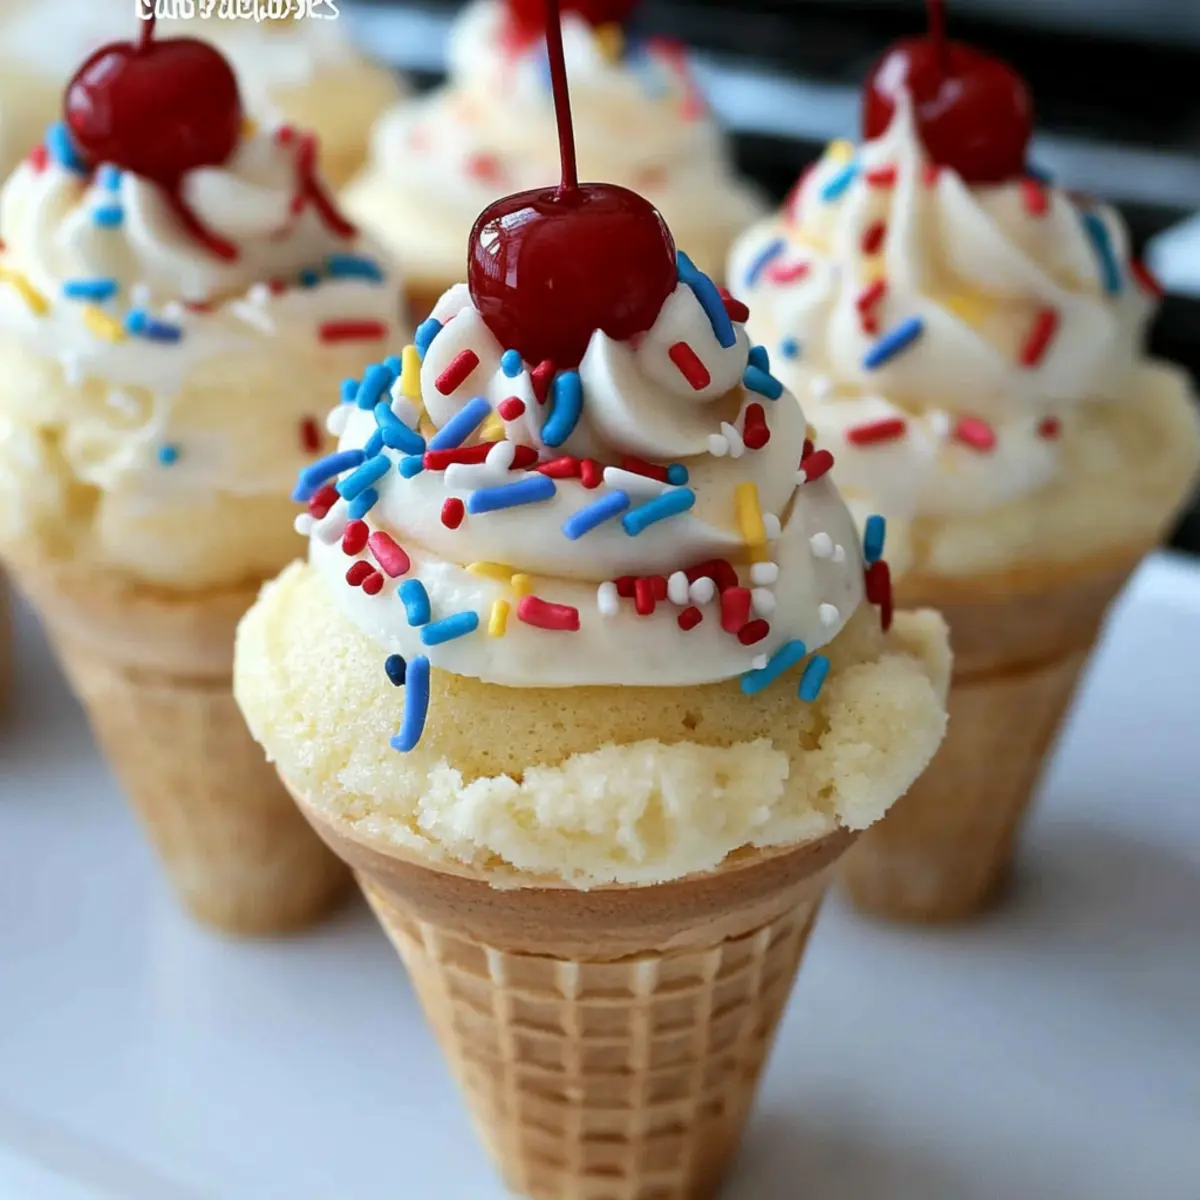
These Ice Cream Cone Cupcakes are not only visually stunning but also easy to customize for any occasion!
Step‑by‑Step Instructions for Ice Cream Cone Cupcakes
Step 1: Preheat the Oven
Begin by preheating your oven to 350°F (175°C). This allows the temperature to stabilize, ensuring an even bake. While the oven heats up, gather your equipment: muffin pan, mixing bowl, and whisk. Having everything ready will streamline the cupcake-making process, ensuring your Ice Cream Cone Cupcakes turn out perfectly fluffy.
Step 2: Prepare the Cake Batter
In a mixing bowl, prepare the cake batter according to the box instructions. This typically involves combining the cake mix with eggs, water, and oil. Whisk the ingredients together until just blended, ensuring there are no lumps. The consistency should be smooth and slightly thick, ready to fill your ice cream cones with deliciousness.
Step 3: Fill the Ice Cream Cones
Take your cake ice cream cones and fill each one halfway with the prepared cake batter. Using a spoon or a piping bag can make this task easier and more precise. Be careful not to overfill them to prevent overflow during baking. You want the batter to rise just enough for those delightful Ice Cream Cone Cupcakes.
Step 4: Arrange in Muffin Pan
Place the filled ice cream cones upright in a muffin pan. This helps them maintain their shape while baking and prevents any wobbling. Make sure they are snugly fit but not overcrowded, allowing for proper heat circulation. This step will ensure your cupcakes bake evenly and retain their adorable cone shape.
Step 5: Bake the Cupcakes
Slide the muffin pan into the preheated oven and bake for 21-24 minutes. Keep an eye on them; they should rise nicely and turn golden brown. To check for doneness, insert a toothpick into the center of a cupcake; it should come out clean. This is the time to get excited about your delightful Ice Cream Cone Cupcakes!
Step 6: Cool Completely
After baking, remove the muffin pan from the oven and allow the cupcakes to cool for about 10-15 minutes in the pan. Then carefully transfer them to a wire rack to cool completely. This step ensures that the structure of the Ice Cream Cone Cupcakes sets properly and is ready for frosting without melting it.
Step 7: Make the Buttercream Frosting
While the cupcakes cool, prepare your frosting by whipping softened butter and vanilla extract in a bowl until light and fluffy. This should take about 2-3 minutes. The mixture should be pale and creamy, setting the stage for a smooth and delicious topping on your Ice Cream Cone Cupcakes.
Step 8: Add Powdered Sugar
Gradually incorporate the powdered sugar into the butter mixture, mixing on low speed to avoid a cloud of sugar. Keep mixing until well combined and fluffy. If your frosting feels too thick, add a splash of milk to achieve the desired consistency for a creamy texture that’s perfect for piping.
Step 9: Pipe the Frosting
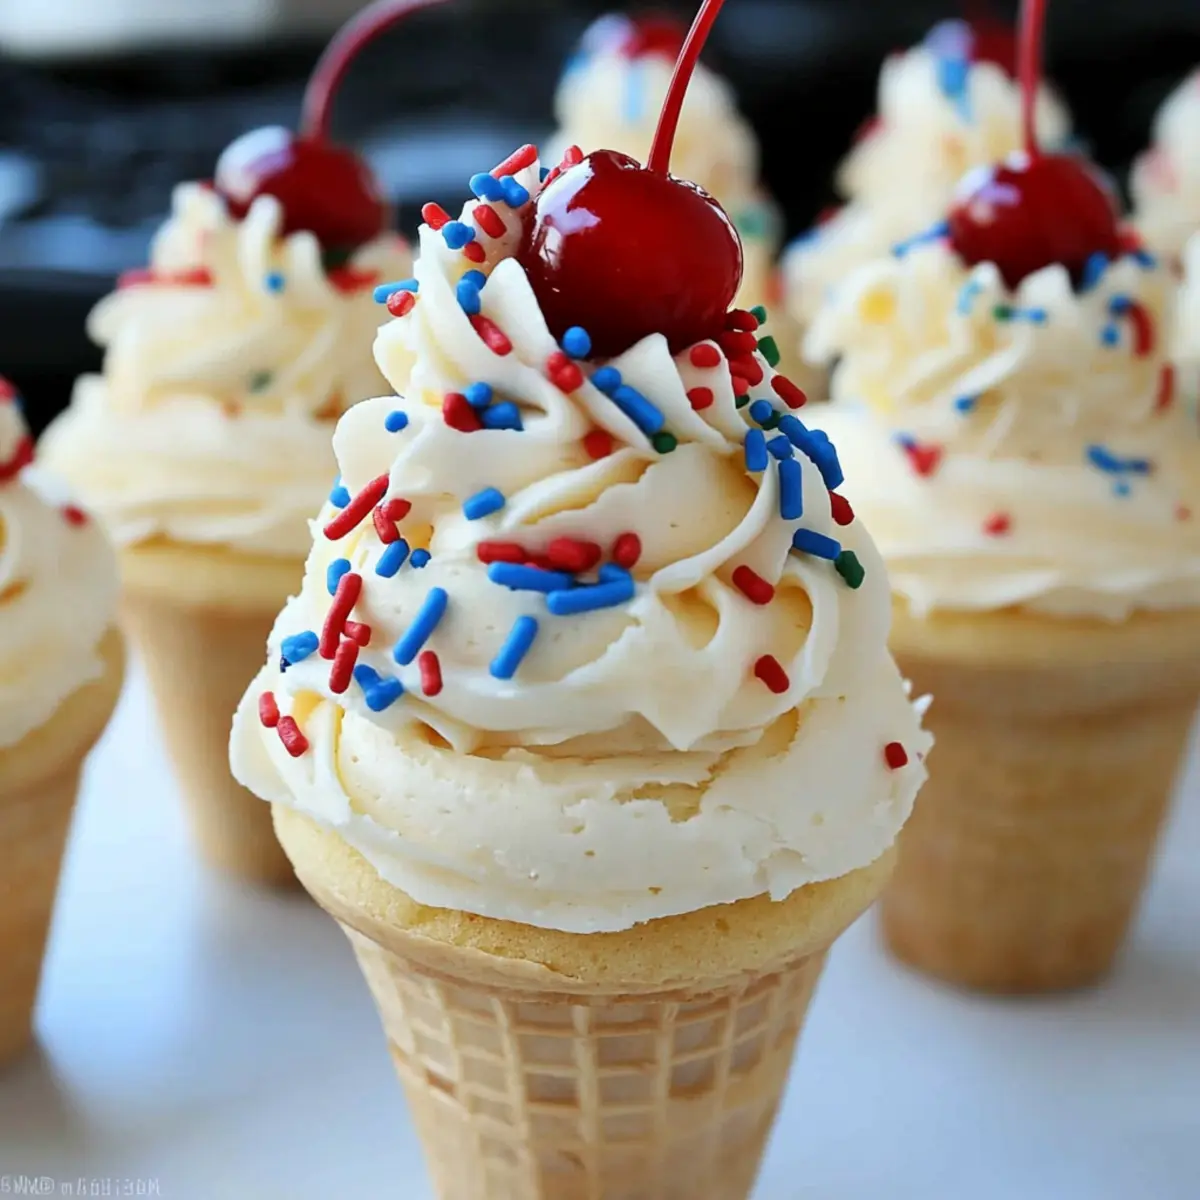
Transfer your decadent buttercream frosting into a piping bag fitted with a star tip. Once the Ice Cream Cone Cupcakes have cooled completely, pipe the frosting onto each cupcake in a swirl that mimics a soft serve ice cream cone. This adds a fun and whimsical presentation to your delightful treats.
Step 10: Decorate Your Cupcakes
After piping, unleash your creativity by adding colorful sprinkles on top of the frosting for a fun touch. Finish each cupcake with a maraschino cherry to give it that signature sundae look. These decorative touches will enhance the overall appearance of your Ice Cream Cone Cupcakes, making them even more irresistible.
Step 11: Serve and Enjoy
Your Ice Cream Cone Cupcakes are now ready to impress! Serve these delightful treats chilled, allowing for a perfect afternoon snack or dessert at summer gatherings. Gather family and friends around, and watch their faces light up with joy as they indulge in this whimsical treat.
Ice Cream Cone Cupcake Variations
Feel free to switch things up and make these Ice Cream Cone Cupcakes your own with some delightful variations!
-
Chocolate Lovers: Swap the vanilla cake mix for rich chocolate mix; pair with chocolate frosting for an indulgent treat.
Imagine sinking your teeth into a heavenly chocolate cake with creamy frosting—pure bliss! -
Zesty Lemon: Use lemon cake mix and frost with a tangy cream cheese frosting for a refreshing twist.
This bright flavor is perfect for summer picnics, adding a spark of sunshine to your dessert table. -
S’mores Delight: Incorporate crushed graham crackers into the batter and use marshmallow frosting topped with chocolate drizzle.
This combination creates nostalgia, evoking campfire memories with every delightful bite. -
Fruit-Flavored Fun: Select strawberry or banana cake mix, and complement with whipped cream frosting topped with fresh berries.
Not only does it taste delectable, but the colorful presentation is sure to impress! -
Gluten-Free Option: Choose a gluten-free cake mix to accommodate those with dietary restrictions without sacrificing flavor.
Everyone can join in the fun, ensuring nobody misses out on these charming treats. -
Nutty Add-In: Fold chopped nuts or caramel bits into the cake batter for an unexpected crunch in every bite.
This texture contrast keeps your taste buds intrigued, turning simple cupcakes into a gourmet experience! -
Spicy Kick: Add a pinch of cinnamon or cayenne pepper to a basic vanilla cake mix for an unexpected kick.
This warm twist is as exciting as it is scrumptious, perfect for the adventurous palate!
Have you tried your hand at a layered dessert experience? Consider pairing these cupcakes with Cajun Chicken Pasta for a delightful meal contrast! Or, for a sweet ending, enjoy them alongside a creamy Chocolate Peanut Creami. Don’t hesitate to get creative and enjoy these Ice Cream Cone Cupcakes to the fullest!
What to Serve with Ice Cream Cone Cupcakes?
Imagine the laughter of children echoing around as vibrant colors and delicious treats create the perfect summer gathering atmosphere.
- Fruit Salad: A refreshing mix of seasonal fruits that balances the sweetness of the cupcakes and adds a fresh, juicy contrast.
- Lemonade: Tart, zesty lemonade quenches the thirst perfectly and enhances the fun summer vibes of this whimsical dessert.
- Chocolate Milkshakes: Creamy and indulgent, a chocolate milkshake pairs beautifully with the playful sweetness of the cupcakes, making for a nostalgic treat.
- Mini Hot Dogs: These savory bites offer a fun, hearty complement and are perfect for casual outdoor gatherings, appealing to both kids and adults.
- Vanilla Ice Cream: A classic pairing that elevates the ice cream cone experience. Serve alongside for those who crave a double icy delight!
- Cookies: Bite-sized chocolate chip cookies can provide a delightful crunchy texture that contrasts with the light and fluffy cupcakes.
- Pineapple Upside-Down Cake: This moist and fruity dessert adds a unique twist to the table, and its tropical flavor echoes summer themes beautifully.
- Sparkling Water: An effervescent drink that cleanses the palate, enhances the festive atmosphere, and is perfect for all ages.
- Chocolate Dipped Strawberries: Decadent and visually appealing, they add a sophisticated touch to your dessert spread while emphasizing a sweet and fruity theme.
Each of these pairings can help create a delightful meal experience, ensuring your Ice Cream Cone Cupcakes are the highlight of any summer gathering!
Expert Tips for Ice Cream Cone Cupcakes
-
Fill Wisely: Take care not to overfill the cones; filling halfway allows for rising without overflow during baking.
-
Enhance Frosting Texture: If your buttercream seems too thick, remember to add milk gradually until you achieve the smooth consistency needed for piping.
-
Cool Completely: Allow the cupcakes to cool thoroughly before frosting; this prevents the frosting from melting and ensures a gorgeous finish.
-
Piping Perfection: For a fun soft serve look, use a piping bag with a star tip. It makes your Ice Cream Cone Cupcakes visually stunning and a treat for the eyes.
-
Creative Toppings: Don’t hesitate to experiment with different toppings and flavors; the customizable nature of these cupcakes makes them a joy to personalize!
Make Ahead Options
These Ice Cream Cone Cupcakes are perfect for meal prep, making your life easier during busy weeks! You can prepare the cupcake batter up to 24 hours in advance and keep it in the refrigerator. Fill the ice cream cones with the batter and store them covered in the fridge until ready to bake. On baking day, simply pop them in the oven and bake according to the recipe instructions. For the buttercream frosting, consider making it ahead of time as well; refrigerate it in an airtight container for up to 3 days. When you’re ready to serve, just rewhip the frosting, pipe it onto the cooled cupcakes, and watch everyone delight in this whimsical treat!
How to Store and Freeze Ice Cream Cone Cupcakes
Fridge: Store any leftover Ice Cream Cone Cupcakes in an airtight container in the refrigerator for up to 3 days. This helps maintain their freshness and prevents drying out.
Freezer: For longer storage, wrap the cupcakes tightly in plastic wrap and place them in a freezer-safe container. They can be frozen for up to 2 months. Just remember to frost them right before serving for the best texture!
Reheating: If you want to enjoy them warm, allow the frozen cupcakes to thaw in the fridge overnight, then place them in a preheated oven at 350°F (175°C) for about 10 minutes to warm gently.
Frosting Tip: If frosting has been applied, consume the cupcakes within a few days for optimal texture and flavor. Frosting them just before serving will help maintain that fresh, delightful taste.
Ice Cream Cone Cupcakes Recipe FAQs
What type of cake mix should I use for Ice Cream Cone Cupcakes?
Absolutely! You can choose any flavor of box cake mix that you like, such as chocolate, vanilla, or even red velvet for a fun twist. For those with dietary restrictions, gluten-free box cake mix works wonderfully too, ensuring everyone can enjoy this treat.
How should I store leftover Ice Cream Cone Cupcakes?
Store any leftover Ice Cream Cone Cupcakes in an airtight container in the refrigerator for up to 3 days. This helps to keep them moist and fresh. If you want to maintain the texture of the frosting, I recommend frosting only the cupcakes you’ll serve immediately, leaving the others unfrosted in the fridge.
Can I freeze Ice Cream Cone Cupcakes?
Yes, you definitely can! To freeze, wrap each unfrosted cupcake tightly in plastic wrap and place them into a freezer-safe container. They can be stored this way for up to 2 months. When you’re ready to enjoy them, let them thaw in the fridge overnight, then frost them just before serving for that fresh taste everyone loves.
What’s the best way to achieve the right frosting consistency?
To achieve the perfect buttercream frosting consistency, start by whipping your softened butter until it’s fluffy. Gradually add powdered sugar and mix until fully combined. If the frosting feels too thick, add milk a tablespoon at a time until it reaches the desired spreadable consistency. This makes piping a breeze and ensures it stays soft and creamy on your cupcakes!
Can pets eat Ice Cream Cone Cupcakes?
No, it’s best to keep these Ice Cream Cone Cupcakes away from pets. The ingredients like sugar, chocolate cake mix, and butter are not suitable for their diet. If you’re looking for a special treat for furry friends, consider making a pet-friendly dessert specifically designed for them!
What if the batter overflows during baking?
Very! To avoid overflowing, fill the ice cream cones only halfway with the batter. To check the right amount, you can use a spoon or piping bag for precision. If you do experience overflow, don’t worry! Simply trim the excess once they have cooled down, then frost them to perfection.
Ice Cream Cone Cupcakes: A Whimsical Summer Delight
Ingredients
Equipment
Method
- Preheat your oven to 350°F (175°C).
- Prepare the cake batter according to the box instructions.
- Fill each ice cream cone halfway with cake batter.
- Place the filled ice cream cones upright in a muffin pan.
- Bake for 21-24 minutes or until a toothpick comes out clean.
- Cool in the pan for 10-15 minutes before transferring to a rack.
- Whip softened butter and vanilla extract until light and fluffy.
- Gradually add powdered sugar and mix until fluffy; adjust with milk if needed.
- Pipe the frosting onto each cupcake in a swirl.
- Decorate with sprinkles and a maraschino cherry.
- Serve and enjoy your Ice Cream Cone Cupcakes!
Leave a Reply