
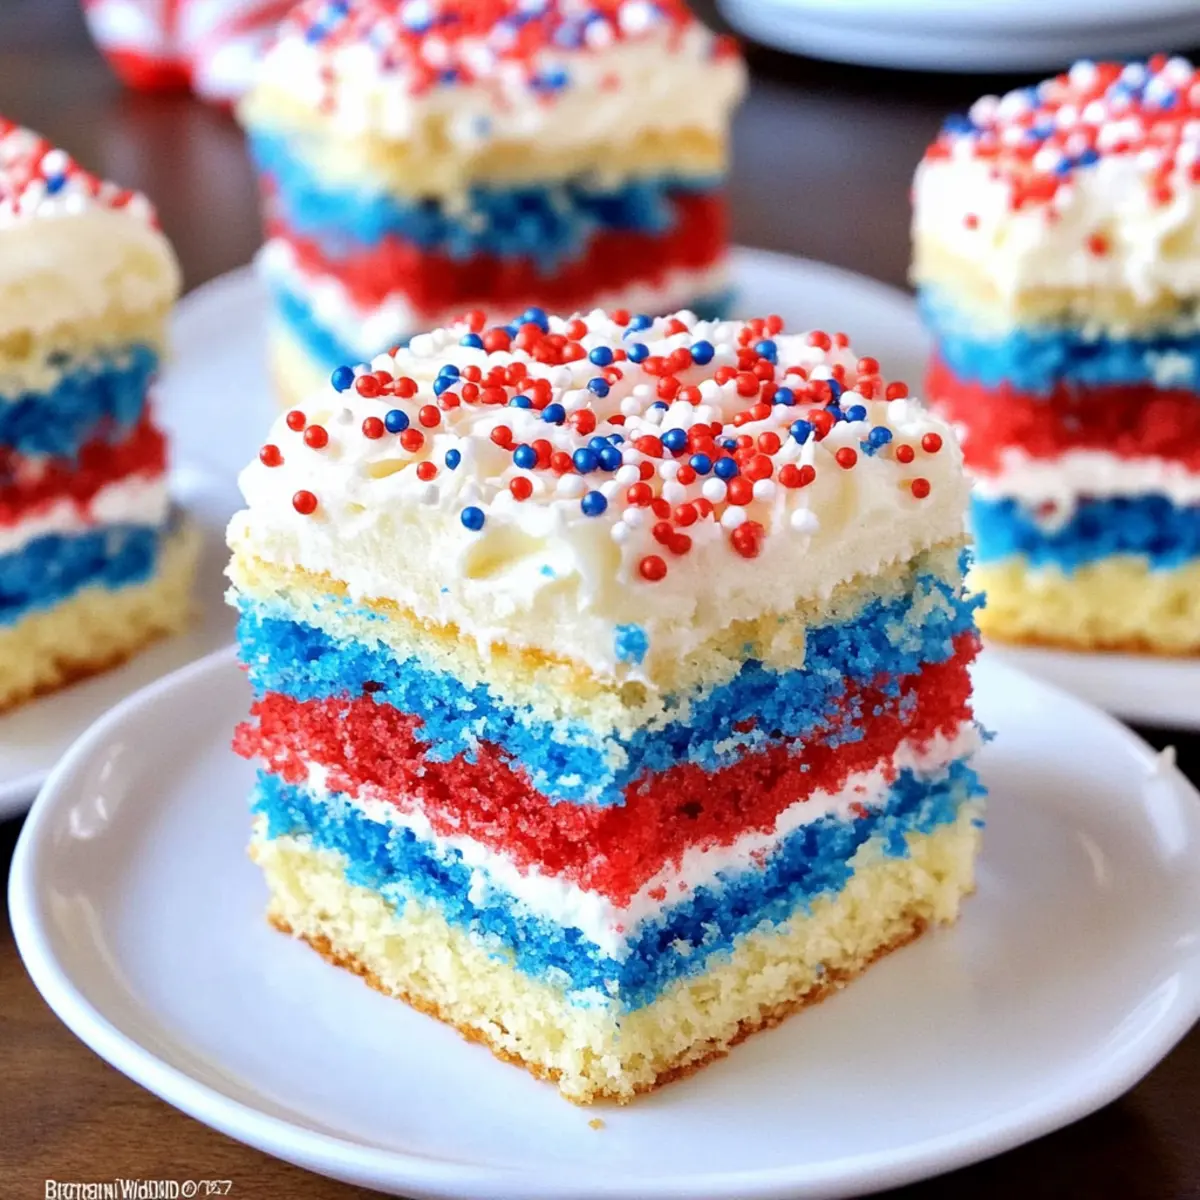
As I watched the vibrant colors swirl together in the mixing bowl, I couldn’t help but feel a wave of excitement. There’s something uniquely special about these Red, White, and Blue Mini Cakes that instantly brings summer celebrations to life, whether it’s Memorial Day or the Fourth of July. With their fluffy texture and delightful vanilla flavor, they not only satisfy your sweet tooth but also make for an impressive centerpiece that will wow your guests! The best part? This recipe is a breeze to whip up using boxed cake mix, allowing for quick preparation and customization to fit any festive occasion. Are you ready to bring a burst of color and cheer to your next gathering? Let’s get baking!
Why are Mini Cakes So Appealing?
Visual Delight: These mini cakes boast vibrant layers that will catch everyone’s eye at your next gathering.
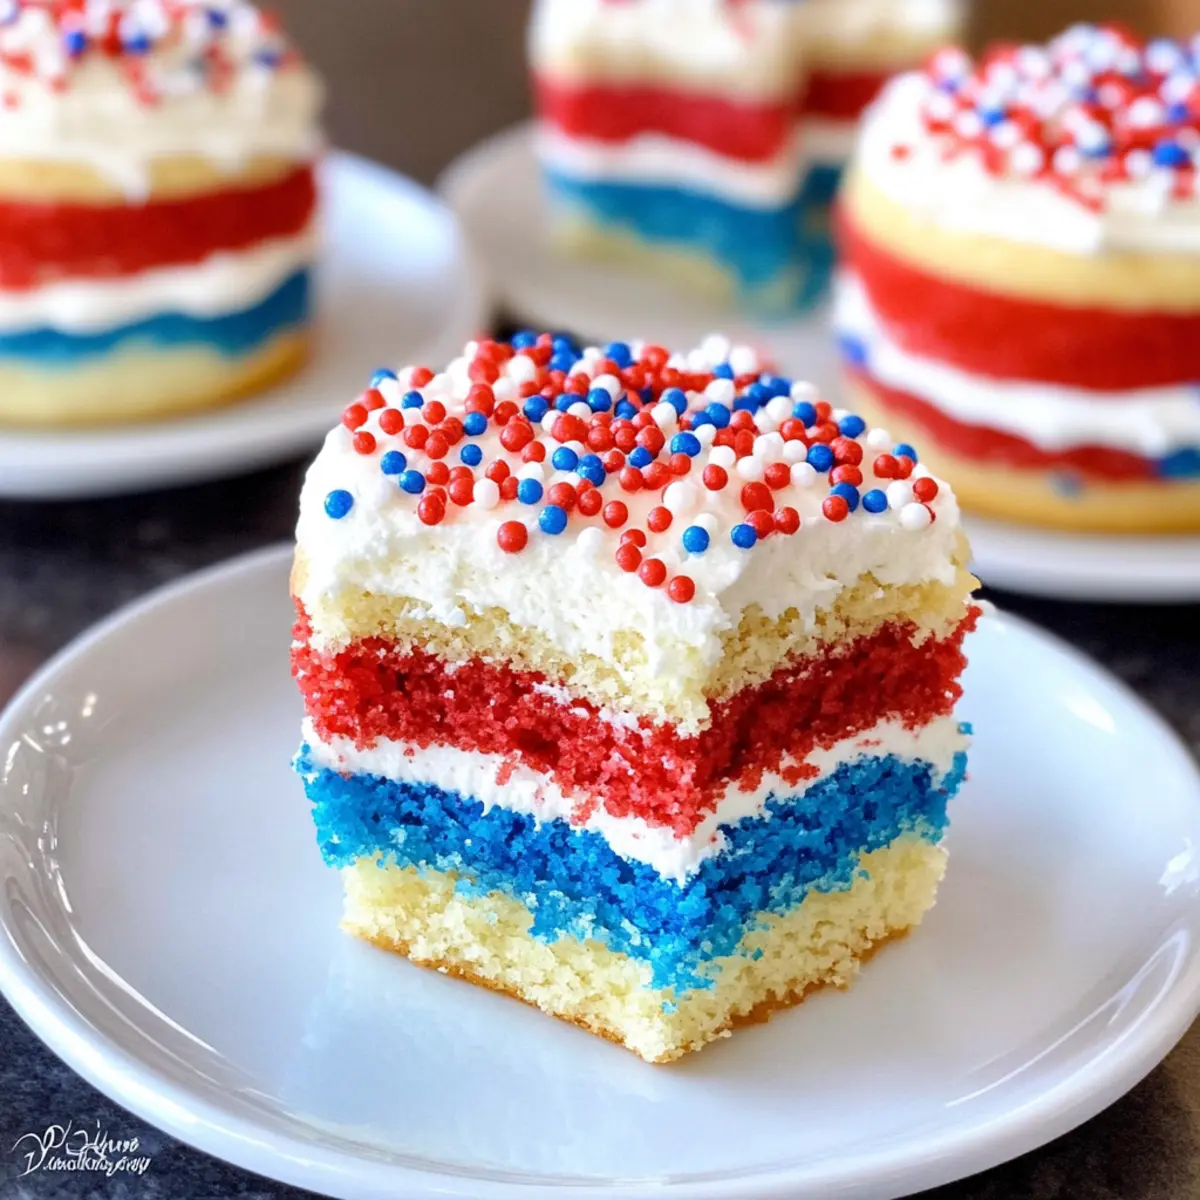
Light and Fluffy Texture: Perfectly airy, they’re a delightful contrast to heavier desserts.
Easy to Customize: With simple color variations, you can create themed cakes for any occasion, not just summer holidays.
Quick Assembly: Using boxed cake mix saves time, allowing you to whip these up in a flash—ideal for busy bakers.
Crowd-Pleasing: Their petite size makes them perfect for sharing, ensuring that every guest can enjoy a taste without overindulging.
Looking for more fun recipes? Check out my Creamy Beef and Shells for a comforting main course!
Red, White, and Blue Mini Cakes Ingredients
• A festive treat that makes any celebration brighter!
For the Cake Layers
- Vanilla Cake Mix – The base for your mini cakes; a white cake mix works best for true colors.
- Egg Whites – Ensures a light texture; leave out the yolks for a whiter finish.
- Red Food Coloring – Adds vibrant color; gel food coloring yields the best results.
- Blue Food Coloring – Complements the red, creating a beautiful patriotic palette; again, gel is recommended.
For the Frosting
- Vanilla or White Frosting – Serves as the sweet glue between layers; using pre-made frosting saves valuable prep time.
For Decoration
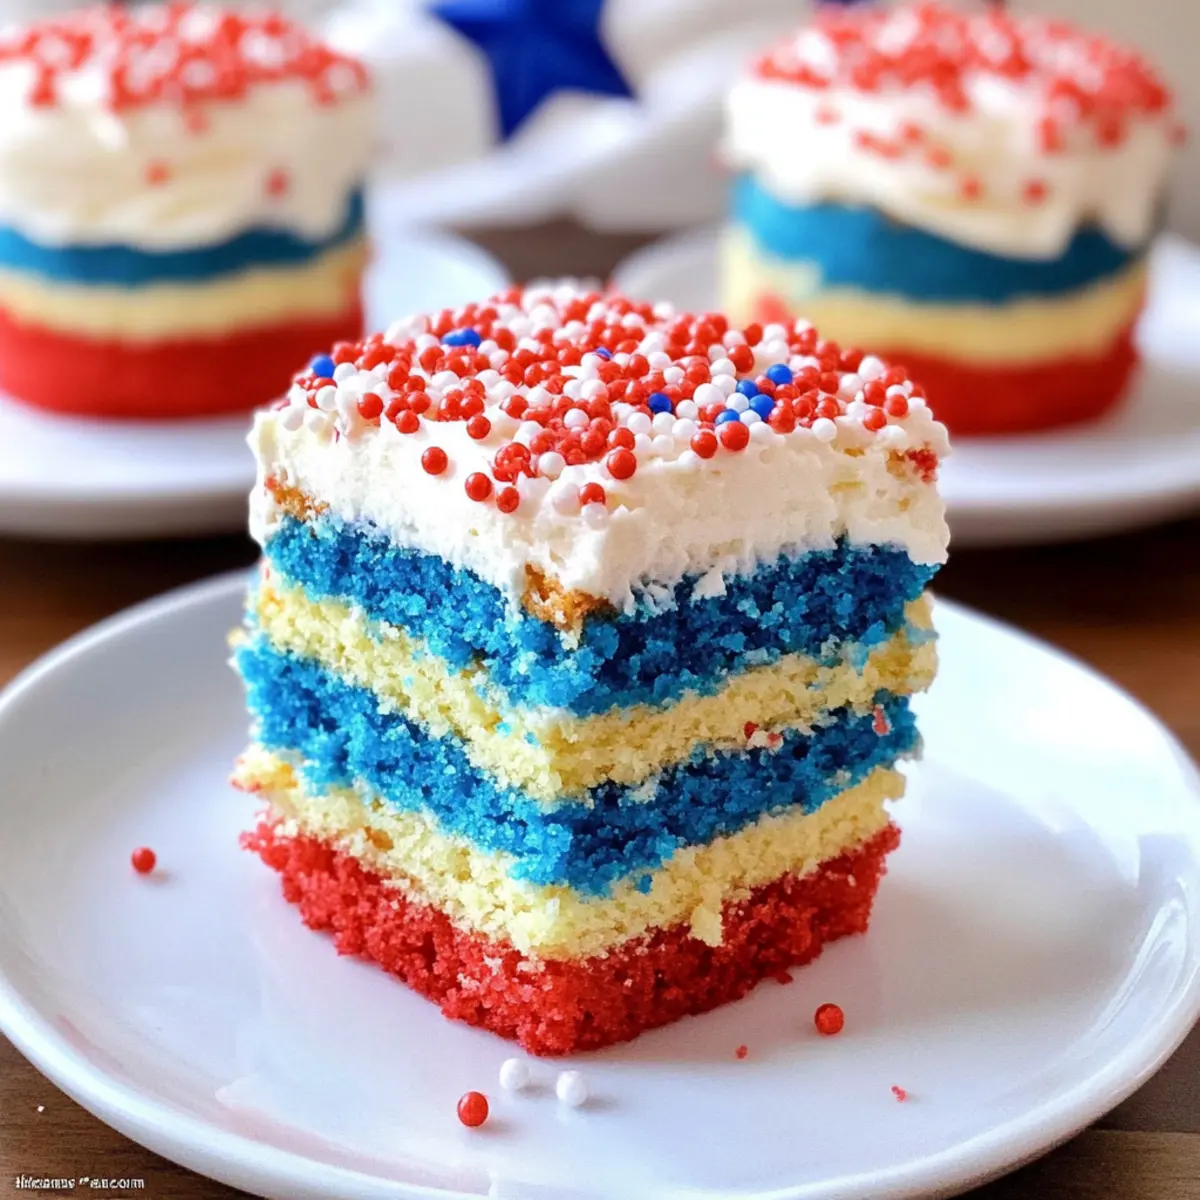
- Red, White, and Blue Sprinkles – Adds a festive touch; feel free to get creative with your sprinkles!
These delightful Red, White, and Blue Mini Cakes will ensure your summer gatherings are filled with joy and color!
Step‑by‑Step Instructions for Red, White, and Blue Mini Cakes
Step 1: Preheat and Prepare
Preheat your oven to 350°F (175°C) and prepare three 9-inch round cake pans by spraying them with nonstick cooking spray and lightly dusting with flour. This vital step ensures that your Red, White, and Blue Mini Cakes will slide out easily after baking. Set aside the pans while you prepare the cake batter.
Step 2: Make the Batter
In a large mixing bowl, prepare the vanilla cake mix according to the package instructions. Remember to use only egg whites for a lighter, whiter cake. Mix thoroughly until the batter is smooth and free of lumps, which should take about 2-3 minutes. This base will form the perfect canvas for your colorful mini cakes.
Step 3: Color the Batter
Divide the cake batter evenly into three separate bowls. Color one bowl with red food coloring, another with blue, and leave the third bowl plain for the white layer. Use a toothpick to gradually add food coloring until you achieve vibrant shades. This step brings life to your Red, White, and Blue Mini Cakes, making them festive and appealing.
Step 4: Bake the Cake Layers
Pour each colored batter into the prepared cake pans, spreading it evenly. Bake in the preheated oven for 10-12 minutes, or until a toothpick inserted into the center comes out clean. Keep an eye on them as they bake—your cakes are ready when they bounce back slightly when touched.
Step 5: Cool the Cake Layers
Once baked, remove the pans from the oven and let them cool for about 5 minutes. Carefully turn the cakes out onto a wire rack to cool completely. It’s crucial to let your Red, White, and Blue Mini Cakes cool entirely before cutting to ensure a perfect, fluffy texture.
Step 6: Cut the Mini Layers
Using a 2.5-inch circular cutter, cut out mini rounds from each cake layer, discarding any dome tops if necessary. This is where the magic happens, as you transform your full layers into adorable mini portions. Each bite-sized cake will be an eye-catching centerpiece for your summer celebrations.
Step 7: Assemble the Cakes
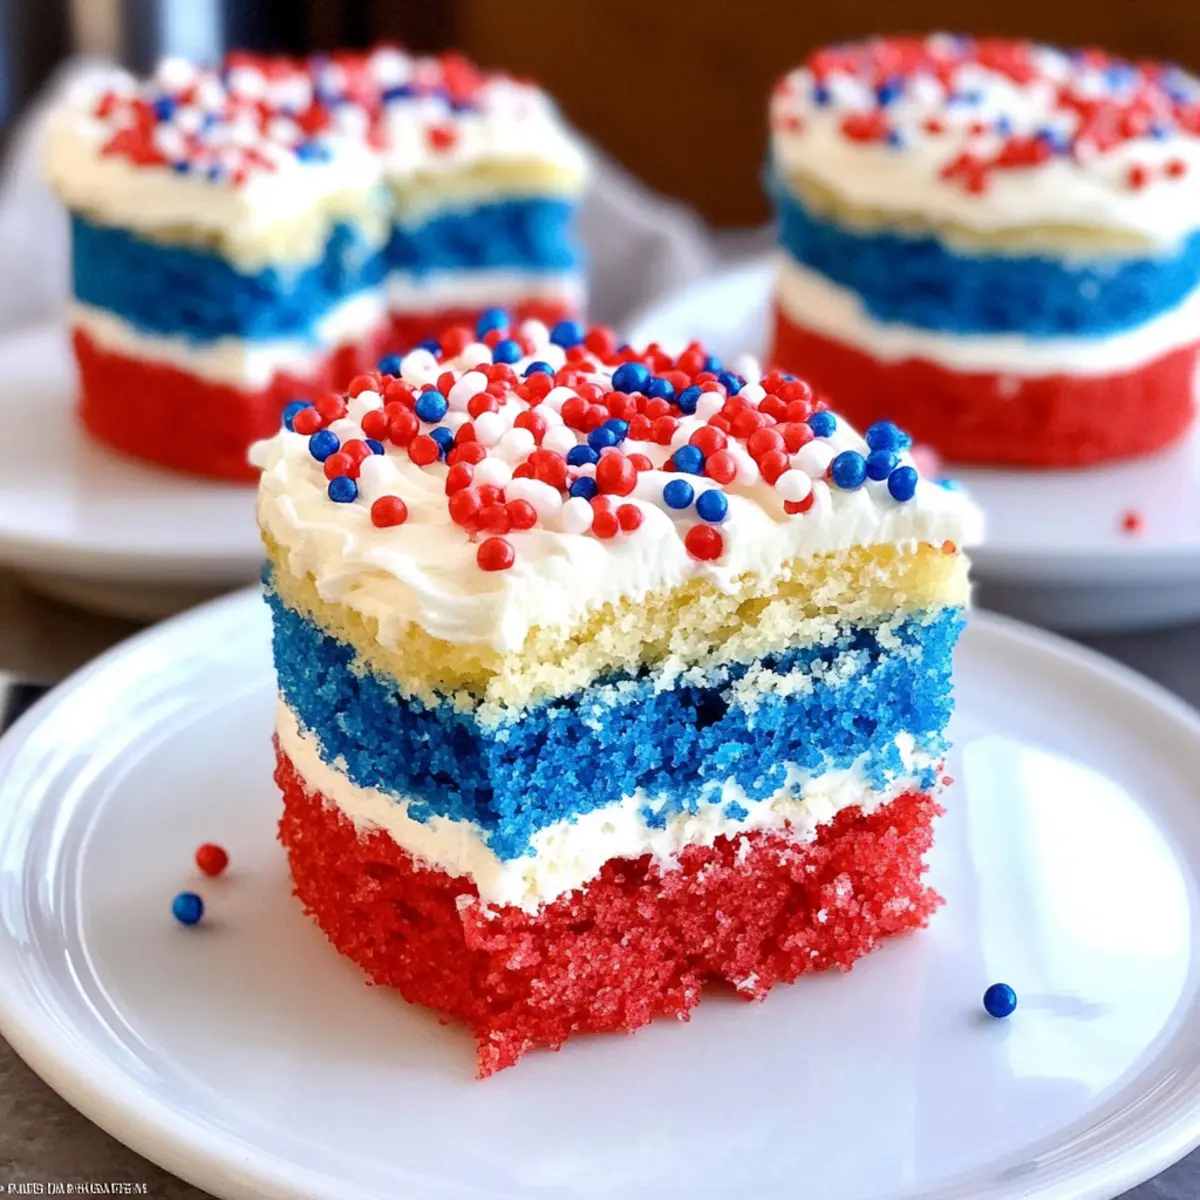
Begin stacking your mini layers by placing a blue layer down first, followed by a layer of frosting, then a white layer, more frosting, and finally a red layer on top. Repeat this process until all layers are stacked. This creative assembly will give each mini cake that delightful Red, White, and Blue appearance, perfect for any festive gathering.
Step 8: Garnish and Serve
Trim any excess frosting with a knife for a clean finish. Finally, decorate your assembled mini cakes generously with red, white, and blue sprinkles. Serve them immediately or store them in a cool place until you’re ready to share these delightful Red, White, and Blue Mini Cakes with your friends and family.
Red, White, and Blue Mini Cakes Variations
Feel free to let your creativity shine as you personalize these delightful mini cakes to suit any occasion or flavor preference!
- Seasonal Colors: Swap the red and blue for green and gold for St. Patrick’s Day or pastels for Easter celebrations.
- Flavor Twist: Use chocolate cake mix instead of vanilla for rich, decadent layers that add a whole new flavor profile.
- Frosting Flavors: Experiment with fruity toppings—strawberry or lemon frosting can elevate your cakes with a refreshing zing that’s perfect for summer.
- Dairy-Free: Substitute almond or coconut milk and use egg replacers for a vegan-friendly version of these cute cakes.
- Gluten-Free: Opt for gluten-free cake mix to share the joy of these mini cakes with your gluten-sensitive friends.
- Add-Ins: Incorporate mini chocolate chips or nuts into the batter before baking for surprise textures in each bite.
- Spice It Up: A touch of cinnamon or nutmeg in your cake batter can give your mini cakes a warm, cozy flavor, perfect for fall gatherings.
- Heat Level: Drizzle a little spicy jalapeño-infused honey on top before serving for a sweet delight with a kick!
Ready to whip up more tasty bites? Check out my easy One-Pot Chicken and Vegetables recipe for a delicious main course!
Expert Tips for Red, White, and Blue Mini Cakes
- Color Control: Use a toothpick to add food coloring gradually; this allows you to achieve just the right shade for your Red, White, and Blue Mini Cakes.
- Layer Cooling: Ensure that your cake layers are completely cooled before cutting. This prevents melting frosting and helps maintain the fluffy texture.
- Frosting Time-Saver: Consider using prepared frosting to save time, but try whipping it a bit to make it easier to spread and apply between mini layers.
- Quantity Consideration: If making multiple batches, have enough food coloring and pans ready. This keeps the process smooth and efficient.
- Storage Solution: These mini cakes can be stored in a cool, covered place for a couple of days or refrigerated if frosted. Freezing them before frosting also works well for future celebrations.
How to Store and Freeze Red, White, and Blue Mini Cakes
Room Temperature: Store unfrosted mini cakes in an airtight container at room temperature for up to 3 days to maintain their light texture.
Fridge: If frosted, keep your Red, White, and Blue Mini Cakes in the refrigerator for up to 5 days in a covered container to preserve freshness.
Freezer: For longer storage, freeze the unfrosted mini cakes. Wrap each layer tightly in plastic wrap and place in an airtight container for up to 3 months.
Reheating: When ready to serve, allow the frozen layers to thaw in the fridge overnight, then frost before serving for best results.
Make Ahead Options
These Red, White, and Blue Mini Cakes are perfect for busy home cooks looking to save time! You can prepare the cake layers up to 24 hours in advance by baking them and storing them wrapped in plastic wrap at room temperature. Additionally, you can mix the frosting and keep it refrigerated for up to 3 days before frosting the cakes. When you’re ready to serve, simply cut your mini layers and assemble them with the frosting as detailed in the recipe. This allows you to enjoy delicious and festive mini cakes that are just as delightful as if they were freshly made, with minimal effort on the day of your event!
What to Serve with Red, White, and Blue Mini Cakes?
Looking to create a truly festive meal to accompany these charming desserts? Here are some delightful pairings that will elevate your summer gatherings.
- Fresh Berries: A medley of strawberries, blueberries, and raspberries adds a refreshing touch, complementing the mini cakes’ sweetness.
- Whipped Cream: Light and airy, it enhances the cakes’ fluffy texture and provides a luxurious finish to each bite.
- Lemonade: A zesty, chilled beverage that balances the sweetness of the cakes; make it sparkling for a festive twist!
- Grilled Veggies: Brightly colored, charred vegetables bring a savory contrast to the sweet mini cakes, perfect for a balanced feast.
- Patriotic Cheese Board: Include red, white, and blue cheeses along with crackers and grapes for an elegant yet fun presentation.
- Ice Cream Sundae Bar: Create a fun DIY experience for guests with toppings that match the festive theme—think red cherries and blue sprinkles!
- Pineapple Skewers: Juicy chunks drizzled with a little honey add an extra layer of sweetness and freshness to the meal.
- Sparkling Wine: A glass of bubbly complements the celebratory vibe of your gathering and elevates the dessert experience.
- Chocolate-Covered Strawberries: These bite-sized treats are the perfect indulgence and visually align with your theme.
Red, White, and Blue Mini Cakes Recipe FAQs
What kind of cake mix should I use for the best color results?
For the best color outcomes in your Red, White, and Blue Mini Cakes, I recommend using a white cake mix. This type of mix ensures that the colors remain vibrant and true to their shades without being tainted by the yellow tones of a yellow cake mix.
How should I store leftover mini cakes?
You can store unfrosted mini cakes in an airtight container at room temperature for up to 3 days. If your cakes are frosted, they should be refrigerated in a covered container, where they’ll stay fresh for about 5 days. Just make sure they are well-protected to prevent them from drying out!
Can I freeze the Red, White, and Blue Mini Cakes?
Absolutely! To freeze the unfrosted layers, wrap each cake round tightly in plastic wrap, then place them in an airtight container. This way, they can be stored in the freezer for up to 3 months. When you’re ready to serve, simply transfer them to the fridge to thaw overnight, and then frost them as desired.
What should I do if my cake layers domed while baking?
If you find that your cake layers domed up during baking, don’t fret! After cooling for a few minutes, simply use a serrated knife to level them off before cutting out your mini rounds. This will help create a stable stack for your mini cakes, ensuring they have a neat and professional appearance.
Can I make these cakes gluten-free?
Yes, you can make gluten-free Red, White, and Blue Mini Cakes by substituting the vanilla cake mix with a gluten-free alternative. Many brands offer gluten-free cake mixes that taste great and yield a fluffy texture similar to traditional mixes, so you won’t miss out on any of the fun!
Is it safe for pets?
It’s important to note that these mini cakes are not safe for pets, specifically due to the sugar and frosting components. Ingredients like chocolate or certain sweeteners can be harmful to pets, so it’s best to enjoy these delightful Red, White, and Blue Mini Cakes yourself and choose pet-safe treats for your furry friends!
Red, White, and Blue Mini Cakes: A Festive Summer Delight
Ingredients
Equipment
Method
- Preheat your oven to 350°F (175°C) and prepare three 9-inch round cake pans by spraying them with nonstick cooking spray and lightly dusting with flour.
- In a large mixing bowl, prepare the vanilla cake mix according to the package instructions, using only egg whites.
- Divide the cake batter evenly into three separate bowls, coloring one bowl with red food coloring, another with blue, and leaving the third bowl plain.
- Pour each colored batter into the prepared cake pans and bake for 10-12 minutes or until a toothpick inserted comes out clean.
- Once baked, let the cakes cool for about 5 minutes before transferring to a wire rack.
- Using a 2.5-inch circular cutter, cut out mini rounds from each cake layer.
- Stack the mini layers by placing a blue layer first, followed by frosting, a white layer, more frosting, and finally a red layer.
- Decorate the assembled mini cakes generously with red, white, and blue sprinkles.
Leave a Reply