
As I stood in my kitchen, rummaging through my pantry, a delightful surprise emerged: the perfect ingredients for a No-Bake Biscoff Icebox Cake. With just four simple components, this luxurious dessert promises a creamy texture and crunchy delight that will leave your taste buds dancing. Not only is it a quick, effortless treat, but it’s also a customizable canvas for your creativity—perfect for busy weeknights or unexpected gatherings. Whether you’re serving it at a celebration or just treating yourself, this cake is bound to impress and satisfy without the oven’s heat. So, are you ready to indulge in this creamy delight that’s as easy to make as it is delicious? Let’s dive into the recipe!
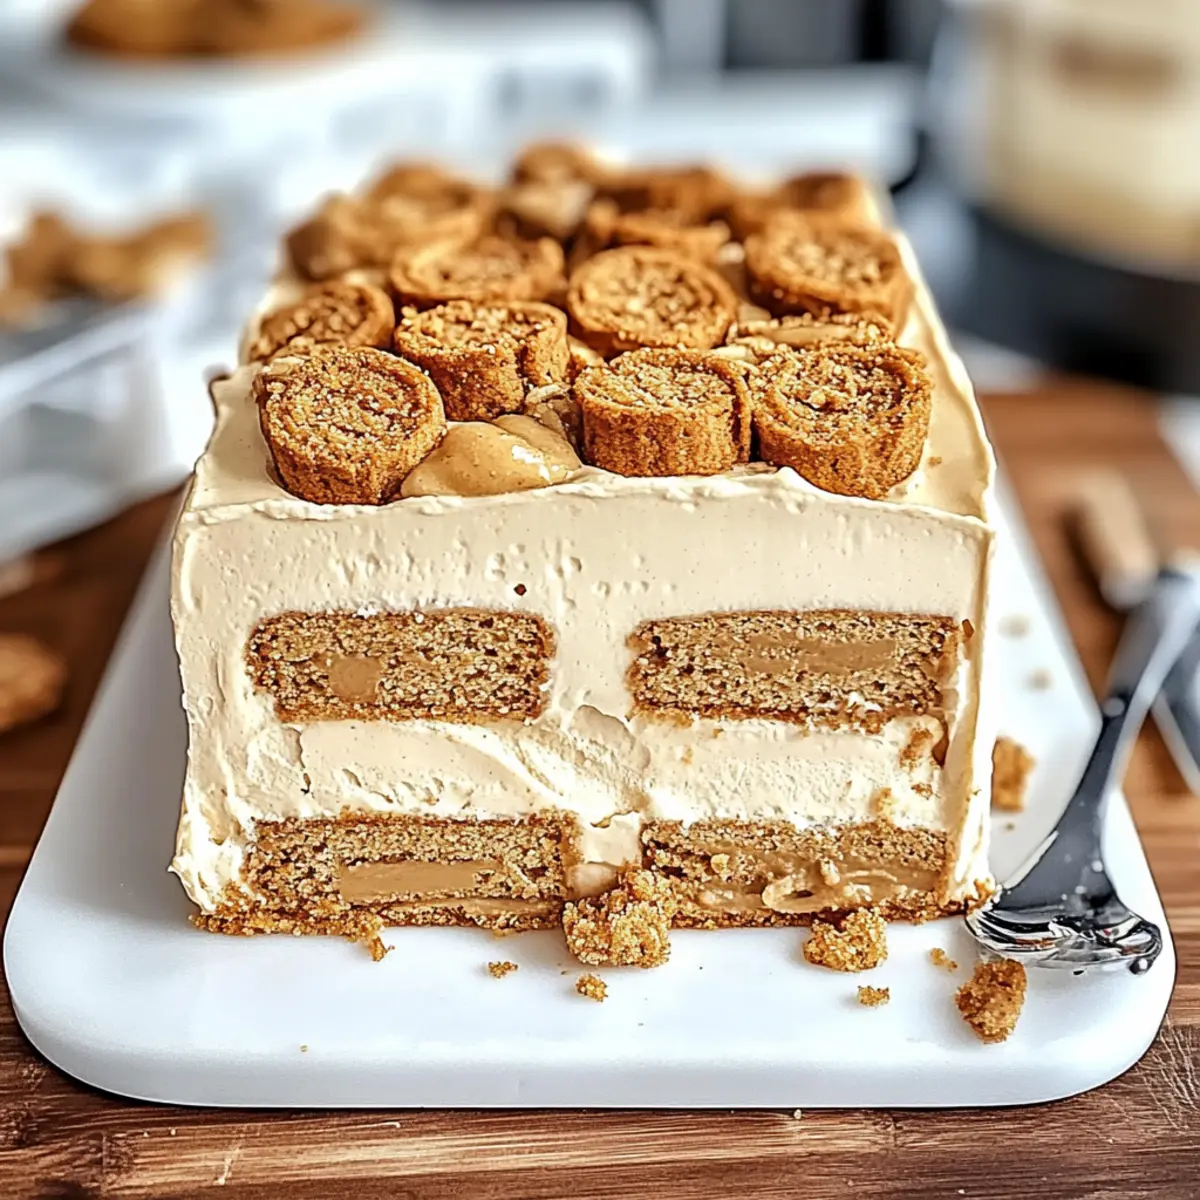
Why Is This Cake a Must-Try?
Effortless Preparation: With only four basic ingredients, this No-Bake Biscoff Icebox Cake comes together in a breeze, perfect for those last-minute cravings. Decadent Flavor: The signature caramel notes from Biscoff spread offer a unique taste that elevates any occasion. Customizable: Feel free to get creative! Add fruits, nuts, or even experiment with different cookie butters for a twist. Crowd-Pleasing Dessert: Whether for a gathering or a cozy night in, this cake will have everyone asking for seconds—just like my popular Baked Breakfast Taco recipe! Stress-Free Indulgence: No need to turn on the oven, making it an ideal treat for hot summer days or busy schedules. Indulge in a guilt-free dessert that tastes like indulgence without the effort!
Biscoff Icebox Cake Ingredients
• The perfect treat awaits you with just four simple ingredients.
For the Cream Mixture
- Heavy Cream – provides luscious creaminess and volume when whipped; ensure it’s cold for the best results.
- Sweetened Condensed Milk – adds sweetness and creaminess, enhancing the overall flavor; can be substituted with icing sugar for a different sweetness profile.
For the Layers
- Lotus Biscoff Spread – brings the signature caramel spice flavor unique to this cake; feel free to explore different flavors of cookie butter for variety.
- Lotus Biscoff Biscuits – forms the cake layers, contributing to the crunchy texture; alternatively, use any brand of speculoos biscuits or graham crackers.
Step-by-Step Instructions for Biscoff Icebox Cake
Step 1: Whip Cream Mixture
In a chilled mixing bowl, combine 1 cup of heavy cream and 1 cup of sweetened condensed milk. Using an electric mixer, beat the mixture on medium-high speed for about 3-5 minutes, or until stiff peaks form. You’ll know it’s ready when the cream holds its shape, creating a luscious base for your Biscoff Icebox Cake.
Step 2: Incorporate Biscoff Spread
Gently fold in 1 cup of Lotus Biscoff spread into the whipped cream mixture using a spatula. Be careful not to deflate the whipped cream; aim for a smooth and even blend. This step infuses the creamy texture with that signature caramel flavor that makes the Biscoff Icebox Cake a delightful treat.
Step 3: Prepare for Layering
To make spreading easier, microwave a quarter cup of Biscoff spread for 10-15 seconds, just until it’s soft and drizzle-able. This added step ensures that the Biscoff will flow smoothly between the layers, enhancing the overall flavor and texture of the cake as you assemble it.
Step 4: Line the Pan
Line a 9×5 loaf pan with plastic wrap, leaving plenty of overhang on the edges. This will help you easily remove the cake once it’s frozen. Make sure the wrap fits snugly against the sides of the pan to help maintain the structure of the Biscoff Icebox Cake as it sets.
Step 5: Layer the Mixture
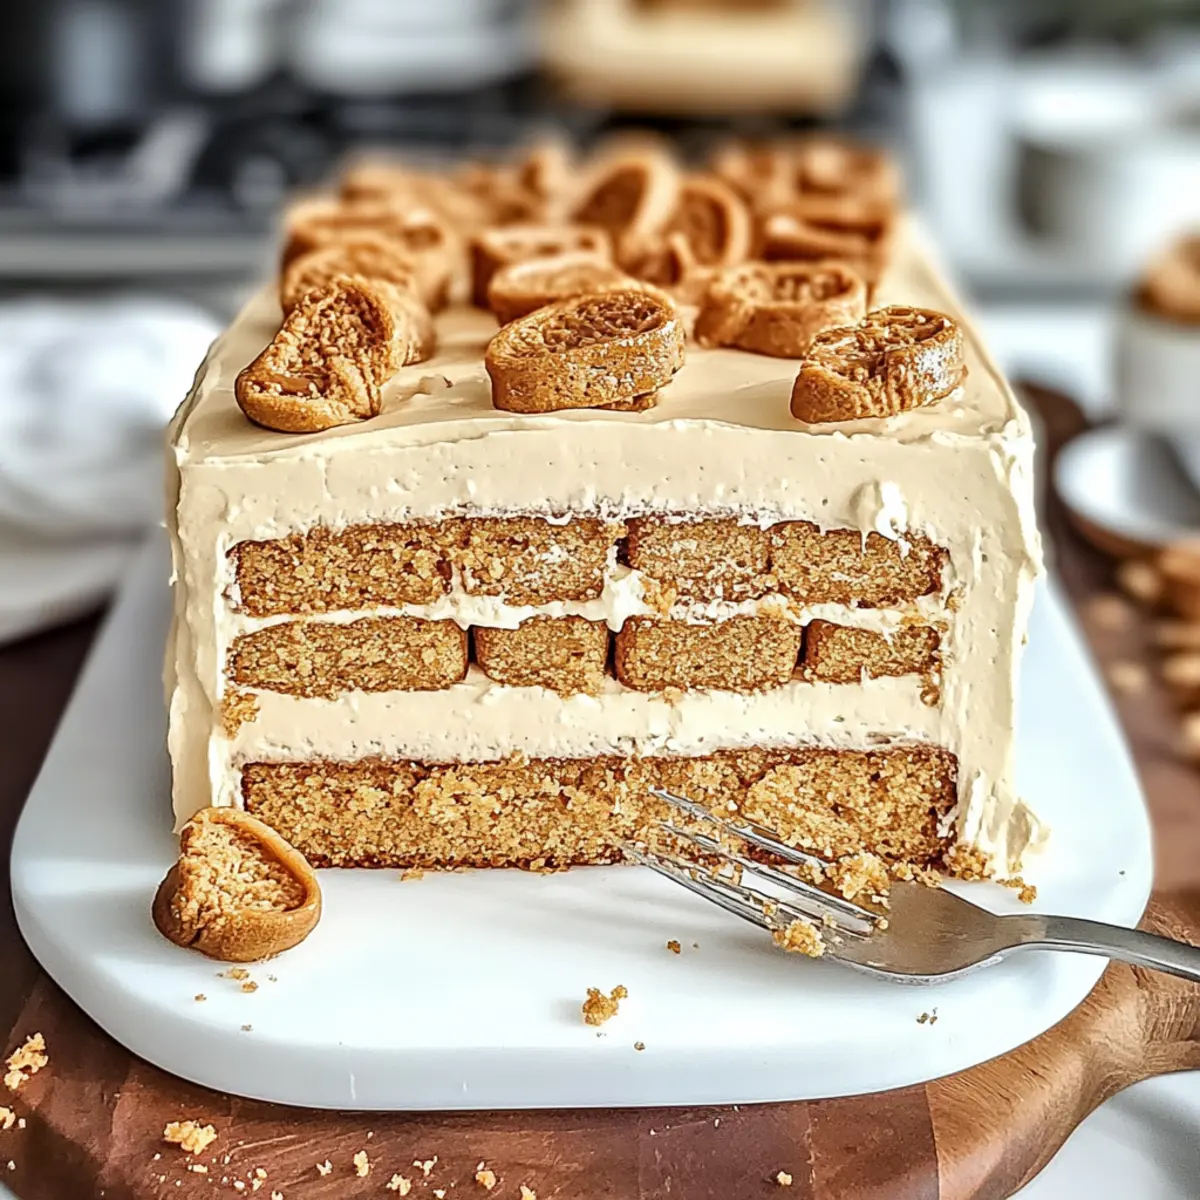
Spread a thin layer of the cream mixture at the bottom of the prepared loaf pan, smoothing it into an even layer. Next, place a layer of Biscoff biscuits on top, ensuring they overlap slightly. Continue the process by adding another layer of cream, followed by a drizzle of softened Biscoff, repeating until all your ingredients are used.
Step 6: Final Assemble
For the final layer, top the cake with one more layer of biscuits. Finish with the remaining cream mixture and, if desired, sprinkle crushed or whole biscuits on top for decoration. This ensures that your Biscoff Icebox Cake not only tastes divine but looks appealing, ready for the freezer.
Step 7: Freeze
Cover the cake with plastic wrap or foil and place it in the freezer for at least 2 hours, although overnight is preferable for the best results. Allowing the cake to freeze thoroughly helps it maintain its shape and makes slicing easier, ensuring a creamy dessert for later enjoyment.
Step 8: Serve
Once frozen, remove the Biscoff Icebox Cake from the freezer and carefully lift it out of the pan using the overhanging plastic wrap. Slice the cake while still frozen, and let the slices soften for about 15 minutes before serving. This will enhance the creamy texture, making each bite of this delightful cake truly blissful.
Make Ahead Options
These Heavenly Biscoff Icebox Cake layers are perfect for busy home cooks looking to save time! You can whip the cream mixture and layer the cake up to 24 hours in advance, just be sure to cover it tightly with plastic wrap to prevent freezer burn. The cake can also be assembled and frozen for up to 2 weeks. When you’re ready to serve, simply remove it from the freezer, slice while still frozen, and allow the slices to soften for about 15 minutes before enjoying. This prep-ahead approach ensures that your cake remains just as delicious and creamy, ready to impress at a moment’s notice.
What to Serve with Heavenly Biscoff Icebox Cake
Delight in pairing this luscious dessert with complementary flavors and textures that enhance your indulgence experience.
-
Fresh Berries: Add a burst of tartness that contrasts beautifully with the sweetness of the cake while adding a vibrant visual appeal. Strawberries or raspberries offer freshness that balances the rich creaminess beautifully.
-
Homemade Vanilla Ice Cream: The cool, creamy richness of vanilla ice cream pairs perfectly, enhancing the decadent experience and providing a delightful mouthfeel in each bite.
-
Drizzled Caramel Sauce: Elevate your serving with a drizzle of warm caramel sauce. The added texture and sweetness will create an irresistible invite for your taste buds.
-
Espresso or Coffee: A bold coffee or espresso balances the sweet richness and cleanses the palate between bites, making it a sophisticated addition to your dessert experience.
-
Chocolate Shavings: Add a sprinkle of chocolate shavings on top or on the side for a touch of indulgence. The deep flavor of chocolate enhances the overall dessert experience.
-
Chai Tea: Pairing your cake with a glass of warm chai tea brings aromatic spices that harmonize with the Biscoff flavor, creating a cozy and delightful ending to your meal.
Indulge in these pairings to heighten the creamy bliss of the Heavenly Biscoff Icebox Cake and create an unforgettable gathering!
Expert Tips for Biscoff Icebox Cake
-
Chill Your Tools: Before whipping the cream, chill your mixing bowl and beaters in the fridge. This helps achieve the best volume and texture for your cream mixture.
-
Taste Test: Always sample the cream mixture before final assembly. Adjust sweetness with additional condensed milk or icing sugar as needed for your palate—it makes a difference!
-
Layer Evenly: Pay attention to how you distribute the cream and biscuits. Ensuring even layers avoids heavy spots and allows flavors to meld beautifully in each slice of your Biscoff Icebox Cake.
-
Freeze Thoroughly: Allow at least 2 hours in the freezer for optimal sliceability. For an even better experience, freezing overnight provides the best texture when serving.
-
Creative Variations: Feel free to customize your cake! Incorporate fresh fruits or nuts into the layers for added flavor and crunch, making your Biscoff Icebox Cake uniquely yours.
Storage Tips for Biscoff Icebox Cake
- Room Temperature: Best to avoid; store leftovers in the fridge or freezer to maintain freshness and texture.
- Fridge: Keep in an airtight container for up to 3 days. Allow to soften slightly after removing from the fridge before slicing.
- Freezer: Wrap well in plastic wrap and foil to prevent freezer burn; it can last up to 2 weeks without compromising flavor.
- Reheating: There’s no need to heat this cake; just slice and let it sit at room temperature for 15 minutes to regain its creamy consistency. Enjoy your delectable Biscoff Icebox Cake!
Biscoff Icebox Cake Variations & Substitutions
Feel free to let your creativity shine by exploring these delightful variations! Each twist adds a unique flair to this already spectacular dessert.
- Gluten-Free: Use gluten-free speculoos biscuits to accommodate dietary needs without sacrificing flavor.
- Nutty Twist: Incorporate chopped walnuts or pecans for an added crunch that enhances every bite. This nutty flavor pairs wonderfully with the smooth cream layers!
- Layering Fun: Add fresh fruit, such as sliced bananas or strawberries, or explore different cookie butters for a fun flavor twist.
- Spicy Kick: Inject a pinch of cinnamon or nutmeg into the cream mixture for a warm, aromatic touch that elevates each slice.
- Chocolate Upgrade: Add crushed chocolate cookies as a layer for a decadent chocolatey variation that chocolate lovers will adore. Imagine the delightful contrast of flavors!
- Vegan Option: Swap heavy cream for coconut cream and use plant-based condensed milk for a delicious dairy-free alternative.
- Caramel Drizzle: Top with a drizzle of caramel sauce before serving for an extra sweetness that makes each bite unforgettable.
- Rich Coffee Flavor: Mix in a tablespoon of instant coffee granules into the cream for a delightful mocha-inspired twist, complementing the Biscoff flavor beautifully.
Get inspired and tailor this No-Bake Biscoff Icebox Cake to suit your tastes or the occasion! For a delightful dessert experience, don’t forget to check out my Bake Homemade Cheeseburger and Korean Baked Cauliflower recipes for more delightful treats!
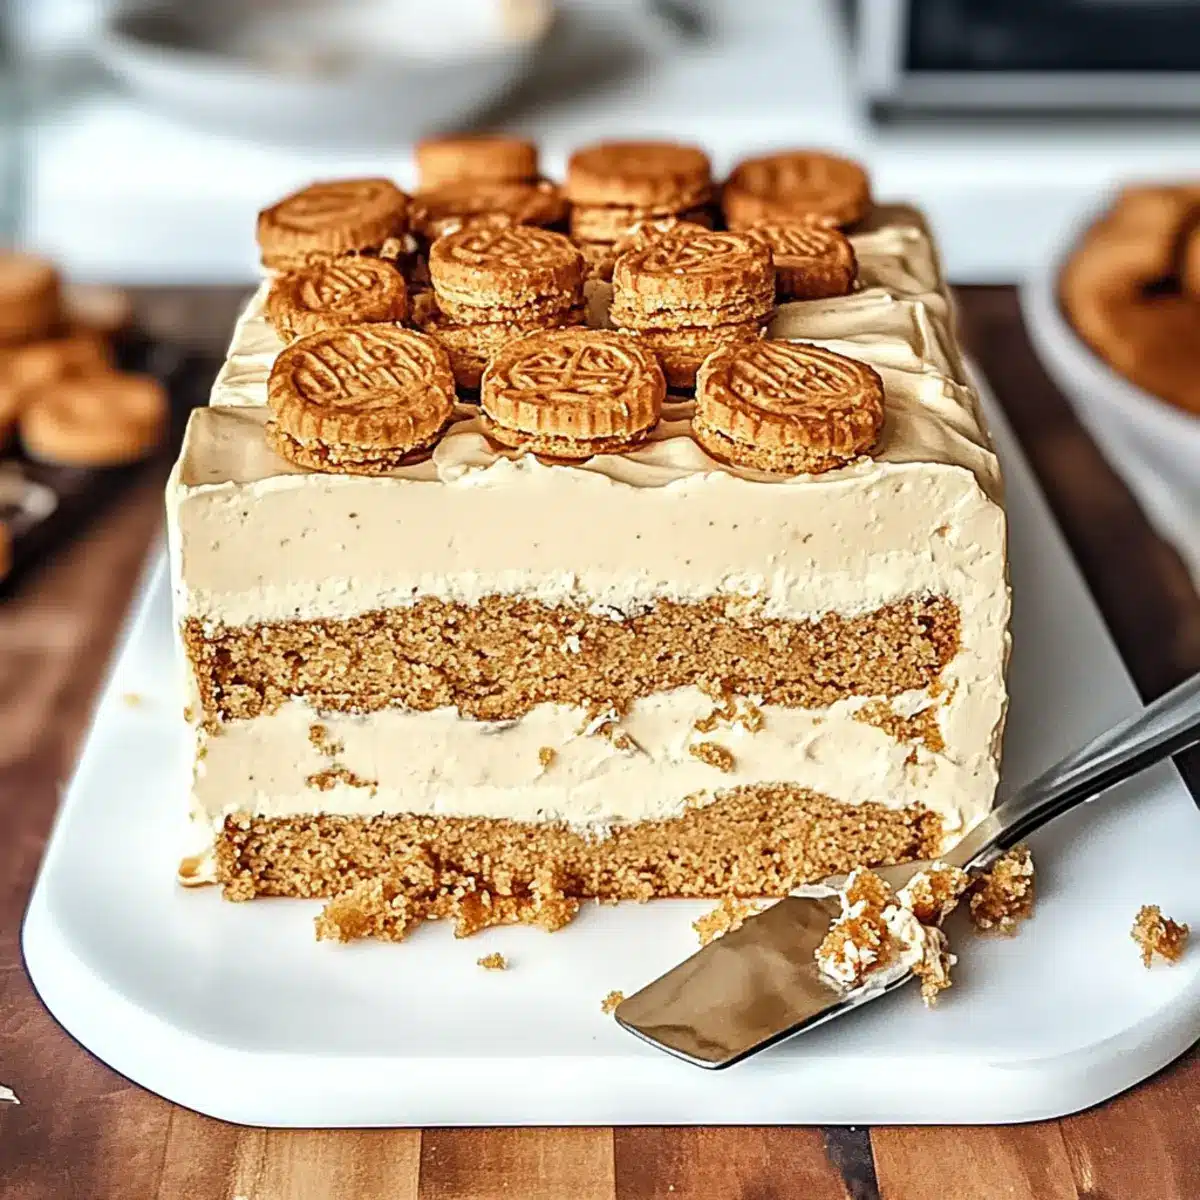
Biscoff Icebox Cake Recipe FAQs
What type of Biscoff biscuits should I use for this cake?
You can use Lotus Biscoff biscuits for the best flavor and texture. However, feel free to substitute them with any brand of speculoos biscuits or even graham crackers if you prefer a variation. Just ensure they have a crunchy texture to complement the creamy layers of your No-Bake Biscoff Icebox Cake.
How should I store leftover Biscoff Icebox Cake?
For optimal freshness, store any leftovers in an airtight container in the fridge for up to 3 days. If you need to keep it longer, you can wrap it tightly in plastic wrap and foil; it will last in the freezer for up to 2 weeks without compromising its delightful flavor.
Can this cake be frozen for a longer time?
Absolutely! To freeze your Biscoff Icebox Cake, make sure it’s well wrapped in plastic wrap and then in foil to prevent freezer burn. This can extend its shelf life to about 2 weeks. When you’re ready to enjoy it, just slice while still frozen and let it thaw for about 15 minutes before serving.
What if my whipped cream doesn’t reach stiff peaks?
If your whipped cream isn’t forming stiff peaks, it may be because your heavy cream wasn’t cold enough, or you might not have whipped it long enough. Make sure your mixing bowl and beaters are also chilled. If you find it difficult, try restarting the whipping process or add a pinch of cream of tartar to help stabilize it.
Is this Biscoff Icebox Cake suitable for those with dietary allergies?
This cake can be tailored to accommodate various dietary needs. For gluten-free options, you can use gluten-free speculoos biscuits. Always check the labels to ensure that the ingredients fit your dietary restrictions. Additionally, for anyone with dairy allergies, consider using coconut cream as a substitute for heavy cream and dairy-free condensed milk alternatives.
How can I customize this cake if I want to change the flavor?
The possibilities are endless! You can experiment with different cookie butters beyond Biscoff, such as chocolate hazelnut spread or even almond butter. Adding fresh fruit such as bananas or strawberries will brighten up the flavors and add a fruity twist. If you want a touch of spice, mixing in a pinch of cinnamon or nutmeg into the cream will transform the cake into a warm, aromatic treat!
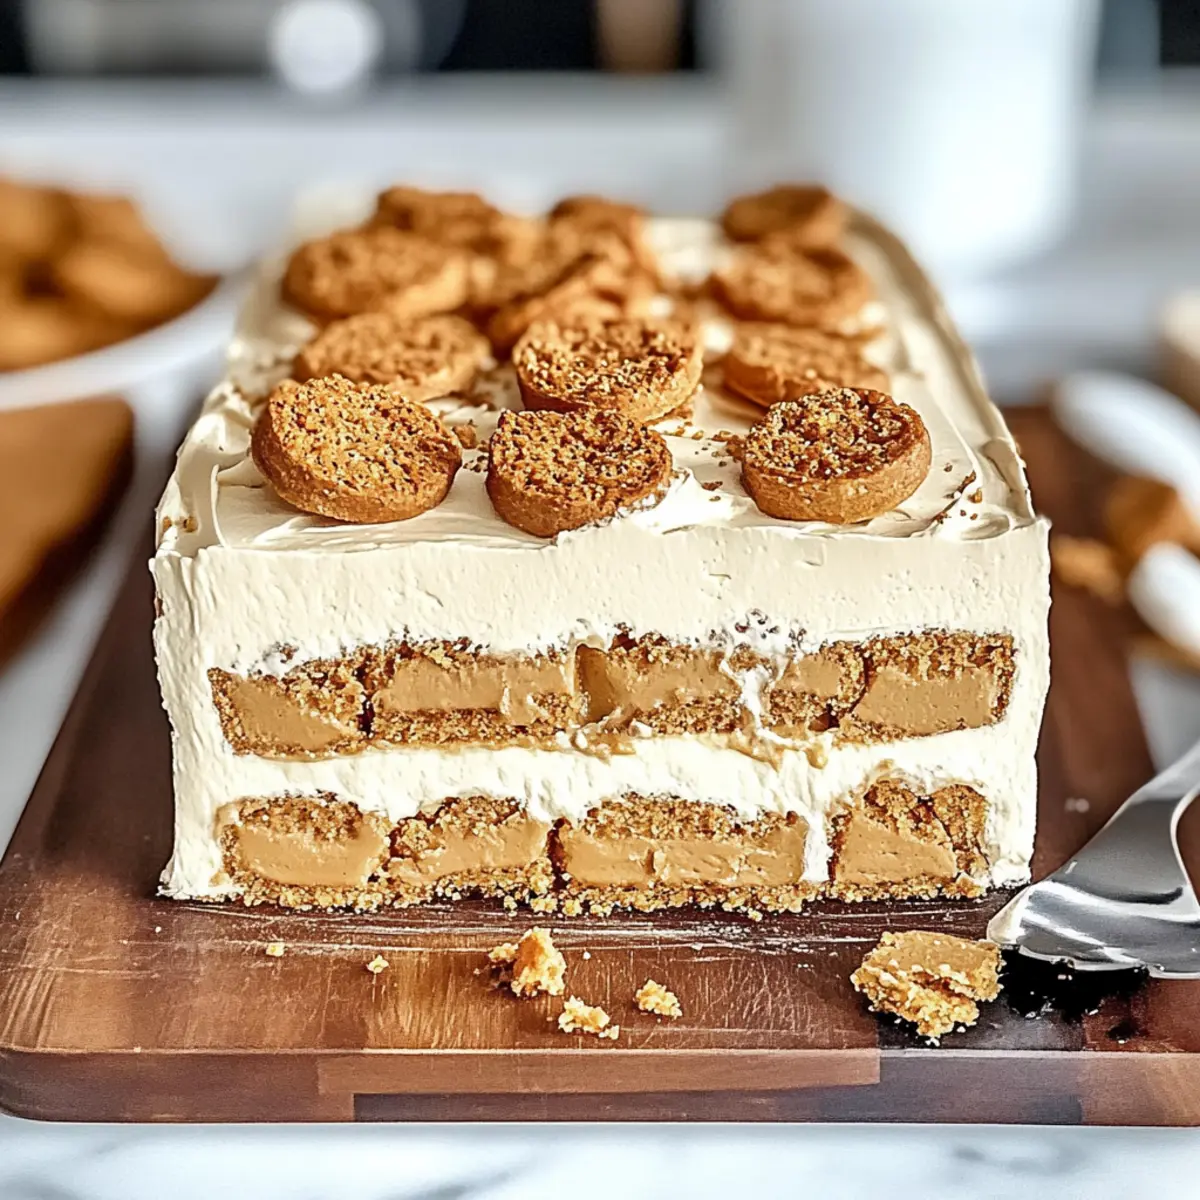
Biscoff Icebox Cake: No-Bake Bliss in Every Bite
Ingredients
Equipment
Method
- In a chilled mixing bowl, combine 1 cup of heavy cream and 1 cup of sweetened condensed milk. Beat on medium-high speed for about 3-5 minutes until stiff peaks form.
- Gently fold in 1 cup of Lotus Biscoff spread into the whipped cream mixture using a spatula.
- Microwave a quarter cup of Biscoff spread for 10-15 seconds until it’s soft and drizzle-able.
- Line a 9×5 loaf pan with plastic wrap, leaving plenty of overhang on the edges.
- Spread a thin layer of the cream mixture at the bottom of the prepared loaf pan. Add a layer of Biscoff biscuits, ensuring they overlap slightly, then repeat the process.
- Top the cake with one more layer of biscuits, finish with the remaining cream mixture, and sprinkle crushed or whole biscuits on top.
- Cover the cake with plastic wrap or foil and place it in the freezer for at least 2 hours.
- Once frozen, remove the cake from the freezer and carefully lift it out of the pan using the plastic wrap. Slice and let soften for about 15 minutes before serving.
Leave a Reply