
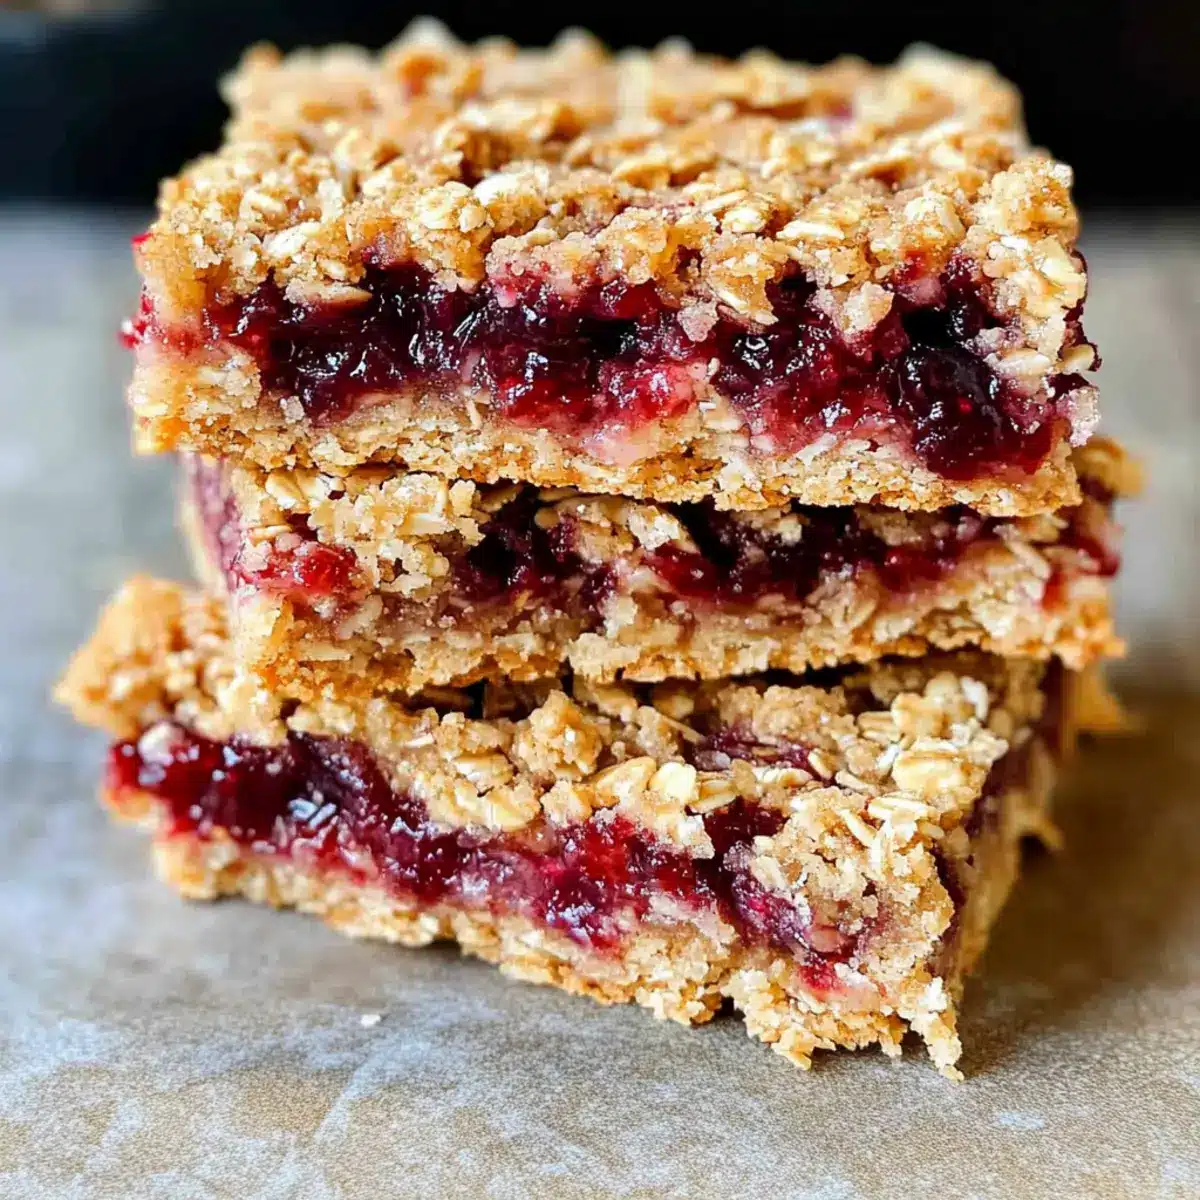
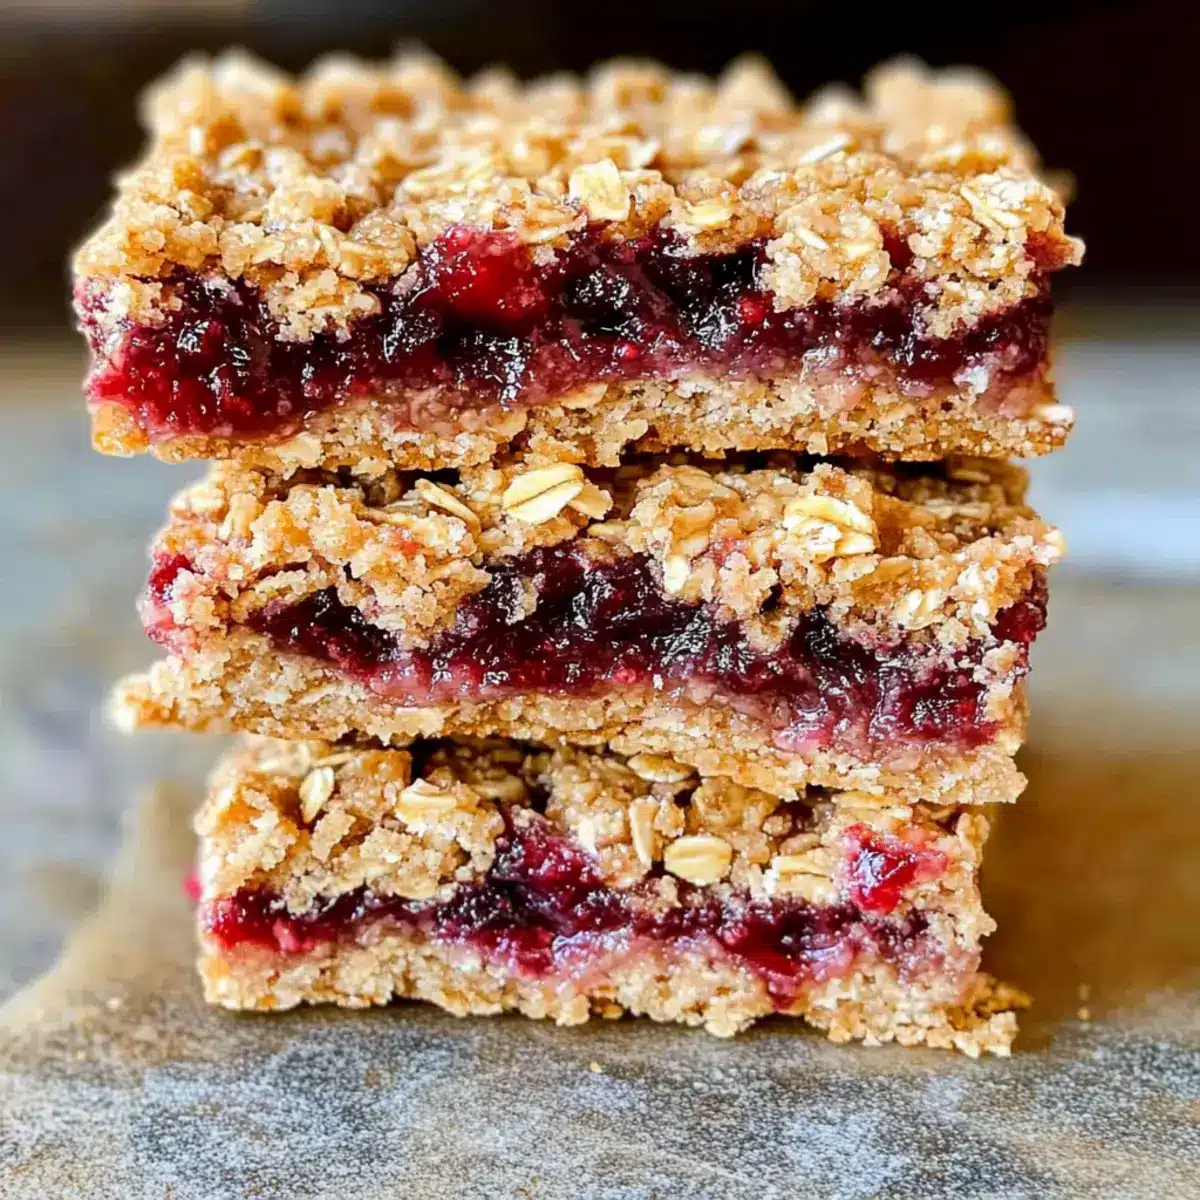
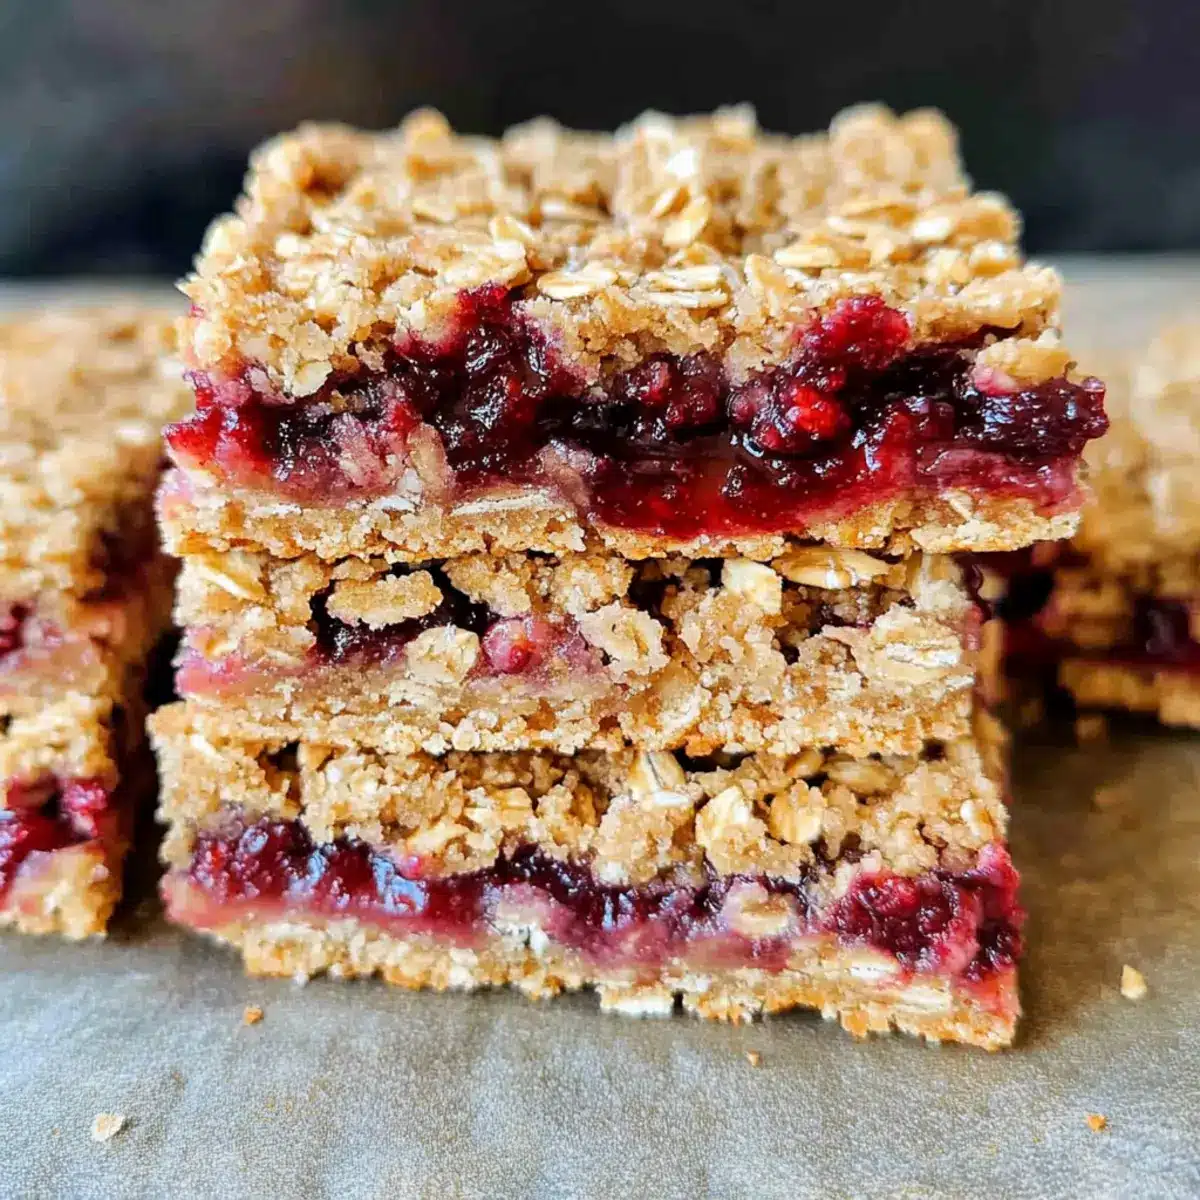
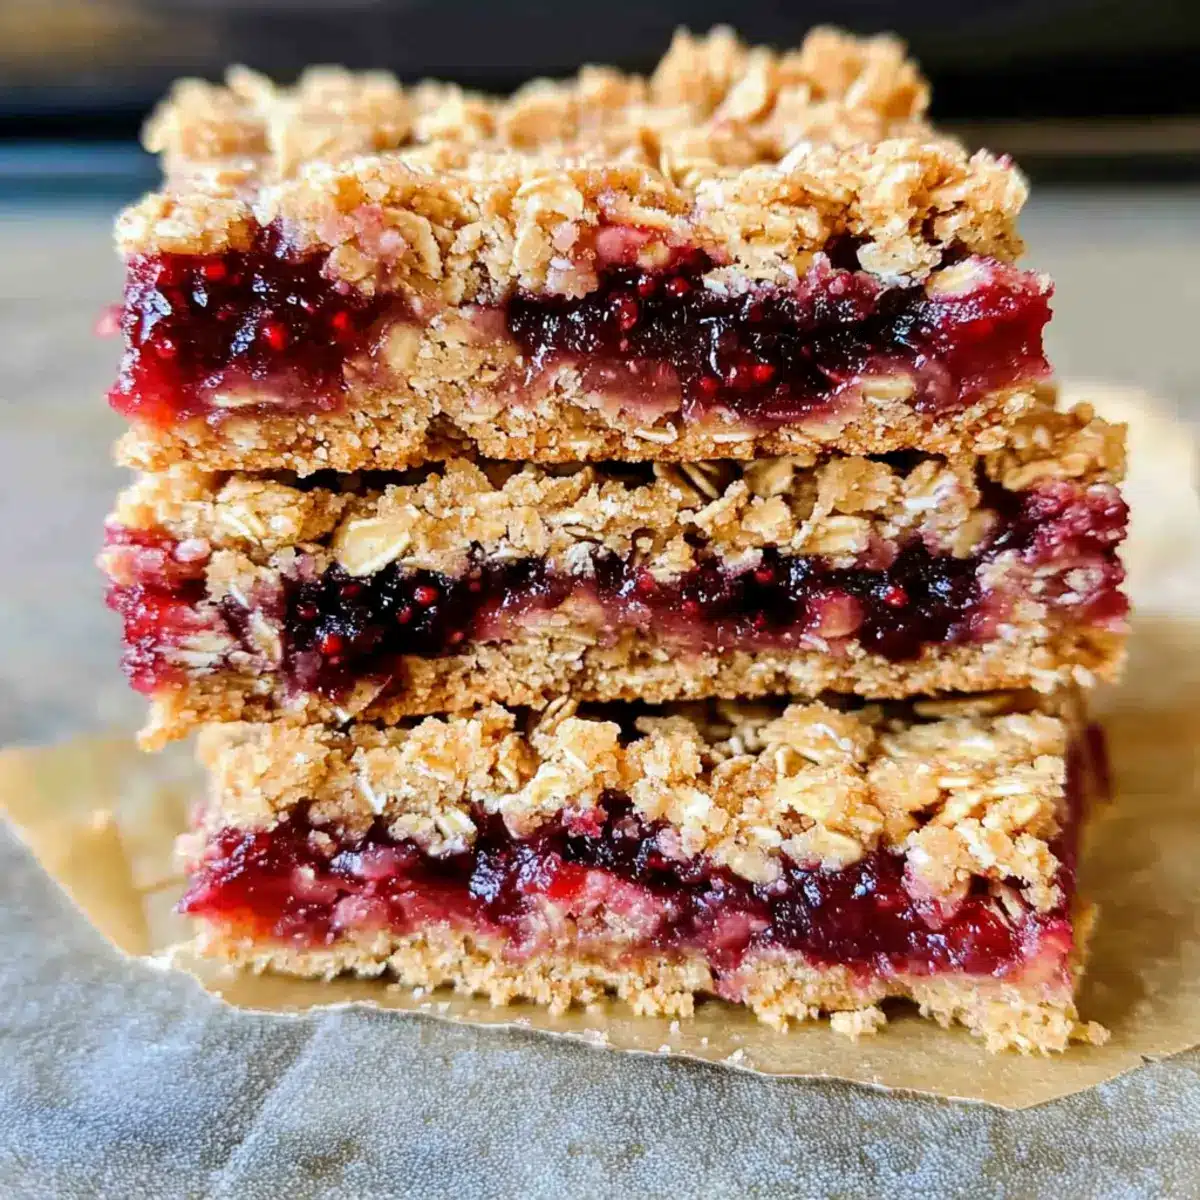
As the sweet aroma of baked berries wafts through my kitchen, I can’t help but smile at the magic happening before my eyes. These Healthy Berry Oat Bars are not just a treat; they’re a warm embrace of wholesome ingredients that cater perfectly to our busy lives. With no refined sugar and the option for gluten-free goodness, you’ll find these bars to be the ultimate grab-and-go breakfast or a nourishing snack. Quick to whip up, they combine chewy oats and fruity preserves to create that perfect harmony of texture and flavor. Plus, you can easily customize them with nut butters or fresh berries to suit your taste. Ready to discover the joy of these delicious berry-packed bites? Let’s dive into this recipe!
Why Are These Berry Oat Bars So Irresistible?
Wholesome Ingredients: Made with natural sweeteners like maple syrup and coconut sugar, these bars offer a guilt-free indulgence that feels good to eat.
Versatile Creations: Customize these bars to your liking! Whether you prefer added nut butter for protein or experimenting with different berry flavors, the options are endless. Just like my Vegan Strawberry Muffins, you can make them your own!
Simple Prep: The recipe is remarkably easy to follow, perfect for busy mornings or quick snacks.
Healthy Snack: Each bar is packed with nutritious oats and heart-healthy fats, making it a great choice for any time of day.
Crowd-Pleaser: These bars are not only delicious but also appeal to a wide range of dietary preferences, including a gluten-free option!
Make Ahead: Bake a batch to enjoy throughout the week, just as you would with my delightful 4-ingredient Chocolate Oat Cookies. Store them for a convenient, wholesome option when cravings hit!
Berry Oat Bars Ingredients
• Dive into the delightful world of making your own Berry Oat Bars with this simple ingredient list!
For the Base
- Coconut Oil – Adds moisture and richness; can be substituted with unsalted butter for a different flavor.
- All-Purpose Flour (or Gluten-Free Substitute) – Forms the structure; switch to a 1:1 gluten-free flour blend for a gluten-free option.
- Quick Oats – Provide the chewy texture and added fiber; rolled oats are a great alternative if needed.
For Sweetening
- Maple Syrup – A natural sweetener that keeps the bars moist; opt for pure maple syrup for the best flavor.
- Coconut Sugar (or Granulated Sugar) – Lowers the glycemic index compared to white sugar; can be swapped with brown sugar if desired.
For Leavening and Flavor
- Baking Powder – Helps the bars rise; ensure it’s fresh for the best results.
- Salt – Balances and enhances the sweetness in the bars.
For the Filling
- Raspberry Preserves – Adds moisture and fruity flavor; feel free to substitute with your favorite jam or fresh berries to make your Berry Oat Bars unique!
Step‑by‑Step Instructions for Berry Oat Bars
Step 1: Preheat the Oven
Start by preheating your oven to 350°F (175°C). While it’s warming up, take an 8×8 inch baking pan and grease it well with coconut oil or non-stick spray to ensure the bars don’t stick later. This initial step sets the stage for perfectly baked Berry Oat Bars with a delightful golden crust.
Step 2: Mix the Dry Ingredients
In a large mixing bowl, combine 1 cup of all-purpose flour, 2 cups of quick oats, 1 tsp of baking powder, and a pinch of salt. Mix these dry ingredients thoroughly with a whisk or wooden spoon until well blended. This ensures that the baking powder disperses evenly, helping your bars rise beautifully as they bake.
Step 3: Combine the Wet Ingredients
In a separate bowl, melt 1/2 cup of coconut oil and allow it to cool slightly. Then, add 1/2 cup of maple syrup and 1/4 cup of coconut sugar. Whisk these wet ingredients together until smooth and combined. This mixture will provide moisture and natural sweetness, making your Berry Oat Bars irresistibly delicious.
Step 4: Combine the Mixtures
Pour the wet mixture into the bowl with the dry ingredients. Stir everything together using a spatula or wooden spoon, mixing until the batter is fully combined. The dough should be slightly sticky and hold together well. This mixture will form the base and topping for your berry-filled oat bars.
Step 5: Press into the Baking Pan
Take about 2/3 of the dough and press it firmly into the bottom of the greased baking pan to create an even layer. Use damp fingers or the back of a measuring cup to make this process easier and to ensure that it’s compact; a firmly pressed base will prevent crumbling once baked.
Step 6: Add the Berry Filling
Spread 1/2 cup of raspberry preserves evenly over the pressed oat base, leaving a small border around the edges. This fruit layer provides both sweetness and moisture to the bars. Feel free to use any other jam or fresh berries if you prefer a different flavor; just be mindful of the moisture content.
Step 7: Top with Remaining Mixture
Sprinkle the remaining oat mixture across the raspberry layer, ensuring it covers the preserves evenly. Gently press this layer down to hold it in place, as it will bake into a delicious topping for your Berry Oat Bars. The result will be a harmonious blend of flavors and textures!
Step 8: Bake to Perfection
Place the baking pan in the preheated oven and bake for 25-30 minutes, until the top is golden brown and has a slight crunch. The edges should be firm, and the center will be set yet soft. Keep an eye on it; you want that perfect golden finish for the ideal Berry Oat Bars.
Step 9: Cool Before Cutting
Once baked, carefully remove the pan from the oven and let it cool completely in the pan. This cooling period will help the bars firm up and make them easier to cut. Once cool, use a sharp knife to slice them into generous bars, ready to be enjoyed any time of the day!
What to Serve with Healthy Berry Oat Bars
These delightful berry oat bars serve as an inviting centerpiece for a wholesome meal that nourishes both body and soul.
- Greek Yogurt: A creamy topping that adds protein and tang; perfect for enjoying with a warm bar.
- Fresh Fruit Salad: Bursting with flavors, this colorful medley complements the sweetness of the bars and adds refreshing brightness.
- Nut Butter Drizzle: A rich, nutty accent that elevates the bars while providing healthy fats and additional texture.
- Herbal Tea: Enjoy a warm cup alongside; the subtle flavors enhance the sweet and fruity notes of the oat bars.
- Almond Milk: This mild, creamy drink pairs beautifully, offering a smooth balance to the hearty texture of the bars.
- Dark Chocolate Shavings: Sprinkle on top for a touch of indulgence, creating a delightful contrast to the chewy oats.
- Coconut Chia Pudding: A creamy and nutritious side that complements the chewy texture of the bars with its own delightful creaminess.
- Apple Slices with Cinnamon: Crisp and sweet, they provide a refreshing crunch that contrasts beautifully with the soft bars.
- Homemade Smoothie: Blend your favorite fruits and greens for a vibrant side that energizes and enriches your wholesome meal!
- Cappuccino or Latte: The rich, velvety texture of coffee elevates your snack or breakfast experience, rounding out a delightful cozy moment.
Expert Tips for Berry Oat Bars
-
Firm Pressing: Always press the oat mixture firmly into the pan; this helps prevent crumbliness post-baking and ensures your Berry Oat Bars hold together beautifully.
-
Sweetness Adjustment: If you prefer chewier bars, add a bit more maple syrup to the wet mixture for extra moisture and sweetness—just be mindful of the overall texture.
-
Moisture Control: When using fresh berries, slightly reduce the amount of preserves or add a touch more oats to maintain the structural integrity of your bars.
-
Flavor Variations: Don’t hesitate to substitute raspberry preserves with other flavors like strawberry or blueberry to create your personalized twist on these Berry Oat Bars.
-
Storage Tips: For optimal freshness, store bars in an airtight container lined with paper towels to absorb moisture, keeping them delightful for up to 5 days.
Make Ahead Options
These Healthy Berry Oat Bars are fantastic for meal prep, allowing you to whip up a batch ahead of time for busy mornings. You can mix the dry ingredients up to 3 days in advance and store them in an airtight container. Additionally, you can prepare the entire recipe and refrigerate the baked bars for up to 5 days. To maintain their chewy texture, ensure they cool completely before cutting and storing them in an airtight container. When you’re ready to enjoy, simply take out the desired number of bars, and they’re delicious cold or warmed slightly in the microwave for a cozy treat. Preparing these bars ahead of time means you’ll always have a wholesome snack on hand!
Berry Oat Bars Customization Ideas
Feel free to get creative with your berry oat bars and make them truly your own!
-
Nut Butter Boost: Fold in 1/4 cup of almond or peanut butter for added richness and protein. This gives your bars a delightful creaminess.
-
Gluten-Free Option: Substitute all-purpose flour with a 1:1 gluten-free flour blend, ensuring a safe and scrumptious treat for everyone to enjoy.
-
Fresh Berries: Swap out raspberry preserves with fresh blueberries, strawberries, or blackberries for a burst of vibrant flavor. Just be mindful of the moisture content!
-
Add Flaxseed: Mix in 1/4 cup of ground flaxseed for a nutritional boost, offering healthy omega-3s and fiber. Your bars will have an extra crunchy texture.
-
Cinnamon Spice: Add a teaspoon of ground cinnamon to the oat mixture for a warm, cozy flavor that complements the berries beautifully.
-
Chocolate Drizzle: For a decadent twist, melt dark chocolate and drizzle it over the cooled bars. It’s a deliciously sweet surprise that everyone will love!
-
Silken Tofu: For a plant-based option, replace the coconut oil with silken tofu blended into the wet mixture for a creamy, lower-fat alternative.
-
Other Preserves: Get adventurous! Use apricot or peach preserves instead of raspberry to create a delightful new flavor experience. Just like my Blackberry Velvet Gothic Cake, this twist will be sure to impress.
How to Store and Freeze Berry Oat Bars
Room Temperature: Store berry oat bars in an airtight container lined with paper towels for up to 5 days to absorb excess moisture and maintain freshness.
Fridge: Alternatively, keep them in the refrigerator for up to 8 days. This method extends freshness and can enhance the flavors as they chill.
Freezer: For longer storage, freeze cut bars in a single layer, then transfer to an airtight container or freezer bag for up to 3 months. Thaw in the fridge overnight before enjoying them again.
Reheating: If you prefer warm bars, simply pop them in the microwave for 10-15 seconds for a delightful, fresh-out-of-the-oven experience!
Berry Oat Bars Recipe FAQs
How do I select ripe berries for my oat bars?
Absolutely! When selecting berries, look for those that are vibrant in color and firm to the touch. Avoid any that have dark spots all over, as these may indicate overripeness or spoilage. Fresh berries should have a pleasant aromatic smell, too. If you’re going for the preserves, choose those without added sugars or artificial ingredients for the healthiest option.
How should I store the leftover Berry Oat Bars?
To keep your berry oat bars fresh, store them in an airtight container lined with paper towels at room temperature for up to 5 days. If you want to extend their freshness, refrigerate them for up to 8 days. Just remember, the paper towels will help absorb any excess moisture, keeping them delightful for snacking!
Can I freeze Berry Oat Bars? If so, how?
Yes, you can! To freeze your berry oat bars, first cut them into individual servings. Then, arrange them in a single layer on a baking sheet and freeze for about 1-2 hours until firm. Once they’re set, transfer the bars to an airtight container or freezer bag, separating layers with parchment paper. They will keep well in the freezer for up to 3 months. Just thaw them in the fridge overnight before enjoying again!
What if my bars crumble when cutting?
Very! This can happen if the oat mixture wasn’t pressed down firmly enough before baking. Next time, make sure to get a good grip and really pack the base and topping layers. If you still find them crumbly, you can try adding a bit more maple syrup to the mixture for extra binding moisture. Sometimes a little extra love (and pressure) goes a long way in holding everything together!
Are these bars safe for people with gluten allergies?
Yes! You can make these berry oat bars gluten-free by using a 1:1 gluten-free flour blend and ensuring your oats are certified gluten-free. Just check the labels to ensure there are no hidden gluten ingredients. The same goes for any additional fillings or flavorings you choose to add—always read labels carefully!
Are there any allergies I should be aware of in this recipe?
Certainly! This recipe includes ingredients like coconut oil and oats, which can be allergens for some individuals. If you’re serving these bars to others, be sure to ask about allergies, especially to nuts if you add nut butter or if you use any nut-based flour alternatives. Always keep food safety first!
Delicious Berry Oat Bars That Fuel Your Day Naturally
Ingredients
Equipment
Method
- Preheat your oven to 350°F (175°C) and grease an 8x8 inch baking pan with coconut oil.
- Mix together the flour, oats, baking powder, and salt in a large mixing bowl.
- In a separate bowl, melt coconut oil and mix in maple syrup and coconut sugar until smooth.
- Combine the wet mixture with the dry ingredients, stirring until fully blended.
- Press 2/3 of the dough firmly into the greased baking pan.
- Spread the raspberry preserves evenly over the pressed base.
- Sprinkle the remaining dough mixture over the raspberry layer and gently press it down.
- Bake in the preheated oven for 25-30 minutes until golden brown.
- Let the bars cool completely before cutting them into pieces.
Leave a Reply