
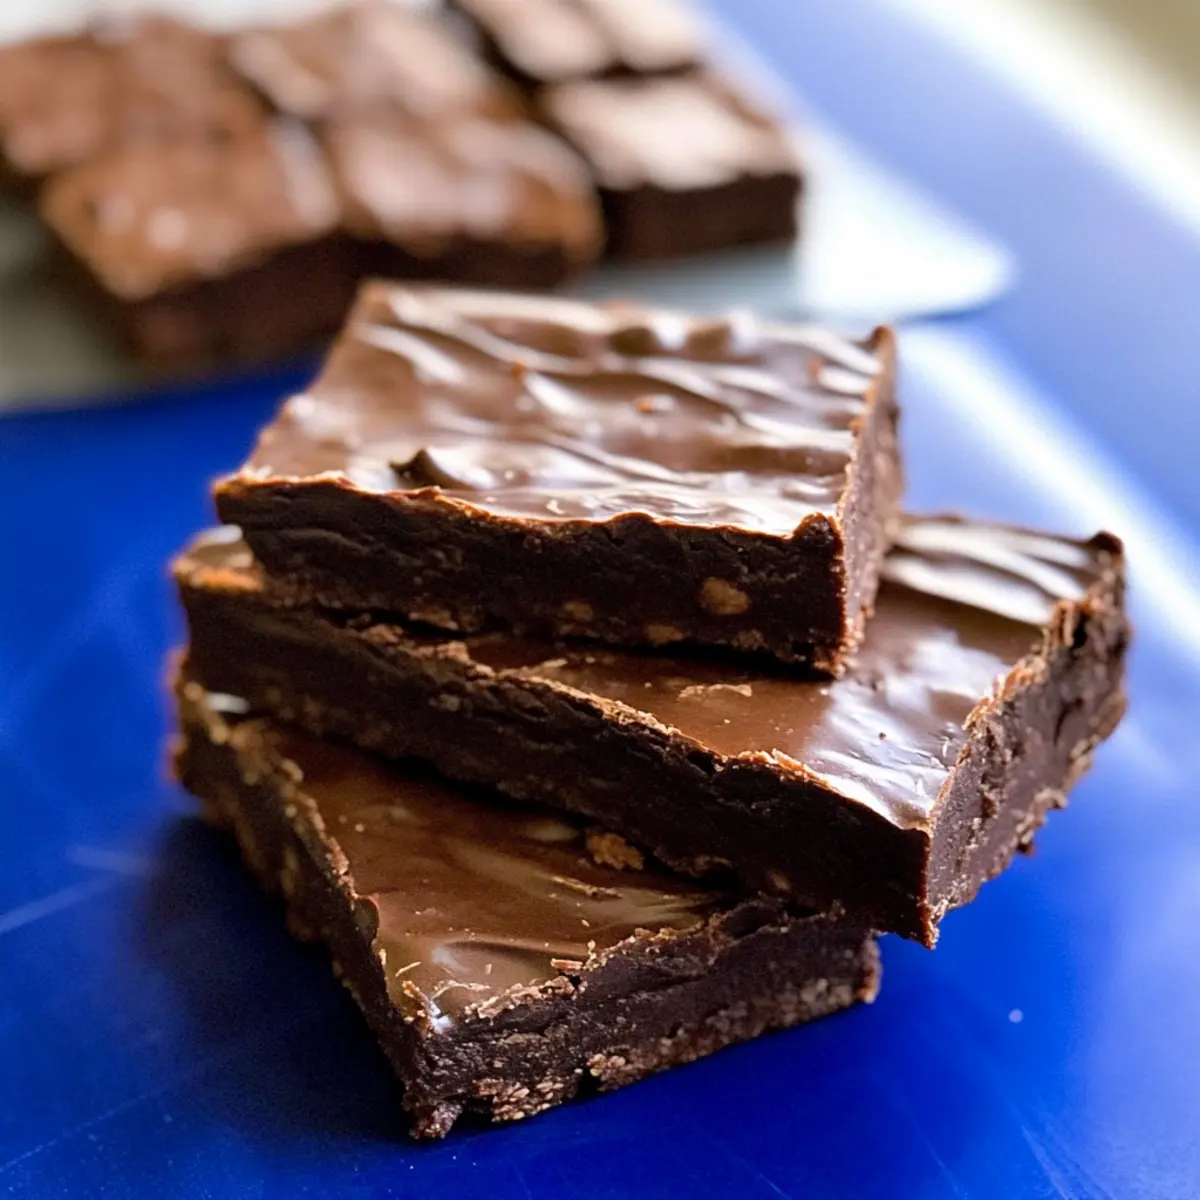
“Can we really have chocolate and still call it healthy?” I overheard my friend questioning as she peeked into my kitchen. That’s when I knew I had to introduce her to my secret: Protein-Packed No-Bake Chocolate Workout Bars. These fudgy delights are not just decadent but crafted with wholesome ingredients that make them a guilt-free treat. Ideal for a quick snack or a delicious breakfast on the go, they are incredibly simple to whip up, and the best part? They’re fully customizable, so you can easily cater to your vegan, gluten-free, or nut-free friends. With each bite, you’re not just indulging; you’re fueling your body with protein and fiber, making these bars an excellent choice for anyone looking to satisfy their sweet tooth without compromising on nutrition. Curious about how to make these irresistible goodies? Let’s dive in!
Why are Chocolate Workout Bars a Must-Try?
Indulgent yet Healthy: These bars deliver the rich, fudgy taste of brownies without the guilt.
Customizable Variety: Easily adapt them to fit vegan, gluten-free, or nut-free diets. Everyone can enjoy!
No-Bake Convenience: Whip them up in no time, making them perfect for busy schedules.
Protein-Packed Nutrition: With black beans and nut butter, these bars are a delightful way to boost your protein intake, especially if you’ve tried other favorites like Chocolate Peanut Butter treats.
Versatile Snacking: Whether as a pre-workout boost or an afternoon pick-me-up, they are always a crowd-pleaser! Don’t miss out on this guilt-free pleasure that caters to your sweet cravings!
Chocolate Workout Bars Ingredients
For the Base
• Black Beans – Provides protein and acts as the main binding agent; substitute with white beans if preferred.
• Salt – Enhances overall flavor; no substitutions necessary.
• Nut Butter – Adds richness and healthy fats; substitute with coconut butter for a nut-free option.
• Pure Maple Syrup (or honey/agave/date syrup) – Acts as a natural sweetener; use any sweetener of choice.
• Cocoa Powder – Provides the rich chocolate flavor; dark cocoa can be used for a deeper taste.
• Oat Flour (or almond flour/rolled oats) – Gives structure; swap rolled oats for lower-carb options like almond flour.
For the Mix-ins
• Chocolate Chips – Adds chocolatey goodness; feel free to substitute with peanut butter chips or white chocolate chips for variation.
These delicious Chocolate Workout Bars are all about enjoying a treat that doesn’t come with a side of guilt!
Step‑by‑Step Instructions for Chocolate Workout Bars
Step 1: Prepare the Pan
Start by lining an 8-inch square pan with parchment or wax paper, ensuring it hangs over the sides for easy removal later. This step is crucial for making sure the Chocolate Workout Bars release easily once set. Smooth out any wrinkles, and set the pan aside so it’s ready for the chocolatey mixture.
Step 2: Rinse the Beans
Drain and thoroughly rinse one can of black beans. This is an important step to remove excess sodium and improve the flavor of your Chocolate Workout Bars. Once rinsed, let them drain completely and check for any undesired bits or skins.
Step 3: Blend the Ingredients
In a high-powered food processor, combine the rinsed black beans, salt, nut butter, pure maple syrup, and cocoa powder. Blend on high until the mixture is completely smooth, approximately 1–2 minutes. Scrape down the sides as needed to ensure everything is well incorporated and has a fudgy texture, perfect for your bars.
Step 4: Incorporate the Dry Ingredients
Add oat flour to the blended mixture and pulse briefly until just combined. This will help bind the Chocolate Workout Bars without overmixing. Be careful not to blend too long; you want to maintain that rich and creamy consistency that makes these bars deliciously fudge-like.
Step 5: Stir in the Chocolate Chips
Transfer the blended mixture to a mixing bowl, then fold in the chocolate chips gently using a spatula. This addition introduces delightful pockets of chocolate throughout your Chocolate Workout Bars. Make sure everything is evenly distributed before moving on to the next step.
Step 6: Spread into the Pan
Spoon the mixture into the prepared pan, using a spatula or the back of a spoon to spread it evenly. Press down firmly to ensure it’s compact, which helps with the bars’ overall texture once set. The surface should be smooth and flat for an even finish.
Step 7: Freeze the Bars
Place the pan in the freezer for at least 30 minutes to allow the Chocolate Workout Bars to set properly. This chilling time helps firm up the bars and makes them easier to slice later on. Keep an eye on the time, as the final texture is key to enjoying these tasty treats.
Step 8: Optional Coating
For an indulgent topping, melt additional chocolate chips with a small amount of coconut oil in a microwave-safe bowl for about 30 seconds, stirring until smooth. Pour this over the set bars and spread it evenly, then freeze again briefly to allow the chocolate coating to harden.
Step 9: Slice and Serve
After the bars have fully set in the freezer, remove them using the parchment overhang and place them on a cutting board. Using a sharp knife, slice them into squares or rectangles as desired. These fudgy Chocolate Workout Bars are now ready to be enjoyed as a nutritious snack or breakfast option!
Chocolate Workout Bars Variations
Feel free to get creative with these chocolate workout bars and make them your own!
-
Vegan Delight: Substitute honey with agave syrup for a completely plant-based treat. It’s just as sweet and delicious!
-
Gluten-Free Crunch: Replace oat flour with gluten-free flour or almond flour. Great for those who are avoiding gluten without sacrificing taste.
-
Nut-Free Option: Swap nut butter for sunflower seed butter to accommodate nut allergies. You’ll enjoy a delightful nuttiness without the nuts!
-
Flavor Boost: Add a half teaspoon of espresso powder or vanilla extract for an extra layer of flavor that elevates the chocolate.
-
Textural Twist: Mix in puffed rice or seeds for a satisfying crunch. This adds a fun texture while keeping the bars balanced.
-
Chocolate Lovers: Use dark chocolate chips instead of semi-sweet for a richer treat. It’s perfect for those who love the deep flavor of dark chocolate.
-
Fruit Fusion: Add chopped dried fruits like cranberries or raisins. They will introduce a natural sweetness and a chewy element to each bite.
-
Spicy Surprise: If you’re in for something a bit more adventurous, sprinkle in some cayenne pepper or cinnamon. A hint of spice can bring a whole new experience to the bars!
These chocolate workout bars are not just versatile in terms of ingredients, but they can harmonize with other delightful treats. If you’re looking for a classic, try pairing these with some Chocolate Chip Cookies. And for a healthier dessert, why not enjoy them alongside Vegan Chocolate Chip cookies? Each variation adds a little something special to the table while keeping that delicious chocolatey goodness intact!
What to Serve with Protein-Packed No-Bake Chocolate Workout Bars
Imagine a wholesome meal where every bite fuels your body with nourishment and satisfaction, perfectly balancing indulgence with health.
- Creamy Greek Yogurt: Offers a tangy contrast to the sweet chocolate, plus a boost of protein to keep you energized throughout the day.
- Mixed Berries Salad: Fresh, juicy berries add sweetness and vibrant color, creating a refreshing side that complements the dense bars beautifully.
- Nutty Granola: Crunchy, toasted granola brings a delightful texture that pairs perfectly with the fudgy chocolate, enhancing the overall snacking experience.
- Chia Seed Pudding: Paired alongside, this creamy and nutritious pudding packs Omega-3s and makes a perfect companion to the fudgy bars.
- Coconut Water: Its light sweetness and hydrating properties make for a refreshing drink that balances the rich flavors of the chocolate workout bars.
- Homemade Smoothie: Blend up your favorite fruits and spinach for a nutrient-dense drink that complements the chewy texture of the bars perfectly.
- Dark Chocolate Dipped Fruit: Enhancing the chocolate experience, the fruity freshness provides an exceptional contrast to the deeper chocolate flavor.
- Almond Milkshake: A creamy and dreamy beverage that adds a nutty twist, making each bite of your chocolate bars even more enjoyable.
- Fruit Skewers: Colorful and fun, they offer a sweet touch that lightens up your meal while adding important vitamins.
- Espresso: A small cup of strong coffee brightens up your palate, enhancing the rich chocolate flavor from these energizing bars.
Expert Tips for Chocolate Workout Bars
-
Smooth Blend: Use a high-speed blender or food processor to ensure a velvety texture. If using a blender, pause to scrape down the sides for even mixing.
-
Proper Pan Lining: Make sure to line the pan well with parchment paper to avoid sticking. This ensures easy removal of your Chocolate Workout Bars later on.
-
Chilling Time: Don’t rush the freezing step! Allow the bars to set for at least 30 minutes to achieve the perfect texture—too little time could result in crumbly bars.
-
Cutting Tip: Let the bars thaw slightly before slicing for cleaner cuts. If they’re too hard, dipping the knife in warm water can help!
-
Creative Mix-ins: Feel free to experiment with different chocolate chips or add-ins like seeds or dried fruit for a personalized twist on your Chocolate Workout Bars!
How to Store and Freeze Chocolate Workout Bars
Fridge: Store leftover Chocolate Workout Bars in an airtight container in the refrigerator for up to 1 week. This keeps them fresh and delicious for a quick grab-and-go snack.
Freezer: For longer storage, freeze the bars in an airtight container for up to 3 months. Be sure to separate layers with parchment paper to prevent sticking.
Thawing: When ready to enjoy, simply remove the desired number of bars from the freezer and thaw in the refrigerator for a few hours. This preserves their fudgy texture and flavor.
Portioning: Consider slicing the bars before freezing. This way, you can easily grab individual pieces without having to thaw the entire batch!
Make Ahead Options
These Chocolate Workout Bars are fantastic for meal prep, allowing you to enjoy a nutritious snack with minimal effort on busy days! You can make the entire mixture (without the optional chocolate coating) up to 24 hours in advance. Simply prepare the bars as instructed, then cover them tightly and refrigerate instead of freezing. To maintain their fabulous texture and taste, store them in an airtight container. When you’re ready to serve, you can add the chocolate coating directly before slicing and enjoy them chilled or at room temperature, ensuring every bite remains just as delicious as when you made them. With these make-ahead options, you’ll have wholesome energy at your fingertips whenever you need it!
Chocolate Workout Bars Recipe FAQs
How do I choose ripe ingredients for my Chocolate Workout Bars?
Absolutely! The key ingredient here is the black beans. When selecting them, look for cans without added sugars or preservatives. If using dried beans, make sure to soak them overnight and cook until tender. For nut butter, choose a natural option without added sugars. Aim for a creamy consistency to enhance the texture of your bars.
How should I store my leftover Chocolate Workout Bars?
Very! To keep your Chocolate Workout Bars fresh, store them in an airtight container in the refrigerator for up to 1 week. If you prefer, you can keep them in the freezer for longer storage, up to 3 months. Just make sure to separate layers with parchment paper to avoid sticking!
Can I freeze Chocolate Workout Bars? If so, how?
Yes! Freezing your bars is super easy. First, allow them to set fully in the refrigerator. Once set, slice them into your desired portions and place them in an airtight container. Layer parchment paper between the bars to prevent sticking. When you want to enjoy them, simply move a few bars from the freezer to the fridge a few hours before serving to thaw!
What should I do if my mixture is too dry?
No worries! If you find that your mixture is too dry, consider adding a touch more nut butter or a small amount of non-dairy milk. Start with 1 tablespoon at a time and blend again until you reach a smoother consistency. Alternatively, adding a bit more sweetener can also enhance moisture.
Are Chocolate Workout Bars suitable for those with allergies?
Indeed! These bars are quite versatile. For nut allergies, simply use coconut butter instead of nut butter and ensure your chocolate chips are dairy-free. For gluten sensitivities, make sure to use certified gluten-free oats or almond flour as your binder. Always check labels to ensure all ingredients meet your dietary needs!
How can I enhance the flavor of my Chocolate Workout Bars?
Very easily! You can add a half teaspoon of vanilla extract or espresso powder to intensify the chocolate flavor. For extra texture and taste, consider folding in dried fruits or seeds like chia or flaxseeds. The more you customize, the more delightful they will be!
Decadent Chocolate Workout Bars You Can Make Today
Ingredients
Equipment
Method
- Prepare the Pan: Line an 8-inch square pan with parchment or wax paper, ensuring it hangs over the sides for easy removal later.
- Rinse the Beans: Drain and thoroughly rinse one can of black beans.
- Blend the Ingredients: In a high-powered food processor, combine the rinsed black beans, salt, nut butter, pure maple syrup, and cocoa powder. Blend until smooth.
- Incorporate the Dry Ingredients: Add oat flour to the blended mixture and pulse briefly until just combined.
- Stir in the Chocolate Chips: Transfer the mixture to a bowl and fold in the chocolate chips.
- Spread into the Pan: Spoon the mixture into the prepared pan, spreading it evenly and pressing down firmly.
- Freeze the Bars: Place the pan in the freezer for at least 30 minutes to set.
- Optional Coating: Melt additional chocolate chips with coconut oil and pour over the set bars.
- Slice and Serve: Remove from the pan and slice into squares or rectangles.
Leave a Reply