
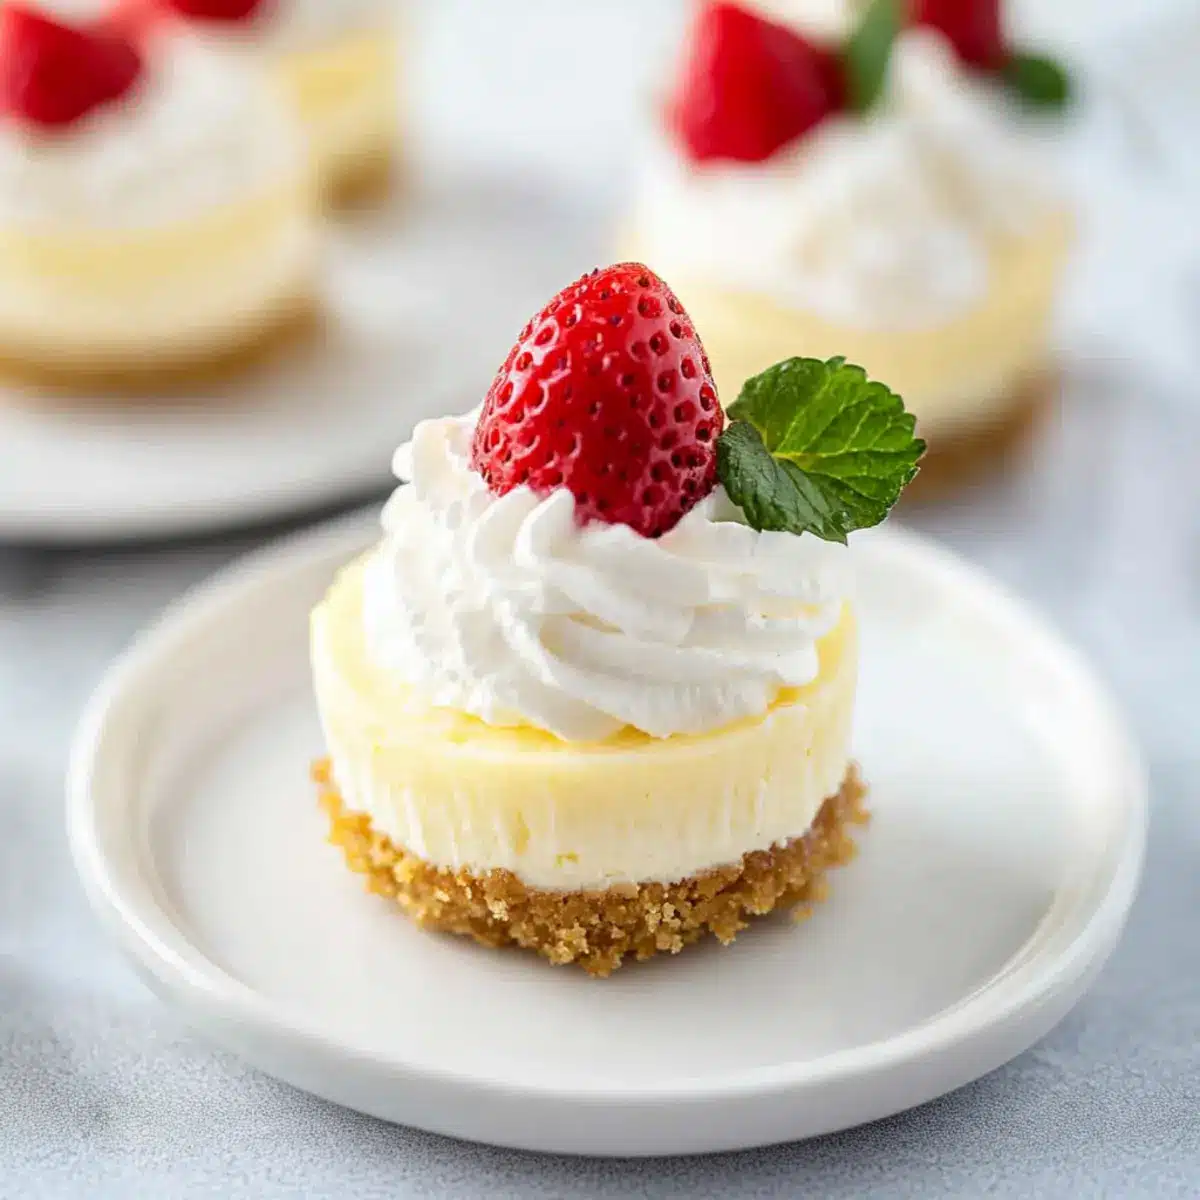
The moment I sank my fork into one of these Mini Cheesecake Cups, an unexpected wave of nostalgia washed over me. These delightful little treats remind me of cozy family gatherings, where desserts like this would bring joy to the table without the fuss. This quick dessert is not only a breeze to whip up, but it offers an irresistible blank canvas for your favorite toppings—think luscious fruit compote or rich chocolate ganache. Perfect for parties or a cozy night in, these mini cheesecakes are customizable and even have a keto option! You’ll love how easy they are to make, and I can guarantee they’ll impress everyone with their creamy texture and irresistible taste. Are you ready to discover the secrets to crafting your own mini cheesecake masterpieces?
Why Are Mini Cheesecake Cups So Irresistible?
Ease of Preparation: These Mini Cheesecake Cups are incredibly simple to make, requiring just a few basic ingredients and minimal kitchen skills, ensuring a stress-free baking experience.
Customizable Delight: With endless topping possibilities, from fresh berries to luscious chocolate ganache, you can adapt these treats to suit any palate and occasion, making them a crowd favorite.
Perfect for Any Occasion: Whether you’re hosting a party or enjoying a cozy night at home, these mini delights will impress your guests and elevate your dessert game effortlessly.
Time-Saving Treat: No need to spend hours in the kitchen; these cheesecakes come together quickly, allowing you to focus on what matters most—enjoying your time with family and friends!
Keto-Friendly Option: For those watching their carbs, a keto variation of these mini cheesecakes ensures that everyone can indulge without guilt! Try them out alongside my Apple Crumble Cheesecake for variety.
Mini Cheesecake Cups Ingredients
For the Crust
• Graham Cracker Crumbs – A crunchy base that adds texture; Substitution: Use chocolate wafers for a delicious twist.
• Unsalted Butter – Helps bind the crust together, enriching the flavor; Tip: Melt it for easy mixing.
For the Filling
• Full Fat Cream Cheese – Provides that smooth, creamy center that cheesecakes are known for; Note: Soften it at room temperature for best results.
• Granulated Sugar – Balances the tanginess of the cream cheese with sweetness.
• Vanilla Extract – Adds a warm, rich flavor to the filling; Substitution: Almond extract can be used for a nutty variation.
• Large Eggs – This helps the cheesecake set properly; Tip: Avoid overmixing after adding for perfect texture.
For Toppings
• Whipped Cream – A luscious topping that adds richness.
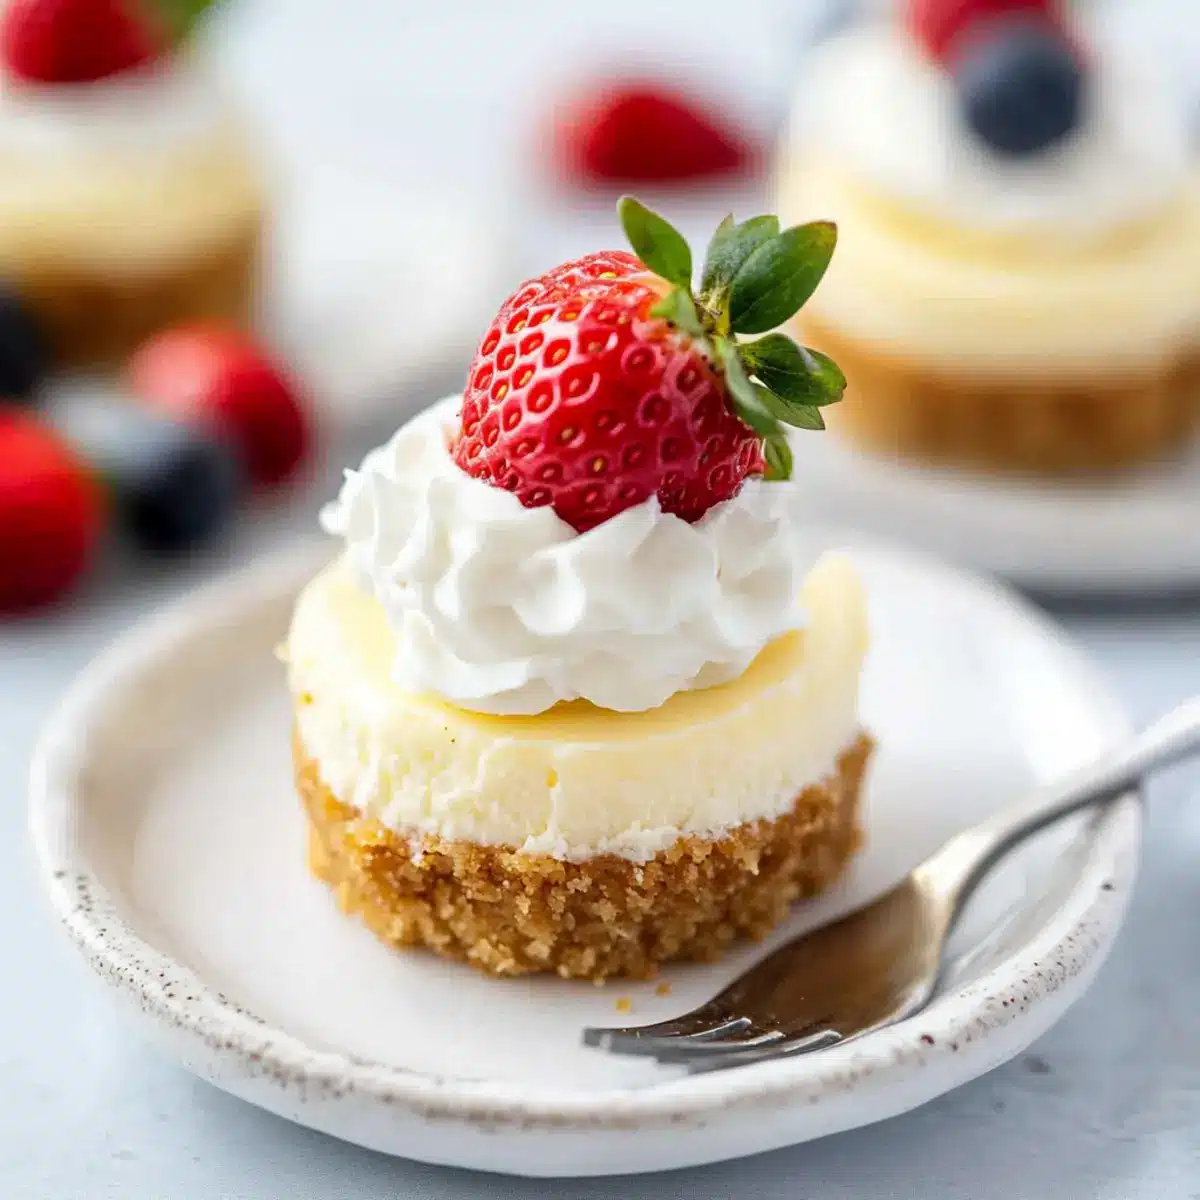
• Fresh Fruit – Enhances flavor and adds a refreshing touch; Great option for your Mini Cheesecake Cups!
• Chocolate Ganache – Elevates the flavor with a deliciously rich chocolate finish; Perfect for chocolate lovers.
Your Mini Cheesecake Cups are just a few ingredients away! Let your creativity shine with custom toppings and crust variations, transforming these simple treats into delightful masterpieces. Enjoy!
Step‑by‑Step Instructions for Mini Cheesecake Cups
Step 1: Prepare the Crust
Begin by preheating your oven to 325°F (163°C). In a mixing bowl, combine graham cracker crumbs with melted unsalted butter until the mixture resembles wet sand. Line a muffin tin with cupcake liners, then evenly press the crumb mixture into the bottom of each liner to form a sturdy crust. Aim for a compact layer that holds together well during baking, then set aside while you make the filling.
Step 2: Mix the Filling
In a large bowl, beat softened full-fat cream cheese with an electric mixer for about 2–3 minutes until creamy and smooth. Gradually add granulated sugar and vanilla extract, mixing well to combine. Next, add large eggs one at a time, ensuring you mix just until incorporated to avoid overmixing. The filling should look smooth and velvety, ready to fill your prepared crusts.
Step 3: Fill Muffin Cups
Carefully pour the cheesecake batter into each muffin cup, filling them about ¾ full to allow for slight rising as they bake. Use a spoon or measuring cup to ensure even distribution for uniform baking. The Mini Cheesecake Cups should be filled generously without overflowing, so give a little shake to settle the batter.
Step 4: Bake the Cheesecakes
Place the muffin tin in the preheated oven and bake your Mini Cheesecake Cups for 20-22 minutes, or until the edges are set but the centers remain slightly jiggly. Keep an eye on them to prevent overbaking, as they will firm up as they cool. The tops should have a slight sheen when done, signaling perfection.
Step 5: Cool Gradually
Once baked, turn off the oven and crack the door open slightly. Leave the Mini Cheesecake Cups in the warm oven for 15-20 minutes, allowing them to cool gradually and prevent cracking. Afterward, transfer the muffin tin to the countertop and let them come to room temperature before refrigerating for at least 4 hours to set completely.
Step 6: Serve and Enjoy
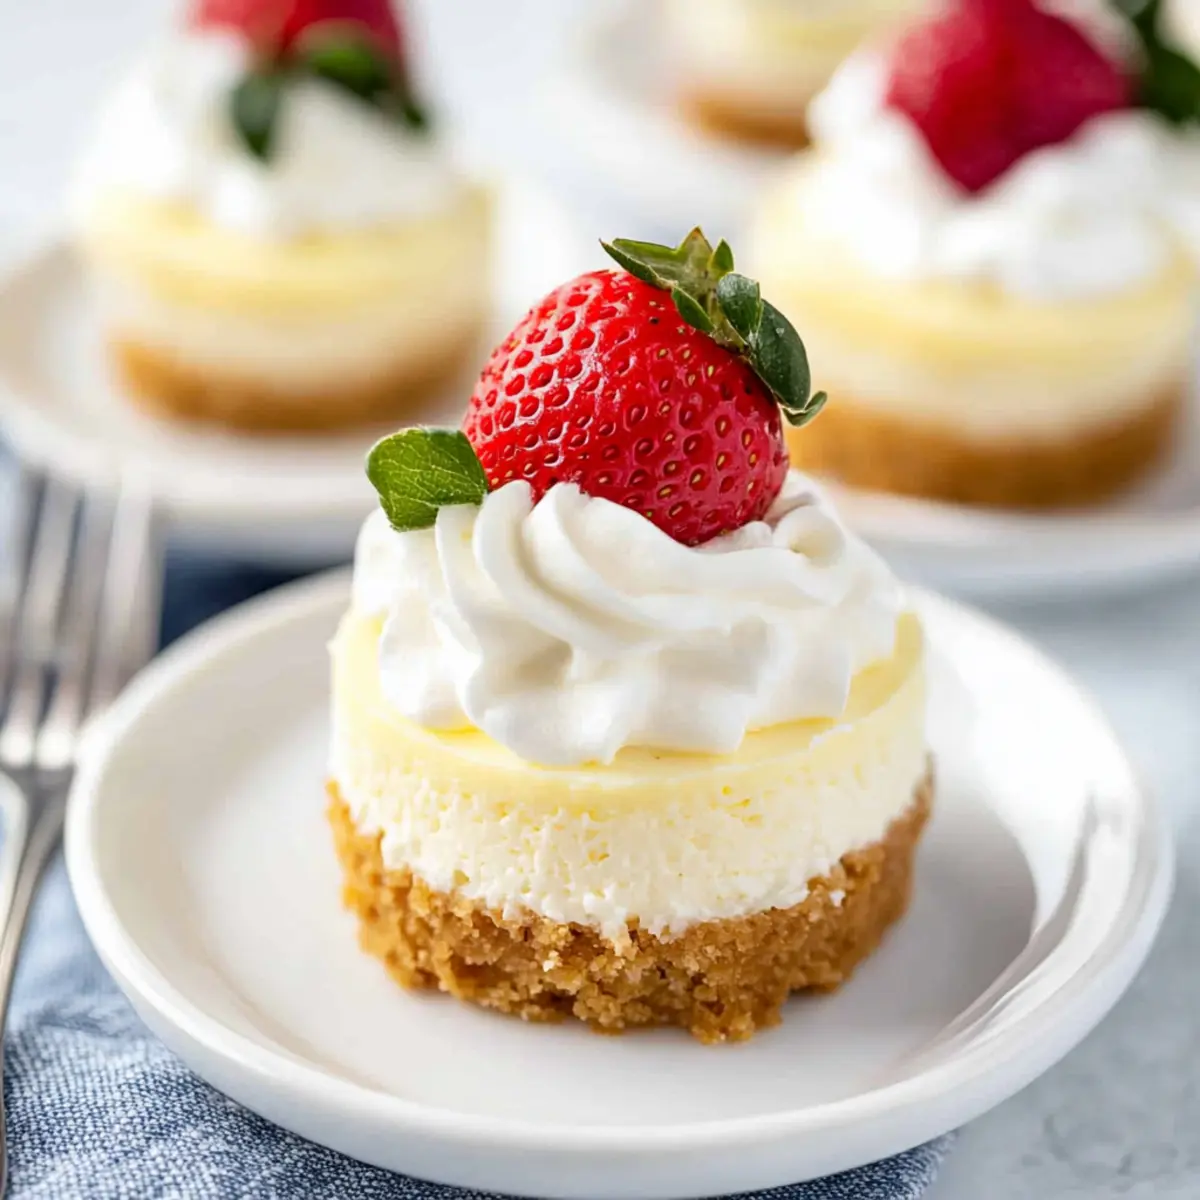
After chilling, carefully peel off the cupcake liners from the Mini Cheesecake Cups. These delightful treats are ready to be topped with your favorite whipped cream, fresh fruit, or chocolate ganache. Arrange your customized Mini Cheesecake Cups on a platter to impress your guests and savor the creamy goodness with every delightful bite!
Mini Cheesecake Cups Variations
Feel free to get creative with these Mini Cheesecake Cups, adding a personal touch to make them uniquely yours!
-
Gluten-Free: Substitute graham cracker crumbs with almond flour or gluten-free cookies to make these adorable bites suitable for gluten sensitivity.
-
Dairy-Free: Use coconut cream instead of cream cheese for a deliciously creamy, vegan alternative. Just chill thoroughly for a refreshing twist!
-
Chocolate Crust: Swap graham cracker crumbs for chocolate cookies to create a rich, indulgent crust that pairs perfectly with the cheesecake filling.
-
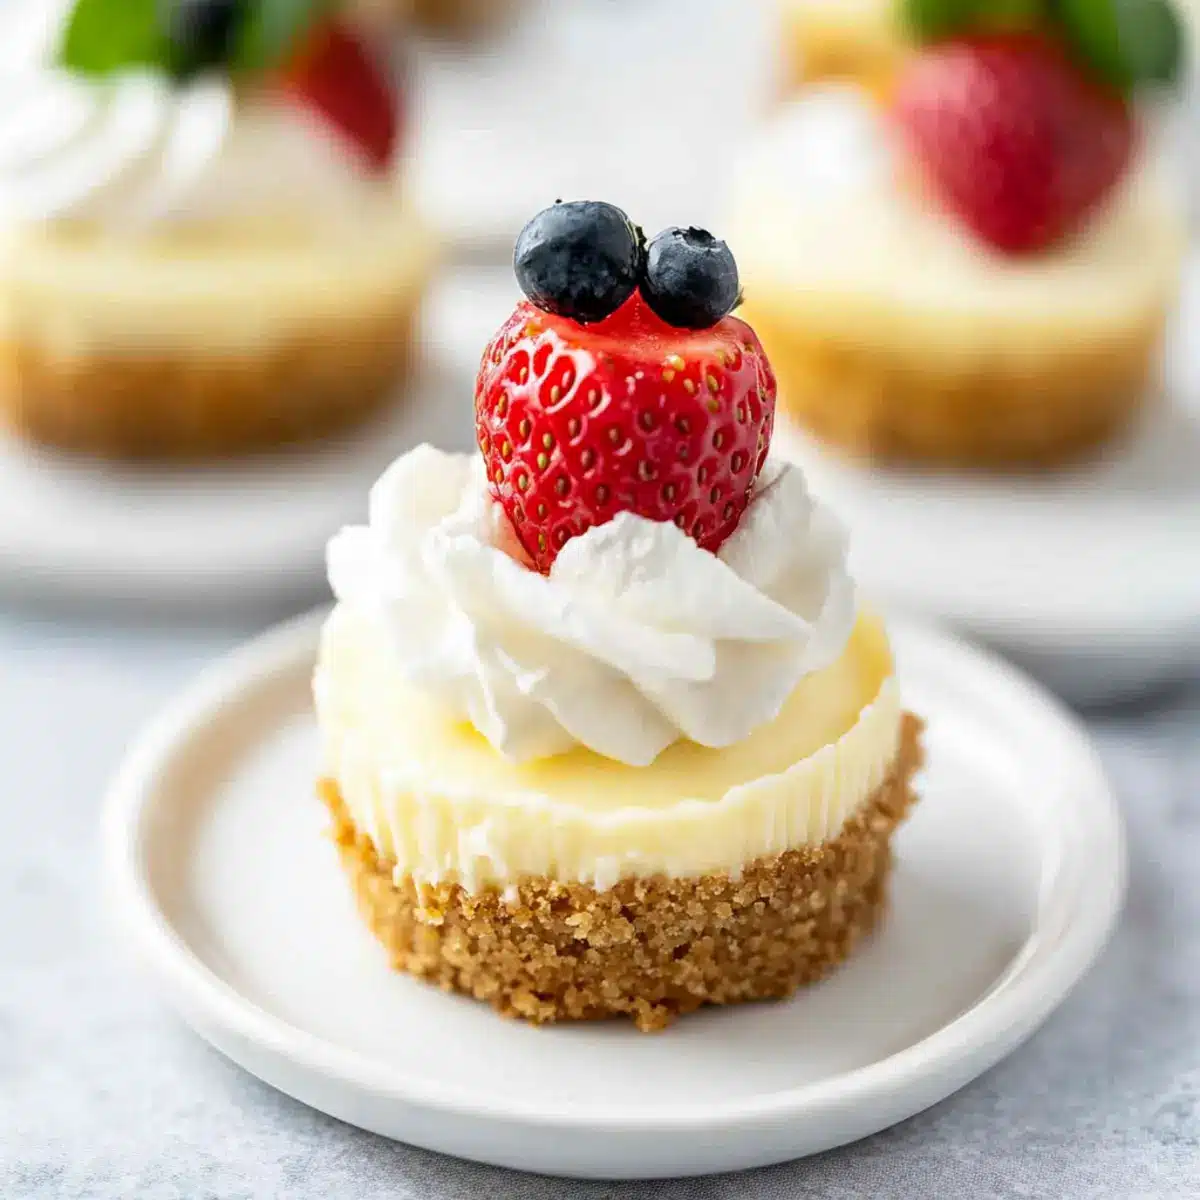
Fresh Fruit Toppings: Top with a mix of berries, kiwi, or sliced peaches for a burst of color and natural sweetness. Fresh fruit adds a delightful contrast to the creamy filling.
-
Nutty Flavor Boost: Add chopped nuts or nut butter directly into the cheesecake mix for an extra layer of flavor and crunch. Almonds or pecans guarantee a delightful twist!
-
No-Bake Option: For an even easier dessert, omit the baking step. Just chill your filled cups in the fridge until firm and enjoy a refreshing no-bake treat!
-
Keto-Friendly: Use erythritol or stevia as a sugar substitute, and almond flour for the crust. This makes for a delightful guilt-free dessert that still satisfies your cheesecake craving!
-
Chocolate Ganache Drizzle: After the cups are chilled, drizzle with homemade or store-bought chocolate ganache for a decadent touch. It’s an easy way to elevate the presentation and flavor!
These variations can help you customize your Mini Cheesecake Cups, ensuring there’s something for everyone! For more delightful dessert ideas, check out my Apple Crumble Cheesecake or another favorite, my Apple Crumble Cheesecake. Enjoy!
How to Store and Freeze Mini Cheesecake Cups
Fridge: Store your Mini Cheesecake Cups in an airtight container in the fridge for up to 7 days. This keeps them fresh and creamy for whenever that sweet craving hits!
Freezer: If you’d like to enjoy them later, freeze the Mini Cheesecake Cups for up to 3 months. Wrap each cup tightly in plastic wrap and place them in a freezer-safe container.
Thawing: To savor your frozen delights, simply transfer them from the freezer to the fridge and let them thaw overnight. This ensures they maintain their rich texture.
Reheating: These cheesecakes are best served cold, so no reheating is needed. Just enjoy them straight from the fridge topped with your favorite additions!
Make Ahead Options
These Mini Cheesecake Cups are perfect for meal prep enthusiasts looking to save time during busy weeks! You can prepare the crusts and filling up to 24 hours in advance. Start by preparing the crust and pressing it into the muffin tins, then cover and refrigerate. For the filling, mix it as usual and store it in an airtight container in the fridge until you’re ready to assemble. When you’re ready to bake, simply pour the filling over the crusts and follow your baking instructions as normal. This way, you’ll enjoy delicious, creamy mini cheesecakes with minimal effort—just as delightful as if you made them all at once!
What to Serve with Mini Cheesecake Cups?
These delightful bites of creaminess invite a medley of sides and accompaniments to create a memorable meal experience.
-
Fresh Berries: Juicy strawberries, blueberries, or raspberries add a burst of fruitiness, balancing the rich texture of the cheesecakes. Their vibrant colors can elevate your dessert presentation too!
-
Chocolate Sauce: A drizzle of velvety chocolate ganache creates a luxurious finish, enhancing the flavor profile with each decadent bite. Perfect for the chocolate lovers in your life.
-
Crisp Salad: A light mixed green salad with a tangy vinaigrette offers a refreshing contrast to the creamy sweetness of the cheesecakes, cleansing the palate beautifully.
-
Coffee or Tea: A steaming cup of coffee or herbal tea pairs perfectly with dessert, providing a warm and comforting end to your meal while elevating the flavors of the cheesecake.
-
Caramel Drizzle: Adding a touch of caramel sauce creates a sweet and salty contrast, complementing the cheesecakes’ creaminess and adding depth to each bite.
-
Ice Cream: Serve these mini treats with a scoop of vanilla or caramel ice cream for an indulgent combination that will leave everyone asking for more. It’s a childhood favorite that never goes out of style!
-
Whipped Cream Topping: Fluffy whipped cream not only enhances richness but brings an airy lightness that complements the dense texture of each cheesecake cup.
-
A Squeeze of Lemon: A hint of fresh lemon juice over the cheesecakes can brighten the flavor, cutting through the richness with a zesty twist that keeps things lively.
Expert Tips for Mini Cheesecake Cups
• Use Room Temperature Ingredients: Allow cream cheese and eggs to sit out for about 30 minutes before use. This helps achieve a smooth filling without lumps.
• Mind Your Baking Time: Check your Mini Cheesecake Cups around the 20-minute mark. Overbaking can lead to dryness and cracking, so aim for a slight jiggle in the center.
• Cool in the Oven: After baking, cool your cheesecakes in the oven with the door ajar. This gradual cooling helps prevent unsightly cracks on the surface.
• Chill Before Serving: Refrigerate mini cheesecakes for at least 4 hours. Chilling helps them set and enhances the creaminess of the texture.
• Don’t Overmix: Once the eggs are added to the filling, mix gently. Overmixing can incorporate air that leads to sinking or cracks.
Mini Cheesecake Cups Recipe FAQs
How do I select the right cream cheese?
Absolutely! For the best results, choose full-fat cream cheese that is fresh and packaged without any dark spots or bloating. I often opt for brands that come in blocks instead of tubs for the creamiest texture. Soften the cream cheese at room temperature for about 30 minutes before mixing to avoid lumps.
What is the best way to store Mini Cheesecake Cups?
To keep your Mini Cheesecake Cups fresh, store them in an airtight container in the refrigerator for up to 7 days. This helps maintain their creamy texture. If you have extras, they freeze beautifully! Just wrap each cup tightly in plastic wrap and place them in a freezer-safe container. They can be frozen for up to 3 months.
Can I freeze these desserts?
Yes, you can definitely freeze Mini Cheesecake Cups for future enjoyment! Wrap each cup individually in plastic wrap, place them in a freezer-safe container, and they will keep well for about 3 months. When you’re ready to enjoy, simply move them to the refrigerator and let them thaw overnight—easy peasy!
What should I do if my cheesecakes crack?
If you’re experiencing cracking, it’s usually due to overbaking or cooling too quickly. To tackle this, make sure to check your Mini Cheesecake Cups around the 20-minute mark and cool them gradually in the oven with the door slightly open for 15-20 minutes after baking. This method helps prevent sudden temperature changes that cause cracks.
Are there any dietary considerations for Mini Cheesecake Cups?
Very much so! If you’re concerned about allergies, keep in mind that these cups contain dairy and eggs. To create a dairy-free option, you can substitute cream cheese with a vegan alternative and coconut oil for the butter. Also, if you’re making these for guests with dietary restrictions, a keto option is available by using low-carb sweeteners and almond flour for the crust!
Can I make these Mini Cheesecake Cups without crust?
The more the merrier! If you prefer a crustless version, just skip the graham cracker crumbs entirely. Pour the cheesecake filling directly into lined muffin cups and bake as instructed. You can still customize the toppings, and this is a fantastic option for gluten-free diets!
Decadent Mini Cheesecake Cups Perfect for Any Occasion
Ingredients
Equipment
Method
- Preheat your oven to 325°F (163°C). In a mixing bowl, combine graham cracker crumbs with melted unsalted butter until the mixture resembles wet sand. Line a muffin tin with cupcake liners, then evenly press the crumb mixture into the bottom of each liner to form a sturdy crust. Set aside.
- In a large bowl, beat softened full-fat cream cheese with an electric mixer for about 2–3 minutes until creamy and smooth. Gradually add granulated sugar and vanilla extract, mixing well. Next, add large eggs one at a time, mixing just until incorporated.
- Carefully pour the cheesecake batter into each muffin cup, filling them about ¾ full. Use a spoon or measuring cup to ensure even distribution.
- Place the muffin tin in the preheated oven and bake your Mini Cheesecake Cups for 20-22 minutes, or until the edges are set but the centers remain slightly jiggly.
- Turn off the oven and crack the door open slightly. Leave the cheesecakes in the warm oven for 15-20 minutes to cool gradually.
- After chilling in the fridge for at least 4 hours, peel off the cupcake liners and top your Mini Cheesecake Cups with whipped cream, fresh fruit, or chocolate ganache.
Leave a Reply