
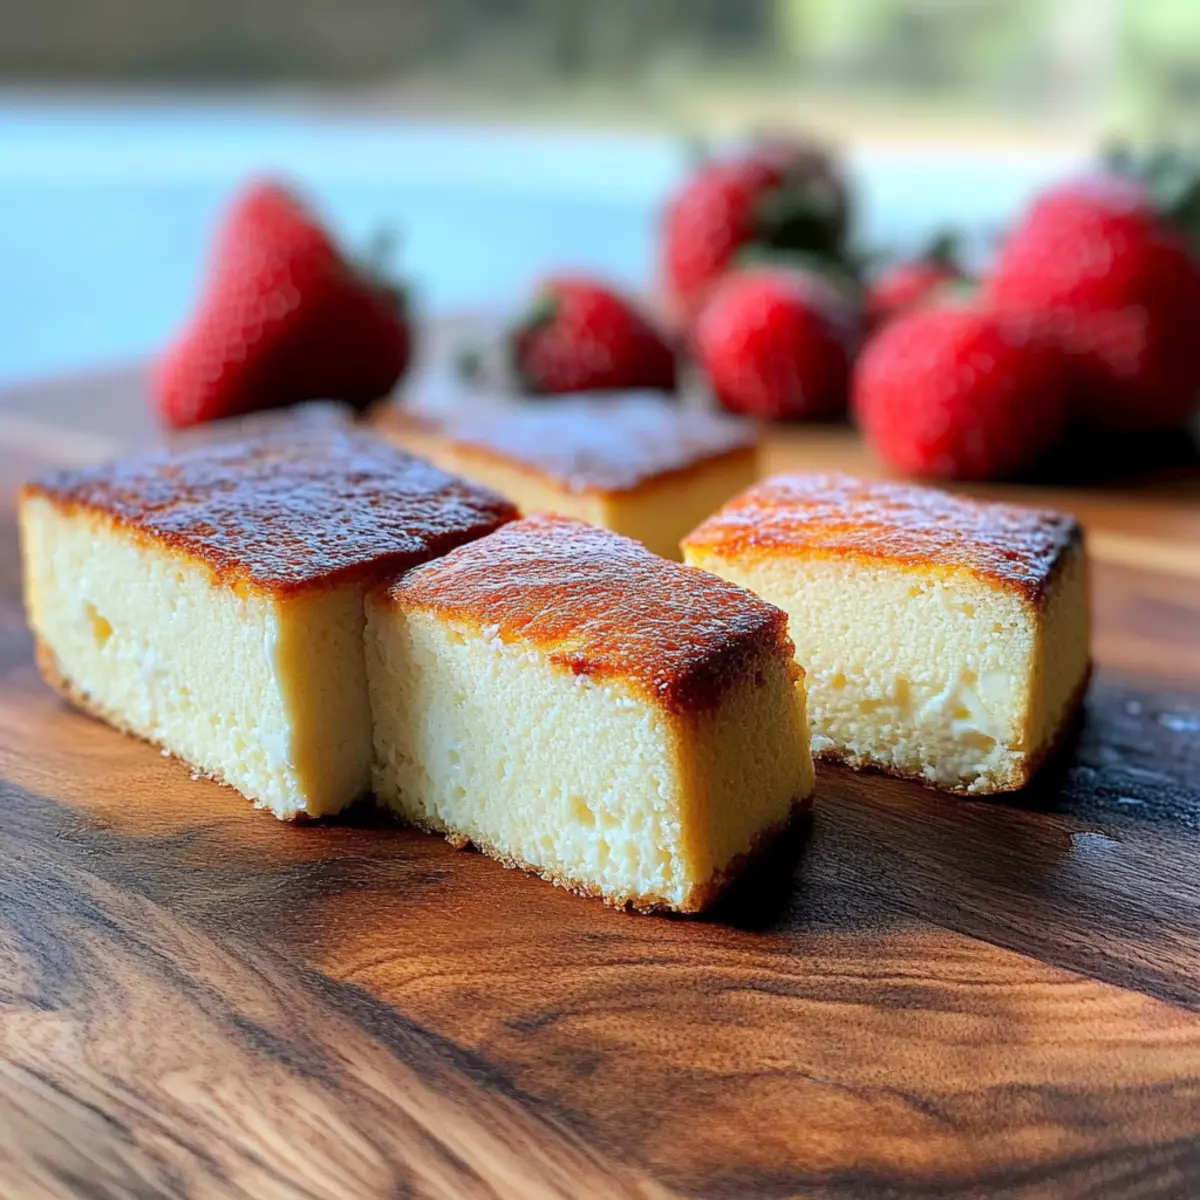
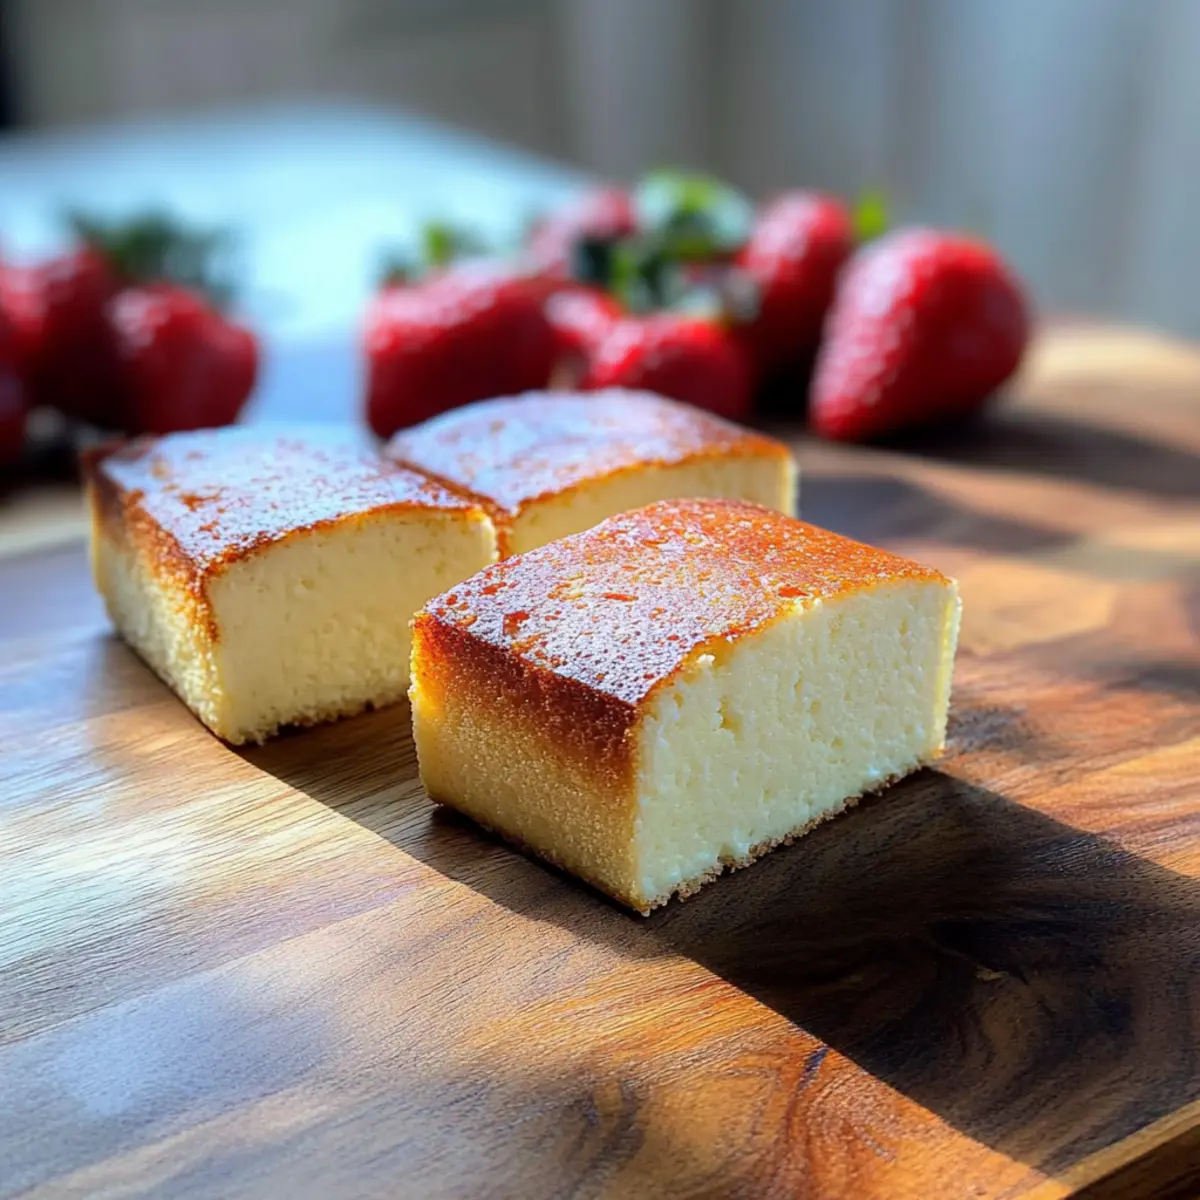
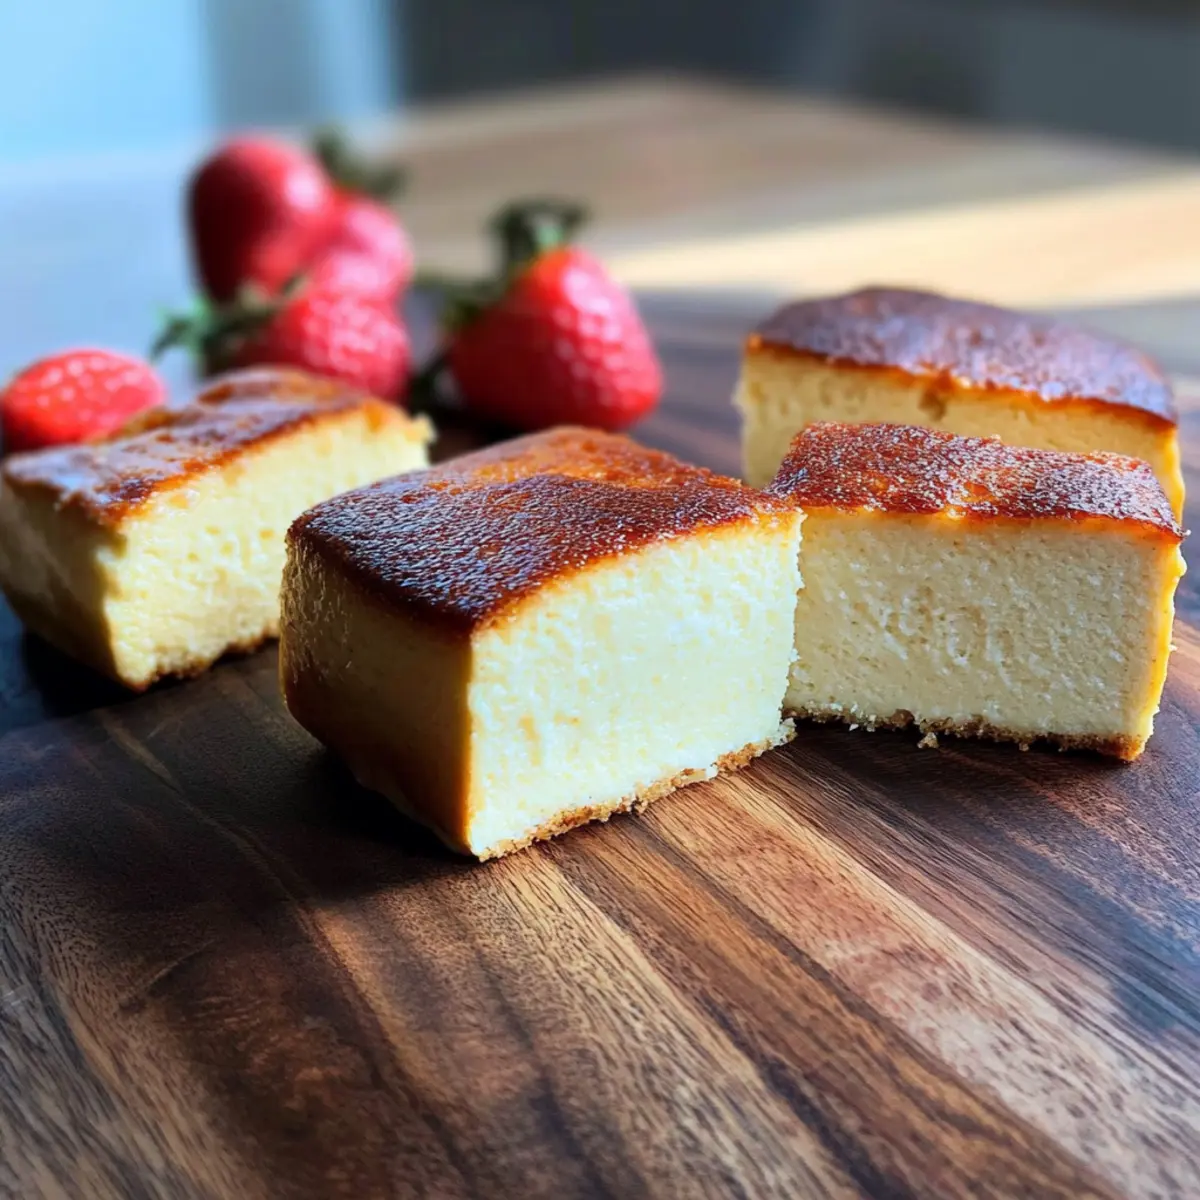
The aroma of a freshly baked cake wafts through the kitchen, instantly transporting me to sun-soaked summers spent sharing desserts with family. This Low-Calorie Sugar-Free Yogurt Cake takes the nostalgic essence of traditional yogurt cake and reimagines it in a healthier, guilt-free way. Each slice offers a wonderful crunch on the outside with a pillowy, cloud-like interior that’s hard to resist. Best of all, with just 140 calories and 16 grams of protein per serving, it’s a delicious way to satisfy your sweet tooth without the sugar crash. Not only does this recipe keep your health goals on track, but it’s also perfect for those lazy afternoons when you crave something light yet indulgent. Intrigued to make this delightful dessert? Let’s dive in!
Why is this Yogurt Cake a Must-Try?
Delightfully Light: Each bite offers a crunchy outer layer with a soft, airy center, providing a unique texture that’s utterly satisfying.
Nutritious Indulgence: With only 140 calories and 16 grams of protein, it works splendidly into any healthy eating plan, making dessert guilt-free.
Versatile Flavor Profile: Customize with flavorings like almond extract or enjoy it plain; this cake adapts to your taste, similar to an Apple Crumble Cheesecake experience.
Easy to Make: A straightforward recipe that’s perfect for beginners or seasoned cooks alike! There are no complicated techniques, just joyful baking.
Perfect for Any Occasion: Whether it’s a light snack or a show-stopping dessert for guests, this Yogurt Cake appeals to all—just like my Chewy Gluten Free Chocolate Chip Cookies recipe!
Get ready to impress your family and friends while keeping your wellness goals in check.
Sugar-Free Yogurt Cake Ingredients
• Get ready to whip up a delightfully light dessert!
For the Cake Base
- Large Eggs (4, separated) – These provide structure; make sure the egg whites are free of yolk for perfect whipping.
- Non-Fat Greek Yogurt (1.5 cups, 350 g) – This creamy base adds protein; feel free to use regular yogurt if you prefer a richer texture.
- Monkfruit Sweetener (⅓ cup, 70 g) – A fantastic sugar alternative that won’t spike your calories; can be replaced with stevia or cane sugar.
- Cornstarch (⅓ cup, 40 g) – Essential for a light structure; arrowroot powder can also do the trick if you have it on hand.
For Flavor Enhancer
- Vanilla Extract (1 tsp, optional) – A little vanilla elevates the flavor profile; almond extract serves as a delightful substitute.
Prepare to create your very own Sugar-Free Yogurt Cake that not only delights the senses but also aligns perfectly with your health goals!
Step‑by‑Step Instructions for Sugar Free Yogurt Cake
Step 1: Preheat Oven and Prepare Mixer
Begin by preheating your oven to 330°F (160°C) to ensure it’s hot and ready. While the oven heats, get your electric mixer set up on a stable surface, as you’ll be using it to whip those egg whites into fluffy perfection for your Sugar Free Yogurt Cake.
Step 2: Separate Egg Yolks and Whites
Carefully separate the egg yolks from the whites, making sure no yolk contaminates the whites; this is crucial for achieving those stiff peaks. Place the yolks in one mixing bowl and the whites in another. This simple step sets the foundation for the cake’s airy texture.
Step 3: Whip Egg Whites
Using your electric mixer, whip the egg whites on medium-high speed until tight, stiff peaks form. This will take about 3-5 minutes. Once done, gently transfer the whipped egg whites to another bowl, ensuring they remain fluffy and intact as they wait patiently for their turn in the Sugar Free Yogurt Cake batter.
Step 4: Mix Egg Yolks with Sweetener
In the same mixer bowl used for the egg whites, combine the egg yolks with the monkfruit sweetener and optional vanilla extract. Beat this mixture on medium speed until it becomes light and fluffy, approximately 4-6 minutes. The sweetener will dissolve, and this blend creates a wonderful base for the cake.
Step 5: Incorporate Greek Yogurt
Add the non-fat Greek yogurt to the whipped yolk mixture, stirring gently until just combined. This addition brings creaminess and protein to your Sugar Free Yogurt Cake, enhancing the overall texture while maintaining its lightness. Do this step slowly to keep as much air in the mixture as possible.
Step 6: Sift and Fold in Cornstarch
Sift the cornstarch into the yogurt mixture and gently fold it in using a spatula. This step is essential for giving structure to the cake while keeping it airy. Be careful not to overmix; you want to maintain the fluffy consistency that the whipped egg whites contributed.
Step 7: Fold in Whipped Egg Whites
Now, gently fold the whipped egg whites back into the yogurt mixture using a spatula. Make sure to incorporate them slowly, using figure-eight motions to avoid deflating the mixture. This process is key to achieving a light and fluffy Sugar Free Yogurt Cake that rises beautifully in the oven.
Step 8: Prepare Baking Dish
Line a 7×11-inch baking dish with parchment paper for easy removal later. Pour the cake batter into the prepared dish, smoothing the top with a spatula. Set up this base, as it will soon transform into a delightful dessert while baking to perfection.
Step 9: Create a Water Bath
Place the filled baking dish into a larger baking tray. Carefully fill the tray with boiling water until it is about 1/4 to 1/3 full, ensuring your cake has moist heat for an even bake. This simple water bath technique helps prevent the Sugar Free Yogurt Cake from collapsing during the baking process.
Step 10: Bake the Cake
Bake in the preheated oven at 330°F (160°C) for 45 minutes. After that time, increase the temperature to 350°F (180°C) and continue baking for an additional 15 minutes or until the cake is golden and firm to the touch. Enjoy the enticing aroma wafting through your kitchen as it bakes.
Step 11: Cool the Cake Gradually
Once baked, turn off the oven and crack the door slightly, allowing your Sugar Free Yogurt Cake to cool in the oven for 1-2 hours. This gradual cooling helps prevent deflation, ensuring your cake retains its lovely airy structure while the flavors develop even further.
Expert Tips for Sugar Free Yogurt Cake
-
Whip with Care: Make sure your egg whites are whipped to stiff peaks—this is essential for a fluffy texture. Mistaking softness for stiffness can lead to a dense cake.
-
Use a Water Bath: Placing your cake pan in a water bath during baking helps maintain moisture and prevents deflation. Skipping this step may result in a flat dessert.
-
Cool Gradually: Allow the cake to cool in the oven with the door cracked open. This simple technique helps retain its airy structure and prevents collapse.
-
Ingredient Quality Matters: Choose high-quality, fresh ingredients like Greek yogurt and monkfruit sweetener for the best flavor. Using stale ingredients can hinder the taste and texture of your sugar-free yogurt cake.
-
Try Flavor Variations: Don’t hesitate to experiment! Swap vanilla extract for almond extract, or consider adding a hint of citrus zest for a delightful twist. This versatility keeps the cake exciting and personalized!
How to Store and Freeze Sugar-Free Yogurt Cake
Fridge: Store leftovers in an airtight container to keep the cake fresh for up to 3 days. The moisture will help prevent it from drying out, allowing you to enjoy the fluffy texture longer.
Freezer: To freeze, wrap the cake tightly in plastic wrap and then foil. It can be frozen for up to 2 months. Thaw overnight in the fridge to maintain its light and airy quality.
Reheating: For the best texture, reheat individual slices in the microwave for about 10-15 seconds or in the oven at 325°F (160°C) for 5-10 minutes. Enjoy your Sugar-Free Yogurt Cake warm!
Make Ahead Options
These Sugar-Free Yogurt Cake preparations are a dream come true for busy home cooks! You can mix the batter and refrigerate it up to 24 hours in advance, helping you save precious time. Simply follow the recipe up to the step of folding in the whipped egg whites, cover the mixing bowl tightly with plastic wrap, and place it in the fridge. When you’re ready to bake, just give the mixture a gentle stir to reincorporate any separation and follow the remaining steps for a delightful cake that’s just as delicious. This make-ahead method ensures you’re all set for fresh, guilt-free dessert whenever the craving strikes!
Sugar-Free Yogurt Cake Variations
Feel free to get creative with your Sugar-Free Yogurt Cake! Each variation will add a unique twist to this delightful dessert.
-
Dairy-Free: Swap Greek yogurt with coconut yogurt for a dairy-free delight. The coconut flavor enhances the cake’s tropical vibe.
-
Nut-Free: Use sunflower seed yogurt instead of Greek yogurt to keep it nut-free. This way, everyone can enjoy the cake without worry.
-
Extra Flavor: Add orange or lemon zest to the batter for a citrusy boost. It enhances the cake’s brightness, making each bite more refreshing.
-
Gluten-Free: Replace cornstarch with almond flour or a gluten-free flour blend. This keeps the cake suitable for gluten-sensitive guests while adding extra richness.
-
Richer Cake: For a denser, cheesecake-like texture, substitute half of the yogurt with low-fat cream cheese. This gives the cake a creamy flavor that’s hard to resist!
-
Chocolate Twist: Mix in a couple of tablespoons of cocoa powder for a chocolaty version of the cake. It provides a delightful contrast to the tangy yogurt.
-
Berry Good: Fold in fresh or frozen berries before baking. Blueberries or raspberries pair well with yogurt, making the cake even more vibrant and tasty!
-
Spicy Kick: Add a teaspoon of cinnamon or a pinch of nutmeg to the batter. This warms up the flavor profile, bringing a cozy, festive touch to your cake.
Each of these variations offers a different way to enjoy your Sugar-Free Yogurt Cake, just like indulging in a slice of Velvet Gothic Cake or a comforting piece of Chocolate Poke Cake. Let your creativity shine as you craft your very own delicious twist!
What to Serve with Sugar-Free Yogurt Cake
Indulge in delightful pairings that elevate your Sugar-Free Yogurt Cake into a full-fledged feast for your taste buds.
-
Fresh Berries: Their juicy sweetness and slight tartness make a perfect balance with the cake’s creamy texture. Strawberries, blueberries, or raspberries can turn your dessert into a vibrant fruit medley.
-
Sugar-Free Whipped Cream: A light dollop enhances your cake’s fluffiness. It’s like adding a cloud, providing a smooth, creamy contrast to the cake’s texture.
-
Chilled Herbal Tea: A refreshing cup of chamomile or mint tea doesn’t overpower the cake. Rather, it gently complements its subtle tang, adding a soothing touch to your dessert experience.
-
Toasted Almonds: Their nutty crunch adds a delightful texture contrast while amplifying the cake’s flavor profile, inviting a satisfying crunch in every bite.
-
Honey Drizzle: A light swirl of honey can enhance sweetness without overpowering the sugar-free theme, offering a beautiful glaze that brings everything together found in bakery treats.
-
Cocoa Powder Dusting: A sprinkle of unsweetened cocoa adds visual appeal and introduces a slightly bitter note that pairs wonderfully with the cake’s rich creaminess, enriching each slice.
-
Coconut Flakes: Lightly toasted coconut brings an exotic flair. Its softness and subtle sweetness beautifully harmonize with the yogurt cake, making for an island-inspired treat that’ll whisk you away.
Sugar-Free Yogurt Cake Recipe FAQs
What type of yogurt should I use for the best results?
I recommend using non-fat Greek yogurt for a creamy texture and added protein, but regular yogurt can be substituted if you prefer a richer cake. Look for yogurt without added sugars for a truly sugar-free experience.
How should I store leftover Sugar-Free Yogurt Cake?
Store your cake in an airtight container in the refrigerator for up to 3 days. This method helps retain its moisture and fluffy texture, allowing you to enjoy each slice as if it were freshly made!
Can I freeze Sugar-Free Yogurt Cake? What’s the best way to do it?
Absolutely! To freeze, wrap the cooled cake tightly in plastic wrap, then cover it with foil to prevent freezer burn. It can be frozen for up to 2 months. When you’re ready to enjoy it, thaw it overnight in the fridge to maintain its delightful texture.
What should I do if my egg whites aren’t whipping to stiff peaks?
If your egg whites are not reaching stiff peaks, ensure that there are no traces of yolk in the bowl, as fat impedes the whipping process. You might also want to check that your mixing bowl is completely clean. For best results, whip them at medium-high speed until they become glossy and hold their shape firmly.
Can I substitute monkfruit sweetener with another sweetener?
Yes, you can! If monkfruit sweetener isn’t available, pure stevia or regular sugar can be excellent alternatives. Keep in mind that you may need to adjust the quantity, as some sweeteners are sweeter than others. I often find that monkfruit provides the best taste without adding calories.
Is this recipe suitable for people with allergies?
The Sugar-Free Yogurt Cake is free of refined sugars and can be made gluten-free by using a gluten-free cornstarch or flour alternative. However, if you have egg allergies, this recipe may not be suitable, as it relies heavily on eggs for both structure and texture.

Delicious Sugar Free Yogurt Cake That’s Light and Fluffy
Ingredients
Equipment
Method
- Preheat your oven to 330°F (160°C) and prepare your electric mixer.
- Separate the egg yolks from the whites carefully.
- Whip the egg whites on medium-high speed until stiff peaks form, about 3-5 minutes.
- Combine the egg yolks with the monkfruit sweetener and vanilla extract, beating until light and fluffy (4-6 minutes).
- Incorporate Greek yogurt into the whipped yolk mixture gently.
- Sift in the cornstarch and fold it into the mixture.
- Fold the whipped egg whites back into the yogurt mixture carefully.
- Line a 7x11-inch baking dish with parchment paper and pour in the batter.
- Place the baking dish into a larger tray filled with boiling water (1/4 to 1/3 full).
- Bake at 330°F (160°C) for 45 minutes, then increase to 350°F (180°C) for another 15 minutes.
- Turn off the oven and crack the door slightly, allowing the cake to cool gradually for 1-2 hours.
Leave a Reply