
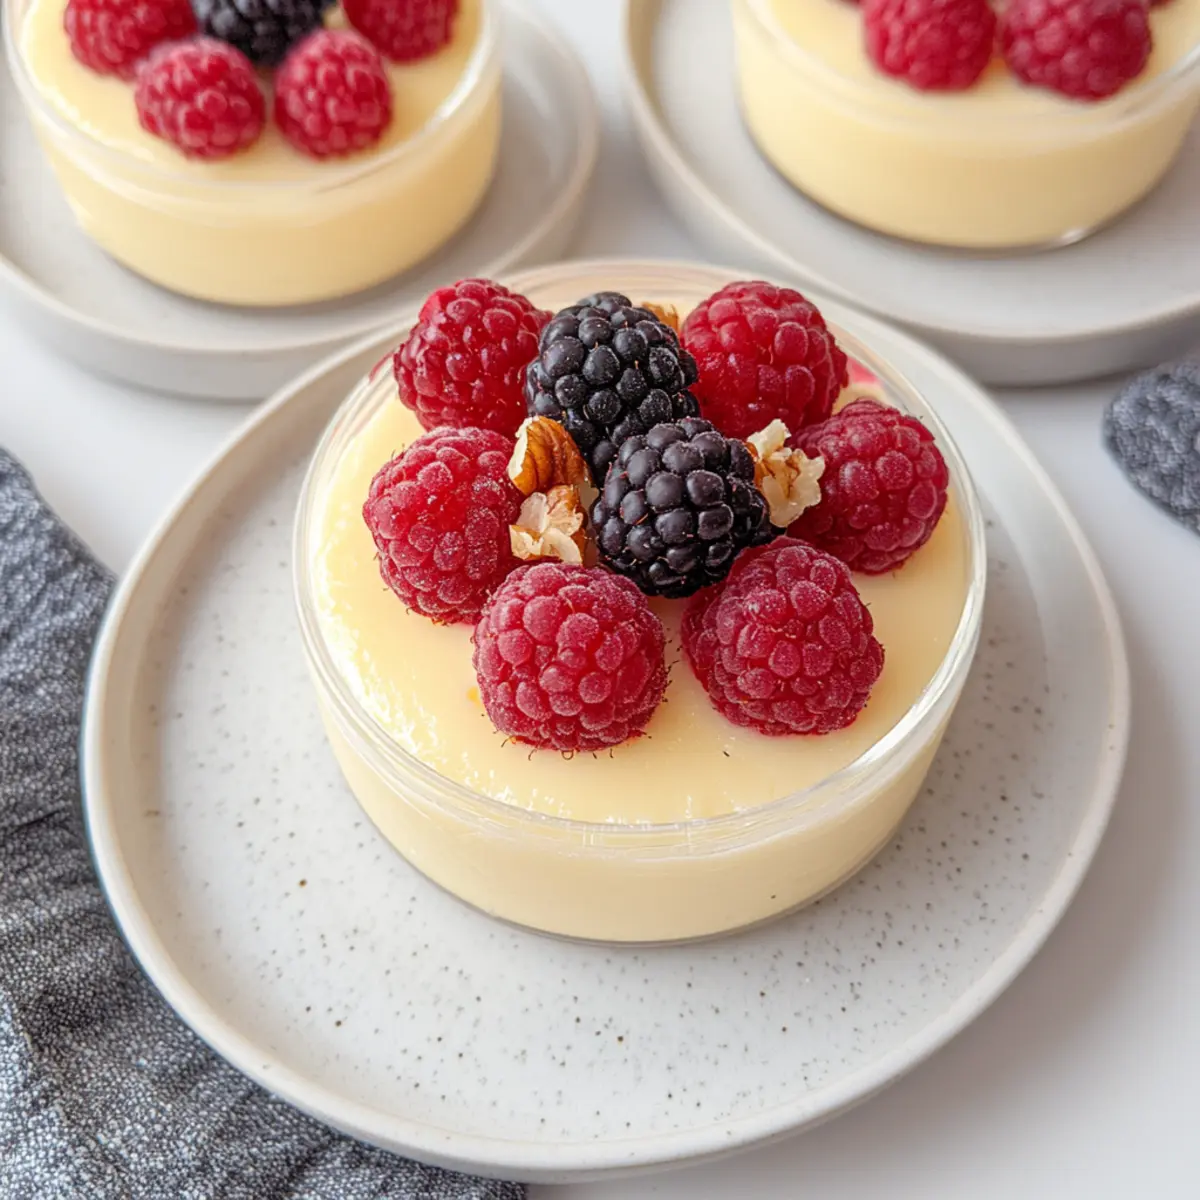
There’s something magical about whipping up dessert without breaking a sweat, isn’t there? This No-Bake Greek Yogurt Jello Cheesecake is just that—a creamy, dreamy dessert that comes together effortlessly, no oven required. What I love most about this recipe is its quick preparation and the versatile flavor possibilities it offers. You can indulge in its fluffy texture by mixing in some fresh fruits or nuts, turning it into a delightful masterpiece. Plus, with Greek yogurt as the secret star ingredient, you’re treating yourself and your loved ones to a healthier option that doesn’t compromise on taste. Curious to create a sweet escape that’s both light and satisfying? Let’s dive in!
Why is No-Bake Greek Yogurt Jello Cheesecake a Must-Try?
Effortless Preparation: You’ll love how simply this dessert comes together—no baking means zero fuss! Just whisk and chill for that fabulous creamy bliss.
Healthy Indulgence: Packed with Greek yogurt, this cheesecake is not only delicious but also a nutritional win. You get probiotics and protein without the guilt.
Versatile Delight: Customize with fresh fruits or nuts for a flavor profile that reflects your creativity. Imagine mango chunks or crunchy almonds adding a delicious twist!
Crowd-Pleasing Treat: Whether for a brunch or a family gathering, this cheesecake impresses without keeping you tied to the kitchen. Serve alongside other delights like Apple Crumble Cheesecake for a full spread!
Make-Ahead Convenience: Prepare this dessert a day in advance and let it chill overnight for seamless hosting. It’s the perfect solution to those last-minute party plans!
No-Bake Greek Yogurt Jello Cheesecake Ingredients
• Get ready to whip up a creamy dessert!
For the Cheesecake Base
- Greek Yogurt – This creamy base creates a rich texture; choose regular for substance or fat-free for a lighter feel.
- Cheesecake Pudding Mix – Adds sweetness and necessary structure; ensure it’s evenly whisked to avoid pesky lumps.
- Milk (optional) – Use this to thin down your yogurt if you desire a lighter consistency.
For Customization
- Food Coloring (optional) – Enhance visual appeal with gel colors; they won’t alter consistency, keeping it perfect.
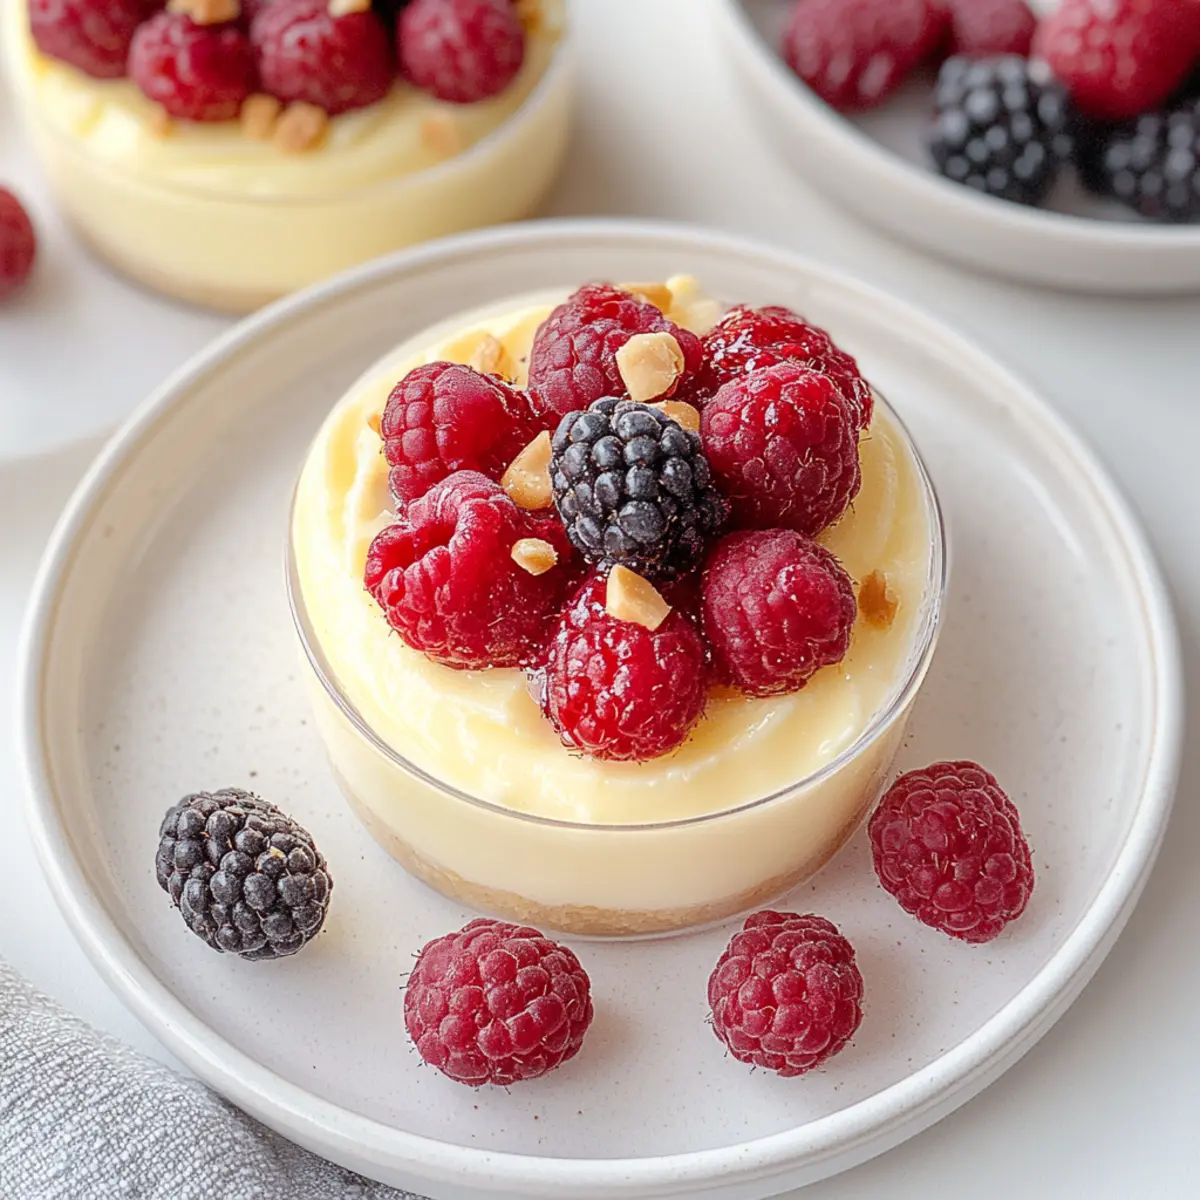
- Fresh Fruits (optional) – Boost freshness by incorporating berries, banana slices, or mango chunks; they brighten every bite!
- Nuts (optional) – Add a delightful crunch; consider almonds, walnuts, or pecans to elevate the texture and flavors.
Enjoy creating this No-Bake Greek Yogurt Jello Cheesecake and savor each delicious mouthful!
Step‑by‑Step Instructions for No-Bake Greek Yogurt Jello Cheesecake
Step 1: Whisk the Base
In a large mixing bowl, combine the Greek yogurt and cheesecake pudding mix. Using a whisk, stir vigorously until the mixture becomes smooth and creamy, which should take about 2 minutes. If you notice any lumps, continue whisking for another minute until the mixture is completely uniform and light.
Step 2: Adjust Consistency
If the mixture seems too thick after whisking, gradually add a splash of milk, stirring well until you reach your desired consistency. For a firmer cheesecake texture, consider mixing in an additional ½ tablespoon of pudding mix. This step is crucial to achieving that lovely mousse-like feel of your no-bake Greek yogurt jello cheesecake.
Step 3: Chill the Mixture
Transfer the creamy cheesecake mixture into an airtight container. Seal it tightly and place it in the refrigerator to chill for at least 4 hours, or preferably overnight. This allows the flavors to meld beautifully and the texture to set, creating a decadent dessert that’s just waiting to be enjoyed.
Step 4: Prepare for Serving
Once your cheesecake has chilled, take it out of the refrigerator and give it a gentle stir. This step ensures a smooth consistency before serving. If you’re feeling creative, you can enhance your no-bake Greek yogurt jello cheesecake with fresh fruits or nuts, adding a delightful touch right before presentation.
Step 5: Serve and Enjoy
Spoon the cheesecake into individual serving dishes or slices on a plate. For a lovely finish, garnish with slices of fresh fruit or a drizzle of honey. Take a moment to appreciate your effort in creating this creamy, dreamy no-bake Greek yogurt jello cheesecake, and gather your loved ones to indulge in this delicious treat!
Expert Tips for No-Bake Greek Yogurt Jello Cheesecake
-
Chill Time Matters: Ensure you chill the cheesecake for at least 4 hours. This helps it achieve the perfect mousse-like texture that’s so delightful.
-
Whisking Technique: If you encounter lumps, whisk vigorously for an extra minute. This will prevent annoying clumps in your creamy cheesecake mixture.
-
Avoid Freezing: Never freeze your no-bake Greek yogurt jello cheesecake. Freezing can lead to a grainy texture that detracts from its creamy goodness.
-
Customize Wisely: When adding fruits or nuts, mix them in just before serving to maintain freshness and texture. This keeps your dessert as light as possible.
-
Use Quality Ingredients: Opt for high-quality Greek yogurt and pudding mix. Superior ingredients will elevate the overall flavor and texture of your cheesecake.
No-Bake Greek Yogurt Jello Cheesecake Variations
Feel free to mix things up and add your own twist to this delicious treat for a unique experience!
-
Flavored Yogurt: Swap Greek yogurt with flavored varieties like strawberry or vanilla for fun taste profiles. This simple change brings a delightful essence to your cheesecake.
-
Sugar-Free: Use sugar-free pudding mix to make a lighter version that satisfies sweet cravings without the extras. It’s perfect for those cutting down on sugar!
-
Graham Cracker Crust: Add a layer of crushed graham crackers at the bottom for a crust-like layer without any baking hassle. This textural addition enhances your cheesecake’s overall appeal.
-
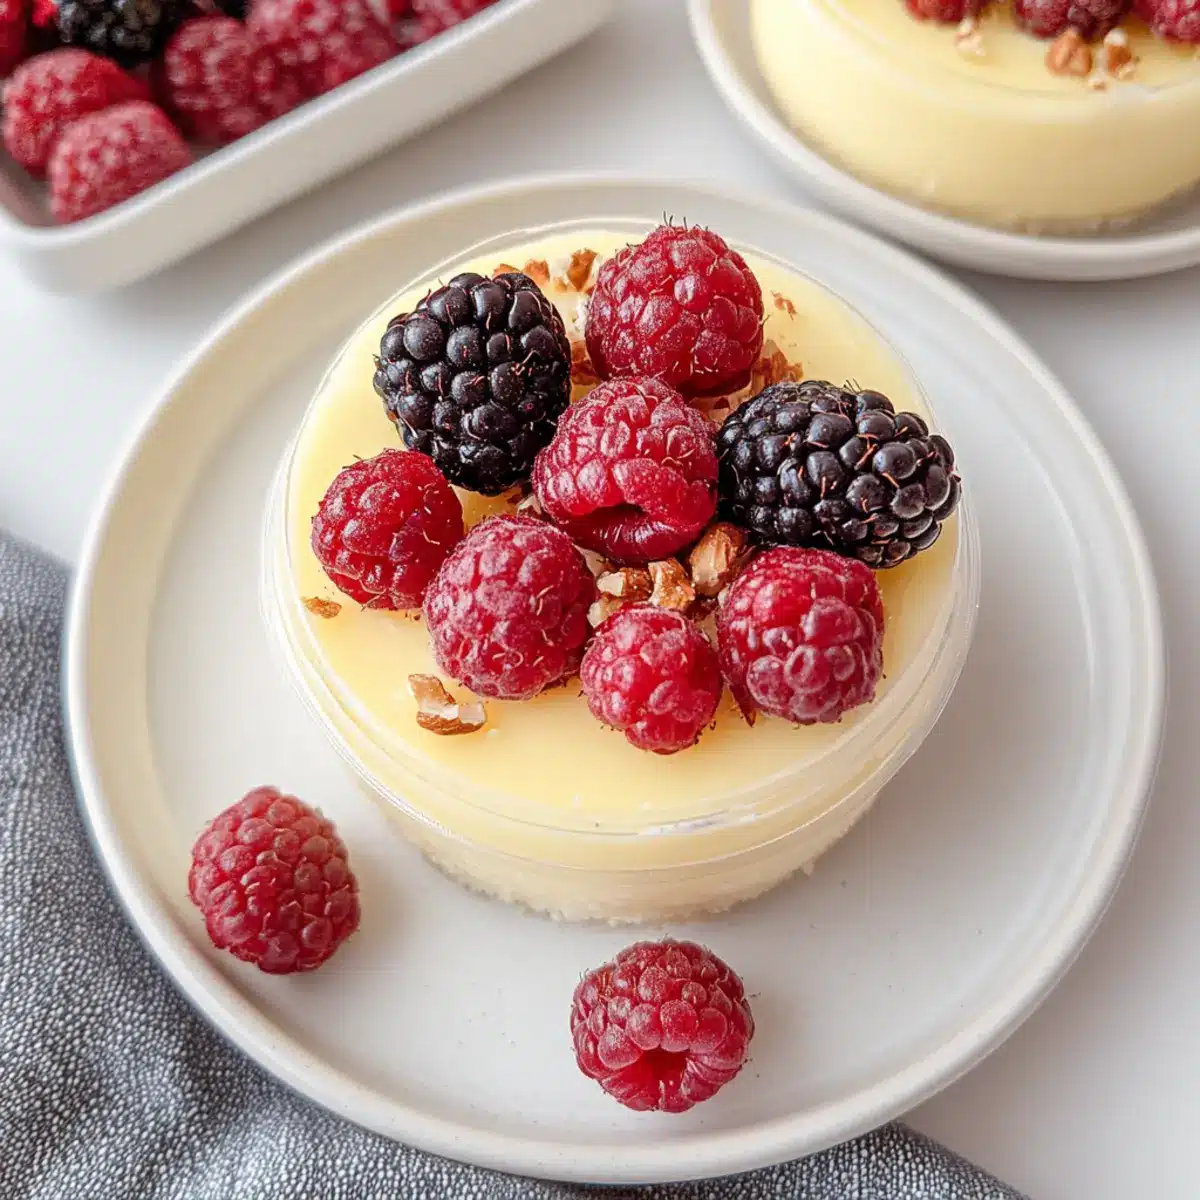
Berry Blast: Top with mixed berries right before serving to add freshness and a burst of flavor. The burst of juicy berries will elevate every creamy bite!
-
Nutty Crunch: Mix in crunchy almonds or walnuts directly into the cheesecake mixture for a delightful surprise. Nuts not only contribute flavor but also provide a satisfying texture contrast.
-
** Tropical Twist:** Instead of traditional flavors, try adding chopped mango or pineapple for a tropical vibe. This twist gives an exciting summery feel, perfect for warm days!
-
Spiced Up: Incorporate a dash of cinnamon or nutmeg into the mixture—a little warmth transforms the flavor beautifully, perfect alongside lighter dishes like Greek Chicken Bowls for an unforgettable meal.
-
Chocolate Drizzle: For those chocolate lovers, adding a drizzle of melted chocolate on top adds a luxurious finish. This extra touch makes your cheesecake feel extra special!
Whether you’re prepping for a gathering or just enjoying a quiet evening at home, these variations keep your no-bake Greek yogurt jello cheesecake exciting and endlessly customizable.
Storage Tips for No-Bake Greek Yogurt Jello Cheesecake
-
Fridge: Store your cheesecake in an airtight container in the refrigerator for up to 3 days. This helps maintain its creamy texture and delicious flavor.
-
Freezer: It’s best to avoid freezing this cheesecake as it may become grainy when thawed. Stick to refrigeration for optimal enjoyment!
-
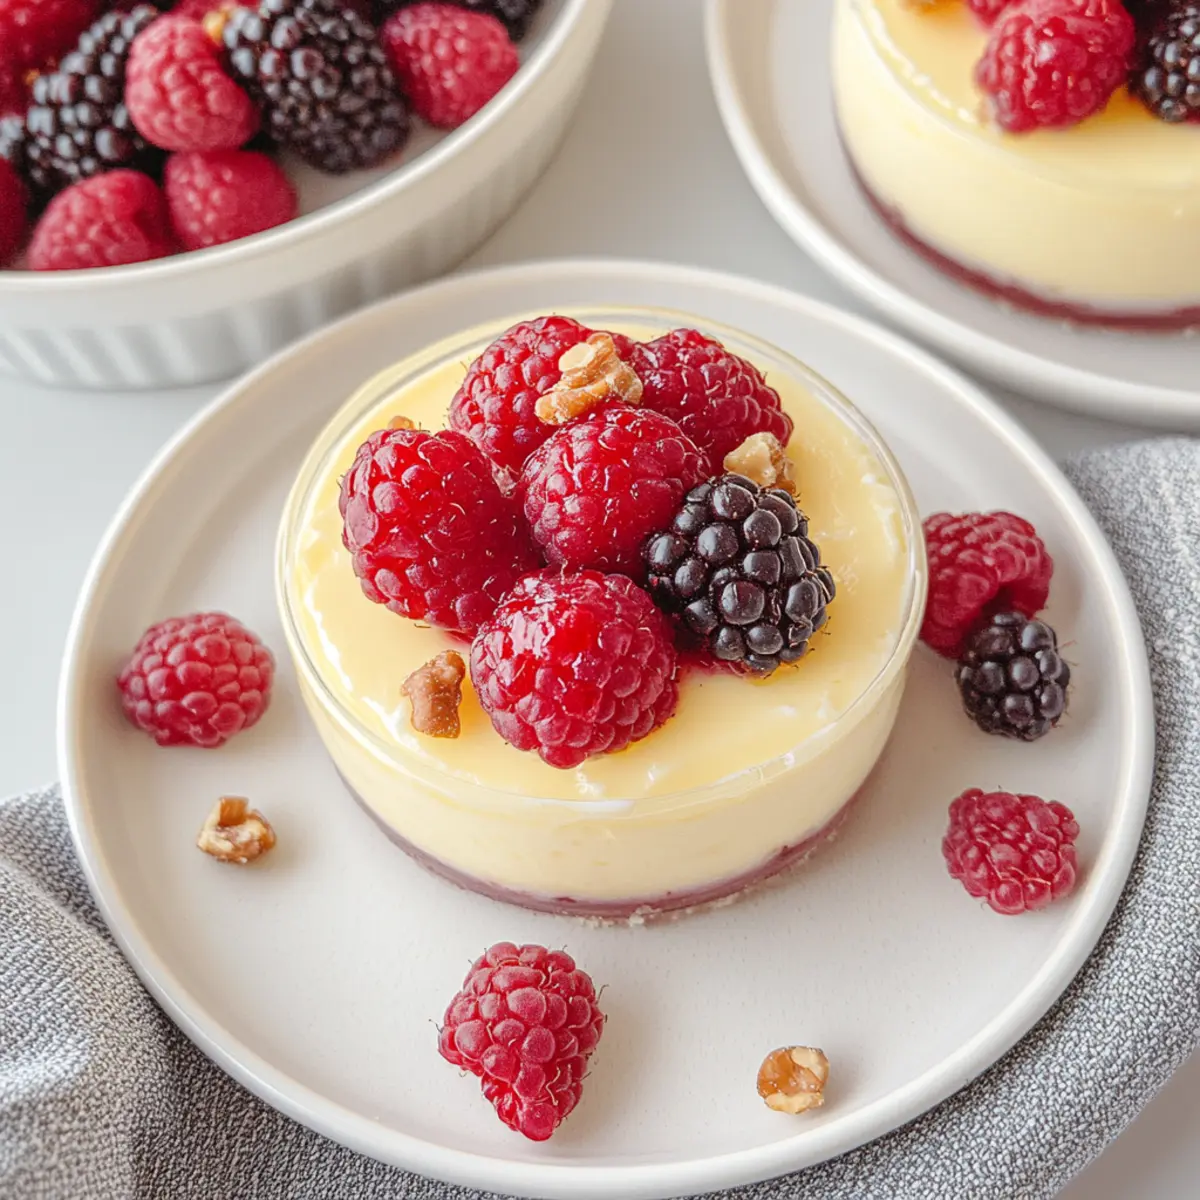
Serving Precautions: If you plan to serve leftovers, consider adding fresh fruits or nuts just before serving. This keeps them vibrant and crunchy, enhancing your no-bake Greek yogurt jello cheesecake.
-
Reheating: There’s no need to heat this dessert; serve it chilled for the best taste and texture experience. Enjoy the refreshing flavor!
What to Serve with No-Bake Greek Yogurt Jello Cheesecake
Imagine sinking your spoon into the luscious layers of your no-bake cheesecake while surrounded by delightful accompaniments that bring out its charm.
-
Fresh Berry Salad: A mix of strawberries, blueberries, and raspberries adds a burst of freshness and vibrant color, enhancing the cheesecake’s creamy profile.
-
Honey Drizzle: With a light drizzle of honey, each bite becomes elevated in sweetness and gives an appealing contrast to the tangy Greek yogurt base.
-
Crunchy Almond Topping: Sprinkle some toasted almonds on top for a delightful crunch, adding texture that pairs beautifully with the smooth cheesecake.
-
Graham Cracker Crust: For those who crave a bit of crunch, a no-bake graham cracker crust beneath the cheesecake only enhances its creamy nature without any baking fuss.
-
Mint Tea: A refreshing mint tea offers a soothing finish, balancing the flavors while providing a comforting end to your sweet escape.
-
Chilled Prosecco: Celebrate with a glass of chilled prosecco; its bubbly nature complements the rich and creamy dessert perfectly, making every bite delightful.
-
Chocolate Drizzle: Add artistic flair with a rich chocolate drizzle on top, providing a luxurious touch that perfectly contrasts the light cheesecake.
-
Coconut Whipped Cream: Top your cheesecake slices with coconut whipped cream for a tropical twist that harmonizes with the fresh flavors in every scoop.
-
Homemade Fruit Sauce: Whip up a quick fruit sauce using your favorite berries to spoon over the cheesecake, providing a fruity explosion that ties everything together beautifully.
-
Light Sorbet: A scoop of fruity sorbet on the side adds a frozen element that contrasts with the creamy cheesecake while refreshing your palate.
Make Ahead Options
Preparing this No-Bake Greek Yogurt Jello Cheesecake in advance is a lifesaver for those bustling weeknights! You can whip up the cheesecake mixture and chill it for up to 24 hours before serving, allowing the flavors to meld for maximum deliciousness. To maintain a lovely, creamy texture, store the cheesecake in an airtight container in the refrigerator. If you’re using fresh fruits or nuts as toppings, wait to add them until just before serving to keep everything fresh and vibrant. Simply spoon the cheesecake into dishes, garnish with your favorite toppings, and enjoy a stress-free, delightful dessert that’s just as delicious as if it were made that day!
No-Bake Greek Yogurt Jello Cheesecake Recipe FAQs
What type of Greek yogurt should I use?
Absolutely! For the best results, I recommend using regular Greek yogurt for a rich and creamy consistency. However, if you’re looking for a lighter option, fat-free Greek yogurt still offers a delicious taste without the extra calories.
How should I store my No-Bake Greek Yogurt Jello Cheesecake?
It’s best to keep your cheesecake in an airtight container in the refrigerator. This way, it will stay fresh for up to 3 days. If you want to enjoy it later, make sure it’s well-sealed to avoid any drying out or absorbing odors from the fridge.
Can I freeze the No-Bake Greek Yogurt Jello Cheesecake?
I advise against freezing this cheesecake. Freezing can affect its creamy texture, resulting in a grainy consistency when thawed. Instead, enjoy it fresh and consider making it a day ahead to chill overnight for optimal flavor!
What should I do if my cheesecake mixture has lumps?
Very! If you encounter lumps in your mixture, whisk vigorously for an additional 1-2 minutes. This should help break them up. If lumps persist, let the mixture sit for 5 minutes, which allows the pudding mix to absorb moisture, then whisk again until smooth.
Is this recipe safe for people with dairy allergies?
No, this No-Bake Greek Yogurt Jello Cheesecake contains dairy ingredients (Greek yogurt and pudding mix), so it’s not suitable for those with dairy allergies. If someone has lactose intolerance, you could experiment with lactose-free alternatives for the yogurt and pudding mix, but be sure to check labels for hidden dairy ingredients.
Can I add berries to my cheesecake batter?
Certainly! If you want to incorporate fresh berries into your cheesecake batter, gently fold them in right before chilling. This adds a burst of flavor and freshness to each slice, enhancing your No-Bake Greek Yogurt Jello Cheesecake experience!
Creamy No-Bake Greek Yogurt Jello Cheesecake Bliss
Ingredients
Equipment
Method
- In a large mixing bowl, combine the Greek yogurt and cheesecake pudding mix. Whisk until smooth, about 2 minutes.
- If too thick, add a splash of milk until desired consistency is achieved.
- Transfer the mixture to an airtight container and chill in the refrigerator for at least 4 hours.
- After chilling, stir the mixture gently for smooth consistency before serving.
- Serve in individual dishes, garnished with fruit or a drizzle of honey.
Leave a Reply