
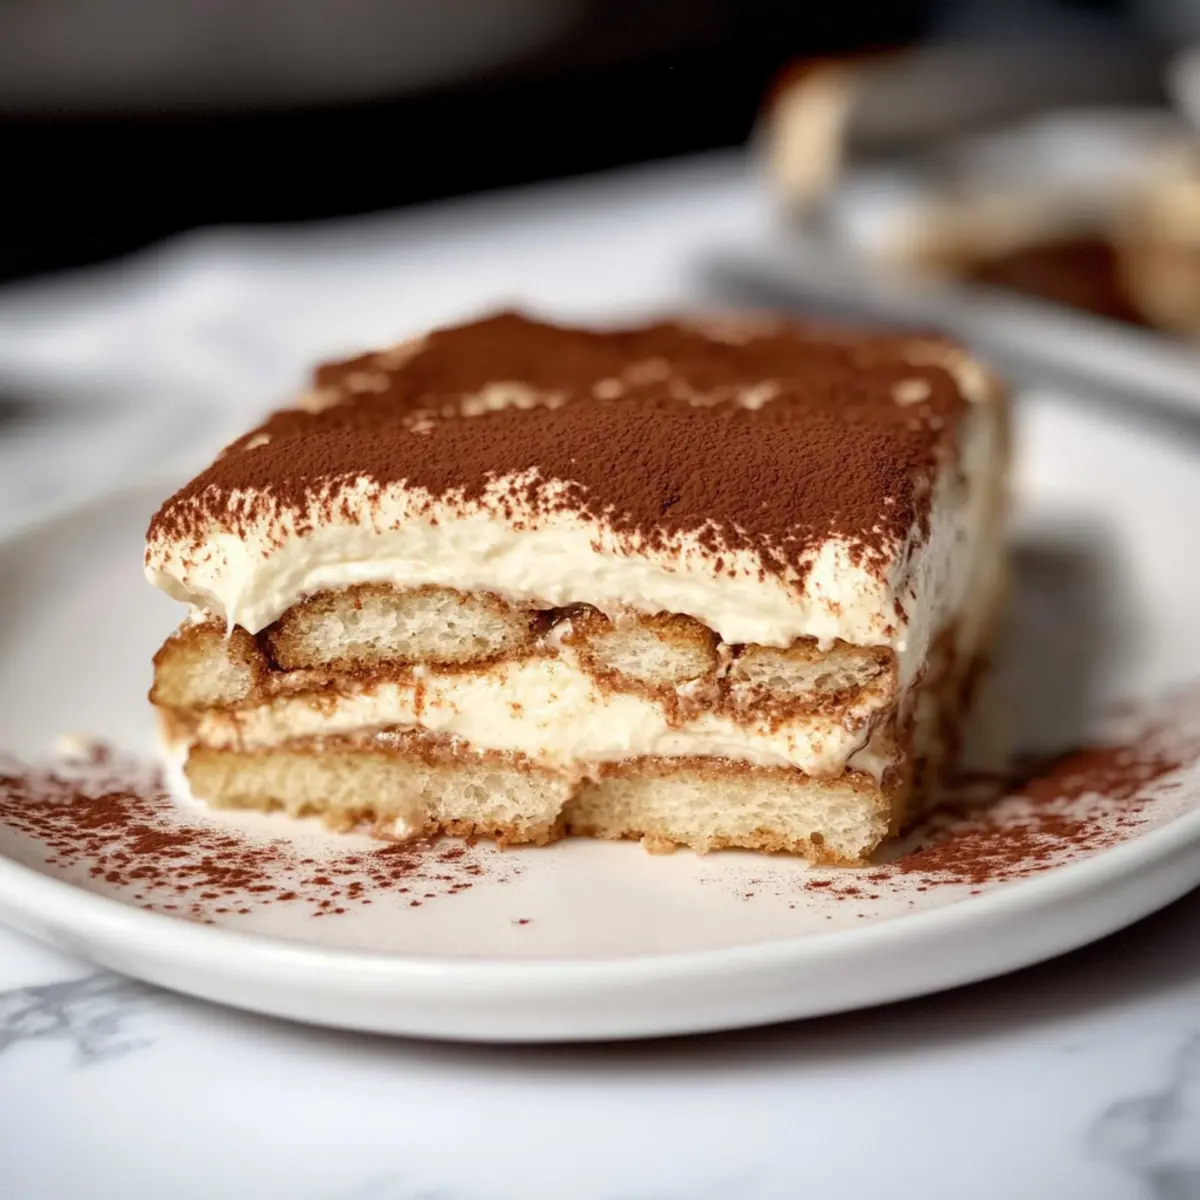
The aroma of freshly brewed coffee wafts through the kitchen, instantly transporting me to a charming Italian café. As much as I adore traditional Tiramisu, I knew I needed a healthier twist to indulge my sweet cravings without the guilt. Enter my Healthy Tiramisu (Gluten-Free), a light and delightful no-bake dessert that remains true to its roots while being kind to the waistline. In just minutes, you’ll have layers of soft coffee-dipped lady fingers and a creamy mascarpone-Greek yogurt custard at your fingertips. This recipe not only satisfies that sweet tooth but is also perfect for busy nights when you want to impress guests with a sophisticated, gluten-free treat. Curious to discover how to whip up this deliciously light dessert? Let’s dive in!
Why is this Tiramisu a Must-Try?
Indulgence Without Guilt: This Healthy Tiramisu is the perfect way to enjoy a classic dessert without the heavy calories. With only about 230 calories per serving, you won’t feel weighed down.
Easy No-Bake Recipe: With simple steps and minimal prep time, this no-bake version makes whipping up a delicious dessert a breeze. Perfect for those hot summer days!
Versatile Flavor Profiles: Unleash creativity by swapping ingredients like using maple syrup instead of honey or trying almond milk instead of regular for extra nuttiness!
Crowd-Pleasing Treat: Impress family and friends with this exquisite dish that tastes rich and decadent. Pair it with a side of wholesome treats like Pumpkin Protein Muffins for a delightful spread!
Healthy Twist: Combining Greek yogurt with mascarpone, this dessert also adds a protein boost, making it a healthier choice for sweet tooth cravings. Dive into indulgence with this light and creamy dessert that is sure to become a favorite!
Healthy Tiramisu Ingredients
For the Custard
- Milk – Provides moisture and a base for the custard; use skim or any non-dairy alternative for a lighter option.
- Cornstarch – Acts as a thickening agent for the custard; can substitute with arrowroot starch for gluten-free assurance.
- Vanilla Extract – Adds depth of flavor to the custard; opt for pure extract for the best taste.
- Mascarpone Cheese – Gives the tiramisu its creamy texture; more Greek yogurt can be used if desired.
- Greek Yogurt – Lightens the custard while providing protein; regular yogurt can be swapped for a different texture.
- Eggs – Provide structure; yolks enrich the custard while whipped whites add lightness.
For Sweetening & Flavor
- Honey – A natural sweetener that adds a touch of flavor; can replace with white sugar if preferred.
- Cold Espresso – Key flavor component that adds coffee intensity; cold brew or brewed coffee can be used as alternatives.
- Rum/Kahlua (optional) – Enhances flavor; omit for a non-alcoholic version if desired.
For Assembly & Finishing
- Lady Fingers – The structural component; choose regular or gluten-free based on your preference.
- Cocoa Powder – Used for dusting; adds a rich finish to the dessert presentation and hints at the tiramisu’s indulgent nature.
Prepare to delight your taste buds with this Healthy Tiramisu that’s perfectly crafted for guilt-free enjoyment!
Step‑by‑Step Instructions for Healthy Tiramisu (Gluten-Free)
Step 1: Prepare the Espresso
Brew fresh espresso and allow it to cool in a shallow dish, making sure it’s room temperature for easier dipping. This step is essential for achieving that rich coffee flavor that brings the Healthy Tiramisu to life. Once cooled, set the espresso aside while you work on the custard.
Step 2: Make the Custard
In a medium saucepan, whisk together ½ cup of milk and cornstarch until the mixture is smooth. Place it over medium heat and stir in vanilla extract, cooking for about 2-3 minutes until the mixture starts bubbling and thickening, then remove it from the heat. Gradually whisk in the remaining milk and set aside to cool slightly.
Step 3: Temper the Egg Yolks
In a separate bowl, vigorously whisk together the egg yolks and honey until light in color and fluffy, about 1-2 minutes. Slowly add a small amount of the cooled milk mixture to the yolks to temper them, preventing curdling. Once combined, pour the tempered yolk mixture back into the saucepan, stirring well to combine all the custard elements.
Step 4: Thicken the Custard
Return the saucepan to medium heat, stirring gently for an additional 1-2 minutes, or until the custard achieves a thick, creamy consistency. Remove it from heat, then fold in the mascarpone cheese and Greek yogurt, mixing until the custard is smooth and creamy. This blend forms the luxurious filling of your Healthy Tiramisu.
Step 5: Optional Whip Egg Whites
If you desire an extra fluffy texture in your Healthy Tiramisu, whip the egg whites until stiff peaks form using a clean mixer bowl. Gently fold the beaten egg whites into the mascarpone mixture, allowing for a light, airy custard. Skip this step if you prefer a denser dessert.
Step 6: Assemble Tiramisu Layers
Quickly dip lady fingers into the cooled espresso, ensuring they are evenly coated but not soggy. Place a layer of the dipped lady fingers at the bottom of your serving dish, covering the surface completely. Spread half of the mascarpone custard mixture on top of the lady fingers, smoothing it out with a spatula for an even layer.
Step 7: Repeat the Layers
Create a second layer by repeating the dipping process with the remaining lady fingers and arranging them over the first custard layer. Once set, spread the rest of the mascarpone mixture over this second layer of lady fingers, creating that signature healthy tiramisu presentation.
Step 8: Chill the Tiramisu
Dust the top of your assembled Healthy Tiramisu generously with cocoa powder for that classic finish. Place the dessert in the refrigerator and allow it to chill for at least 5 hours, but preferably 12-24 hours. This chilling time is vital for the flavors to meld beautifully and achieve the right texture.
Make Ahead Options
These Healthy Tiramisu (Gluten-Free) are perfect for busy home cooks looking to save time! You can prepare the custard and layer the dessert up to 24 hours in advance, allowing the flavors to meld beautifully. To do this, simply assemble the tiramisu without the cocoa dusting and refrigerate it tightly covered. When you’re ready to serve, dust the top with cocoa powder for that finishing touch. This method ensures that your dessert remains just as delicious and light, while also making it a delightful last-minute addition to any gathering. By prepping ahead, you free up your schedule and impress guests with minimal effort!
Expert Tips for Healthy Tiramisu
-
Chill Time Matters: Allow your Healthy Tiramisu to chill for at least 5 hours—preferably overnight. This ensures proper setting and flavor infusion.
-
Egg White Enrichment: Optional whipped egg whites add a fluffy texture, but if skipped, your custard will be denser. Choose based on your preference!
-
Alternatives Galore: Feel free to replace ingredients—try maple syrup instead of honey or almond milk for a nutty twist. Make it your own!
-
Dipping Technique: Dip lady fingers quickly in espresso. Too long will make them soggy, while too short won’t impart enough flavor for your Healthy Tiramisu.
-
Storage Savvy: Leftover tiramisu can last in the fridge for up to 3 days. Just ensure it’s in an airtight container to maintain its freshness.
How to Store and Freeze Healthy Tiramisu
Fridge: Store leftover Healthy Tiramisu in an airtight container in the refrigerator for up to 3 days. This will help maintain its creamy texture and rich flavor.
Freezer: If you want to keep it longer, Healthy Tiramisu can be frozen for up to 3 months. Assemble without cocoa dusting, cover tightly, and freeze; dust before serving for a beautiful finish.
Reheating: For the best flavor, enjoy your tiramisu chilled straight from the fridge or freezer. Avoid reheating in the microwave, as it can alter the texture of the custard.
Make-Ahead Tip: Prepare your tiramisu up to 2 days in advance for optimal flavor development. The longer it chills, the better the taste!
Variations & Substitutions for Healthy Tiramisu
Unlock the delicious potential of your Healthy Tiramisu with these fun and flavorful variations!
- Dairy-Free: Substitute almond or oat milk for regular milk and use dairy-free mascarpone for a completely dairy-free dessert.
- Sweetener Swap: Use maple syrup or agave syrup instead of honey for a vegan and different sweetness profile.
- Espresso Alternatives: If you’re not a coffee fan, cold brew or decaf espresso works beautifully, maintaining the signature flavor without the caffeine kick.
- Nutty Twist: Add a splash of hazelnut or almond extract to the mascarpone mixture for a delightful flavor boost that echoes classic Italian cafés.
- Texture Variation: Replace half of the Greek yogurt with whipped coconut cream for a luscious, tropical feel. It makes for a deliciously creamy dessert that will transport you to paradise.
- Fruit Layering: Enhance your tiramisu by adding layers of fresh berries or sliced bananas between the custard and lady fingers—perfect for a burst of freshness!
- Heat Factor: For a little added warmth, stir in a dash of cinnamon or a pinch of cayenne pepper into the cocoa dusting. It adds an unexpected but delightful kick!
- Guilt-free Chocolate: Try using a sugar-free chocolate cocoa powder for dusting to keep your dessert even lighter while still enjoying that rich chocolate flavor.
Let the creativity flow and transform your Healthy Tiramisu into a personalized masterpiece! If you’re still looking for some wholesome options, consider pairing it with other delightful desserts like Guilt Free Healthy treats or catering to your health needs with unique recipes like Pumpkin Protein Muffins. It’s all about enjoying the process and serving up joy!
What to Serve with Healthy Tiramisu (Gluten-Free)
Looking to create the perfect dining experience alongside your luscious dessert? Let’s make it an unforgettable meal!
-
Fresh Berries: The tartness of berries like strawberries or raspberries provides a bright contrast, cleansing the palate between bites of rich tiramisu.
-
Crispy Espresso Cookies: A delightful cookie option that enhances the coffee flavor, complementing the smoothness of the tiramisu beautifully.
-
Creamy Gelato: A scoop of vanilla or hazelnut gelato adds a luxurious touch. Its cold creaminess pairs impeccably with the layered dessert.
-
Chocolate-Covered Almonds: These add an incredible crunch and a hint of bitterness to balance the sweet custard, creating a well-rounded flavor profile.
-
Mint Tea: A light, refreshing cup of mint tea can cleanse the palate after enjoying the richness of the tiramisu and bring a soothing finish to the meal.
-
Sparkling Water with Lemon: The effervescence and citrus notes elevate the overall experience, making every bite of the tiramisu feel even more indulgent.
Each of these pairings enhances your Healthy Tiramisu, taking your dessert experience to a whole new level of delight!

Healthy Tiramisu (Gluten-Free) Recipe FAQs
What type of milk can I use for this Healthy Tiramisu?
Absolutely! You can go with skim milk or any non-dairy alternative like almond or oat milk. If you want that creamy texture but still keep it light, almond milk is my personal favorite.
How should I store leftover Healthy Tiramisu?
Leftovers can be safely stored in an airtight container in the refrigerator for up to 3 days. Just be sure to keep it well-covered to maintain its delicious creamy texture and rich flavor.
Can I freeze Healthy Tiramisu, and if so, how?
Yes, you can freeze your Healthy Tiramisu for up to 3 months! To do this, assemble the dessert without the cocoa dusting, then tightly cover it with plastic wrap or aluminum foil and pop it in the freezer. When you’re ready to enjoy it, simply thaw in the fridge overnight and dust with cocoa just before serving.
What if my custard seems too thin?
If your custard isn’t thickening as expected, it’s likely due to undercooking it. Make sure to cook the custard on medium heat and stir constantly until it becomes bubbly and thick—about 2-3 minutes. Remember, it’s essential to whisk in the remaining milk gradually, allowing it to heat properly. If it still won’t thicken, you can try adding a bit more cornstarch mixed with a tablespoon of milk and cooking it a little longer.
Are there any dietary considerations for this dessert?
Yes, the Healthy Tiramisu is gluten-free if you choose gluten-free lady fingers. Additionally, it uses Greek yogurt and mascarpone cheese for a lighter take; however, if you have dairy allergies, consider using coconut yogurt or silken tofu blended to create a smooth texture. Always check ingredient labels to ensure they cater to your dietary needs.
Healthy Tiramisu (Gluten-Free) – A Guilt-Free Delight
Ingredients
Equipment
Method
- Step 1: Prepare the Espresso - Brew fresh espresso and allow it to cool in a shallow dish.
- Step 2: Make the Custard - Whisk together milk and cornstarch, cook with vanilla until thick, then cool.
- Step 3: Temper the Egg Yolks - Whisk yolks and honey then slowly add a small amount of cooled milk mixture.
- Step 4: Thicken the Custard - Stir over heat until thick, remove and fold in mascarpone and yogurt.
- Step 5: Optional Whip Egg Whites - Whip egg whites to stiff peaks and fold into custard if desired.
- Step 6: Assemble Tiramisu Layers - Dip lady fingers in espresso and layer with custard mixture in serving dish.
- Step 7: Repeat the Layers - Repeat with remaining lady fingers and custard mixture.
- Step 8: Chill the Tiramisu - Dust with cocoa powder and chill for at least 5 hours, preferably overnight.
Leave a Reply