
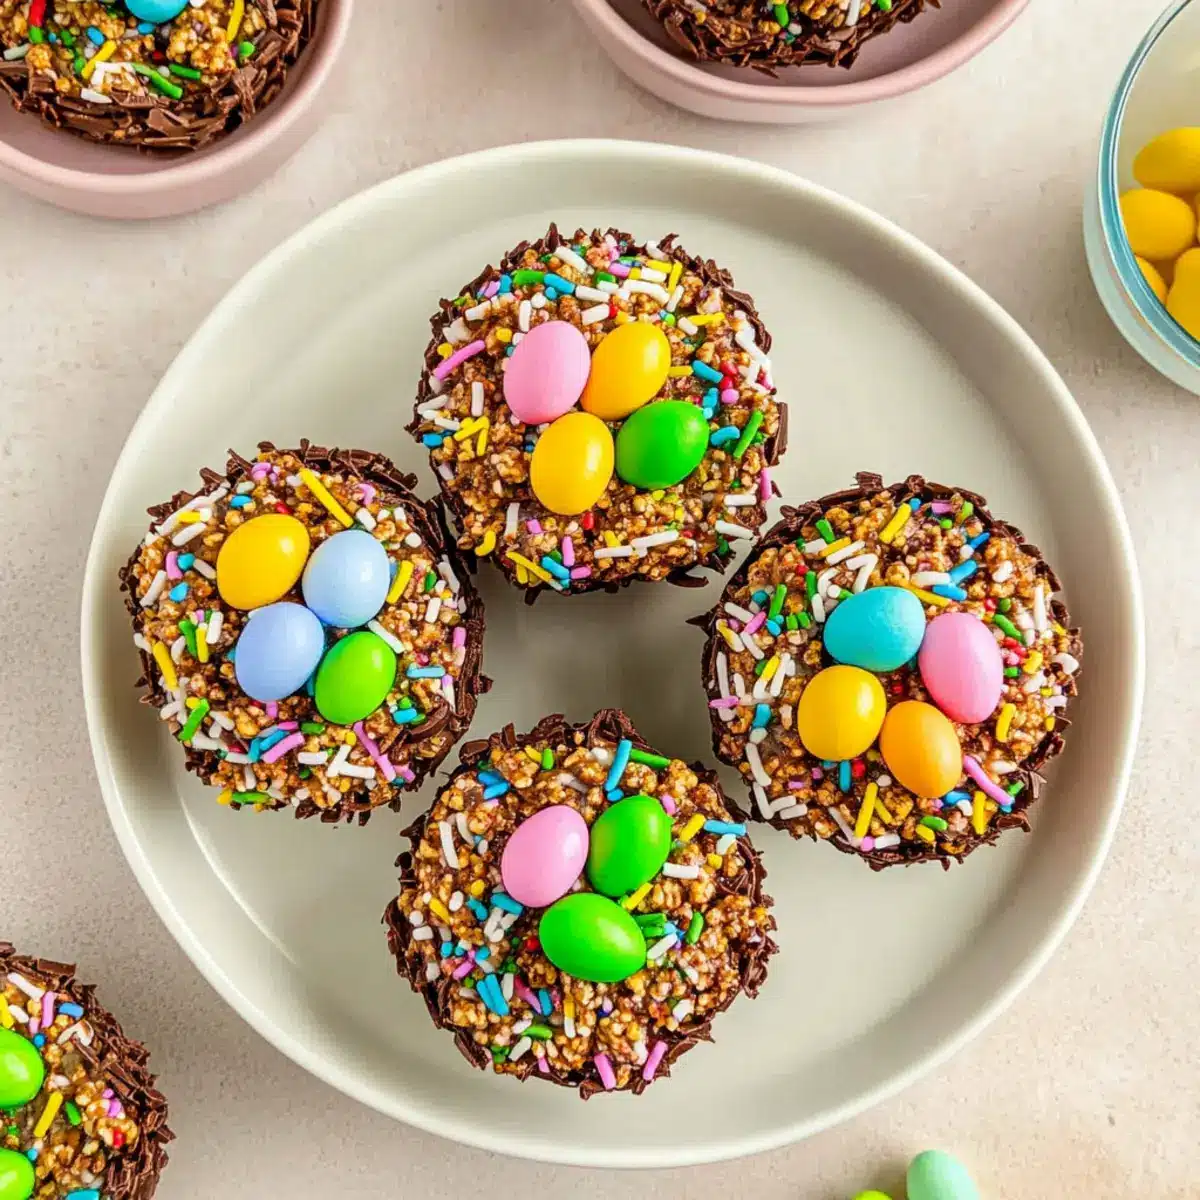
As I rummaged through my pantry searching for a fun Easter activity, I stumbled upon a colorful box of Cocoa Pebbles, and a lightbulb went off in my head! Who knew a simple cereal could transform into delightful no-bake Cocoa Pebbles Easter Nests? With just five ingredients, this treat marries the chocolatey crunch of Cocoa Pebbles with the creamy goodness of peanut butter, making it a crowd-pleaser that’s irresistibly sweet and salty. Not only are these adorable nests quick to whip up, but they also invite little hands to help shape them, creating memorable moments in the kitchen. Ready to make Easter a little sweeter? Let’s dive into the magic of these fun treats!
Why Are Cocoa Pebbles Easter Nests So Special?
Simplicity: With only five ingredients, this no-bake recipe is perfect for beginner cooks and kids alike.
Fun for Kids: Little hands will love helping to shape these adorable nests, turning baking into a delightful family activity.
Chocolatey Delight: The rich flavor of Cocoa Pebbles pairs perfectly with creamy peanut butter, delivering a sweet and salty balance that everyone will adore.
Versatile Variations: Feel free to switch up cereals or spreads to suit your family’s taste—think Nutella or Fruity Pebbles for a fun spin!
Quick & Easy: These treats can be ready to enjoy in under an hour, making them an ideal last-minute festive dessert for Easter gatherings or playdates.
Cocoa Pebbles Easter Nests Ingredients
• This no-bake treat only needs five ingredients!
For the Mixture
- Unsalted Butter – Adds richness and binds the mixture; you can use salted butter instead, just omit any additional salt.
- Mini Marshmallows – Provide sweetness and that sticky texture to hold the nests together; you’ll need about ¾ of a 10 oz bag.
- Cocoa Pebbles Cereal – The star ingredient that contributes chocolatey flavor and crunch; consider substituting with Fruity Pebbles or Rice Krispies for a twist.
For the Filling
- Creamy Peanut Butter – Adds a rich creaminess; if you prefer, try Nutella, cookie butter, or any nut-free spread.
For Decoration
- Mini Cadbury Eggs – These colorful treats are perfect for topping your nests; feel free to swap them for jelly beans, M&Ms, or any festive candy you like.
- Sprinkles – An optional yet fun touch to add color and cheer; choose any variety that catches your eye!
Enjoy making these Cocoa Pebbles Easter Nests with your loved ones—they’re sure to become a cherished tradition!
Step‑by‑Step Instructions for Cocoa Pebbles Easter Nests
Step 1: Prepare Your Muffin Tins
Begin by lightly greasing two 12-cup muffin tins with cooking spray to prevent sticking. This step is crucial for easy removal once your Cocoa Pebbles Easter Nests are set. Set the prepared tins aside while you make the mixture, ensuring they are ready for the flavorful treat ahead.
Step 2: Melt Butter and Salt
In a large pot over low heat, melt 4 tablespoons of unsalted butter, stirring in ⅛ teaspoon of salt to enhance the flavor. Keep an eye on the butter so it doesn’t brown. Your aim is a creamy, golden blend that will serve as the base for the decadent cocoa mixture, creating a rich foundation for your treats.
Step 3: Add Marshmallows
Once the butter is melted, add 4 cups of mini marshmallows into the pot. Continue to stir the mixture gently and consistently on low heat until all the marshmallows are fully melted and smooth, which should take about 5–7 minutes. This sticky and gooey mixture is essential for binding your Cocoa Pebbles Easter Nests and adding sweetness.
Step 4: Mix in Cocoa Pebbles
Remove the pot from heat and gently fold in 5 cups of Cocoa Pebbles, ensuring each piece is thoroughly coated in the marshmallow mixture. Use a spatula to make this process easier, aiming for an even distribution so every bite is packed with chocolaty crunch. The mixture will be slightly warm and sticky, allowing for easy molding.
Step 5: Form the Nests
Spoon 3–4 tablespoons of the Cocoa Pebbles mixture into each muffin cup of the greased tins. Use your hands (lightly sprayed with cooking spray to prevent sticking) or the back of a spoon to gently press the mixture to form a nest shape, creating a small dent in the middle for the peanut butter filling.
Step 6: Cool and Firm Up
Allow the nests to sit at room temperature for approximately 30 minutes to cool and firm up. This step is essential as it gives the Cocoa Pebbles Easter Nests their sturdy structure, ensuring they hold their shape once removed from the tins, becoming a festive and fun treat for Easter celebrations.
Step 7: Add Peanut Butter and Decorations
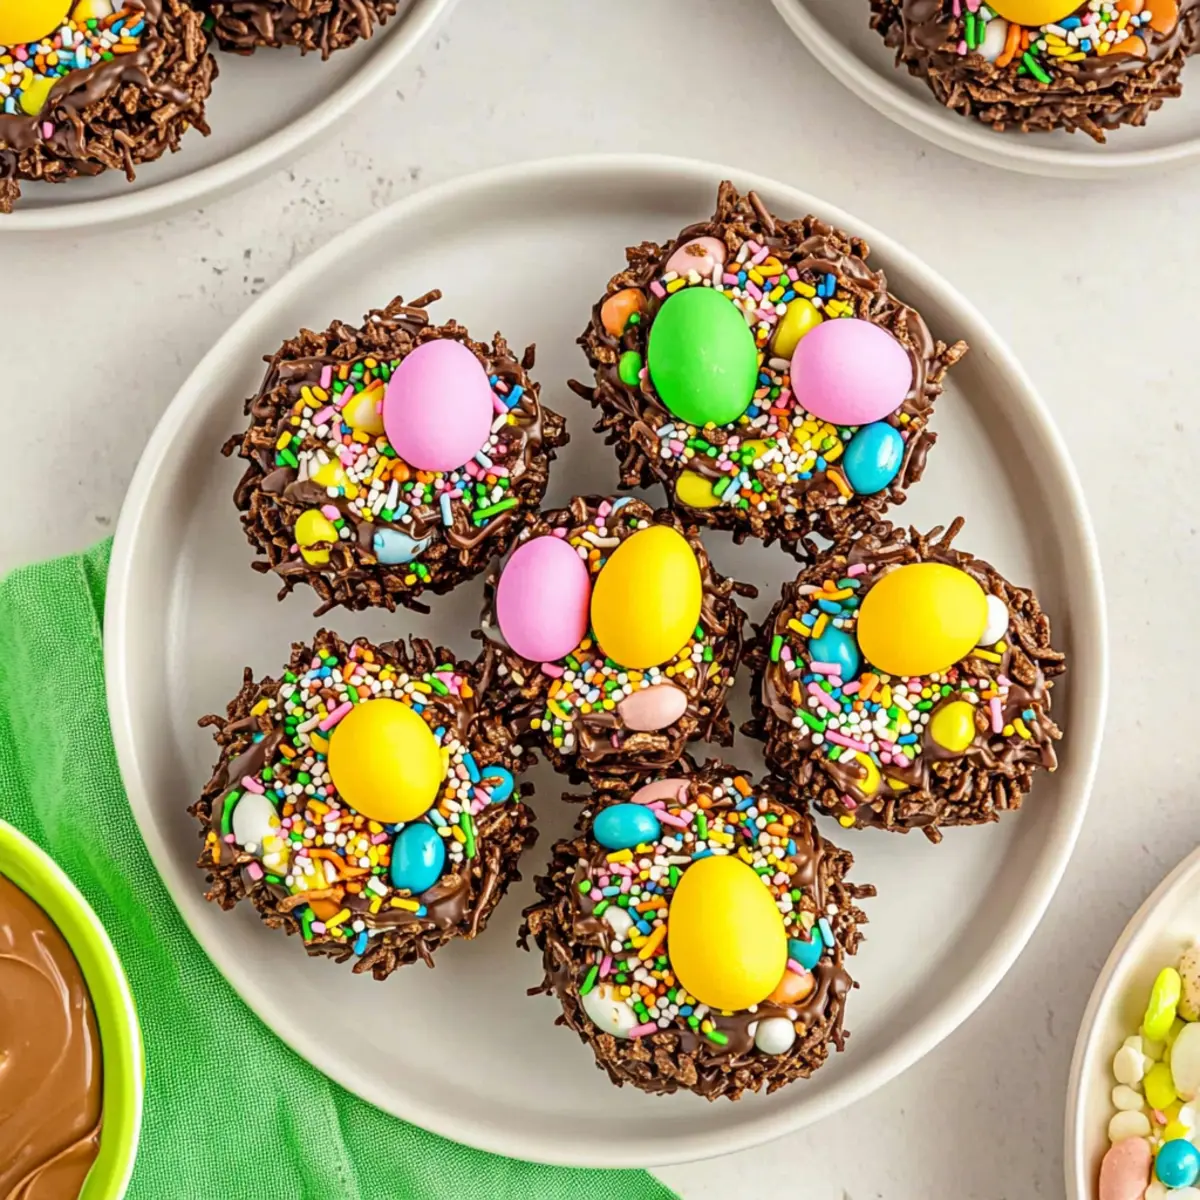
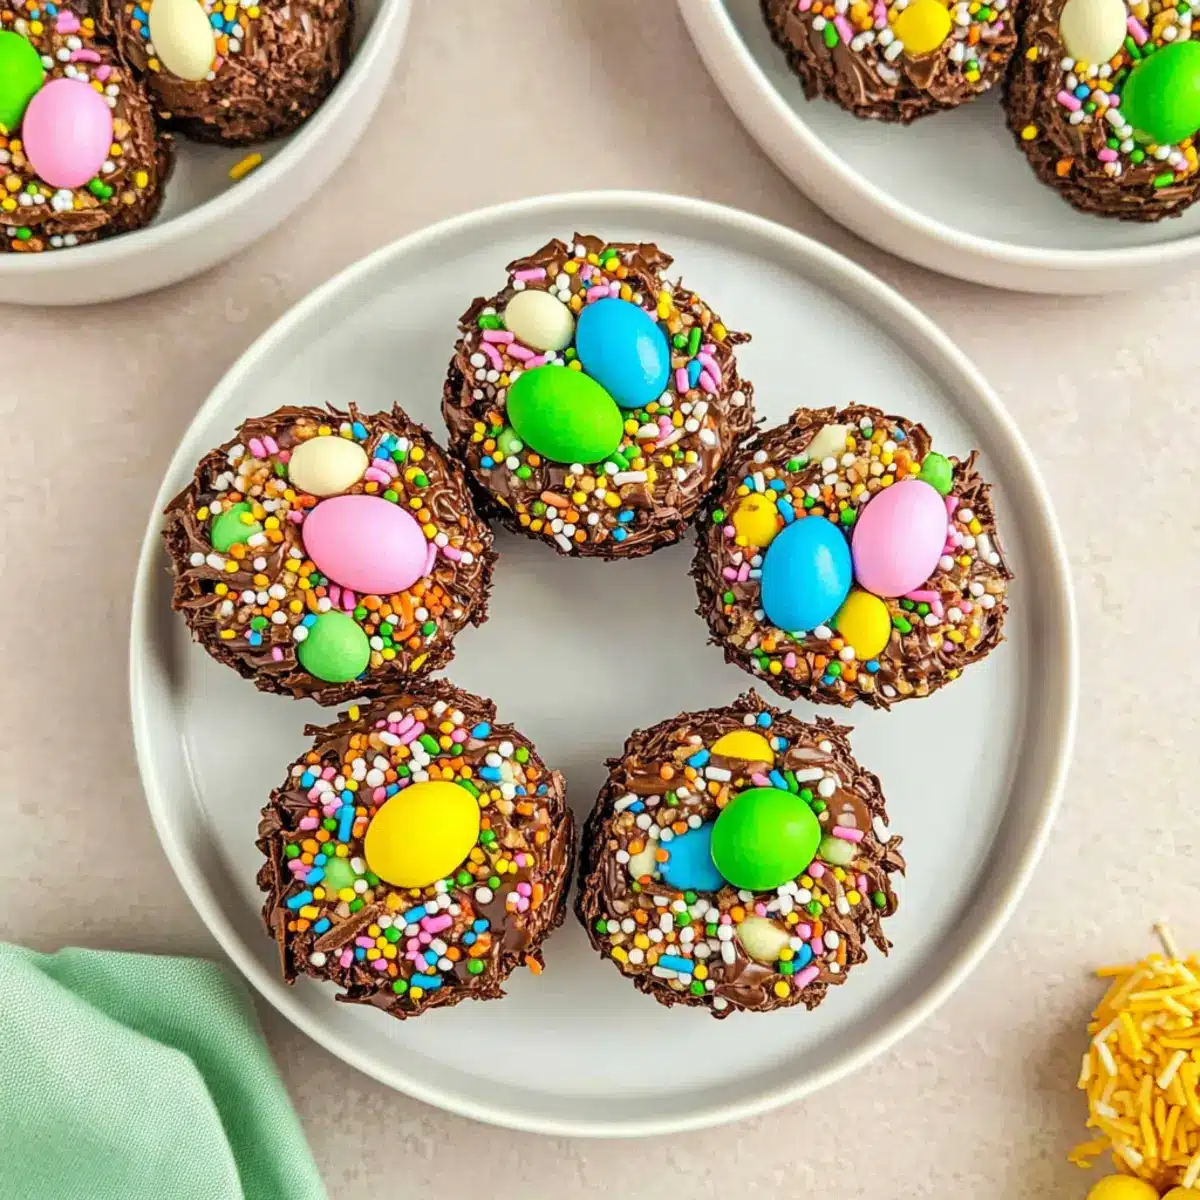
Once the nests are firm, add 1 tablespoon of creamy peanut butter on top of each cooled nest. This delicious layer adds a lovely creaminess. Finish by decorating with colorful sprinkles and placing 3 mini Cadbury eggs into each nest, providing both flair and delightful flavor to your festive creations.
Step 8: Remove from Tins
Carefully use a butter knife or wooden skewer to gently pry each Cocoa Pebbles Easter Nest from the muffin tins. Take your time to avoid breaking them. Once loosened, transfer the nests to a serving platter. The delightful aroma will surely draw everyone’s attention as they sit ready to be enjoyed!
Expert Tips for Cocoa Pebbles Easter Nests
-
Avoid Hard Treats: Don’t overcook the marshmallow mixture! Monitoring the heat will keep your Cocoa Pebbles Easter Nests soft and chewy.
-
Use Cooking Spray: Lightly spray your utensils and hands with cooking spray before molding the nests. This prevents sticking and ensures an easy, mess-free experience.
-
Allow Proper Cooling: Let the nests sit at room temperature for 30 minutes. This is crucial for achieving the perfect firm texture.
-
Customizable Fun: Feel free to use different cereals or spreads like Nutella to make these nests uniquely yours. It’s a fun way to cater to various tastes!
-
Storage Tips: For the best taste, enjoy your nests the same day, but they can last in an airtight container for up to two days without losing their charm.
What to Serve with Cocoa Pebbles Easter Nests
These charming, sweet treats will brighten up any festive gathering, especially when paired with delightful sides and drinks!
-
Colorful Fruit Salad: A medley of fresh fruits adds vibrant colors and refreshing flavors, balancing the sweetness of the cocoa nests.
-
Whipped Cream: Light and airy, whipped cream is the perfect dollop to complement the rich chocolatey nests. It invites everyone to indulge!
-
Chocolate Milk: This classic drink echoes the chocolaty goodness of the nests, making it a fun beverage choice for kids and adults alike.
-
Vanilla Ice Cream: Creamy vanilla ice cream can become a luscious sidekick, adding a delightful contrast to the chewy, crunchy nests.
-
Mini Marshmallow Skewers: These playful additions can be dipped in chocolate, offering a fun way to enjoy more marshmallow goodness.
-
Sprinkles-Covered Pretzels: Salty pretzels coated in colorful sprinkles add a fun crunch, complementing the texture of the cocoa nests beautifully.
-
Lemonade Spritzer: A light and fizzy lemonade brings a refreshing twist, cutting through the sweetness while providing a cheerful touch.
-
Easter-themed Cupcakes: These cute confections tied to the festive season can create a lovely dessert table that delights guests of all ages.
Make Ahead Options
These Cocoa Pebbles Easter Nests are a fantastic option for meal prep, helping you save time during busy holiday preparations! You can prepare the Cocoa Pebbles mixture and form the nests up to 24 hours in advance. Simply follow the first five steps of the recipe, then cover the muffin tins with plastic wrap and refrigerate. To maintain quality, make sure the nests are tightly covered to prevent them from drying out. When you’re ready to serve, simply remove them from the fridge, add the peanut butter, sprinkles, and mini Cadbury eggs, and they’ll be just as delightful as if made fresh! These tips will have you enjoying a stress-free Easter with minimal effort.
Cocoa Pebbles Easter Nests: Flavorful Alternatives
Feel free to personalize your Cocoa Pebbles Easter Nests with these fun twists that will tantalize your taste buds!
-
Cereal Substitution: Swap Cocoa Pebbles for Fruity Pebbles or Rice Krispies to create a vibrant color profile and change up the flavor. Each cereal brings its unique character to the nest!
-
Nutty Alternatives: Instead of creamy peanut butter, try Nutella or cookie butter for a decadent twist that will delight chocolate lovers. The creamy texture adds irresistible richness.
-
Candy Flair: Use seasonal candies like jelly beans or M&Ms instead of mini Cadbury eggs for festive decorating options. Let your creativity soar as you customize these cute nests!
-
Coconut Flakes: For a tropical vibe, fold in shredded coconut with the Cocoa Pebbles for added texture and a hint of sweetness. This twist adds a chewy surprise in every bite.
-
Extra Crunch: Incorporate chopped nuts such as almonds or pecans to amp up the crunch factor. They add a delightful contrast against the softness of the marshmallow and peanut butter.
-
Spicy Kick: Add a sprinkle of cinnamon or a drizzle of chili chocolate over the nests for an unexpected warm flavor and beautiful presentation. This fiery contrast can be a delightful surprise!
-
Vegan Version: Swap the butter for coconut oil and use a dairy-free chocolate spread to make a vegan-friendly treat while retaining all the charm. Delicious and plant-based!
-
Colorful Sprinkles: Elevate the decorative touch by using themed sprinkles that match your event, whether it be pastel for Easter or vibrant colors for a birthday party. Let your imagination run wild!
Explore these variations to make your Cocoa Pebbles Easter Nests truly one-of-a-kind!
How to Store and Freeze Cocoa Pebbles Easter Nests
Room Temperature: Store your Cocoa Pebbles Easter Nests in an airtight container at room temperature for up to 2 days to keep them fresh and chewy.
Refrigerator: If you prefer them chilled, you can refrigerate the nests for an extended freshness of up to 5 days. Just make sure they are in a sealed container to prevent them from becoming too hard.
Freezer: For longer storage, freeze the nests in a single layer on a baking sheet until firm, then transfer to a freezer-safe container. They can be stored for up to 2 months.
Thawing: To enjoy frozen Cocoa Pebbles Easter Nests, simply transfer them to the refrigerator for a few hours to thaw; enjoy their delightful combination of textures!
Cocoa Pebbles Easter Nests Recipe FAQs
What is the best way to select ripe ingredients for Cocoa Pebbles Easter Nests?
When making your Cocoa Pebbles Easter Nests, the quality of your ingredients is key! Ensure your mini marshmallows are fresh and soft—avoid any with hard or dried-out edges, as they won’t melt properly. Also, use fresh Cocoa Pebbles that are within the best-by date; stale cereal can affect the texture and flavor of your treats.
How should I store Cocoa Pebbles Easter Nests, and how long do they last?
Absolutely! Store your Cocoa Pebbles Easter Nests in an airtight container at room temperature for up to 2 days. If you’d like to keep them fresher for a little longer, you can refrigerate them for up to 5 days. Just remember that refrigeration may change their texture, so if you prefer them chewy, stick to room temperature storage.
Can I freeze Cocoa Pebbles Easter Nests? What’s the process?
Yes, you can! To freeze your Cocoa Pebbles Easter Nests, start by placing them in a single layer on a baking sheet until they are firm (about 1-2 hours). Once firm, transfer them to a freezer-safe container or freezer bag, and store for up to 2 months. When you’re ready to enjoy, simply move them to the refrigerator for several hours to thaw—this helps retain their delightful texture.
What should I do if my Cocoa Pebbles Easter Nests aren’t holding together?
If your nests are crumbling apart, worry not! This can happen if the marshmallows weren’t melted thoroughly or the mixture wasn’t pressed firmly enough into the muffin tins. To fix it, melt some additional marshmallows over low heat and mix them into the existing blend, then re-mold into the tins, ensuring to press them down gently but firmly. This extra marshmallow will help bind everything together beautifully!
Are Cocoa Pebbles Easter Nests safe for pets or those with allergies?
While Cocoa Pebbles Easter Nests are a delightful treat for the family, they are not suitable for pets. Ingredients like chocolate and peanut butter can be harmful to animals. Additionally, if anyone in your family has nut allergies, you can substitute the peanut butter with a nut-free spread like sun butter or simply omit it altogether. Always double-check ingredient labels to ensure they meet dietary restrictions!

Cocoa Pebbles Easter Nests: Fun No-Bake Treat for Kids
Ingredients
Equipment
Method
- Prepare Your Muffin Tins: Lightly grease two 12-cup muffin tins with cooking spray to prevent sticking.
- Melt Butter and Salt: In a large pot over low heat, melt the butter and stir in the salt.
- Add Marshmallows: Once the butter is melted, add the mini marshmallows and stir until all are melted and smooth.
- Mix in Cocoa Pebbles: Fold in the Cocoa Pebbles, ensuring each piece is coated in the marshmallow mixture.
- Form the Nests: Spoon the mixture into muffin cups and press to form a nest shape.
- Cool and Firm Up: Allow the nests to cool at room temperature for 30 minutes.
- Add Peanut Butter and Decorations: Once firm, add peanut butter and decorate with sprinkles and mini Cadbury eggs.
- Remove from Tins: Carefully remove the nests from the muffin tins using a butter knife or wooden skewer.
Leave a Reply