
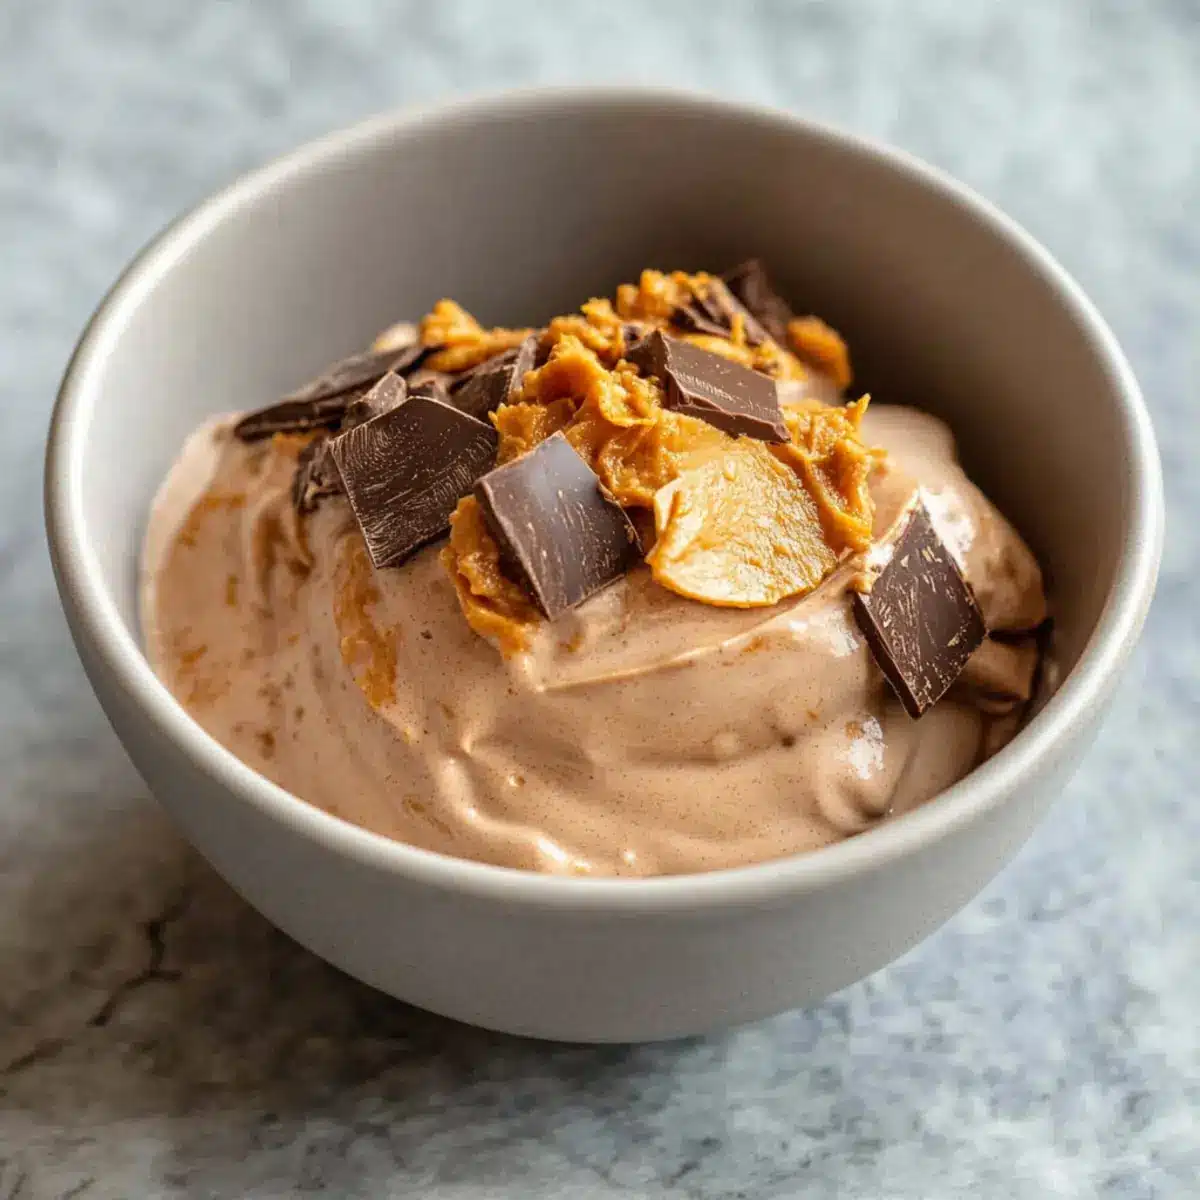
On a sun-soaked afternoon, I found myself craving something rich yet refreshing—something that danced between decadence and nostalgia. That’s when I decided to whip up my Creamy Chocolate Peanut Butter Ninja Creami. This delightful homemade ice cream captures the beloved flavors of creamy peanut butter and velvety chocolate, all without the hassle of churning. Bonus: it’s a no-bake recipe, making it the perfect dish to impress friends on a warm day. As you blend the simple ingredients, you’ll discover how easy it is to create a treat that feels indulgent yet accessible. So, are you ready to scoop up a scoop of summer bliss?
Why is this dessert a must-try?
Decadent Flavor: The blend of rich chocolate and creamy peanut butter makes every bite a dreamy indulgence.
No Baking Required: Enjoy ultimate convenience with this no-bake recipe that saves you time without compromising taste.
Ideal for Hot Days: This refreshing summer treat is perfect for cooling off while satisfying your sweet tooth.
Easy to Customize: Add your favorite mix-ins like crushed cookies or berries for endless flavor variations.
Family Favorite: Impress friends and family with this crowd-pleaser—they’ll be asking for seconds! To explore more fun dessert ideas, check out our delightful Chocolate Chip Cookies.
Chocolate Peanut Butter Ninja Creami Ingredients
• Create your own frozen masterpiece!
For the Ice Cream Base
- Cream Cheese – Adds richness and creaminess to the ice cream; can substitute with mascarpone for a different flavor profile.
- Sugar – Provides sweetness to balance the flavors; consider using brown sugar for a deeper taste.
- Peanut Butter Powder – Delivers a strong peanut flavor without the added fats of traditional peanut butter; substitute with 1/4 cup of regular peanut butter if powder is unavailable.
- Cocoa Powder – Contributes to the chocolate taste; make sure to use unsweetened cocoa for the best results.
- Vanilla Extract – Enhances flavor complexity; pure vanilla extract is recommended for optimal taste.
- Milk – Creates a smooth base; whole milk is preferred for creaminess but can be substituted with almond or soy milk for a dairy-free option.
- Heavy Cream – Adds richness and a creamy texture; coconut cream can be used for a non-dairy version.
This Chocolate Peanut Butter Ninja Creami is not just any dessert; it’s an experience wrapped up in the warmth of cherished flavors. Enjoy!
Step‑by‑Step Instructions for Chocolate Peanut Butter Ninja Creami
Step 1: Soften the Cream Cheese
Begin by microwaving 8 ounces of cream cheese for 15 seconds to soften it. This step is crucial, as it helps achieve a smooth and creamy texture in your Chocolate Peanut Butter Ninja Creami. Once softened, transfer the cream cheese to a large mixing bowl to prepare for the next step.
Step 2: Mix the Base Ingredients
In the bowl with softened cream cheese, add ¾ cup of sugar, ⅓ cup of cocoa powder, and ¼ cup of peanut butter powder. Pour in 1 teaspoon of vanilla extract, and mix vigorously with a whisk or electric mixer until well combined. The mixture will take on a slightly crumbly texture but should come together smoothly as you blend.
Step 3: Incorporate the Liquids
Gradually whisk in 1 cup of whole milk and 1 cup of heavy cream to the chocolate-peanut butter mixture. Continue mixing until everything is fully combined, forming a silky, homogeneous base for your Chocolate Peanut Butter Ninja Creami. This creamy blend should be free of lumps, so ensure all ingredients are thoroughly integrated.
Step 4: Freeze the Mixture
Carefully transfer the creamy mixture into the Ninja Creami pint container, ensuring a smooth surface. Seal the container tightly and place it in the freezer for at least 24 hours. This freezing time is essential for achieving the perfect creamy consistency that makes your dessert irresistible.
Step 5: Process for Ice Cream
Once frozen, remove the pint from the freezer and set it in the Ninja Creami machine. Select the ice cream setting and let it process until smooth and creamy. If the texture appears too firm, don’t hesitate to add a splash of milk and reprocess until you reach your desired consistency.
Step 6: Add Mix-Ins
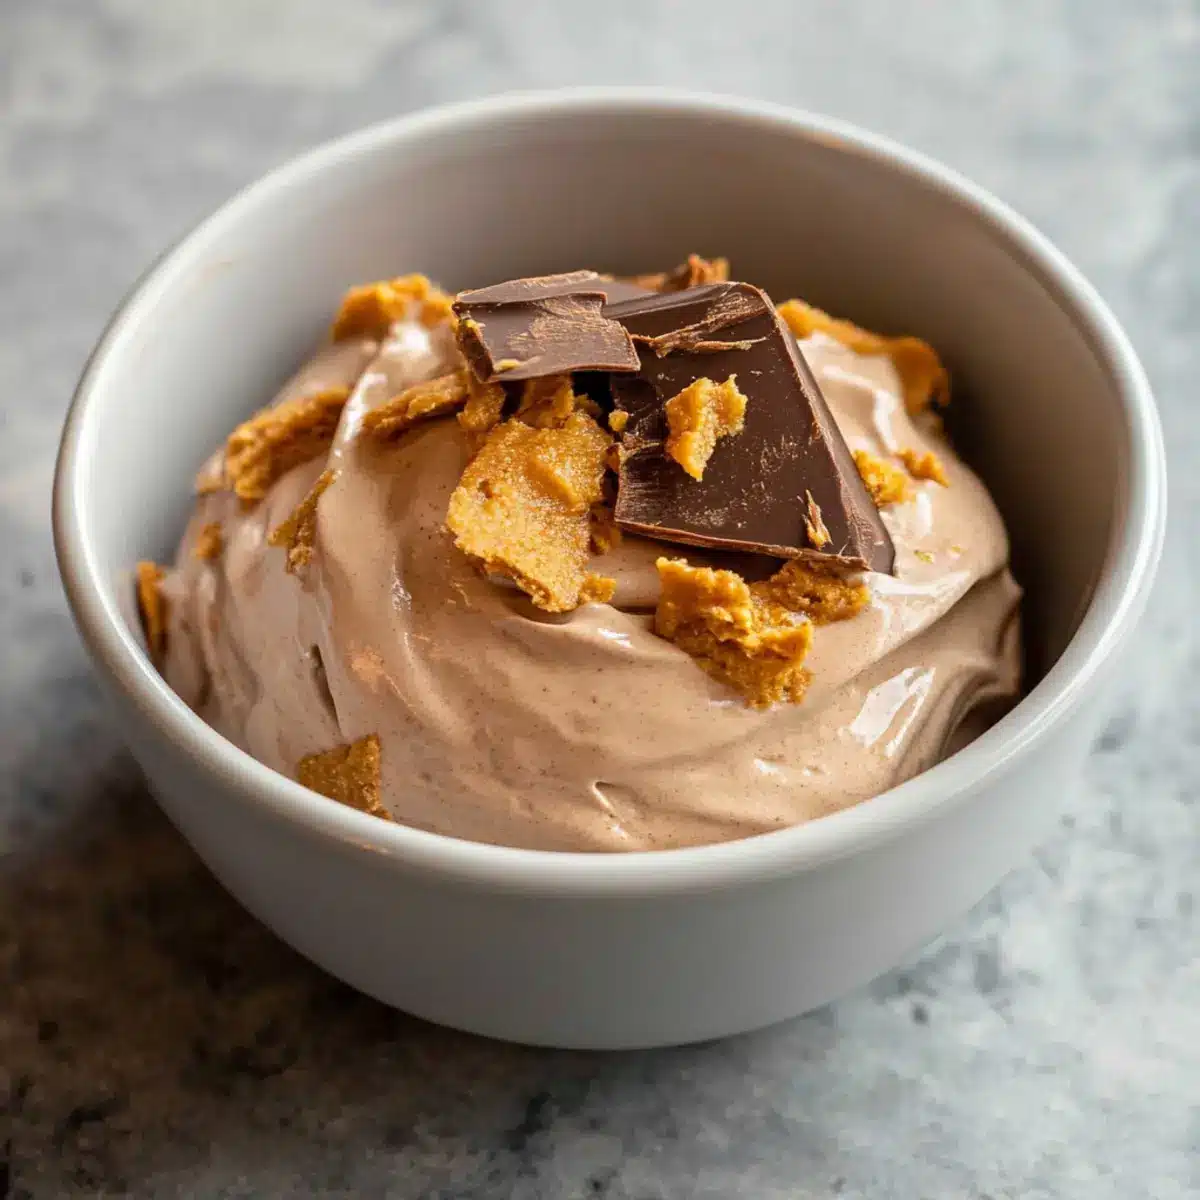
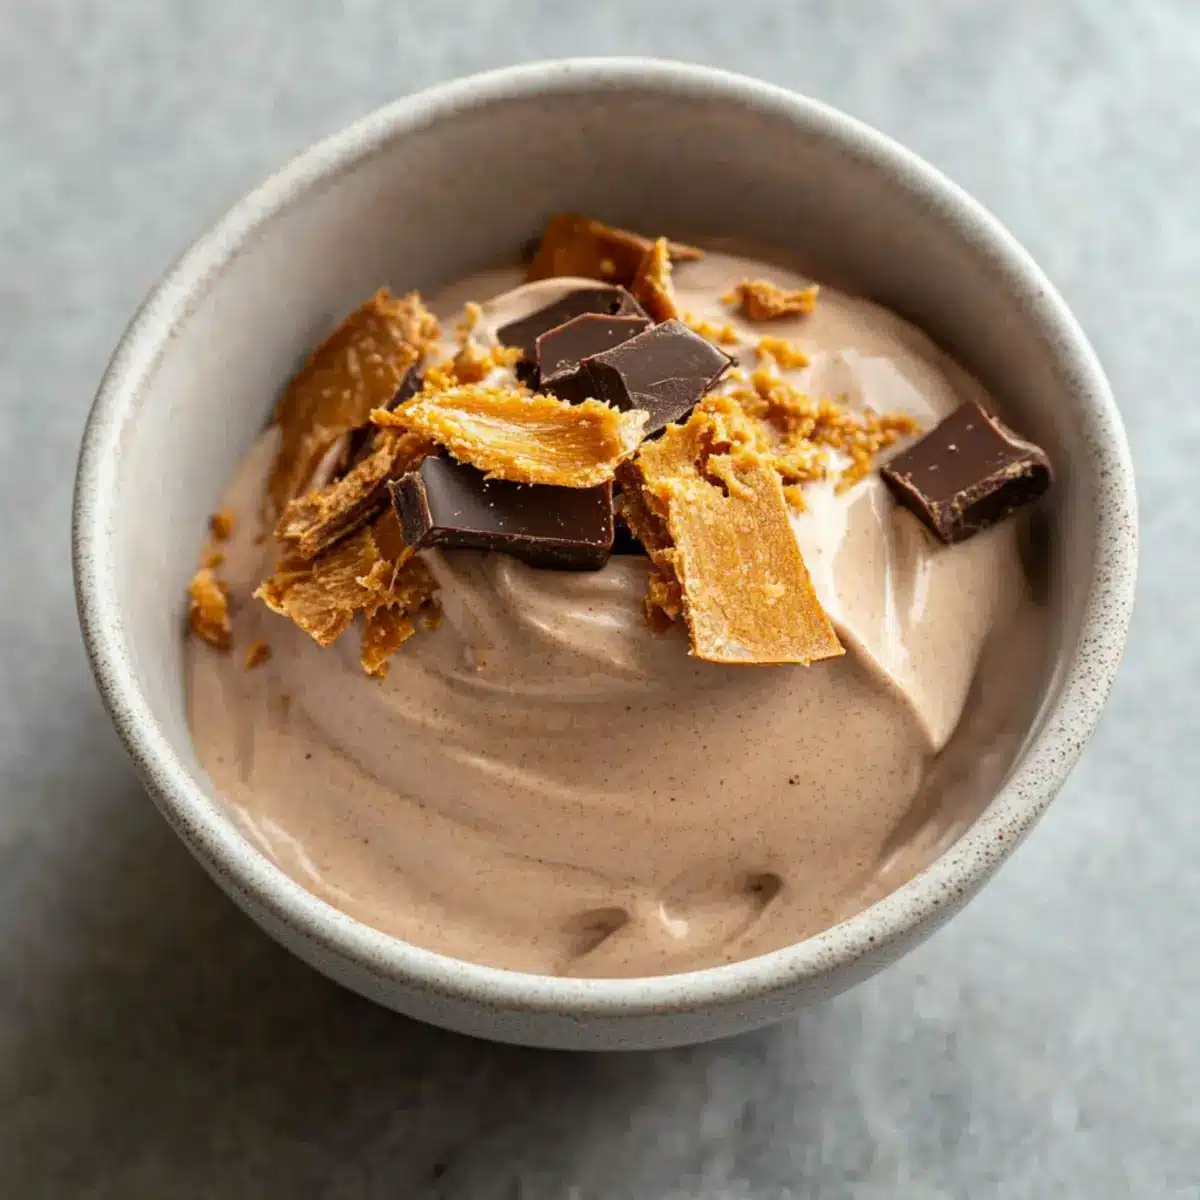
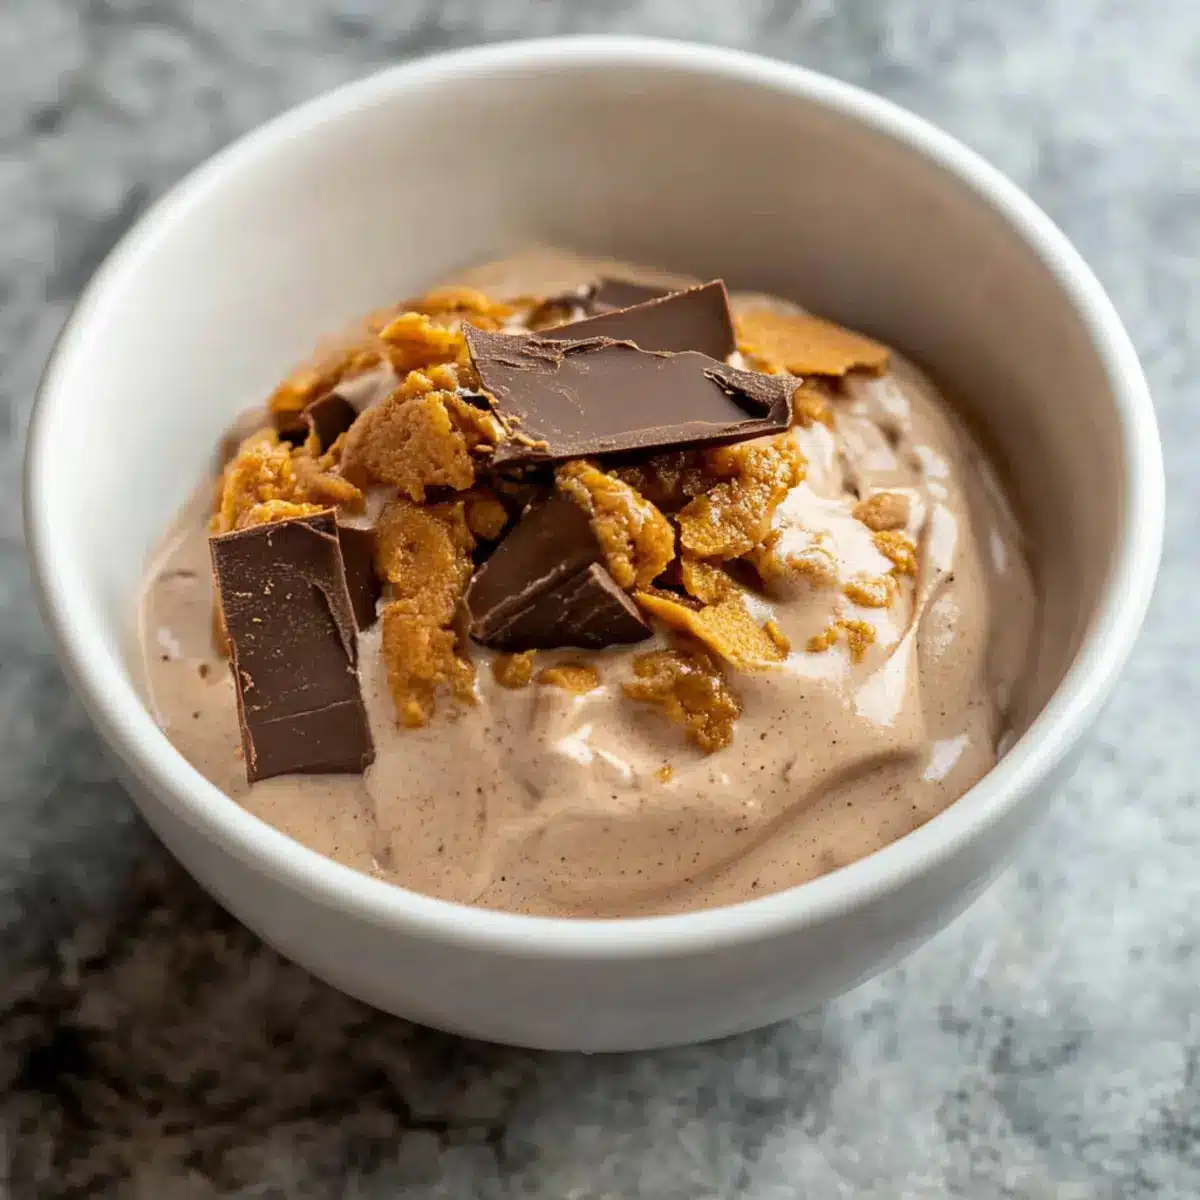
For a delightful twist, create a small hole in the center of your processed Chocolate Peanut Butter Ninja Creami before adding any desired mix-ins such as chopped candy bars or chocolate chips. Use the mix-in feature of your Ninja Creami to incorporate these tasty additions evenly throughout your ice cream.
Step 7: Serve and Enjoy
Once your mix-ins are incorporated, scoop the decadent Chocolate Peanut Butter Ninja Creami into bowls for serving. If you’d like, drizzle chocolate sauce or sprinkle crushed cookies on top for an extra touch. This oh-so-creamy dessert is best enjoyed immediately, bringing smiles to everyone on a sunny day!
Chocolate Peanut Butter Ninja Creami Variations
Feel free to swap and adjust this recipe to cater to your taste buds—let’s make it your own!
- Nut-Free: Use sunflower seed butter instead of peanut butter powder for a deliciously nut-free alternative.
- Dairy-Free: Substitute all dairy ingredients with coconut cream and almond milk for a creamy vegan version.
- Flavored Chocolate: Experiment with white chocolate or dark chocolate cocoa to change the flavor profile while keeping that rich essence.
- Crunch Factor: Add crushed pretzels or peanuts for an unexpected crunchy texture that nicely contrasts with the smoothness.
- Decadent Swirls: Fold in homemade fudge or caramel sauce before freezing for an indulgent ribbon of sweetness throughout.
- Chili Kick: If you’re feeling adventurous, sprinkle in a touch of cayenne pepper to add a spicy twist to the chocolate.
- Fruit Fusion: Blend in fresh banana or strawberries for a fruity freshness that complements the chocolate and peanut butter perfectly.
- Health Boost: Mix in protein powder or chia seeds for an added nutritional punch, making this dessert even more satisfying.
Explore these fun possibilities and turn your Chocolate Peanut Butter Ninja Creami into a delightful treat that reflects your own flavor preferences! If you’re interested in more exciting dessert options, don’t forget to check out our delicious Vegan Chocolate Chip or classic Chocolate Chip Cookies.
How to Store and Freeze Chocolate Peanut Butter Ninja Creami
Fridge: Store any leftovers in the fridge for up to 3 days in an airtight container. This keeps your homemade ice cream fresh for your next indulgence.
Freezer: For longer storage, transfer the remaining ice cream back into the Ninja Creami pint and smooth out the top. It will stay fresh in the freezer for up to 2 weeks.
Reheating: To revive the texture of your Chocolate Peanut Butter Ninja Creami, reprocess it in the Ninja Creami before serving. Add a splash of milk if needed for creaminess.
Serving Freshness: Always scoop out the desired amount and return the rest to the freezer immediately to maintain the perfect texture and flavor.
Make Ahead Options
These Chocolate Peanut Butter Ninja Creami are perfect for meal prep enthusiasts! You can prepare the base mixture up to 24 hours in advance by following the initial steps of softening the cream cheese and mixing all the ingredients together. Simply transfer the mixture to the Ninja Creami pint and freeze it tightly. To maintain the delicious creamy texture, ensure the pint is well-sealed to prevent ice crystals from forming. When you’re ready to serve, remove the mixture from the freezer, process it on the ice cream setting, and savor the delightful results. This way, you’ll have an indulgent dessert ready in a snap, ideal for busy weeknights or surprise guests!
What to Serve with Chocolate Peanut Butter Ninja Creami
On a warm evening, it’s delightful to pair your ice cream with something equally satisfying, enhancing that creamy peanut butter bliss.
-
Chocolate Drizzle: A rich chocolate sauce adds an extra layer of decadence that beautifully complements the ice cream’s flavor.
-
Crushed Cookies: Sprinkling crushed chocolate cookies or Oreos on top introduces a delightful crunch, making for a textural contrast that’s oh-so-satisfying.
-
Fresh Berries: Juicy raspberries or strawberries provide a tart contrast that brightens up the overall experience, balancing the richness of the ice cream.
-
Peanut Butter Cups: Enjoy the nostalgic flavor of chopped mini peanut butter cups scattered throughout your ice cream for an irresistible treat.
-
Caramel Sauce: Drizzling warm caramel on top adds a sweet, buttery flavor that enhances the overall dessert experience.
-
Coffee Pairing: A cup of freshly brewed coffee provides a wonderful bitterness that complements the sweetness of the ice cream, creating a perfect harmony.
-
Milkshake: For a fun twist, blend your Chocolate Peanut Butter Ninja Creami with some milk to create a creamy milkshake that’s perfect for sharing.
Let your imagination roam with these pairings, and make every scoop an unforgettable delight!
Expert Tips for Chocolate Peanut Butter Ninja Creami
-
Softened Cream Cheese: Ensure the cream cheese is adequately softened for smooth blending; if it’s too cold, you risk lumps in your ice cream.
-
Mixing Substitutions: When using regular peanut butter instead of powder, blend it thoroughly with other ingredients to ensure a cohesive mixture in your Chocolate Peanut Butter Ninja Creami.
-
Freezing Time: Always freeze the mixture for a full 24 hours for the best creamy texture; cutting this time short may lead to less delightful results.
-
Texture Adjustments: If the ice cream turns out too firm after processing, simply add a splash of milk and reprocess to achieve the desired creaminess.
-
Variety of Mix-Ins: Don’t hesitate to experiment with various mix-ins; just remember to create a hole in the center before adding them, using the mix-in feature for even distribution.
Chocolate Peanut Butter Ninja Creami Recipe FAQs
How do I choose ripe ingredients for my recipe?
Absolutely! For this recipe, it’s less about ripeness since we’re not using fresh fruit. However, ensure your cream cheese is fresh and not past its expiration date. For the milk and heavy cream, using whole or fresh dairy is best for creaminess.
What are the best storage methods and duration for leftovers?
You can store any leftover Chocolate Peanut Butter Ninja Creami in an airtight container in the freezer for up to 2 weeks. If storing in the fridge, it will stay fresh for about 3 days. To keep its creamy texture, always seal it tightly to avoid ice crystals forming on top.
Can I freeze this dessert? If so, what are the instructions?
Certainly! This decadent ice cream can be frozen right in the Ninja Creami pint. To freeze, simply smooth the top of the mixture, seal it tightly, and place it in the freezer for up to 2 weeks. When you’re ready to enjoy, remove it from the freezer and reprocess in your Ninja Creami to restore its perfect creamy consistency. If it feels too firm, add a splash of milk before processing again.
What should I do if my ice cream doesn’t turn out creamy?
Good question! If your Chocolate Peanut Butter Ninja Creami isn’t as creamy as you’d like after processing, here’s what to do: 1) Ensure the cream cheese was adequately softened before mixing—this prevents lumps. 2) If it still seems firmer than desired after the first processing, simply add a splash of milk and reprocess it in the Ninja Creami. This should help achieve that velvety texture you crave!
Are there any dietary considerations to keep in mind for this recipe?
Very! If you or your guests have allergies, be cautious with peanut butter as it’s a common allergen. You can substitute with sun butter or almond butter if needed. Additionally, for those who are lactose intolerant, use almond or soy milk instead of regular milk and opt for coconut cream instead of heavy cream. Enjoying this treat with a different twist is the more the merrier!
Can pets have this homemade ice cream?
While it might be tempting to share, it’s best to avoid giving this Chocolate Peanut Butter Ninja Creami to pets, especially due to the sugars and dairy content that can be troublesome for them. Consider making a pet-friendly frozen treat using pureed bananas and yogurt specifically for furry friends!
Irresistibly Creamy Chocolate Peanut Butter Ninja Creami Delight
Ingredients
Equipment
Method
- Soften the Cream Cheese by microwaving for 15 seconds. Transfer to a mixing bowl.
- Mix the Base Ingredients by adding sugar, cocoa powder, peanut butter powder, and vanilla extract, then blend until smooth.
- Incorporate the Liquids by gradually whisking in milk and heavy cream until fully combined.
- Freeze the Mixture in a Ninja Creami pint container for at least 24 hours.
- Process for Ice Cream using the Ninja Creami machine until smooth and creamy.
- Add Mix-Ins like chopped candy bars by creating a hole in the center before incorporating them.
- Serve and Enjoy by scooping into bowls and adding toppings if desired.
Leave a Reply