
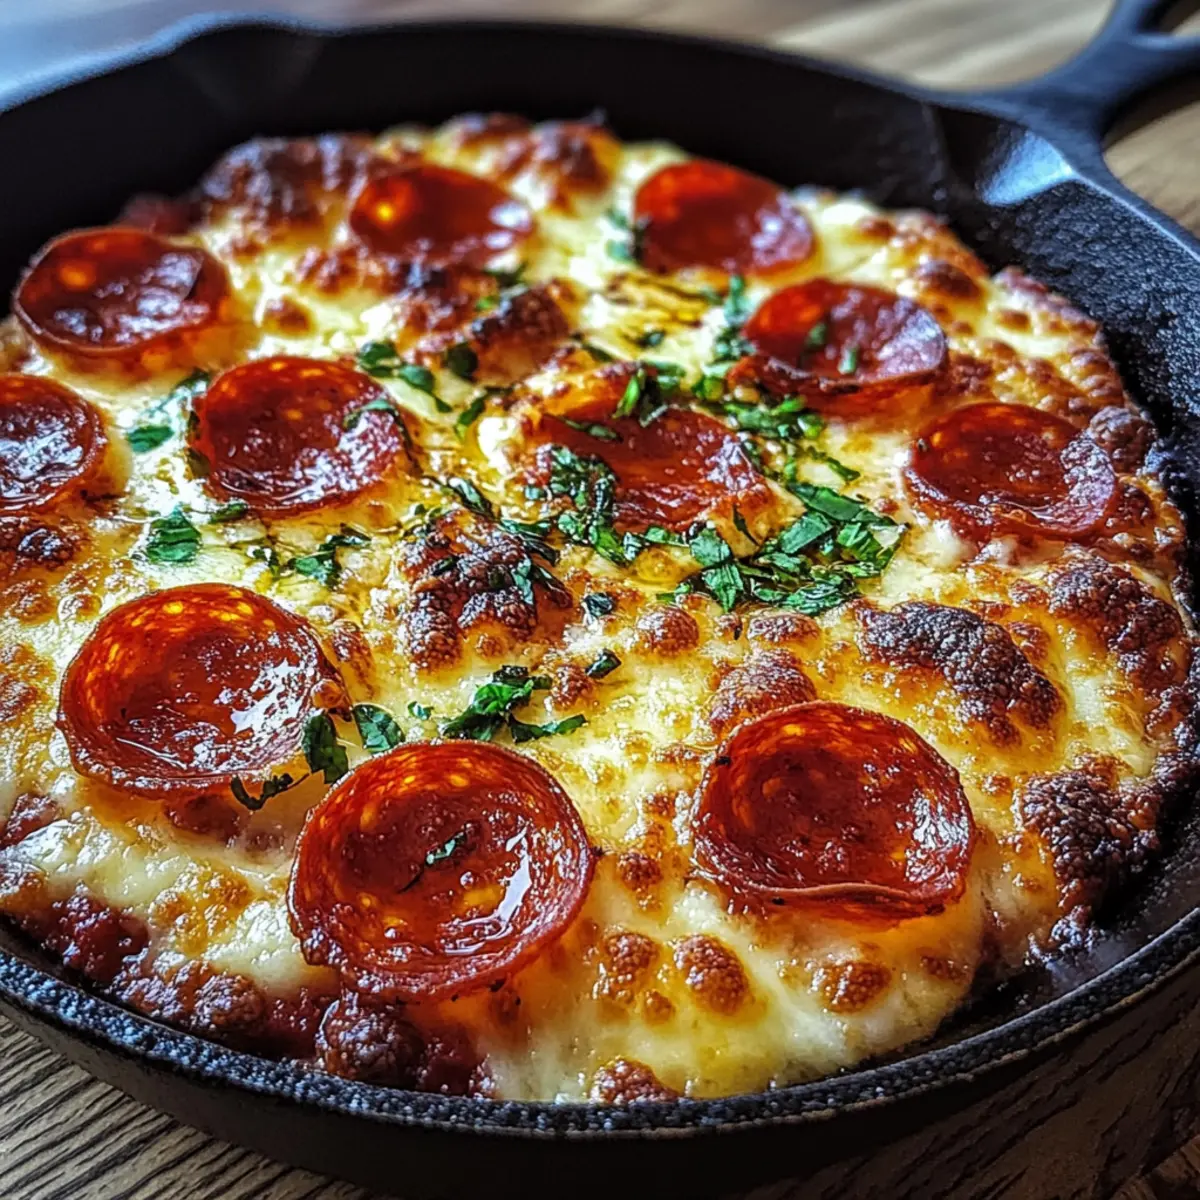
A sizzling sound fills the air as I heat my trusty cast iron skillet, setting the stage for a homemade feast. Today, I’m diving into the delicious world of Crispy Cast Iron Skillet Pizza, an easy dinner that transforms simple ingredients into a mouthwatering masterpiece. With a satisfyingly crisp crust that crackles with each slice, this recipe delivers not just flavor, but also a hands-on dough-making experience that deepens the taste. Imagine the aroma of pepperoni and bubbling mozzarella wafting through your kitchen, beckoning everyone to gather. This dish not only caters to your cravings for comfort food but also proves that homemade is always better than takeout. Are you ready to discover the secret to achieving that perfect crunch? Let’s get cooking!
Why Is This Pizza Recipe a Must-Try?
Simple Process: Crafting this Crispy Cast Iron Skillet Pizza is a breeze, making it accessible for both novice cooks and seasoned chefs.
Ultimate Flavor: With the combination of fresh ingredients like pepperoni and mozzarella, each bite bursts with mouthwatering taste that beats takeout anytime.
Golden Crust: The secret lies in the hot cast iron skillet which creates that perfect, crisp texture you dream about in pizzeria pies.
Endless Customization: Feel free to mix and match toppings! You can switch pepperoni for grilled veggies or different cheeses, making it suitable for everyone.
Quick Dinner Solution: Ready in about 30 minutes, this recipe caters to busy weeknights while satisfying cravings for something homemade and delicious.
Once you’ve mastered this, pair your pizza with some Crispy Mashed Potato Fries for an unbeatable meal!
Crispy Cast Iron Skillet Pizza Ingredients
For the Dough
- All-purpose flour – Provides structure for the dough; substitute with bread flour for a chewier texture.
- Sugar – Adds slight sweetness which helps with browning; avoid for a less sweet crust.
- Salt – Enhances flavor; critical for boosting overall taste, so do not omit.
- Active dry yeast – Essential for leavening the dough; can substitute with instant yeast (1 tsp) by mixing directly with dry ingredients.
- Warm water – Hydrates the flour and activates the yeast; ensure it’s not too hot to avoid killing the yeast.
- Olive oil – Adds flavor and assists in crisping the crust; can substitute with vegetable oil if desired.
For the Toppings
- Pizza sauce – Acts as the flavorful base layer; feel free to use store-bought or homemade.
- Shredded mozzarella cheese – Provides creaminess and gooey melt; switch to provolone or cheddar for varied flavor.
- Pepperoni slices – Adds spice and a savory element; swap for cooked sausage or veggies for a veggie version.
- Dried oregano – Offers aromatic seasoning; can substitute with Italian seasoning for a different herb profile.
- Red pepper flakes – Adds a touch of heat; reduce or omit for a milder flavor.
For Baking
- Additional olive oil (for skillet) – Ensures easy release of the crust after baking to achieve that perfect crispy texture.
Get ready to savor the vibrant flavors of your homemade Crispy Cast Iron Skillet Pizza!
Step‑by‑Step Instructions for Crispy Cast Iron Skillet Pizza
Step 1: Prepare the Dough
In a large mixing bowl, combine 250 g of all-purpose flour, 1 tsp sugar, 1/2 tsp salt, and 1 tsp active dry yeast. Mix these dry ingredients well before adding 160 ml of warm water and 2 tbsp olive oil. Stir the mixture until a sticky dough forms, showcasing a slightly tacky texture. This step is crucial for your Crispy Cast Iron Skillet Pizza, so ensure all ingredients are evenly incorporated.
Step 2: Knead the Dough
Turn the sticky dough onto a floured surface and knead it for about 5 minutes. Use the heels of your hands to push the dough away and then fold it back, repeating until it’s smooth and elastic. The perfect dough should be silky, demonstrating a slight stretch when pulled. Once kneaded, it’s ready to rise, helping build that delightful crust in your pizza.
Step 3: Let the Dough Proof
Place the kneaded dough into a greased bowl, covering it with a clean kitchen towel or plastic wrap. Let it proof in a warm spot for about 30 minutes, or until it has doubled in size. This rise is essential for achieving a light, airy texture, so ensure your environment is warm but not too hot. You’ll notice it has puffed up beautifully, indicating it’s ready for the next step.
Step 4: Preheat the Oven
While the dough is rising, preheat your oven to 475°F (245°C). Additionally, place your cast iron skillet on medium heat on the stovetop for 5–7 minutes. This preheating is key for creating that crispy base that you love in a great pizza. Once ready, the skillet should be very hot, perfect for starting your Crispy Cast Iron Skillet Pizza.
Step 5: Shape the Dough
Once the dough has risen, turn it out onto a lightly floured surface and stretch it into a flat disk. Carefully press the dough into the edges of the hot cast iron skillet, ensuring it fits snugly and makes contact with the skillet for maximum crispiness. This step sets the foundation for your pizza, highlighting that delectable crust you set out to achieve.
Step 6: Add Pizza Sauce
Spread 100 g of your chosen pizza sauce evenly over the dough, leaving about a 1 cm border around the edges. This layer of sauce not only flavors the pizza but also keeps the crust from becoming soggy. Choose a sauce that excites your taste buds, as it brings out the best in your Crispy Cast Iron Skillet Pizza.
Step 7: Layer the Toppings
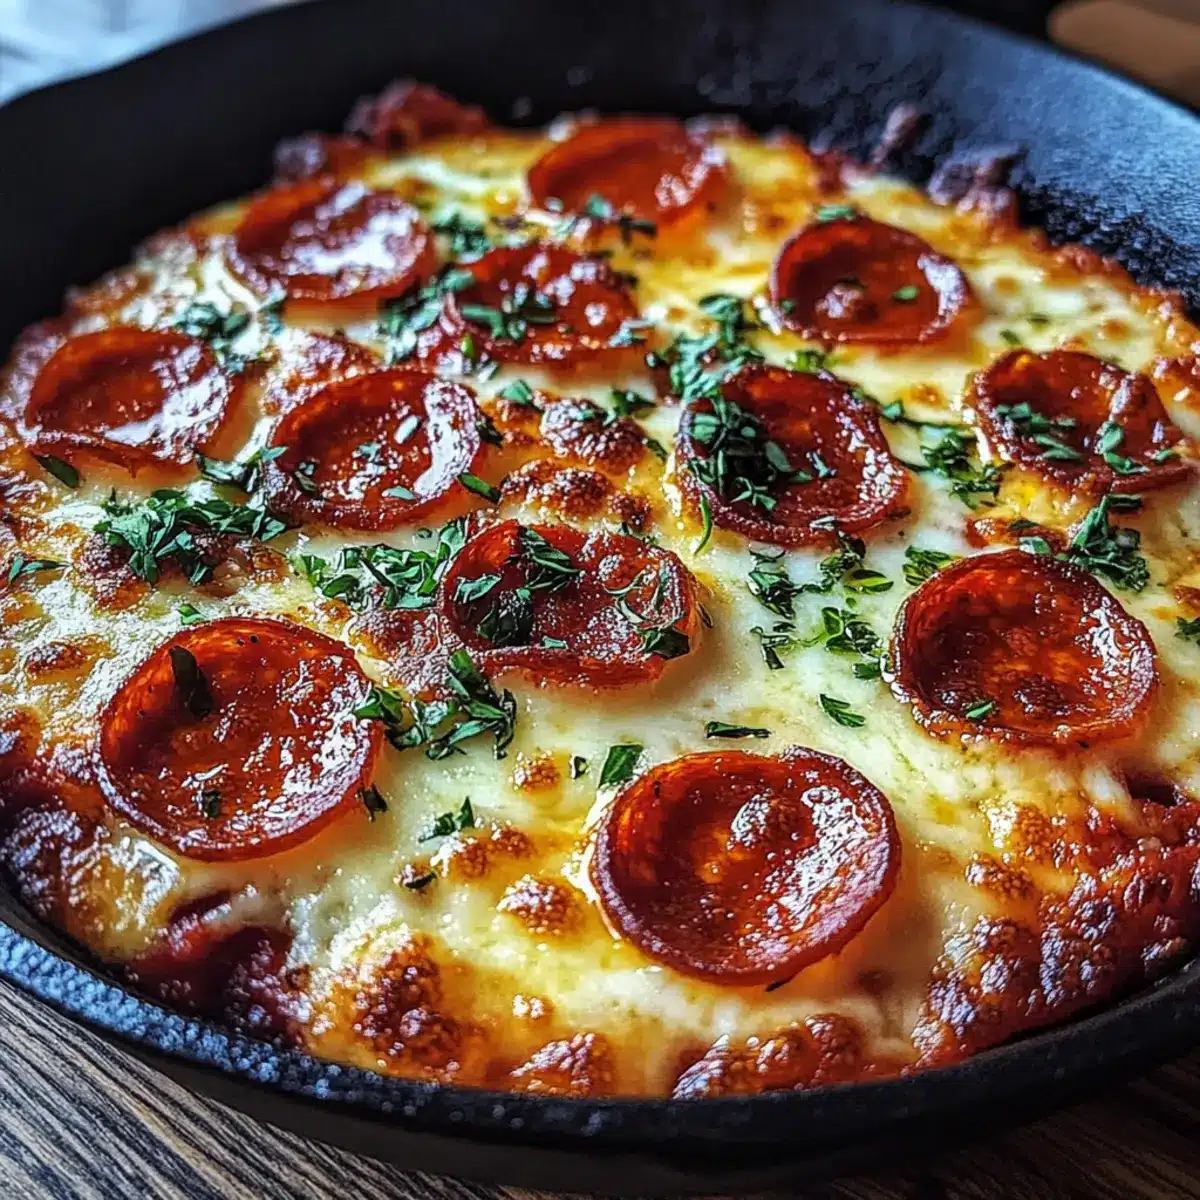
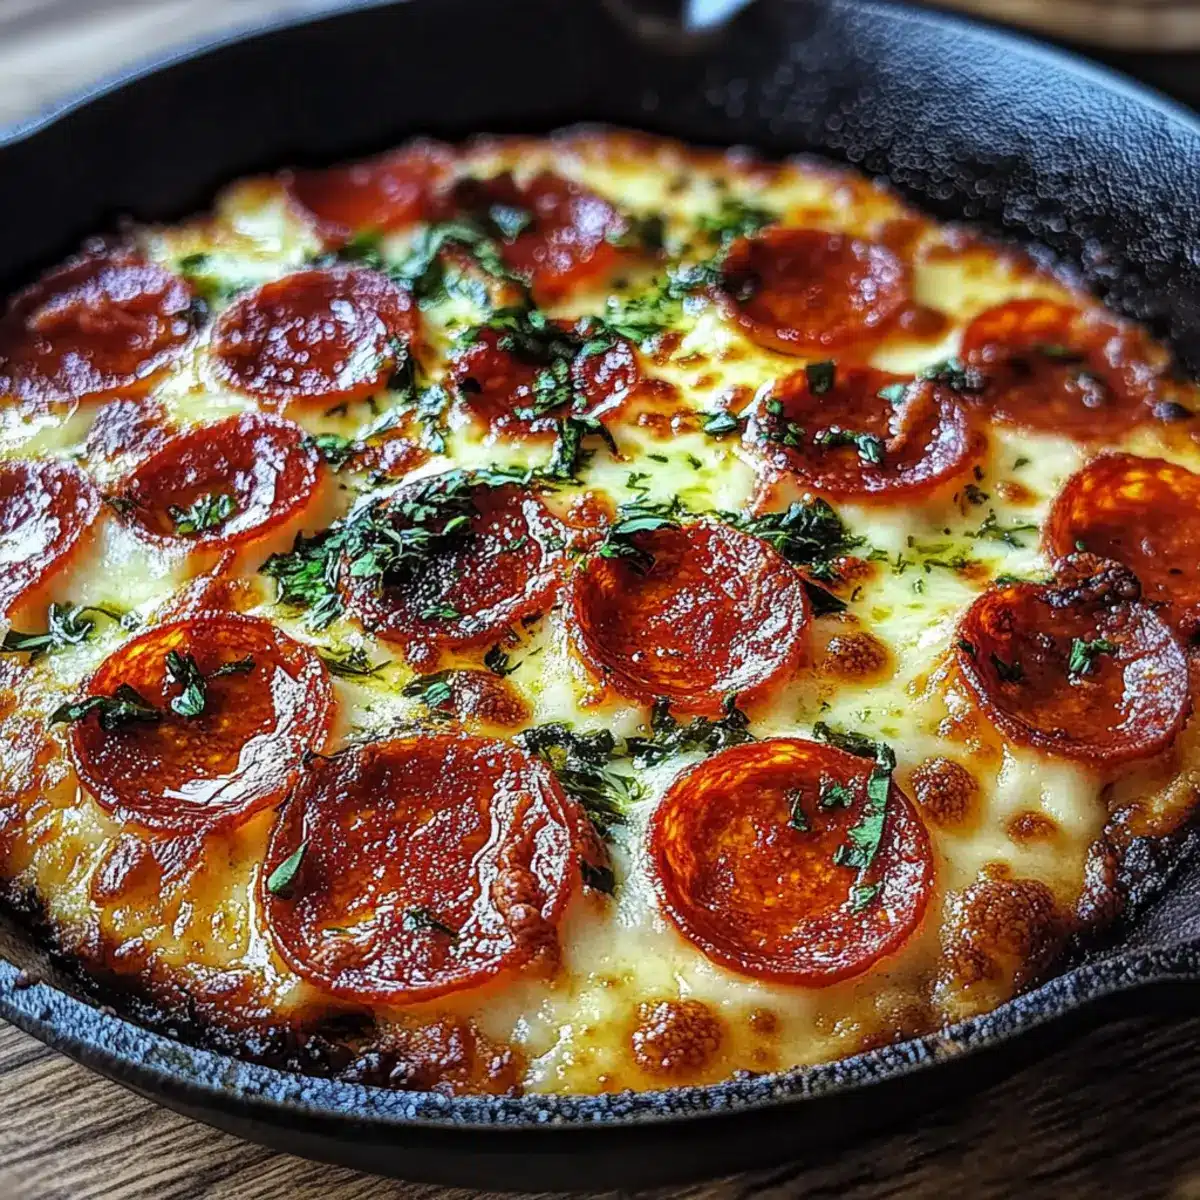
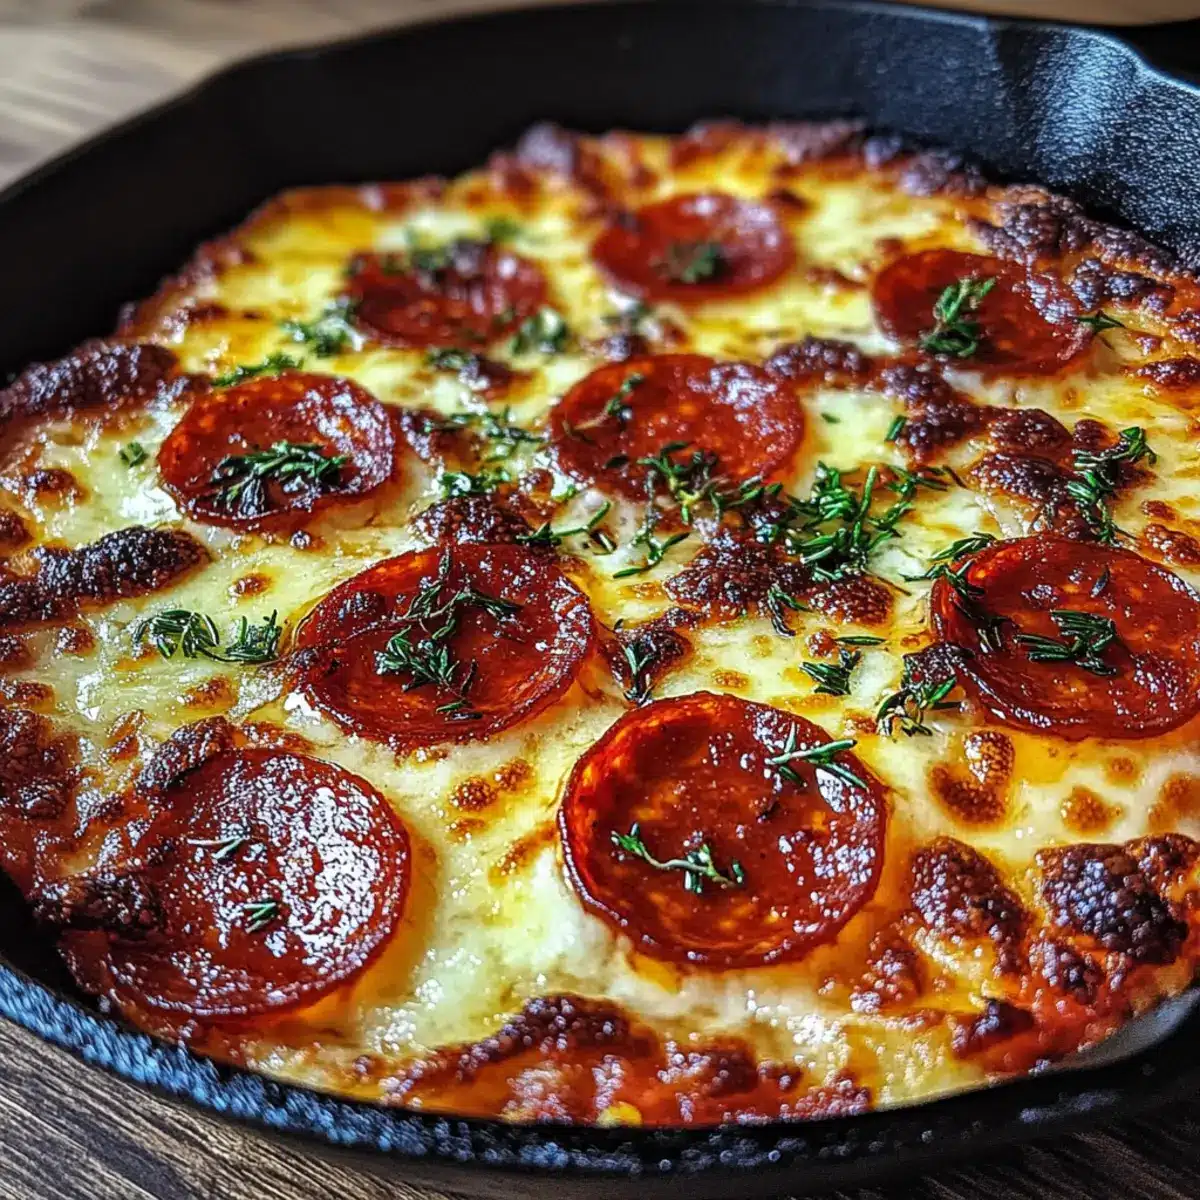
Sprinkle 150 g of shredded mozzarella cheese generously over the sauce, covering it well. Then, place 50 g of pepperoni slices on top, distributing them evenly for balanced flavor in every bite. Finish with a sprinkle of dried oregano and red pepper flakes to further enhance the taste, creating a symphony of flavors atop your pizza masterpiece.
Step 8: Bake the Pizza
Drizzle 1 tbsp of olive oil around the edge of the crust for extra crispiness, then carefully place the skillet in your preheated oven. Bake for 12–15 minutes, keeping an eye on the pizza for a golden-brown crust and bubbling cheese. This is the moment when the kitchen fills with mouthwatering aromas, showcasing the magic of your Crispy Cast Iron Skillet Pizza!
Step 9: Cool and Serve
Once baked to perfection, remove the skillet from the oven and let the pizza cool for a few minutes. This brief cooling allows the cheese to set slightly, making slicing easier. Cut the pizza directly in the skillet and serve it straight to your hungry guests, letting everyone indulge in the deliciousness of your homemade creation.
Make Ahead Options
These Crispy Cast Iron Skillet Pizza preparations are perfect for busy weeknights when you need to save time without sacrificing flavor! You can prepare the dough up to 24 hours in advance; just cover it tightly and refrigerate it to prevent browning. When you’re ready to cook, allow the dough to come to room temperature before shaping it in the hot skillet. Additionally, you can even pre-measure and combine your toppings like cheese and pepperoni, keeping them in the fridge to streamline the final steps. With these make-ahead options, you’ll enjoy a fantastic homemade pizza experience that’s just as delicious, minus the last-minute rush!
Variations & Substitutions for Crispy Cast Iron Skillet Pizza
Feel free to let your creativity shine as you customize this delicious pizza recipe!
- Dairy-Free: Use plant-based cheese alternatives like cashew or almond cheese for a delicious yet dairy-free pizza.
- Whole Wheat: Substitute half the all-purpose flour with whole wheat flour for a nutty flavor and added nutrition.
- Veggie Delight: Replace pepperoni with sautéed mushrooms, bell peppers, or spinach for a colorful and wholesome veggie option.
- Spicy Kick: Add jalapeños or a swirl of sriracha to the sauce for an extra kick that will ignite your taste buds!
- Herb Infusion: Try adding fresh basil or arugula after baking for a vibrant, fresh flavor that complements the sauce beautifully.
- Cheese Variety: Get adventurous by using different cheeses like gouda or fontina for unique flavor profiles that intrigue your palate.
- Garlic Oil Crust: Brush the crust with garlic-infused olive oil before baking for an aromatic touch that elevates the pizza experience.
- BBQ Twist: Swap pizza sauce for barbecue sauce, then top with grilled chicken and red onions for a barbecue pizza that’s sure to impress.
For a delightful side, consider pairing your pizza with some Crispy Mashed Potato Fries for an unbeatable meal experience!
What to Serve with Crispy Cast Iron Skillet Pizza
Transform your homemade pizza into a delightful meal by pairing it with these delicious sides and drinks that complement its rich flavors.
-
Crispy Caesar Salad:
A crunchy romaine with creamy dressing and shaved parmesan, this salad brings refreshing contrast to the hearty pizza. -
Garlic Bread Sticks:
Soft and buttery, these dippers are perfect for soaking up any extra pizza sauce on your plate. -
Roasted Vegetables:
Featuring seasonal veggies, the natural sweetness and caramelization build a vibrant balance alongside your savory pizza. -
Zesty Coleslaw:
The bright tang of a crunchy coleslaw cuts through the richness of cheese with a delightful crunch! -
Pasta Salad:
A chilled pasta salad tossed in vinaigrette adds a light, flavorful note to round out your meal perfectly. -
Craft Beer or Sparkling Water:
Pair your pizza with a hoppy craft beer or effervescent sparkling water for a refreshing sip to cleanse your palate. -
Chocolate Chip Cookies:
End on a sweet note with warm, chewy cookies—comfort food at its finest that everyone loves.
Embrace the joyful flavors and textures of these sides to create a fulfilling dining experience!
How to Store and Freeze Crispy Cast Iron Skillet Pizza
Room Temperature: Enjoy your Crispy Cast Iron Skillet Pizza fresh out of the oven, but if you have leftovers, store them in an airtight container for up to 2 days.
Fridge: Place leftover pizza in the refrigerator, sealed tightly, where it will stay fresh for up to 3 days; reheat in an oven for the best texture.
Freezer: For longer storage, wrap slices in plastic wrap and then foil, freezing them for up to 2 months. Thaw in the fridge before reheating for a delicious meal.
Reheating: For optimal results, reheat in a preheated cast iron skillet over medium heat or in an oven until heated through to restore that crispy crust.
Tips for the Best Crispy Cast Iron Skillet Pizza
-
Hot Skillet Essential: Ensure your cast iron skillet is sizzling hot before adding the dough; this step creates that coveted crispy crust.
-
Perfect Dough Rise: Allow the dough to double in size during proofing; if it hasn’t, give it extra warm time—this enhances fluffiness in your pizza.
-
Flavor Boost: For deeper flavor, cover the prepared dough and refrigerate it overnight, bringing it to room temperature before shaping.
-
Watch Your Bake: Keep an eye on baking time; every oven is different. Look for a golden brown crust and bubbling cheese for the best results.
-
Best Reheating: When reheating leftovers, opt for a cast iron skillet; it revives the crispy crust better than the microwave!
Crispy Cast Iron Skillet Pizza Recipe FAQs
How do I choose the right flour for my pizza dough?
I recommend using all-purpose flour for a balanced texture in your Crispy Cast Iron Skillet Pizza. If you desire a chewier crust, try substituting with bread flour. Just be aware that bread flour has a higher protein content, which can change the dough’s consistency slightly.
What is the best way to store leftover pizza?
For room temperature storage, keep your pizza in an airtight container for up to 2 days, ensuring it doesn’t dry out. If you want to keep it longer, refrigerate it in a tightly sealed container where it will last for up to 3 days. I prefer reheating it in the oven to help regain that lovely crispiness!
Can I freeze my pizza?
Absolutely! To freeze your Crispy Cast Iron Skillet Pizza, wrap the slices in plastic wrap tightly, then wrap them in foil to protect against freezer burn. It will stay fresh for about 2 months. When you’re ready to eat, thaw in the fridge overnight before reheating.
What if my dough doesn’t rise?
If your dough doesn’t rise, it might be due to inactive yeast or insufficient warmth. Make sure your warm water is around 110°F (43°C) and not too hot to prevent killing the yeast. If it hasn’t risen after 30 minutes, give it another warm spot or extra time to proof. The dough should ideally double in size, providing the perfect lift for your pizza!
Are there any dietary considerations I should keep in mind?
Yes, if you’re accommodating dietary restrictions, you can easily adapt this recipe. For a gluten-free option, swap out the all-purpose flour for a gluten-free flour blend. When it comes to toppings, feel free to use vegetable alternatives to pepperoni for a vegetarian or vegan version, ensuring ingredients align with dietary needs. Always check labels for any allergens present in pre-made sauces or other ingredients!
Crispy Cast Iron Skillet Pizza: Your New Favorite Homemade Feast
Ingredients
Equipment
Method
- In a large mixing bowl, combine all-purpose flour, sugar, salt, and active dry yeast. Mix the dry ingredients well before adding warm water and olive oil. Stir until a sticky dough forms.
- Turn the sticky dough onto a floured surface and knead it for about 5 minutes until smooth and elastic.
- Place the kneaded dough into a greased bowl, cover with a kitchen towel, and let it proof in a warm spot for about 30 minutes until doubled in size.
- Preheat your oven to 475°F (245°C) and place your cast iron skillet on medium heat for 5–7 minutes.
- Once risen, turn the dough out onto a floured surface and stretch it into a flat disk. Press the dough into the hot skillet.
- Spread pizza sauce evenly over the dough, leaving a 1 cm border.
- Sprinkle mozzarella cheese over the sauce, then add pepperoni slices, dried oregano, and red pepper flakes.
- Drizzle olive oil around the edge of the crust, then place the skillet in the preheated oven. Bake for 12–15 minutes until golden-brown.
- Once baked, remove the skillet from the oven and let the pizza cool for a few minutes before slicing and serving.
Leave a Reply