
As I rummaged through my pantry, the sweet aromas of nostalgia filled the air, transporting me back to my childhood kitchen filled with homemade treats. That’s when I stumbled upon the perfect solution: No-Bake Chocolate Peanut Butter Oatmeal Bars. These irresistible bars not only satisfy my chocolate cravings but are also incredibly easy to whip up—no oven required! In just a few minutes, you can create a delightful, gluten-free dessert that’s ideal for satisfying your sweet tooth without the guilt. Packed with wholesome ingredients, they’re perfect for snack time or as a satisfying treat after dinner. Ready to discover how to bring these delightful bars to life?
Why are these bars a must-try?
Simplicity: No-bake means anyone can make them! Just mix, press, and chill for an effortless dessert.
Decadent Flavor: Creamy peanut butter combined with rich chocolate offers a blissful experience that satisfies any dessert lover.
Diet-Friendly: Vegan and gluten-free, these bars appeal to various dietary preferences, making them suitable for everyone at your table.
Versatile: Customize easily by swapping out nut butters or adding nuts and dried fruits for extra flavor.
Quick & Convenient: Ready in no time! These bars are perfect for last-minute gatherings or evening cravings. Pair them with a glass of almond milk for a delightful treat!
No-Bake Chocolate Peanut Butter Oatmeal Bars Ingredients
For the Base
- Rolled Oats – A chewy foundation that holds everything together; opt for gluten-free oats to keep it compliant!
- Peanut Butter – Provides creaminess and a delightful flavor; swap it for almond butter if you’re seeking a nutty twist.
- Maple Syrup – Acts as a natural sweetener, binding your ingredients; agave nectar is a suitable alternative.
- Cocoa Powder – Adds that rich chocolate essence; be sure to use unsweetened for the best taste.
For the Topping
- Chocolate Chips – Melts perfectly to create a luscious chocolate layer; use dairy-free chips to keep it vegan-friendly.
- Vanilla Extract – Enhances all the flavors for a deeper taste; while optional, it’s worth including for that special touch.
These No-Bake Chocolate Peanut Butter Oatmeal Bars check all the boxes: delicious, easy to make, and adapted for various dietary needs!
Step‑by‑Step Instructions for No-Bake Chocolate Peanut Butter Oatmeal Bars
Step 1: Prepare Base Mixture
In a large mixing bowl, combine rolled oats, peanut butter, maple syrup, and cocoa powder. Mix these ingredients together using a sturdy spatula until fully combined and the mixture appears thick and cohesive. This should take about 2-3 minutes. You’ll want a texture that holds together well, making it easy to press into the pan later.
Step 2: Press into Pan
Line an 9×9 inch baking pan with parchment paper for easy removal. Transfer the blended mixture into the prepared pan, spreading it out evenly. Use the back of a measuring cup or your hands to press the mixture firmly into the pan, ensuring it forms a solid, even layer. Aim for a height of about half an inch to achieve the perfect bar consistency.
Step 3: Prepare Chocolate Topping
In a microwave-safe bowl, add chocolate chips and microwave in 30-second intervals, stirring in between, until melted and smooth. This process should take about 1-2 minutes in total. Once melted, pour the luscious chocolate over the pressed oatmeal base, tilting the pan gently to spread it evenly across the surface for a glossy finish.
Step 4: Chill
Cover the pan with plastic wrap or aluminum foil and refrigerate for at least 2 hours, allowing the bars to set firmly. The cooling will help the chocolate topping harden and make the bars easier to cut. After the chilling period, the bars should be firm and slightly soft but not overly sticky.
Step 5: Cut & Serve
Once set, remove the bars from the pan using the overhanging parchment paper for easy access. Use a sharp knife to cut the bars into squares or rectangles. Enjoy them chilled or at room temperature, and consider serving them with a glass of almond milk for a delightful pairing. These No-Bake Chocolate Peanut Butter Oatmeal Bars are now ready to be relished!
Expert Tips for No-Bake Chocolate Peanut Butter Oatmeal Bars
- Mix Well: Thoroughly combine the ingredients to prevent dry, crumbly bars. A cohesive mixture ensures the right texture and flavor.
- Press Firmly: Don’t skip the pressing step! Firmly compact the mixture into the pan for a cohesive and structured bar that holds together beautifully.
- Chilling Time: Allow for adequate chilling time in the fridge—aim for at least 2 hours—so your bars set properly and are easy to cut.
- Cut Cleanly: Use a sharp knife to slice through the chocolate topping for neat edges. Clean cuts make the bars more visually appealing!
- Customize: Feel free to personalize these bars further! Incorporate nuts, seeds, or dried fruit for added texture and flavor while keeping them no-bake and delicious.
Make Ahead Options
These No-Bake Chocolate Peanut Butter Oatmeal Bars are perfect for meal prep! You can prepare the base mixture and press it into the pan up to 24 hours in advance, storing it in the refrigerator to maintain freshness. Additionally, the chocolate topping can be melted and poured over the bars just before serving, ensuring it stays smooth and glossy. Simply cover the bars with plastic wrap after pressing to prevent drying out. Once you’re ready to enjoy, chill the bars for about 2 hours until set, then cut into squares, and you’ll have a delicious, homemade treat ready to savor anytime, perfect for busy weeknights!
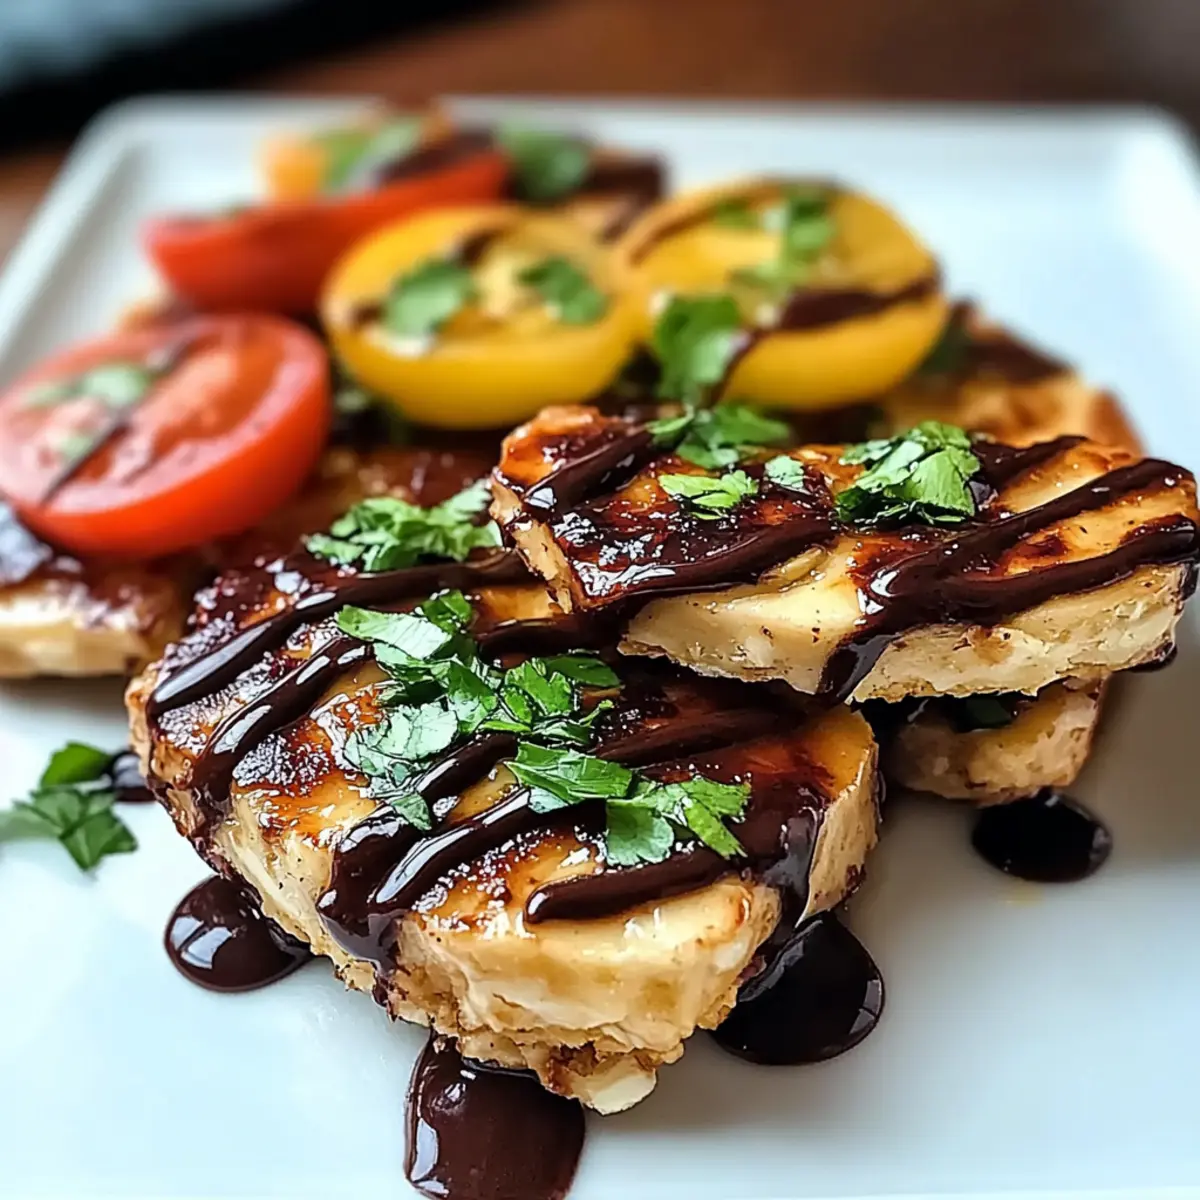
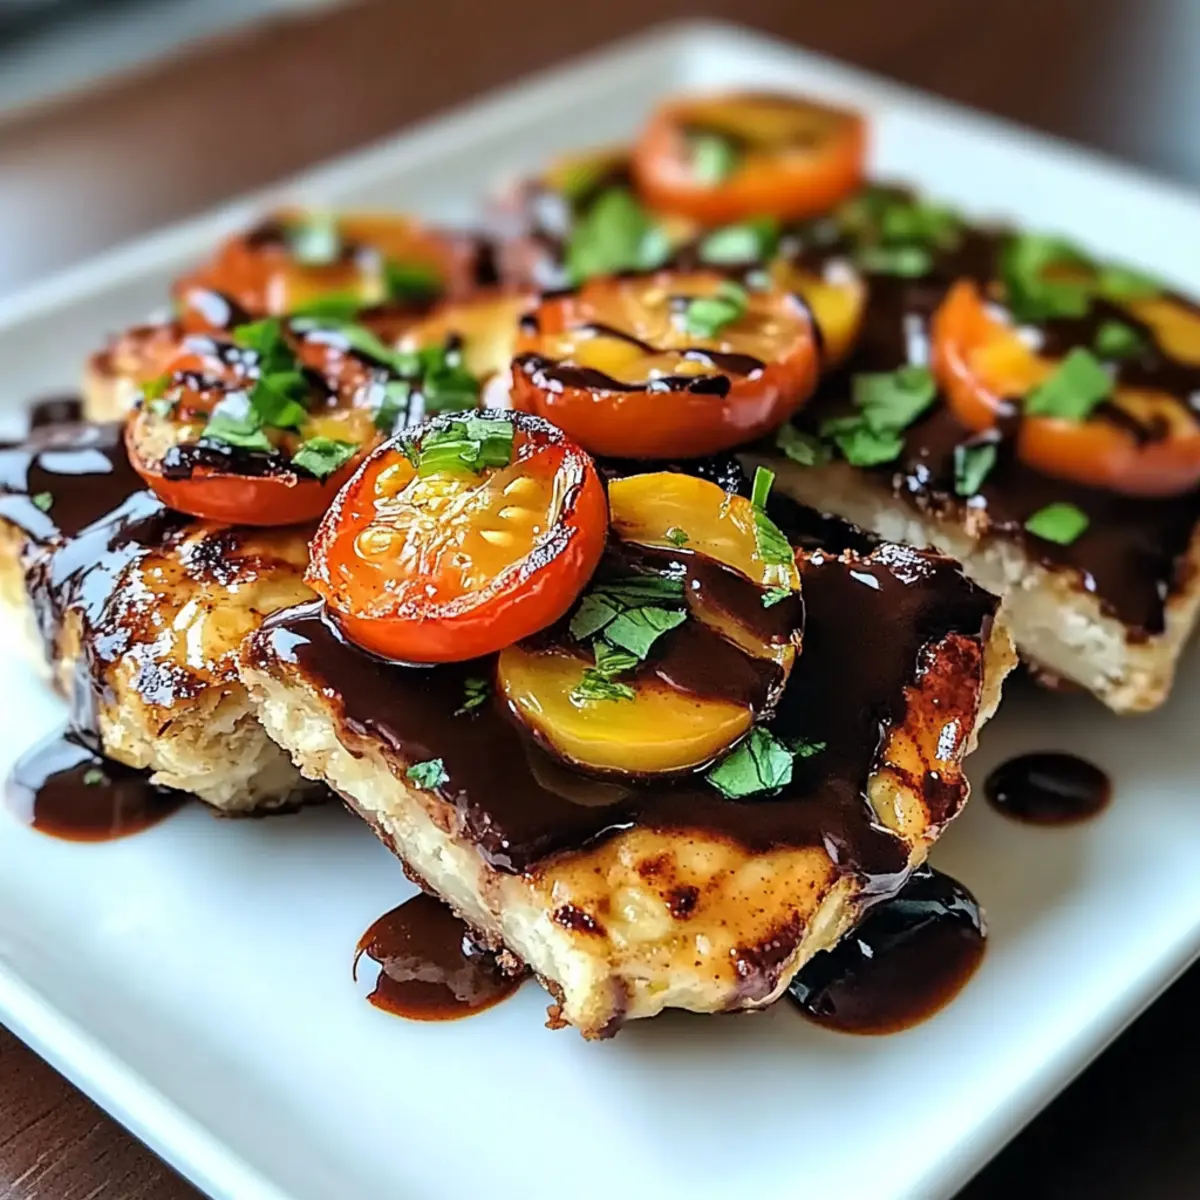
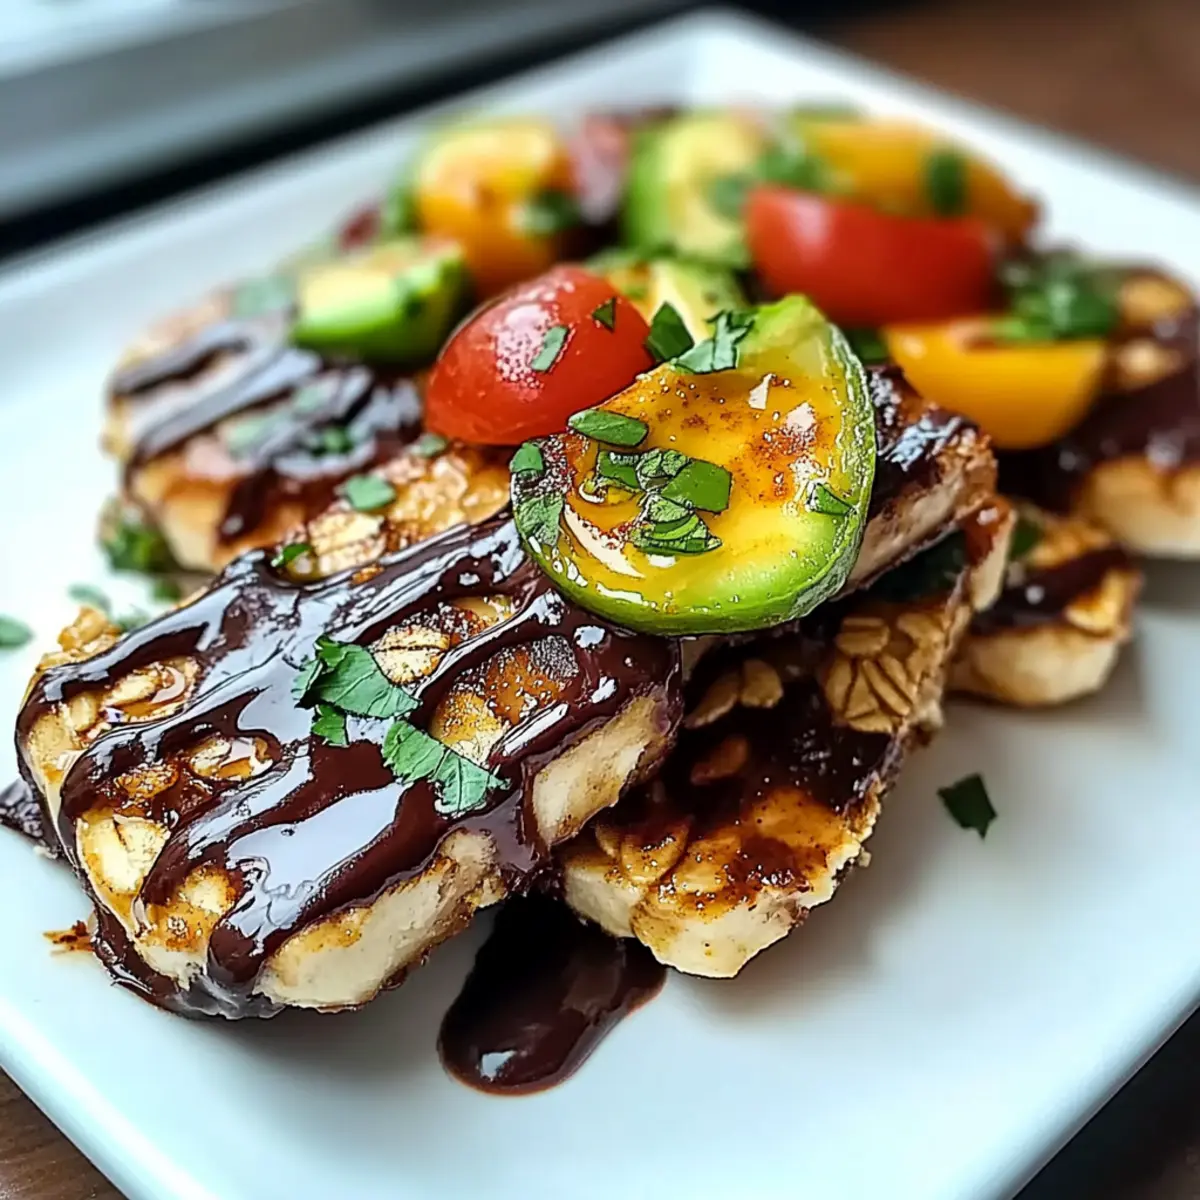
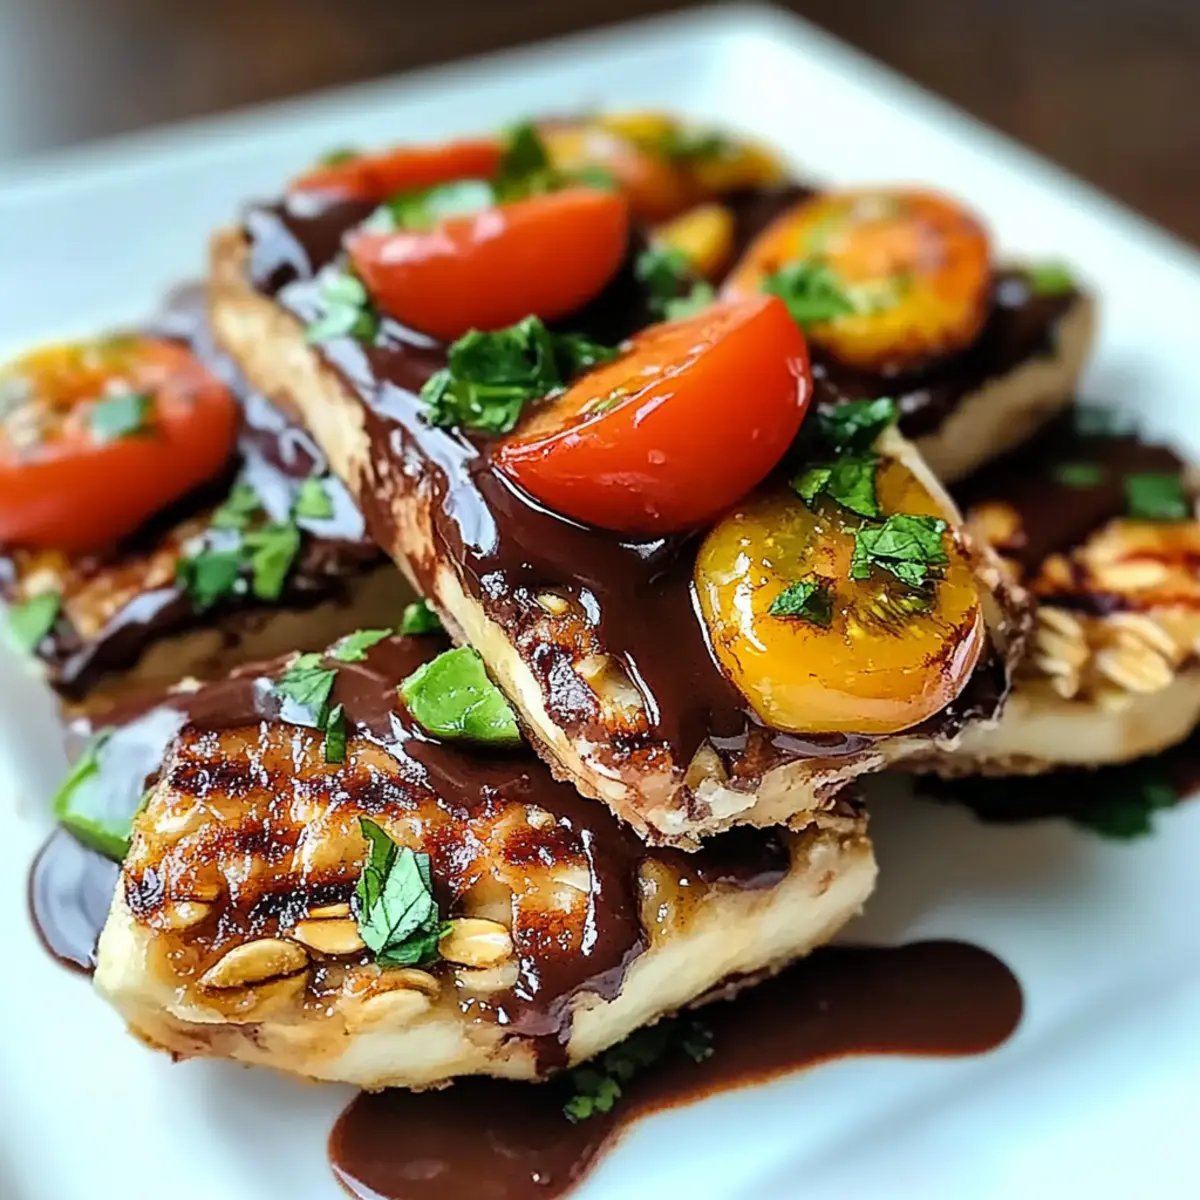
Grilled California Avocado Chicken Variations
Feel free to explore these delightful twists to make this dish your own!
- Dairy-Free: Replace any cheese with nutritional yeast for a cheesy flavor without dairy. It’s a smart swap that complements the avocados beautifully.
- Different Proteins: Swap chicken for shrimp or tofu to create diverse flavors. Tofu will absorb the marinade, while shrimp adds a sweet and smoky touch.
- Herb Infusion: Try adding fresh cilantro or basil to the marinade for an aromatic flair. It elevates the dish with bright notes perfect for summer meals!
- Spice it Up: Add cayenne pepper or diced jalapeños to the chicken for a spicy kick. Just a dash can turn this meal into a flavor explosion!
- Citrus Twist: Incorporate lime juice in place of lemon for a zesty contrast that pairs wonderfully with avocado. The tanginess will awaken your taste buds.
- Grains Galore: Serve the dish over quinoa or brown rice instead of traditional sides. They offer amazing texture and a healthy twist, embracing the wholesome goodness.
- Roasted Veggies: Add seasonal roasted vegetables like zucchini or bell peppers for added nutrients and flavor. They bring that colorful summer vibe right to your plate!
- Sweet & Savory: Drizzle honey or maple syrup on the grilled chicken for a sweet contrast that enhances the savory elements. It’s a delightful balance that’s hard to resist!
For a summery delight, try pairing this grilled chicken with a refreshing side like my Chickpea Feta Avocado salad! It’s not only delicious but complements this main dish perfectly.
What to Serve with No-Bake Chocolate Peanut Butter Oatmeal Bars
Transform your treat experience with delightful pairings that perfectly complement the rich flavors of your dessert.
- Silky Almond Milk: A glass of this creamy drink enriches the oat and chocolate textures while balancing the sweetness beautifully.
- Fresh Berries: A handful of juicy strawberries or blueberries adds a refreshing burst of flavor and color to your dessert platter. They bring a delightful contrast to the rich bars.
- Coconut Yogurt: This plant-based option serves as a luscious dip, enhancing the oatmeal bars’ creaminess while adding a light tropical note. Serve it on the side for dipping!
- Iced Coffee: The deep, roasted flavors of coffee elevate the chocolate taste, turning your no-bake bars into a chic café-style dessert experience.
- Nutty Granola: A sprinkle of crunchy granola atop your bars creates an enticing texture contrast, enhancing the wholesome ingredients while adding extra fiber.
- Dairy-Free Ice Cream: A scoop of your favorite vegan ice cream is a decadent addition, making every bite even more indulgent and enjoyable after a hearty meal.
- Chocolate Drizzle: For an extra touch of decadence, drizzle melted dark chocolate over the bars before serving, turning up the chocolatey goodness!
- Mint Tea: Pair with a warm cup of mint tea to cleanse the palate and add a refreshing twist to your sweet indulgence.
- Caramel Sauce: A simple pouring of homemade or store-bought vegan caramel gives an irresistible finishing touch to your dessert experience!
Storage Tips for No-Bake Chocolate Peanut Butter Oatmeal Bars
- Room Temperature: Keep the bars at room temperature for up to 1 day, but take care to store them in a cool, dry place away from direct sunlight to maintain freshness.
- Fridge: Store bars in an airtight container in the fridge for up to 1 week. This will help retain their texture and creamy peanut butter filling while keeping them nice and cool.
- Freezer: For longer storage, freeze the bars wrapped tightly in plastic wrap and then in a freezer-safe container for up to 3 months. Thaw in the fridge before serving.
- Reheating: While these are best enjoyed chilled, if they’re slightly firm, let them sit at room temperature for a 10-15 minutes to soften before indulging in the decadent flavors of your No-Bake Chocolate Peanut Butter Oatmeal Bars.
No-Bake Chocolate Peanut Butter Oatmeal Bars Recipe FAQs
What type of oats should I use for this recipe?
Absolutely! Rolled oats are best for these bars as they provide the right structure and chewiness. If you’re looking to keep it gluten-free, make sure to use certified gluten-free oats to avoid any contamination.
How long can I store these bars?
Very good question! You can keep your No-Bake Chocolate Peanut Butter Oatmeal Bars in an airtight container in the refrigerator for up to one week. This will help maintain their wonderful texture and prevent them from drying out.
Can I freeze these bars?
Yes, you can! To freeze, wrap each bar tightly in plastic wrap and place them in a freezer-safe container. They’ll stay fresh for up to 3 months. When you’re ready to enjoy, simply thaw them in the fridge overnight for a tasty treat.
What if my bars turn out crumbly?
Don’t worry, it happens! Ensure that you’ve mixed all the ingredients thoroughly for the right consistency. If they’re still crumbly, the next time you prepare them, try adding a bit more peanut butter or maple syrup to achieve the moisture level you desire. Additionally, pressing the mixture firmly into the pan helps create a solid structure.
Can my pets eat the bars?
Very important to note: these bars contain peanut butter, which is typically safe for dogs in moderation, but be cautious as chocolate is toxic to pets. It’s best to keep these treats away from your furry friends and instead stick to pet-safe snacks for them.
Are there any allergies I should consider with these ingredients?
Definitely! Always check for allergies in your household. This recipe contains peanuts, gluten (if you use non-certified oats), and potentially soy if you’re using certain chocolate chips. If allergies are a concern, you can easily substitute peanut butter with sun butter or another nut-free spread to accommodate various dietary needs while keeping it delicious!
Grilled California Avocado Chicken: A Taste of Summer Bliss
Ingredients
Equipment
Method
- In a large mixing bowl, combine rolled oats, peanut butter, maple syrup, and cocoa powder. Mix with a spatula until cohesive, about 2-3 minutes.
- Line a 9x9 inch baking pan with parchment paper. Spread the mixture evenly and press firmly into the pan to form a solid layer.
- In a microwave-safe bowl, melt the chocolate chips in 30-second intervals, stirring until smooth. Pour over the base and spread evenly.
- Cover the pan and refrigerate for at least 2 hours to allow bars to set.
- Once set, lift the bars from the pan and cut into squares. Serve chilled or at room temperature.
Leave a Reply