
As I flipped through my recipe book one busy morning, the aroma of crispy hash browns wafted through my memories, igniting a craving that I had to satisfy. That’s when I stumbled upon my latest obsession: Waffle Iron Hash Browns. This three-ingredient wonder is a game changer for those of us who want a quick breakfast without sacrificing flavor or texture. Forget the mess of frying, these hash browns cook up perfectly in minutes, with a crunch that will impress even the pickiest eaters. Plus, the simplicity of this recipe means you can customize it with your favorite toppings or mix-ins, allowing everyone at the table to indulge in their preferred breakfast bliss. Ready to kick your mornings up a notch? Let’s dive into this scrumptious and effortless dish!
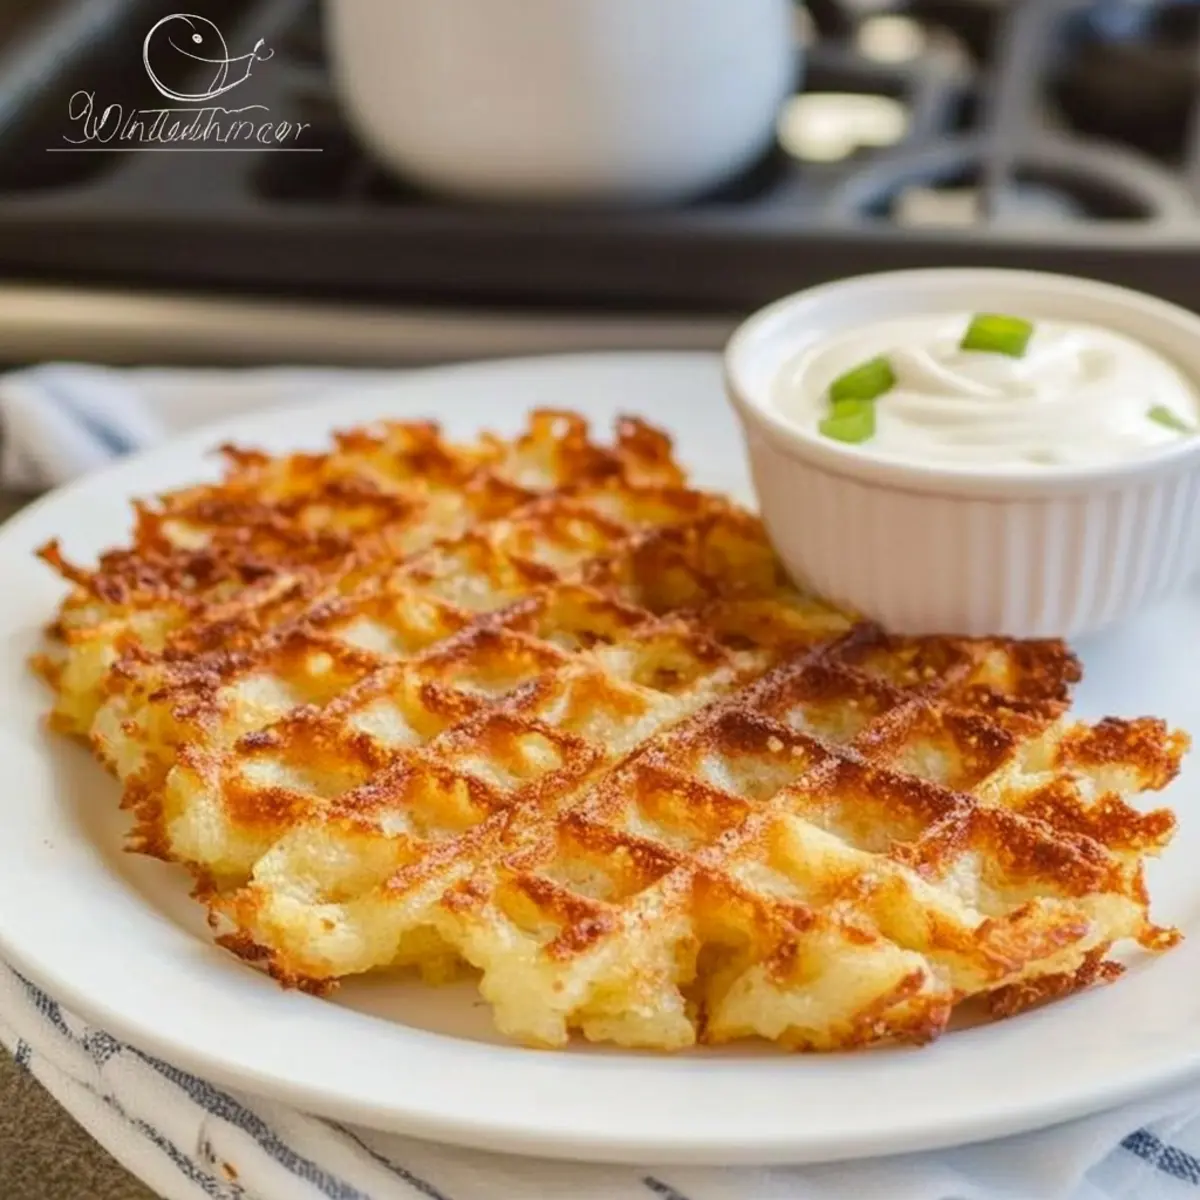
Why are these hash browns a must-try?
Crispy Texture: The waffle iron creates a perfectly golden and crunchy exterior that can’t be beaten.
Three Ingredients: With only frozen hash browns, oil, and salt, this recipe is as simple as it gets, making it perfect for busy mornings.
Time-Saving: You can whip these up in just 15 minutes, leaving you time to enjoy your breakfast and maybe even enjoy a cup of coffee!
Customizable Fun: Whether you lean towards savory cheese or fresh herbs, you can easily add your favorite toppings for a personalized meal.
Crowd-Pleaser: These fluffy-inside, crispy-outside hash browns will satisfy everyone, from kids to adults.
Make Ahead: Cooked hash browns store beautifully, allowing you to enjoy this delightful dish throughout the week. If you’re on the hunt for more quick breakfast ideas, don’t miss out on inspiring new recipes that can elevate your morning routine!
Waffle Iron Hash Browns Ingredients
Make this delightful breakfast masterpiece with ease!
For the Hash Browns
- Frozen Hash Browns – The foundation for a crispy and flavorful bite; Ore-Ida brand is recommended for best results.
- Oil (2 tablespoons) – Essential for achieving that perfect crunch; any high smoke point oil works here.
- Salt (½ teaspoon) – Elevates flavor; feel free to adjust for personal taste or use a salt substitute if needed.
Step‑by‑Step Instructions for Waffle Iron Hash Browns
Step 1: Defrost
Start by microwaving the frozen hash browns for 2–4 minutes, just enough to soften them without fully cooking. This crucial step helps eliminate excess moisture, ensuring a crispy texture once cooked. After defrosting, the hash browns should be pliable and warm to the touch, ready for the next step in creating your Waffle Iron Hash Browns.
Step 2: Mix
In a mixing bowl, combine the softened hash browns with 2 tablespoons of oil and ½ teaspoon of salt. Use a fork or your hands to blend thoroughly, ensuring the oil and salt evenly coat the hash browns. This mixture will enhance the flavor and crispiness of your Waffle Iron Hash Browns once they hit the heat.
Step 3: Preheat Waffle Iron
Brush the griddle plates of your waffle iron with a bit more oil to prevent sticking, then close it and preheat it according to the manufacturer’s instructions—aim for medium to high heat. A properly preheated waffle iron is crucial for achieving that delightful golden-brown crust on your hash browns, making them irresistibly crispy.
Step 4: Cook
Carefully spread the hash brown mixture onto the hot griddle, ensuring an even layer for consistent cooking. Close the lid and gently press down to compact the hash browns slightly. Cook for 10–14 minutes, keeping an eye on them; you’re looking for a golden-brown hue and a pleasing smell to signal they’re ready to be enjoyed.
Step 5: Serve
Once cooked, carefully open the waffle iron and use a fork to lift the crispy Waffle Iron Hash Browns from the griddle. Serve them immediately while hot for the best texture and flavor. You can enjoy them as is or dress them up with your favorite toppings, making breakfast a delightful experience!

Storage Tips for Waffle Iron Hash Browns
- Room Temperature: Waffle Iron Hash Browns can remain out for up to 2 hours after cooking. Be sure to refrigerate them if not consumed during this time to prevent spoilage.
- Fridge: Store cooked hash browns in an airtight container in the refrigerator for up to 5 days. Make sure they are completely cooled before sealing to avoid condensation.
- Freezer: For longer storage, freeze the hash browns in a single layer on a baking sheet, then transfer to an airtight freezer bag. They can be kept for up to 3 months.
- Reheating: To reheat, place frozen hash browns in a toaster or air fryer for about 10 minutes, or until crisp. If they were refrigerated, a quick pan fry or reheating in the waffle iron will bring back the desired texture.
Make Ahead Options
These Waffle Iron Hash Browns are fantastic for meal prep, saving you valuable time on busy mornings! You can prepare the hash brown mixture by combining frozen hash browns with oil and salt up to 24 hours in advance. Simply store the mixture in an airtight container in the refrigerator until you’re ready to cook. When you’re set to serve, just preheat your waffle iron, spread the cooled mixture evenly on the griddle, and cook until golden brown and crispy as instructed. This method retains all the delicious flavors and textures, ensuring your hash browns are just as delightful as when freshly made!
Waffle Iron Hash Browns Variations & Substitutions
Feel free to let your creativity run wild and personalize these crispy delights to suit your taste!
-
Cheesy Delight: Stir in shredded cheese before cooking for a melty surprise in every bite. Cheddar, mozzarella, or even feta can elevate your hash brown experience.
-
Herb-Infused: Add chopped fresh herbs like chives, parsley, or thyme into the mix for an aromatic twist. Fresh herbs not only amp up the flavor but also add a beautiful touch to your plate.
-
Savory Onion: Mix in diced onions or green onions before cooking for that classic breakfast flavor. The sweetness of caramelized onions brings warmth, creating a delightful contrast to the crispy texture.
-
Spicy Kick: Add a pinch of cayenne pepper or red pepper flakes to the mixture for a zing of heat. Pairing spicy hash browns with a cool dipping sauce can create a fun flavor balance.
-
Bacon Lovers: Sprinkle in crumbled cooked bacon or cooked sausage for a heartier breakfast option. This not only adds flavor but brings a satisfying crunch and protein boost.
-
Vegetable Medley: Toss in some finely chopped bell peppers, spinach, or zucchini for added nutrition and freshness. Vegetables add vibrant color and flavor, making your hash browns even more tempting.
-
Top It Off: Serve with a perfectly fried egg on top or stack them up in a breakfast sandwich. This simple addition transforms your dish into a complete meal.
-
Vegan Twist: For a plant-based option, use a vegan substitute for cheese, or simply enjoy them plain with a drizzle of avocado oil. Making a few easy swaps is all it takes to cater to your plant-based friends!
For some yummy breakfast inspiration, check out these delicious recipes that focus on fresh ingredients perfect for any morning routine!
What to Serve with Waffle Iron Hash Browns
Elevate your breakfast experience with delicious sides and toppings that bring out the best in your crispy hash browns.
-
Scrambled Eggs: Fluffy and creamy scrambled eggs offer a rich contrast to the crispy texture of the hash browns. This classic combination will satisfy any breakfast cravings.
-
Fresh Fruit Salad: A bright and refreshing fruit salad adds a sweet complement to your savory hash browns. The natural sugars and acidity relieve each bite, creating a balanced plate.
-
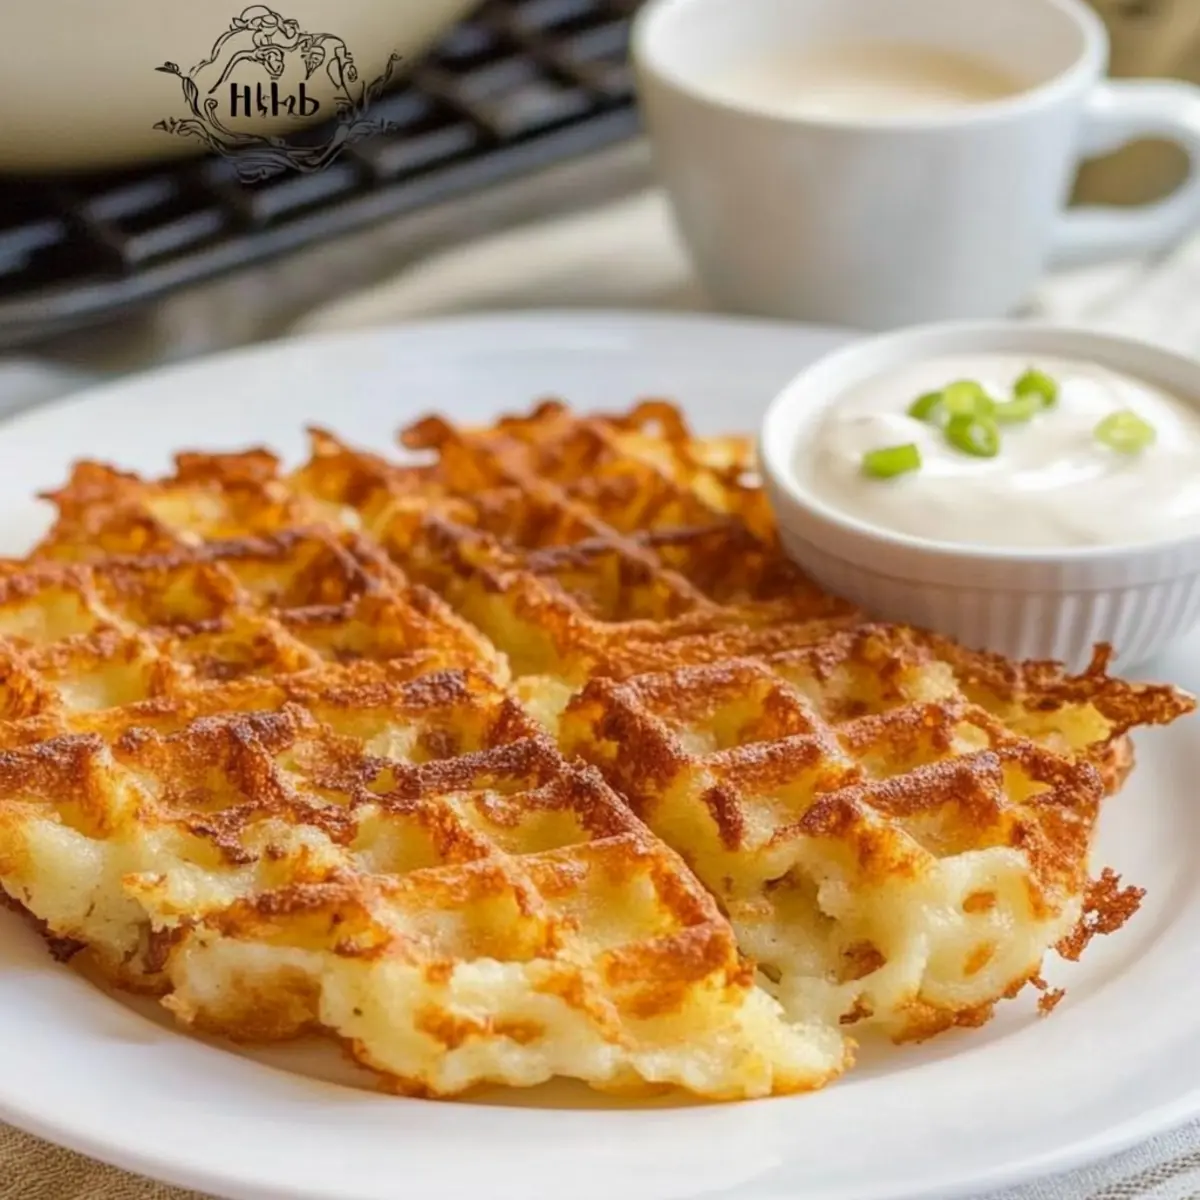
Sour Cream or Greek Yogurt: A dollop of sour cream or tangy Greek yogurt lends a creamy richness that beautifully enhances the hash browns’ crunch. Drizzle with chives for an extra touch of flavor.
-
Sautéed Spinach: Add a nutritious boost with sautéed spinach. Its tender leaves and earthy flavor bring a delightful contrast to the crispy texture of the hash browns.
-
Bacon or Sausage Links: Crispy bacon or savory sausage links create a hearty breakfast that makes the Waffle Iron Hash Browns shine even brighter. The smoky flavors enhance the overall meal experience.
-
Maple Syrup: For a touch of sweetness, drizzle maple syrup over the hash browns for a delightful twist. The sweet-savory combination creates an indulgent breakfast treat that’s sure to please.
-
Hot Sauce: Add some heat by serving with your favorite hot sauce. The spice packs a flavorful punch, balancing the richness of your breakfast favorites and elevating them to new levels.
These pairing suggestions are sure to bring warmth and joy to your breakfast table!
Expert Tips for Waffle Iron Hash Browns
-
Thaw Carefully: Make sure to microwave the frozen hash browns until softened, as excess moisture will prevent them from getting crispy.
-
Watch the Time: Cooking times can vary based on your waffle iron’s design; check frequently to avoid burning those delicious Waffle Iron Hash Browns.
-
Don’t Overpack: Spread the potato mixture evenly without pressing it too much; this ensures the hash browns cook uniformly and remain intact.
-
Greasing is Key: Always brush the waffle iron with oil before cooking; it helps achieve that perfect crispy crust and prevents sticking.
-
Experiment with Toppings: Get creative with toppings like cheese, chives, or bacon; they elevate your Waffle Iron Hash Browns and bring personalized flavors to the table.
Waffle Iron Hash Browns Recipe FAQs
How do I select the right frozen hash browns?
Absolutely! When choosing frozen hash browns, I recommend looking for brands like Ore-Ida, which are known for their crispy texture and good adhesion. You want to avoid varieties with lots of additives or fillers. Fresh, pre-cooked potatoes can also be used, but ensure they are thoroughly dried before mixing.
What are the best storage methods for Waffle Iron Hash Browns?
After cooking, allow the hash browns to cool completely. Store them in an airtight container in the refrigerator for up to 5 days. If you prefer longer storage, freeze them as follows: spread the cooled hash browns in a single layer on a baking sheet and place them in the freezer until solid. Once frozen, transfer to a labeled airtight freezer bag, where they will keep well for up to 3 months.
Can I freeze Waffle Iron Hash Browns?
Certainly! To freeze, first follow the cooking instructions and allow the hash browns to cool. Then, spread them in a single layer on a baking sheet and freeze for a few hours until solid. After that, transfer the frozen hash browns to a freezer-safe container or bag. For best results, label it with the date and use within 3 months. When you’re ready to eat them, reheat from frozen in a toaster or air fryer for about 10 minutes to regain that crispy texture.
What should I do if my hash browns fall apart while cooking?
If your Waffle Iron Hash Browns tend to fall apart, it might be due to excess moisture from the frozen hash browns. Make sure to microwave them just until softened, not fully cooked. Additionally, not pressing the mixture down firmly enough while cooking can also affect adhesion. If it happens, simply pack them tighter in the waffle iron and consider using a different brand known for better sticking.
Are there any dietary considerations I should be aware of?
Very! This recipe is naturally gluten-free if you stick to gluten-free brands of frozen hash browns. For allergy considerations, check the ingredients list of the frozen hash browns to ensure they are free from allergens like dairy, nuts, or soy. If you’re cooking for someone with specific dietary requirements, consider customizing toppings to suit their needs, such as using plant-based oil or vegan cheese.

Crispy Waffle Iron Hash Browns: Your New Quick Breakfast Delight
Ingredients
Equipment
Method
- Start by microwaving the frozen hash browns for 2–4 minutes, just enough to soften them without fully cooking.
- In a mixing bowl, combine the softened hash browns with oil and salt. Use a fork or your hands to blend thoroughly.
- Brush the griddle plates of your waffle iron with a bit more oil and preheat according to the manufacturer’s instructions.
- Spread the hash brown mixture onto the hot griddle evenly. Close the lid and cook for 10–14 minutes until golden brown.
- Once cooked, carefully open the waffle iron and use a fork to lift the crispy hash browns. Serve immediately with toppings of choice.
Leave a Reply