
On a blazing summer afternoon, as the sun dances across the sky, my kitchen transforms into a colorful oasis with a delicious mission: crafting an Easy Colorful Ice Cream Cake for Summer Celebrations. This no-bake delight is a visual and tastebud sensation that layers velvety chocolate cake with vibrant scoops of pistachio gelato, rich salted caramel ice cream, and a zingy raspberry sorbet. It’s not just a deliciously creamy stopper for the heat; it’s a show-stopping centerpiece for family gatherings, taking mere minutes to prepare and leaving you with endless customization options. With just a few freezer hours separating you from satisfaction, this cake promises to be a refreshing favorite, leaving everyone begging for another slice. So, what flavor combinations will you choose to make your celebration even sweeter?
Why is This Ice Cream Cake a Must-Try?
No-Bake Simplicity: This cake eliminates the heat of the oven, making it a perfect choice for warm days when you just want deliciousness without the fuss.
Endless Customization: With versatile layers, swap out flavors to suit your palate—consider using mint chocolate chip or seasonal fruits!
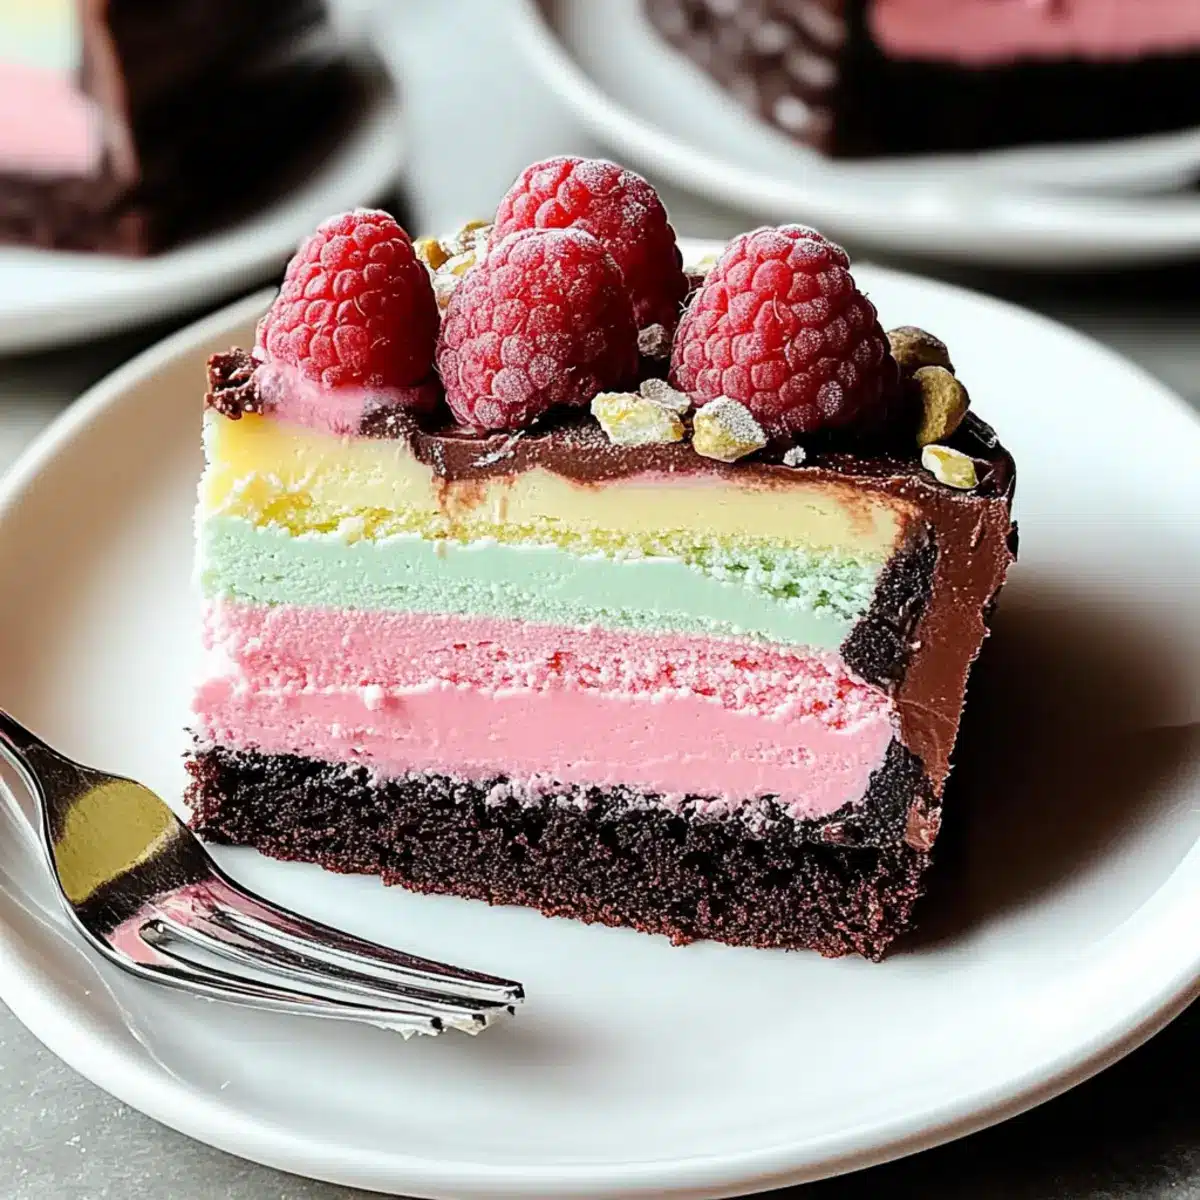
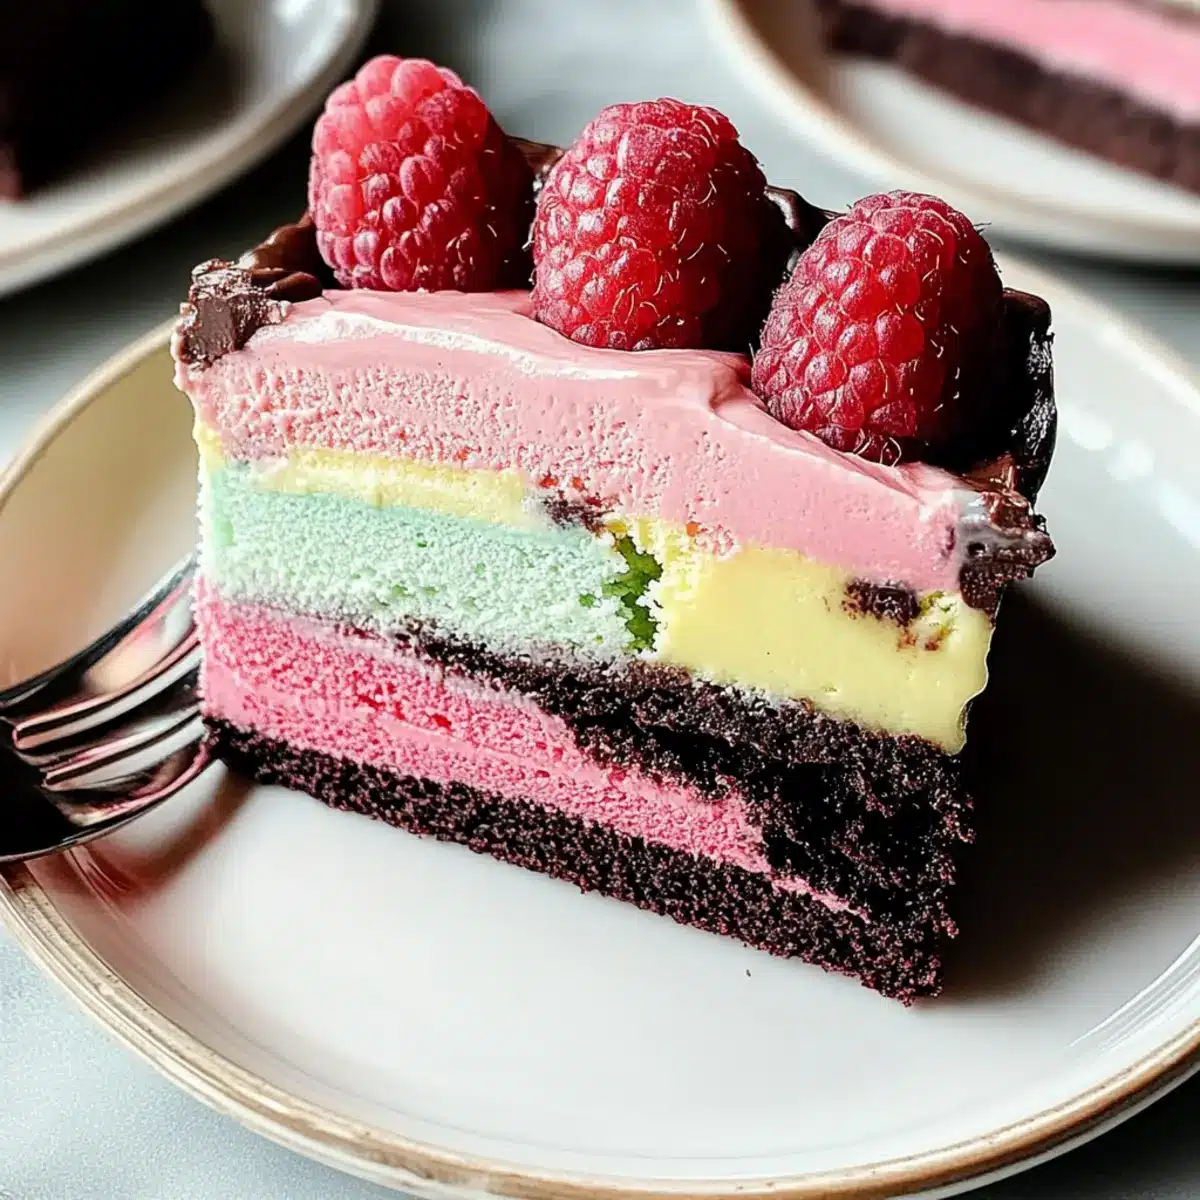
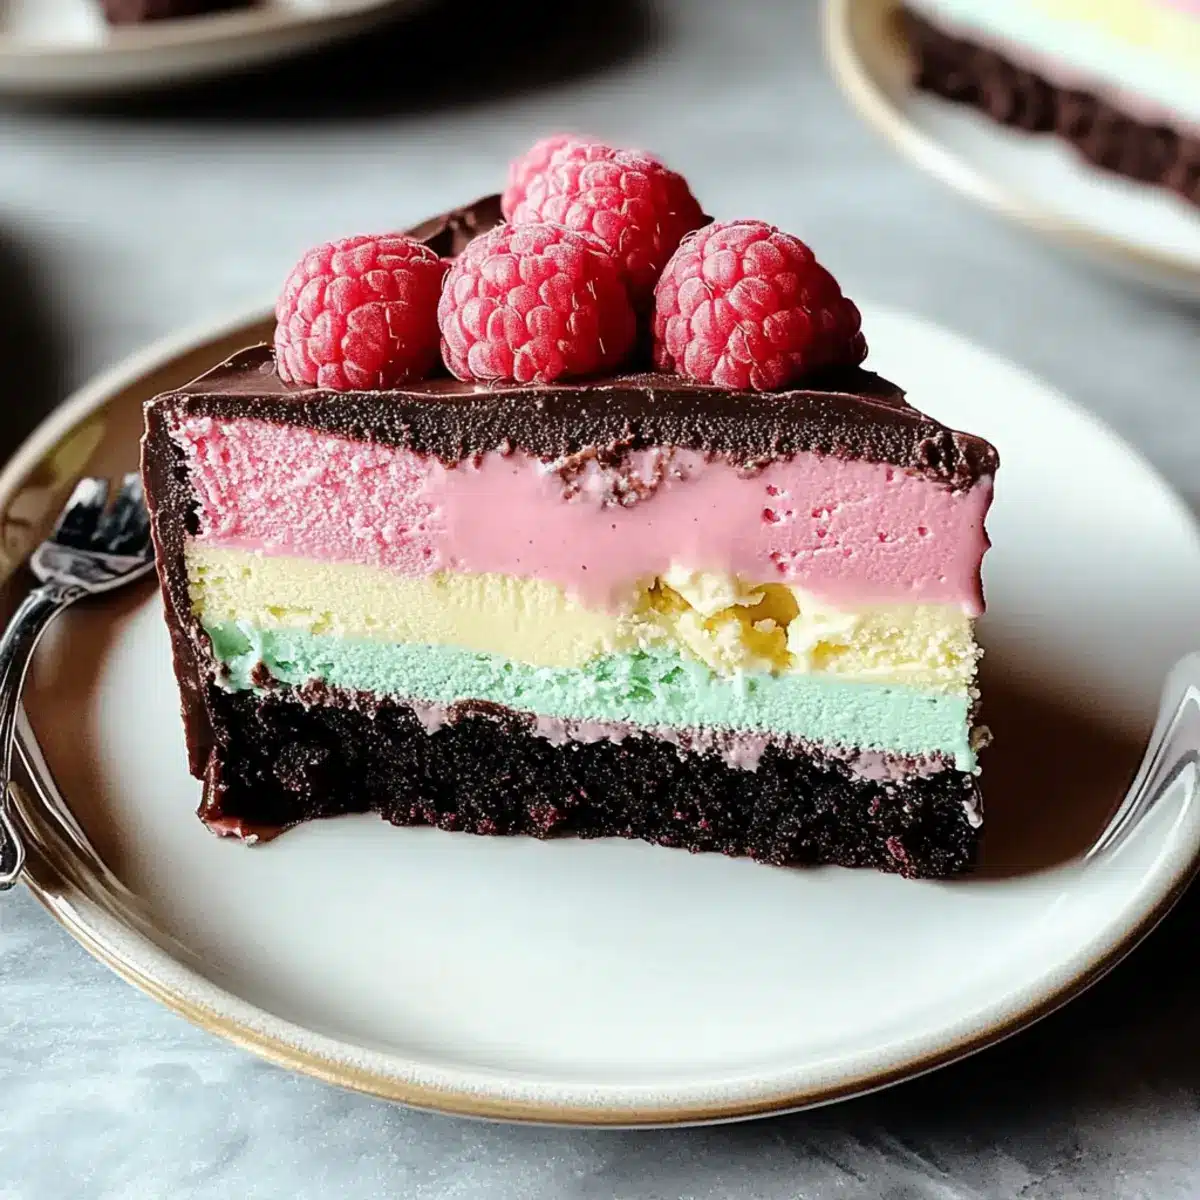
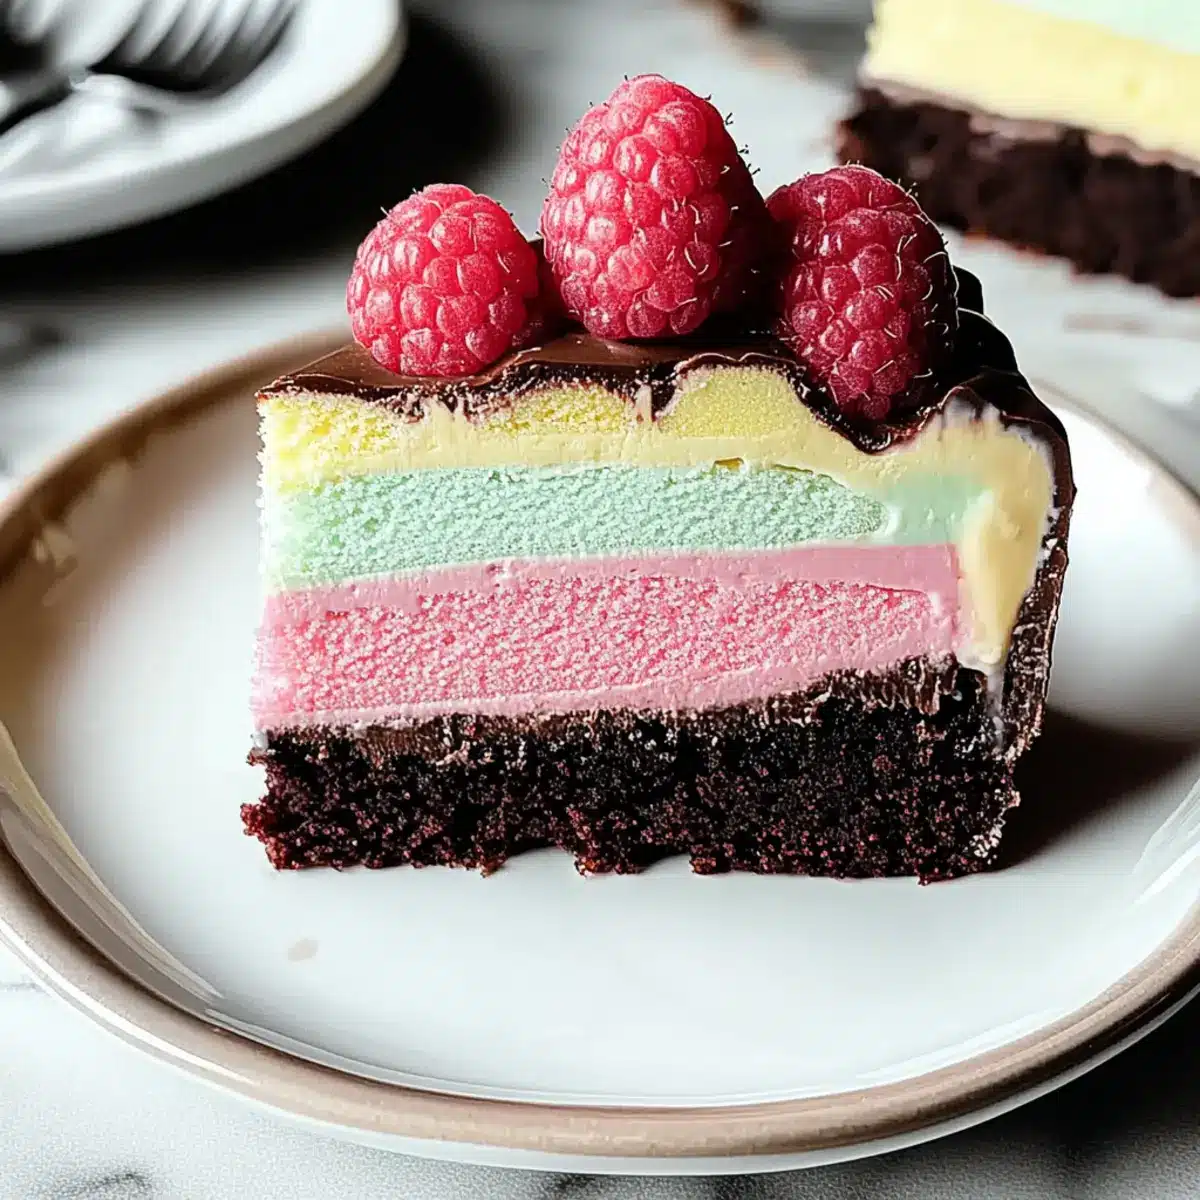
Visual Showstopper: Each slice reveals a stunning display of colors and textures, making it a centerpiece that will captivate guests at any gathering.
Crowd-Pleaser: Its creamy, nutty, and fruity layers create a harmonious blend sure to satisfy everyone’s sweet tooth—perfect for summer celebrations.
Quick Prep Time: In just a few simple steps, you can create a delightful treat that’s sure to impress, giving you more time to relax with family.
Ready to dive deeper into more delightful desserts? Check out this Sour Cream Beef casserole for an easy dinner or balance it with something sweet like Blackberry Velvet Gothic Cake for dessert!
Easy Colorful Ice Cream Cake Ingredients
• Here’s everything you need for your Easy Colorful Ice Cream Cake for Summer Celebrations!
For the Cake Base
- Vegan Chocolate Cake – Perfectly moist, this cake provides the structure for your layers; use a store-bought vegan version if time is short.
For the Layers
- Pistachio Gelato – Adds a creamy, nutty flavor that lifts the cake; feel free to swap it with any nut-based gelato you prefer.
- Salted Caramel Ice Cream – Introduces a rich sweetness; regular caramel ice cream will work in a pinch if salted caramel isn’t available.
- Raspberry Sorbet – Offers a tangy and fruity contrast to balance all the sweetness; any favorite fruity sorbet can be substituted here.
For Decoration
- Fresh Raspberries – A burst of flavor on top that also brightens the presentation; consider other berries or edible flowers for a creative touch.
Step-by-Step Instructions for Easy Colorful Ice Cream Cake for Summer Celebrations
Step 1: Preheat and Prepare
Begin by preheating your oven to 350°F (175°C). Grease a 9×5-inch loaf pan using cooking spray or a light coat of oil. In a mixing bowl, prepare your vegan chocolate cake batter according to your chosen recipe, ensuring a smooth consistency. This foundational layer will support the vibrant flavors to come.
Step 2: Bake the Cake
Pour the prepared chocolate cake batter into the greased loaf pan, spreading it evenly. Bake in the preheated oven for 18–22 minutes, or until a toothpick inserted into the center comes out clean. Once baked, allow the cake to cool in the pan for about 10 minutes before transferring it to a wire rack to cool completely.
Step 3: Freeze the Cake Base
After the chocolate cake has cooled, line the loaf pan with parchment paper for easy removal later. Place the cooled cake back in the lined pan, then transfer it to the freezer. Freeze the cake for at least 3 hours, allowing it to firm up completely, which is essential for the layering process of your Easy Colorful Ice Cream Cake.
Step 4: First Layer of Gelato
Once the cake is frozen, soften the pistachio gelato by letting it sit at room temperature for about 10 minutes. When slightly softened, scoop and spread an even layer of pistachio gelato over the frozen cake. Smooth the top with a spatula, ensuring the layer is uniform. Refreeze for another 4 hours to set.
Step 5: Second Layer of Ice Cream
Next, take the salted caramel ice cream and let it soften at room temperature for about 10 minutes. Once softened, scoop it over the hardened pistachio layer, spreading it evenly. Ensure it’s smooth and well-distributed, then return the cake to the freezer. Allow it to freeze for an additional 4 hours, ensuring each layer remains separate and defined.
Step 6: Final Layer of Sorbet
To add the final burst of flavor, take your raspberry sorbet out of the freezer and allow it to soften slightly before spreading. Once it’s manageable, scoop the sorbet over the salted caramel layer, smoothing it to cover completely. After layering, place the cake back in the freezer overnight, allowing all layers to meld beautifully.
Step 7: Serving the Cake
When you’re ready to serve your Easy Colorful Ice Cream Cake, remove it from the freezer. Let it sit at room temperature for about 5 minutes to soften slightly for easier slicing. Carefully invert the cake onto a baking sheet, peeling off the parchment paper. Use a hot knife to slice through the colorful layers, revealing the delightful textures and flavors within.
Storage Tips for Easy Colorful Ice Cream Cake
Fridge: Store leftover slices in an airtight container in the fridge for up to 3 days to maintain freshness and texture.
Freezer: Wrap any remaining cake tightly in plastic wrap or foil and freeze for up to 3 months. This keeps the layers intact and tasty.
Thawing: When ready to enjoy, let the cake thaw slightly at room temperature for about 10 minutes before serving for easier slicing and the best flavor experience.
Layer Preservation: To ensure the layers of your Easy Colorful Ice Cream Cake remain separate and visually stunning, avoid stacking them or compressing the cake when storing.
Easy Colorful Ice Cream Cake Variations
Feel free to unleash your creativity and customize this delightful dessert with these fun variations!
-
Flavor Swap: Choose different gelato or ice cream flavors like mint chocolate chip or mango. Each combination brings a new twist!
-
Lighter Base: Swap the chocolate cake for a fluffy vanilla sponge cake for a lighter, airy texture that pairs beautifully with fruity layers.
-
Nut-Free Delight: Ensure all ice creams are nut-free and skip any nut garnishes for a safe, allergy-friendly dessert everyone can enjoy.
-
Crunchy Surprise: Enhance the texture by folding in crushed nuts like almonds or walnuts into your ice cream layers. It adds a delicious crunch that elevates the experience!
-
Creative Decor: Top the cake with a rich chocolate drizzle, a dollop of whipped cream, or scatter some fresh edible flowers for a colorful finish that’s as pleasing to the eyes as to the palate.
If you’re interested in pairing this delicious cake with something savory, how about whipping up a comforting Beef Shells Comfort for dinner? Or, follow it with a sweet twist like the luxurious Velvet Gothic Cake, and your family will be completely impressed!
Expert Tips for Easy Colorful Ice Cream Cake
Layer Freezing: Ensure each layer is completely frozen before adding the next to prevent them from mixing together.
Hot Knife Technique: Use a hot knife for slicing; this helps achieve clean cuts through the layers of your Easy Colorful Ice Cream Cake.
Quality Ingredients: For the best flavor, opt for high-quality gelato and ice cream, avoiding brands with excessive air for denser textures.
Temperature Control: If layers are melting during assembly, place the cake back in the freezer promptly to maintain structure and consistency.
Decorative Finishes: Get creative with toppings; consider fresh berries or chocolate drizzles to enhance the visual appeal and add flavor.
Make Ahead Options
This Easy Colorful Ice Cream Cake for Summer Celebrations is a fantastic choice for meal prep, allowing you to enjoy a delightful dessert with minimal last-minute effort! You can prepare the vegan chocolate cake base up to 24 hours in advance by baking it and freezing it as instructed. The layers of pistachio gelato, salted caramel ice cream, and raspberry sorbet can also be softened and added the day before serving, freezing for a total of up to 12 hours before your event. To maintain each layer’s quality, ensure they are firmly frozen and cover the cake tightly with plastic wrap. When you’re ready to serve, simply let the cake sit at room temperature for about 5 minutes before slicing, and you’ll have a stunning dessert that impresses without the hectic prep!
What to Serve with Easy Colorful Ice Cream Cake for Summer Celebrations
As you gather around the table, a fusion of flavors and refreshing complements will elevate your dessert experience.
- Fresh Berries: A medley of strawberries, blueberries, and blackberries not only adds a pop of color but also balances the sweetness of the cake.
- Minty Whipped Cream: Light and airy, this mint-infused topping provides a refreshing contrast, making every bite of the cake even more delightful.
- Chocolate Drizzle: A rich, velvety drizzle of chocolate sauce enhances the cake’s creaminess and satisfies any chocolate lover’s cravings.
- Coconut Sorbet: Adding a scoop of coconut sorbet introduces a tropical flair to the dessert spread, perfect for warm summer days.
- Iced Tea: A refreshing glass of iced tea, perhaps with a splash of lemon, enhances the sweetness of the ice cream cake while keeping things cool.
- Lemonade Spritzer: This light, zesty beverage refreshes the palate between bites, enhancing the fruity flavors of your luscious ice cream layers.
- Chocolate-Dipped Fruit: Pieces of banana or pineapple dipped in rich chocolate add both flair and a delightful burst of flavor to your gathering.
- Nuts on the Side: A small dish of lightly salted pistachios or almonds gives a satisfying crunch that contrasts beautifully with the soft cake layers.
- Fruity Tart: Consider pairing with a light, fruity tart; its tanginess creates a delightful balance with the creamy and sweet ice cream cake.
Easy Colorful Ice Cream Cake Recipe FAQs
How do I choose the right gelato or ice cream?
Absolutely! Opt for high-quality gelato and ice cream for the best flavor and texture. Look for brands that list natural ingredients and avoid those that have excessive air, as they may result in a less dense texture. If you’re aiming for a vegan option, ensure your selections are clearly labeled.
How should I store leftover Easy Colorful Ice Cream Cake?
Store any leftover slices in an airtight container in the fridge for up to 3 days. If you want to keep it longer, wrap it tightly in plastic wrap or foil and freeze for up to 3 months. Ensure the cake is properly sealed to retain its delightful layers and flavors.
Can I freeze the Easy Colorful Ice Cream Cake for later?
Yes! To freeze, after assembling, wrap the entire cake tightly with plastic wrap or foil, ensuring no air is escaping to maintain its texture. When ready to enjoy, let it thaw at room temperature for about 10 minutes before slicing to achieve the best results.
What if my layers blend during assembly?
Very good question! If you notice any layers beginning to blend, immediately place the cake back in the freezer to set for a bit longer. Ensure that each layer is completely frozen before adding the next to maintain those beautiful distinct layers.
Can my pet have any of the ingredients?
It’s crucial to be cautious! Common ingredients like chocolate can be toxic to pets, so be sure to avoid that for any pet-friendly variations. If you want to create a version for your furry friends, consider using fruit sorbets made with pet-safe ingredients, like pureed watermelon or banana.
How can I customize the flavors of my Easy Colorful Ice Cream Cake?
The more the merrier! Feel free to swap the pistachio gelato for any nut-based gelato of your choice or replace the salted caramel ice cream with vanilla or chocolate fudge. You can also try seasonal fruits in the layers, like strawberry sorbet or mango, to fit your taste preferences perfectly!
Easy Colorful Ice Cream Cake for Summer Celebrations Bliss
Ingredients
Equipment
Method
- Preheat your oven to 350°F (175°C) and grease a 9x5-inch loaf pan.
- Prepare vegan chocolate cake batter in a mixing bowl and pour into the loaf pan. Bake for 18–22 minutes.
- Cool the cake in the pan for 10 minutes, then transfer to a wire rack to cool completely.
- Line the loaf pan with parchment paper. Place the cooled cake back in the pan and freeze for at least 3 hours.
- Soften the pistachio gelato at room temperature for 10 minutes, then spread it over the frozen cake. Refreeze for 4 hours.
- Soften the salted caramel ice cream for 10 minutes, scoop over the pistachio layer, smooth it out, and freeze for another 4 hours.
- Soften the raspberry sorbet slightly, then spread it over the salted caramel layer. Freeze overnight.
- To serve, let the cake sit for 5 minutes, invert onto a baking sheet, and slice with a hot knife.
Leave a Reply