
As I stood in my kitchen, the last of the sunshine streaming through the window, I couldn’t shake the craving for something sweet yet effortlessly simple. That’s when I decided to whip up this No-Bake Biscoff Icebox Cake: No-Bake Bliss in Every Bite. With just four ingredients, this dessert is a game changer for those evenings when you want to impress yet avoid the oven at all costs. No one will believe how easy it is to create such a delightful treat bursting with the signature caramel notes of Biscoff spread. Plus, its customizable nature means you can add your favorite nuts or fresh fruits to truly make it your own. Why not treat yourself to a slice of creamy decadence that’s ready with minimal effort? What flavor combinations will you explore in your version?
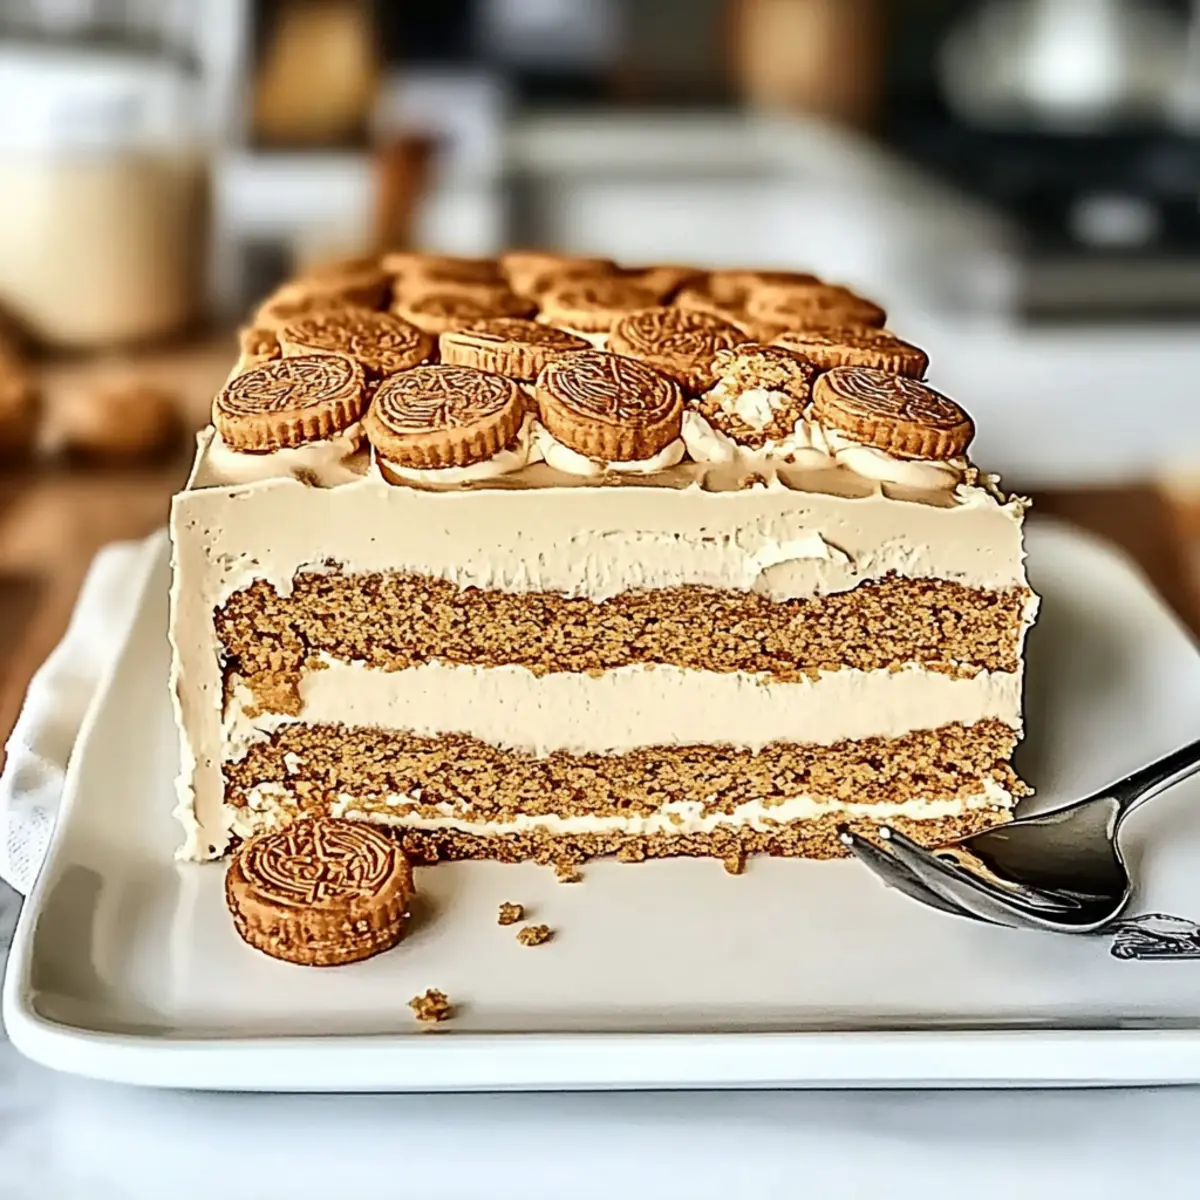
Why You’ll Love This No-Bake Cake
Simplicity: Just four ingredients make this recipe incredibly easy to whip up, perfect for busy weeknights or last-minute gatherings.
Decadent: The creamy layers of Biscoff spread and whipped cream create a luxurious dessert that feels indulgent yet is effortlessly achievable.
Customizable: Feel free to experiment with different cookie butters, nuts, or fresh fruits to make it uniquely yours! Try adding strawberries or nuts for extra texture.
Crowd-Pleasing: This cake is sure to impress family and friends, leaving them wondering how you made such a delightful treat.
Make-Ahead: Prepare it in advance and store it in the fridge or freezer, giving you stress-free dessert options whenever the sweet tooth strikes. If you love quick and easy desserts, check out my Divorce Salad Bliss for another fabulous recipe!
Biscoff Icebox Cake Ingredients
• The key to your no-bake bliss!
For the Cream Mixture
- Heavy Cream – Ensuring it’s cold before whipping will give you the best volume and texture.
- Sweetened Condensed Milk – This adds a lovely sweetness; if you prefer it less sweet, you can substitute with icing sugar.
For the Cake Layers
- Lotus Biscoff Spread – The star of your cake, filling it with delightful caramel flavor.
- Lotus Biscoff Biscuits – These create the perfect crunchy base; for a twist, feel free to substitute with speculoos or graham crackers.
For Optional Add-Ins
- Fresh Fruits (e.g., bananas, strawberries) – Adding between layers brings a refreshing burst of flavor.
- Nuts (e.g., walnuts, almonds) – Crushed nuts add a delightful crunch and extra texture to your cake.
Step‑by‑Step Instructions for Biscoff Icebox Cake: No-Bake Bliss in Every Bite
Step 1: Prepare the Cream Mixture
In a chilled mixing bowl, combine 1 cup of cold heavy cream with 1 cup of sweetened condensed milk. Using an electric mixer, beat on medium-high speed for about 3-5 minutes, until you see stiff peaks form. This whipped mixture will create the creamy layers of your Biscoff Icebox Cake, giving it that irresistible texture.
Step 2: Incorporate the Biscoff Spread
Gently fold 1 cup of Lotus Biscoff spread into the whipped cream mixture. Use a spatula to combine, making sure to fold carefully to maintain the volume and airiness of the cream. This rich, caramel-infused cream is the heart of your no-bake cake and will elevate every layer with its wonderful flavor.
Step 3: Soften the Biscoff Spread
To enhance the drizzle, soften ¼ cup of Lotus Biscoff spread by microwaving it for about 10-15 seconds until it’s easily pourable. This step allows you to create beautiful layers as you assemble your cake, adding a decadent drizzle that will bind together the layers in this dreamy dessert.
Step 4: Line the Loaf Pan
Line a 9×5 loaf pan with plastic wrap, ensuring there’s ample overhang on the sides for easy removal later. Begin by spreading a thin layer of the creamy Biscoff mixture at the bottom of the pan, forming the base layer of your Biscoff Icebox Cake, which will provide a luscious foundation for the biscuits.
Step 5: Add the Biscuit Layers
Next, layer the Lotus Biscoff biscuits on top of the cream layer, slightly overlapping each one. This forms a crunchy base that will complement the creamy texture above it. Repeat the process, alternating layers of the cream mixture and biscuits until you’ve filled the pan, ending with a layer of the cream mixture on top.
Step 6: Finalize the Cake
Spread the remaining cream mixture over the top of your assembled layers, smoothing it out to create an even surface. For added crunch and decoration, sprinkle some crushed Biscoff biscuits if desired. Cover the pan with plastic wrap and place it in the freezer for at least 2 hours, or overnight for the best results in setting.
Step 7: Serve the Cake
Once the cake is fully frozen, remove it from the freezer and lift it out using the plastic wrap. Slice the Biscoff Icebox Cake while still frozen for clean lines, then let it sit at room temperature for about 15 minutes before serving. This way, the cake softens slightly, creating the perfect creamy texture that will tantalize your taste buds in every delightful bite.
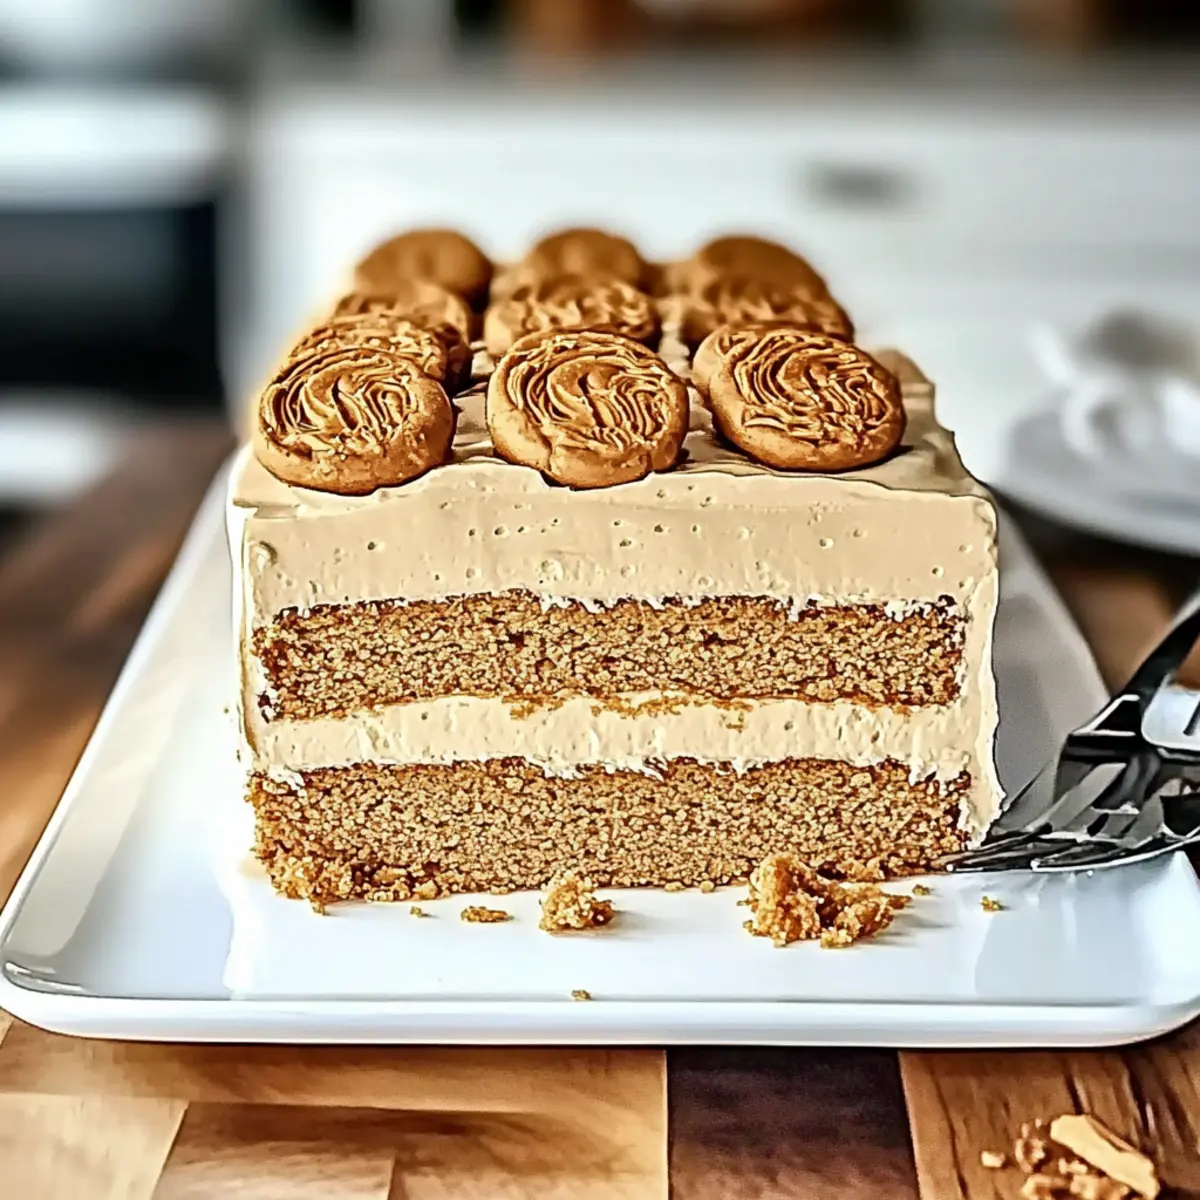
Make Ahead Options
These No-Bake Biscoff Icebox Cakes are perfect for busy home cooks looking to save time! You can prepare the entire cake up to 24 hours in advance, allowing maximum flavors to meld while saving you precious time on the day you plan to serve. Simply follow the recipe instructions to layer your cake, then cover it tightly with plastic wrap before placing it in the freezer. For optimal quality, make sure to wrap it well to prevent freezer burn. When you’re ready to serve, simply slice while still frozen, then let it sit for about 15 minutes to achieve that perfect creamy texture. This way, your delicious Biscoff Icebox Cake is just as delightful as if you made it fresh!
Expert Tips for Biscoff Icebox Cake
-
Chill Properly: Make sure your heavy cream, bowl, and beaters are all chilled beforehand. This will help achieve perfect stiff peaks when whipping the cream.
-
Taste Test: Before layering, taste the cream mixture and adjust sweetness as needed. This ensures the Biscoff Icebox Cake is just to your liking!
-
Layer Evenly: Be sure to distribute the cream and biscuit layers evenly for a harmonious flavor profile. Uneven layers can lead to imbalanced sweetness and texture.
-
Storage Is Key: Wrap your cake tightly for freezer storage to prevent freezer burn. This keeps your Biscoff Icebox Cake fresh and ready for indulgence.
-
Serve Delightfully: Slice the cake while it’s still frozen for cleaner cuts, and let it rest for a few minutes before serving to achieve that ideal creamy texture.
What to Serve with Biscoff Icebox Cake: No-Bake Bliss in Every Bite
When you indulge in this rich dessert, elevate your dining experience with thoughtful pairings that complement every creamy layer.
-
Fresh Berries: The tartness of blueberries or raspberries cuts through the sweetness, offering a vibrant contrast to the rich Biscoff flavors.
-
Vanilla Ice Cream: A scoop of creamy vanilla ice cream adds an extra layer of indulgence, making each bite of the icebox cake even more luxurious.
-
Caramel Drizzle: Enhance the cake’s caramel notes with a warm drizzle of caramel sauce, creating an inviting and decadent presentation.
-
Crushed Nuts: Sprinkling some toasted almonds or walnuts on top adds delicious crunch; it balances the soft texture while also enriching the flavor.
-
Mint Leaves: A few fresh mint leaves not only add a pop of color but also a refreshing hint to the sweetness, making each bite feel lighter.
-
Chocolate Sauce: For chocolate lovers, a drizzle of chocolate sauce introduces a delightful twist, marrying well with the caramel undertones of the Biscoff spread.
Each of these suggestions not only matches the luscious creaminess of the Biscoff Icebox Cake but also transforms your dessert into a truly memorable feast.
Biscoff Icebox Cake: Customization Ideas
Feel free to explore delightful variations that enhance the magic of this cake, inviting your creativity to shine through.
-
Chocolate Hazelnut: Swap Biscoff spread with chocolate hazelnut spread for a rich, nutty flavor perfect for chocolate lovers. Imagine the creamy, indulgent layers melting in your mouth!
-
Fresh Fruits: Layer in fresh strawberries or bananas for a burst of fruity freshness. The combination of creamy and fruity is pure bliss!
-
Nutty Delight: Add crushed walnuts or almonds between the layers to introduce a delightful crunch. Each bite will have a satisfying texture that pairs beautifully with the creaminess.
-
Coconut Bliss: Incorporate shredded coconut into the cream mixture for a tropical twist. This sweet addition gives an unexpected layer of flavor and complexity.
-
Spiced Variations: Add a pinch of cinnamon or nutmeg to the cream for a warm, spiced note. This subtle hint will elevate the cake’s flavor profile beautifully.
-
Graham Cracker Base: Try using graham crackers instead of Biscoff biscuits for a different yet equally delicious base. The caramel notes of the Biscoff spread will still shine through every layer!
-
Heat It Up: Mix in a dash of cayenne pepper or chili powder for a spicy kick that pairs surprisingly well with the sweetness. This twist creates a rewarding flavor contrast that invigorates the palate.
For more creativity in your kitchen, don’t forget to check out my Bang Salmon Bites for a quick and flavorful dish or my easy Divorce Salad Bliss for a refreshing twist on your meal!
Storage Tips for Biscoff Icebox Cake
Fridge: Store leftovers in an airtight container in the fridge for up to 3 days, ensuring the cake remains fresh and creamy for your next indulgence.
Freezer: For longer storage, wrap the Biscoff Icebox Cake tightly in plastic wrap and place it in the freezer for up to 2 weeks, without losing its delightful flavor.
Serving After Freezing: When ready to serve, slice the cake while still frozen for perfect pieces. Allow it to sit at room temperature for about 15 minutes before enjoying to achieve the ideal creamy texture.
Reheating: No reheating necessary! This no-bake dessert is best enjoyed cold; simply thaw and serve for a refreshing treat.
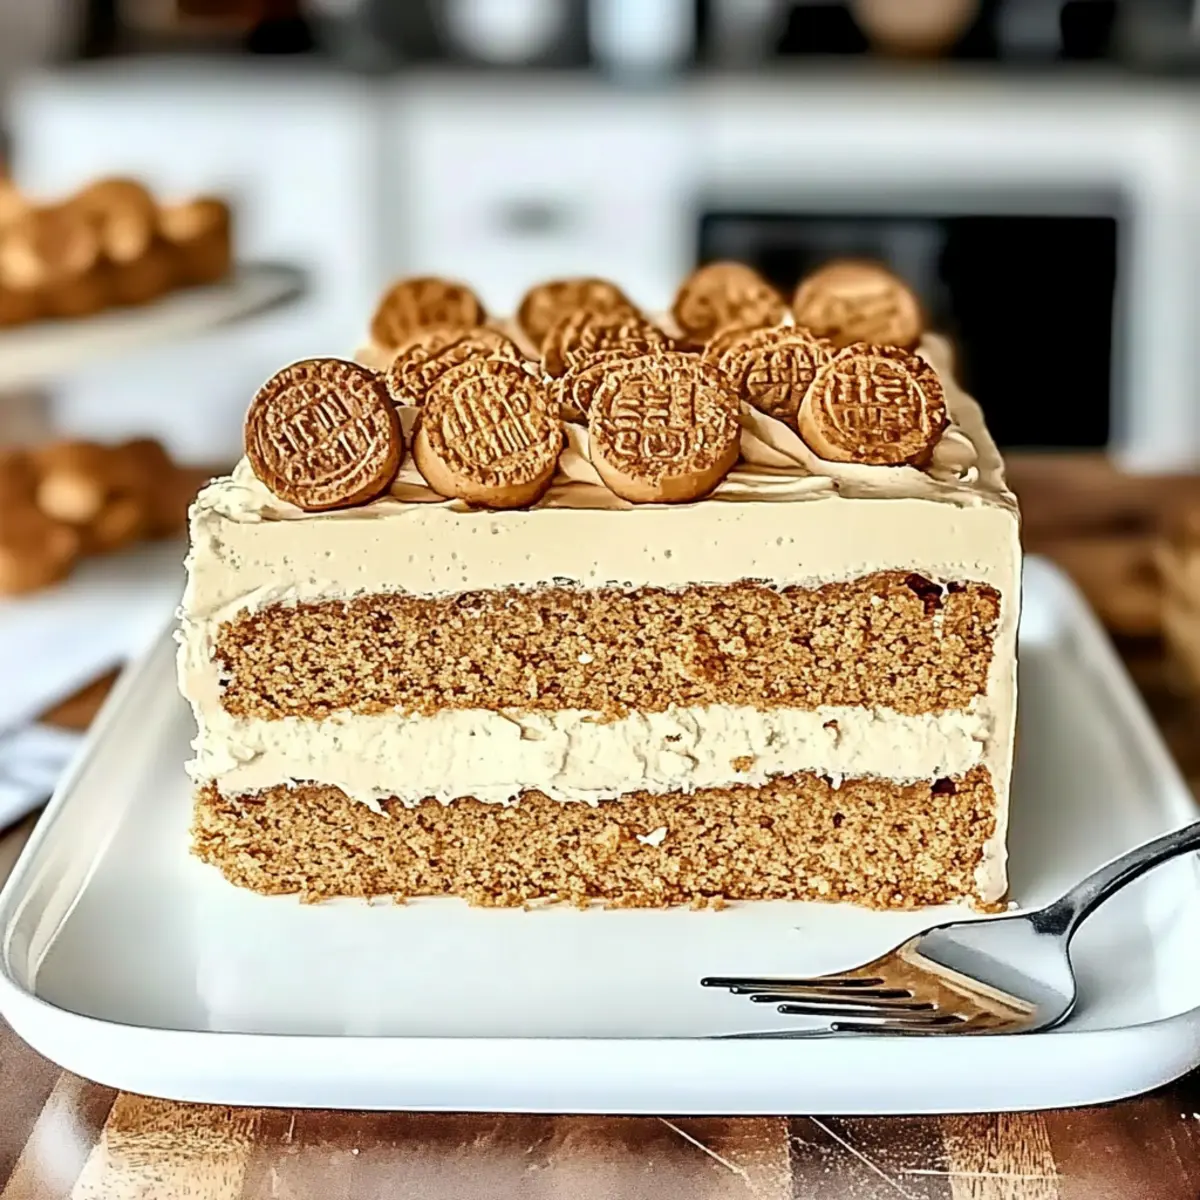
Biscoff Icebox Cake Recipe FAQs
How do I select the right Biscoff biscuits?
Absolutely! When choosing Lotus Biscoff biscuits, look for those that are crisp and free from dark spots, which can indicate staleness. Check the expiration date on the package to ensure freshness for that perfect crunch.
What’s the best way to store leftovers?
Very! Keep your Biscoff Icebox Cake in an airtight container in the fridge, where it will stay fresh for up to 3 days. This will keep the creamy layers intact and delicious. Just remember to cover it tightly to prevent any unwanted odors from seeping in!
Can I freeze the Biscoff Icebox Cake?
Definitely! Wrap the cake tightly in plastic wrap after it has set in the freezer for at least 2 hours. It can be stored for up to 2 weeks. To serve, slice it while it’s still frozen and let it sit at room temperature for about 15 minutes to regain that luscious creamy texture.
What if my cream doesn’t whip properly?
No worries! If your cream doesn’t reach stiff peaks, ensure you’re starting with cold cream, a chilled bowl, and beaters. It might help to beat the cream at a higher speed. If it’s still soft, try adding a touch of powdered sugar or cornstarch for stability and retry whipping until you achieve those dreamy peaks.
Are there any allergy considerations I should be aware of?
Absolutely! The Biscoff Icebox Cake contains dairy and gluten from heavy cream and Biscoff biscuits. For gluten-sensitive individuals, consider using gluten-free biscuits or cookies as substitutes. Always check for any nut allergies if you decide to add in nuts or fruits that may pose a risk.
Can I customize the icebox cake with different flavors?
Very much so! Feel free to swap out Biscoff spread for other flavors, like chocolate hazelnut or almond butter, and incorporate fresh fruits like berries or bananas for a fruity twist. This way, you can create a dessert that perfectly suits your taste!
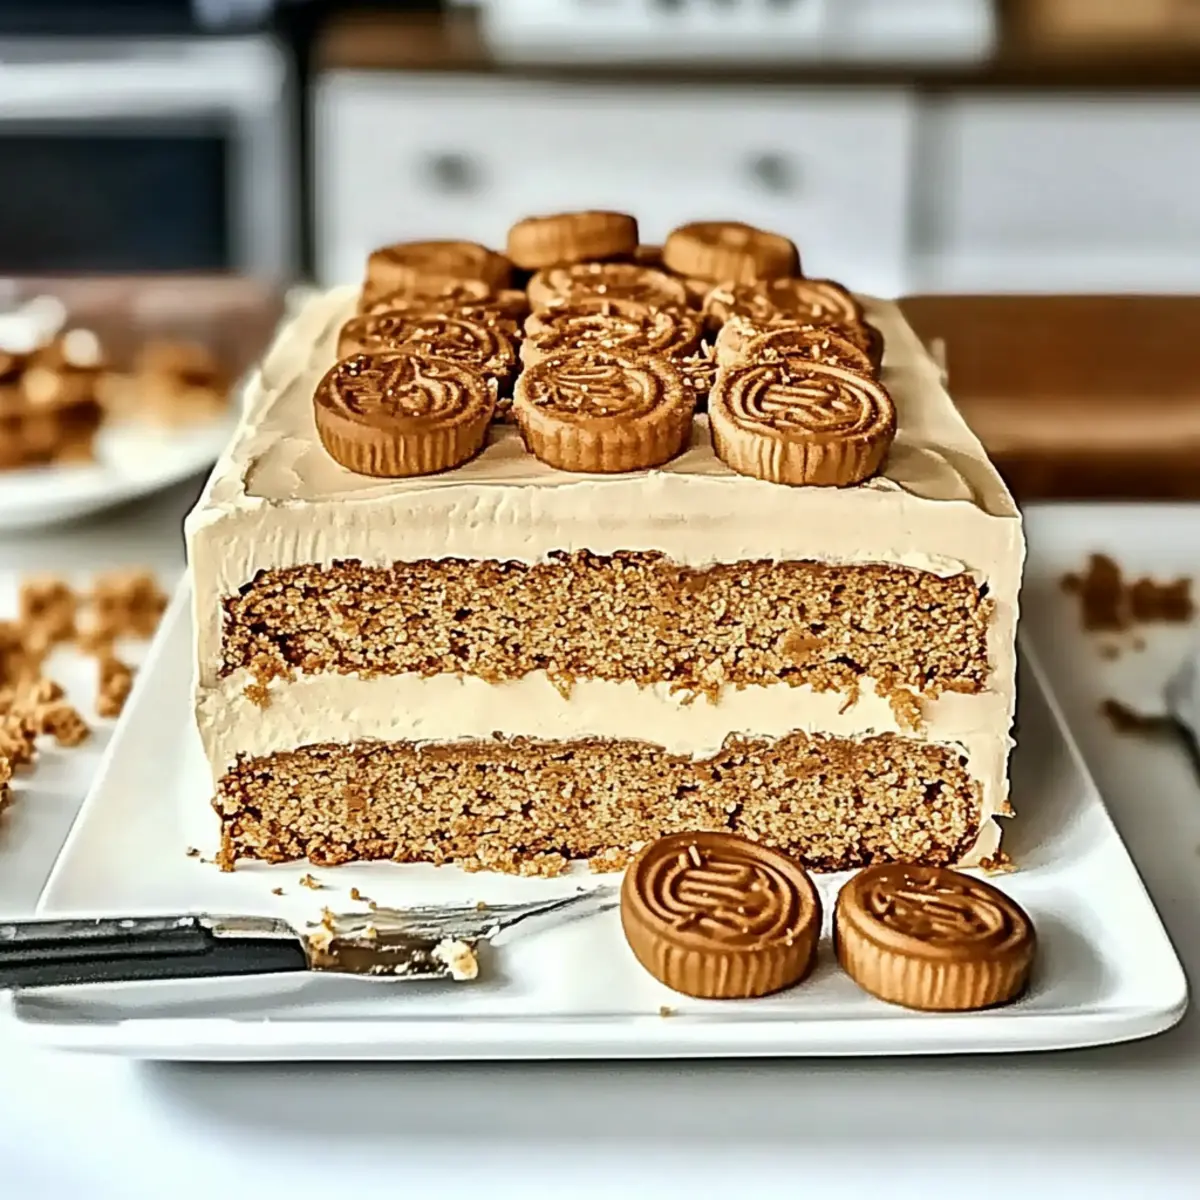
Biscoff Icebox Cake: No-Bake Bliss for Easy Dessert Lovers
Ingredients
Equipment
Method
- In a chilled mixing bowl, combine 1 cup of cold heavy cream with 1 cup of sweetened condensed milk. Beat on medium-high speed for about 3-5 minutes, until stiff peaks form.
- Gently fold 1 cup of Lotus Biscoff spread into the whipped cream mixture. Use a spatula to combine carefully.
- Soften ¼ cup of Lotus Biscoff spread by microwaving it for about 10-15 seconds until pourable.
- Line a 9x5 loaf pan with plastic wrap, leaving overhang. Spread a thin layer of the creamy Biscoff mixture at the bottom.
- Layer the Lotus Biscoff biscuits on top of the cream layer, slightly overlapping. Repeat the process until full, ending with cream on top.
- Spread the remaining cream mixture over the top, smooth it out, and sprinkle with crushed Biscoff biscuits if desired. Cover and freeze for at least 2 hours.
- Once frozen, remove using plastic wrap. Slice while frozen, then let sit for about 15 minutes before serving.
Leave a Reply