
The air was alive with the zesty aroma of freshly grated orange zest, and for a moment, I was whisked away to a sunny orchard bursting with ripe citrus. This is the essence captured in my Classic Orange Tart—a dessert that evokes joy and warmth with every slice. Not only is this elegant tart a stunning centerpiece for any gathering, but it’s also incredibly easy to prepare, making it perfect for both seasoned home-chefs and those new to baking. The delightful dance of a buttery crust and a creamy orange custard will have your guests reaching for seconds, whether you’re hosting a cozy family dinner or an upscale soirée. Are you ready to bring a touch of citrus sunshine into your kitchen? Let’s dive in!
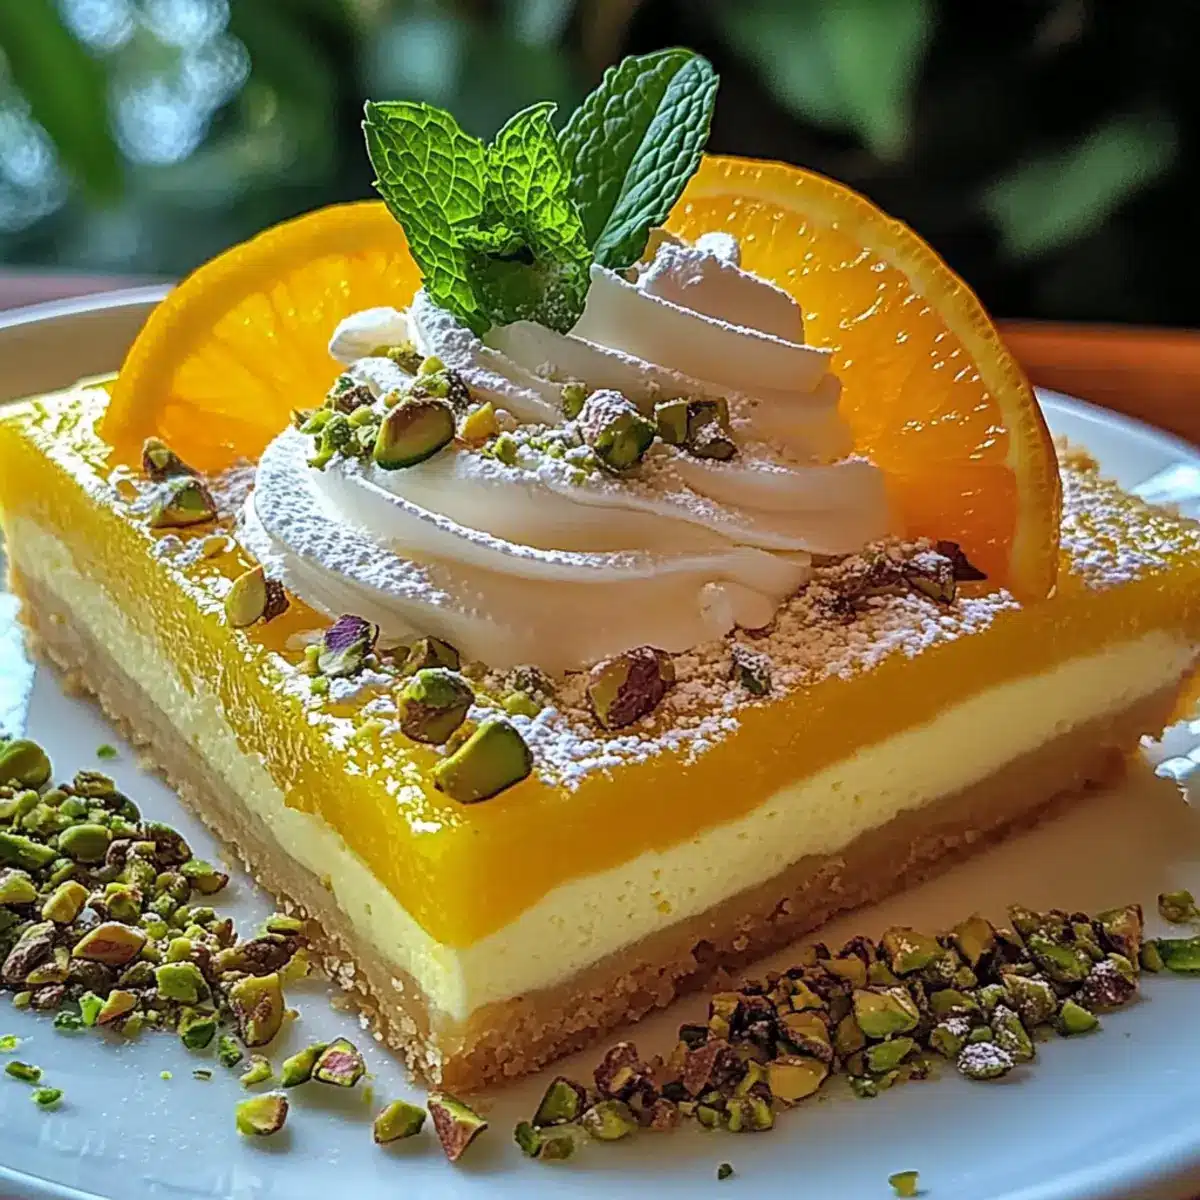
Why Is This Tart a Must-Try?
Simplicity: Preparing this Classic Orange Tart is a breeze, making it perfect for bakers of all skill levels. Elegant Presentation: With its stunning golden crust and vibrant orange custard, it’s guaranteed to impress your guests. Bright Citrus Flavor: The fresh orange juice and zest provide a burst of flavor that’s refreshing and uplifting. Versatile Pairings: Serve it with whipped cream, fresh fruit, or even a scoop of sorbet for an indulgent treat. Time-Saving: Make it a day in advance, allowing the flavors to meld beautifully and saving you time on the day of your gathering. Indulge in this dessert and don’t forget to check out my Classic Apple Crumble for another crowd-pleaser!
Classic Orange Tart Ingredients
• Elevate your baking with these essentials!
For the Crust
- All-purpose flour – Structure the crust; a gluten-free blend works well for a gluten-free tart.
- Powdered sugar – Adds just the right sweetness; can substitute with granulated sugar if desired.
- Almond flour – Brings added flavor and texture; hazelnut flour makes for a delightful nutty twist.
- Salt – Enhances overall flavor; choose kosher or sea salt for the best taste.
- Chilled butter – Keeps the crust flaky; ensure it’s cold to maintain texture.
- Egg yolk – Provides richness and structure; substitute with a flax or chia egg for an egg-free version.
- Cold water – Helps form the dough; use ice-cold water for effective consistency.
For the Custard Filling
- Orange juice – The flavor base; freshly squeezed is best for a zesty kick—strain to remove pulp for a smooth custard.
- Superfine sugar – Sweetness and smooth texture; if you use granulated sugar, just blend it finely.
- Cornstarch – A thickening agent for custard; arrowroot powder can be used as a substitute.
- Vegan gelatin powder – Stabilizes the filling; use regular gelatin for a non-vegan option.
- Softened butter – Adds creaminess to the custard; vegan butter works for a dairy-free alternative.
- Bitters (optional) – Adds depth of flavor; skip this if you prefer a pure citrus taste.
For the Topping
- Heavy cream – For a luscious topping; can replace with coconut cream for a dairy-free option.
- Crushed pistachios – Provides a delightful garnish; feel free to use any nuts or omit for nut-free servings.
- Fresh mint leaves – Adds a touch of freshness; optional but can be swapped for edible flowers for a decorative flair.
Transition into creating this Classic Orange Tart, and let the sunny notes of citrus flavor brighten your next gathering!
Step‑by‑Step Instructions for Classic Orange Tart
Step 1: Prepare the crust
Preheat your oven to 350°F (175°C). In a large bowl, combine all-purpose flour, powdered sugar, almond flour, salt, and optional orange zest. Using a pastry cutter, blend in chilled butter until the mixture resembles coarse crumbs. Add the egg yolk and cold water, mixing until a dough forms. Press the dough into a tart pan, pricking the bottom with a fork, then chill for 30 minutes.
Step 2: Bake the crust
Remove the chilled tart crust from the refrigerator and place it in the preheated oven. Bake for 20-25 minutes until the edges are lightly golden and the center is set. Keep an eye on it; you want it to color lightly for optimal flavor. Once baked, let the crust cool completely on a wire rack before adding the filling.
Step 3: Make the filling
In a mixing bowl, whisk together freshly squeezed orange juice, egg yolks, superfine sugar, cornstarch, vegan gelatin powder, and softened butter. Make sure to combine the ingredients thoroughly until the mixture is smooth and homogeneous. The classic orange tart filling should have a fluid consistency, ready to coat the back of a spoon.
Step 4: Fill the tart
Pour the smooth orange custard filling into the cooled tart crust, ensuring an even distribution. Reduce the oven temperature to 325°F (160°C) and place the filled tart back in the oven. Bake for about 30 minutes or until the custard is set in the center, with a slight jiggle—this means it’s perfectly cooked for your Classic Orange Tart.
Step 5: Cool and refrigerate
After baking, allow the tart to cool completely in the pan for about 1 hour. Once cooled, gently transfer the tart to the refrigerator to chill for at least 2 hours. This step helps the flavors to blossom, giving you that refreshing taste and texture characteristic of a classic orange tart.
Step 6: Prepare the topping
While the tart chills, make the topping by whipping heavy cream with powdered sugar in a mixing bowl until soft peaks form. If desired, gently fold in bitters to enhance the flavor. Set the whipped cream aside in the fridge to keep it cool until you’re ready to serve the Classic Orange Tart.
Step 7: Serve
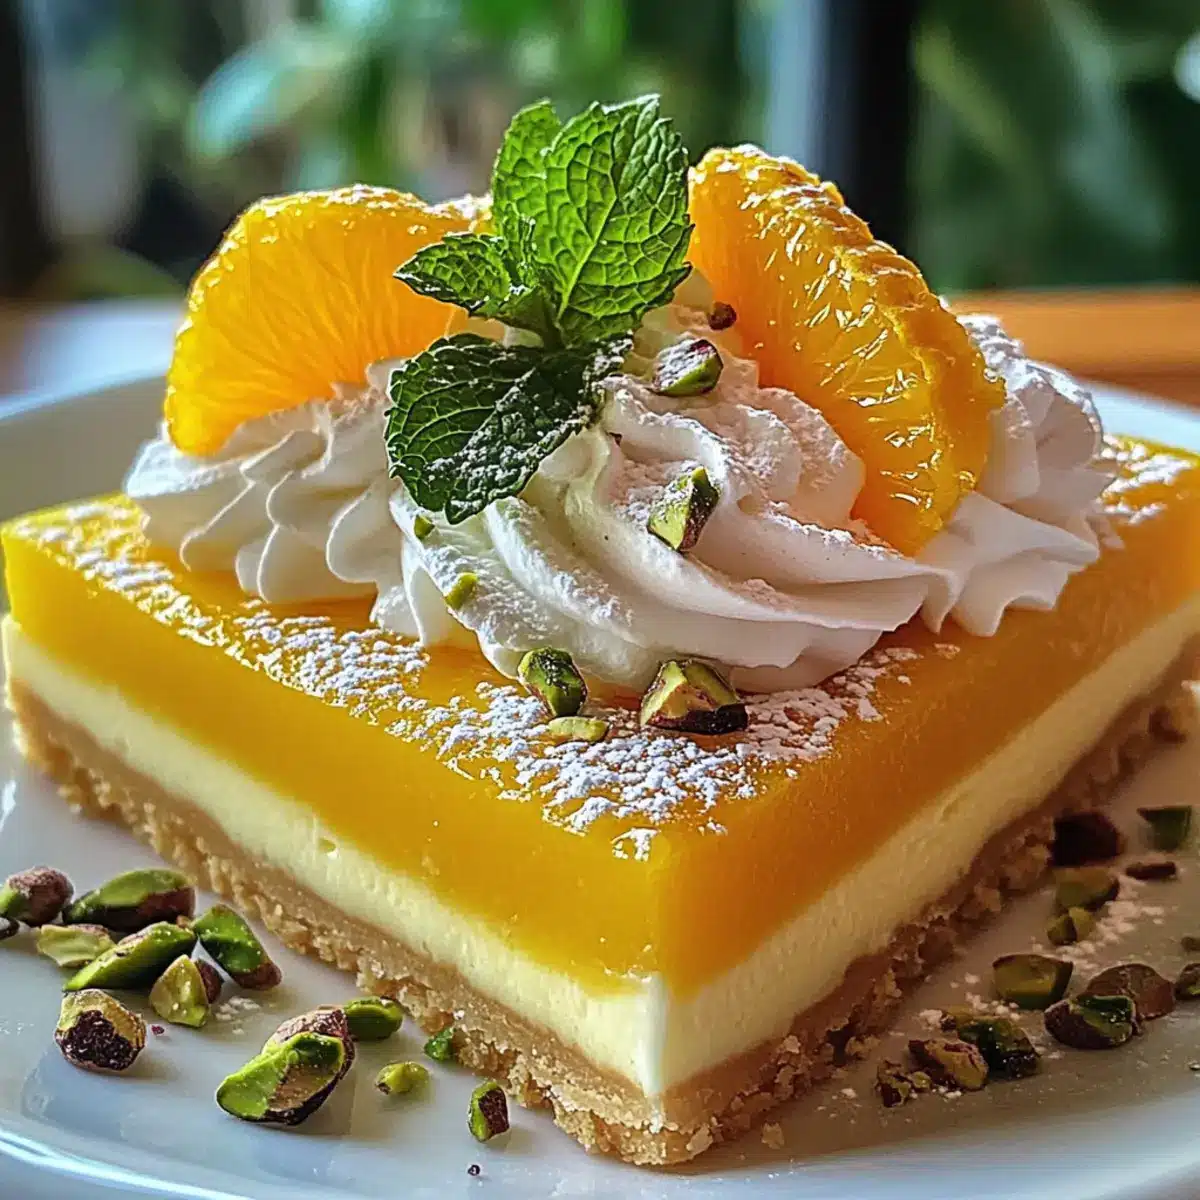
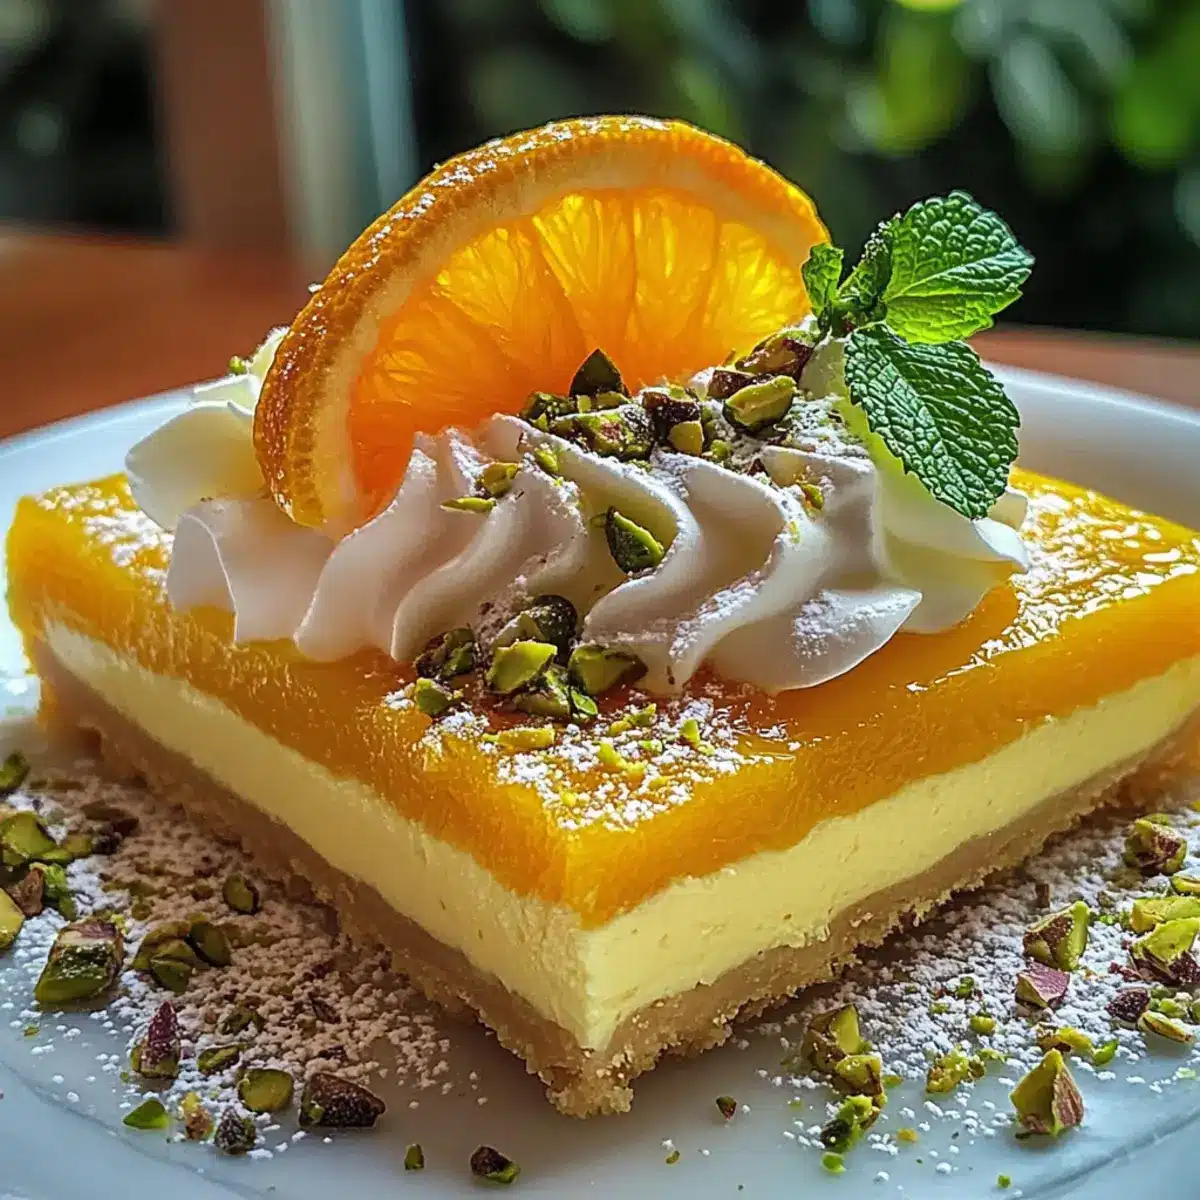
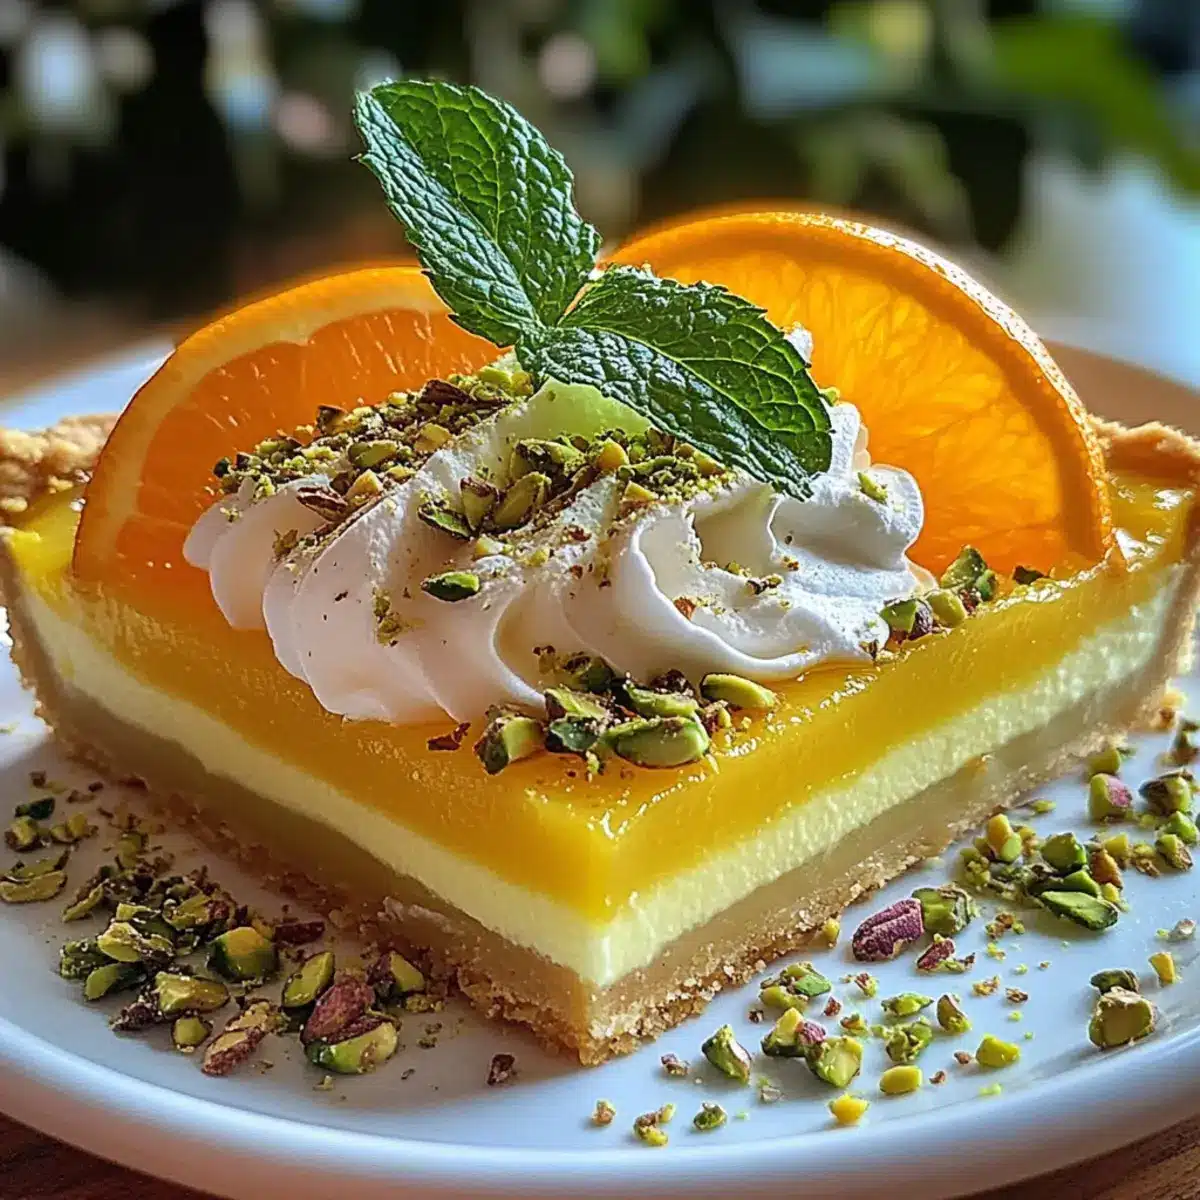
Once the tart has chilled and set, remove it from the refrigerator. Generously top the tart with the whipped cream and garnish with vibrant orange segments, crushed pistachios, and fresh mint leaves. Slice into your enticing Classic Orange Tart and enjoy the burst of citrus flavors and creaminess that awaits!
Make Ahead Options
Preparing your Classic Orange Tart in advance is a fantastic way to save time and simplify your entertaining plans! You can make the tart crust and custard filling up to 24 hours in advance. Simply follow the first four steps: prepare and bake the crust, then cool and fill it with the custard. After you’ve baked the custard, allow the tart to cool completely and refrigerate it for optimal flavor melding. To maintain quality, cover the tart with plastic wrap to prevent it from absorbing any odors in the fridge. When ready to serve, top with freshly whipped cream and your favorite garnishes for a stunning presentation that is just as delicious as if it were made on the day!
How to Store and Freeze Classic Orange Tart
Fridge: Store the Classic Orange Tart in an airtight container in the refrigerator for up to 3 days; this helps maintain its freshness and texture.
Freezer: If you’d like to enjoy your tart later, wrap it tightly in plastic wrap and aluminum foil before freezing for up to 2 months. Thaw in the refrigerator overnight before serving.
Reheating: Reheat individual slices in the microwave for about 15-20 seconds, ensuring the custard remains creamy. Avoid baking the whole tart again, as it may affect the texture.
Make-Ahead Tip: Prepare the Classic Orange Tart up to a day in advance to let the flavors meld, enhancing the overall taste for your special occasion!
What to Serve with Classic Orange Tart?
The sunny flavors of this delightful tart invite a festive spread that balances sweetness and freshness, perfect for any gathering.
-
Fresh Berries: A medley of strawberries, raspberries, and blueberries adds a burst of color and a juicy contrast to the tart’s creamy custard.
-
Vanilla Ice Cream: The smooth, creamy richness of vanilla ice cream complements the vibrant citrus notes and enhances the overall indulgence of each bite.
-
Whipped Cream: A dollop of lightly sweetened whipped cream on top accentuates the tart’s flavors while providing a cloud-like texture that’s simply irresistible.
-
Citrus Salad: Combine segments of grapefruit, mandarins, and blood oranges for a zesty salad that mirrors the tart’s flavors while offering a refreshing crunch.
-
Mint Tea: A warm cup of mint tea not only cleanses the palate but also harmonizes beautifully with the refreshing citrus elements of the dessert.
-
Almond Biscotti: These crunchy treats provide a delightful textural contrast and marry well with the tart’s creaminess, creating a perfect nibble alongside coffee or tea.
Pairing these delicious accompaniments will ensure your Classic Orange Tart becomes the star of the dessert table, leaving your guests with lasting memories of a delightful meal.
Classic Orange Tart Variations
Feel free to get creative with your Classic Orange Tart and make it your own with these delightful tweaks!
-
Citrus Swap: Replace orange juice with lemon or lime juice for a refreshing twist on this tart’s flavor.
-
Nutty Variation: Experiment with different nuts, like pecans or walnuts, in the crust or as a topping for added crunch and flavor. Imagine those nutty notes complementing the delicate orange custard!
-
Natural Sweetener: Try sweetening the custard with honey or maple syrup instead of sugar for a more natural flavor profile that pairs beautifully with the citrus.
-
Dairy-Free Delight: Use coconut cream in place of heavy cream to cater to dairy-free guests. This will add a subtle tropical essence that balances the bright orange.
-
Unique Garnish: Instead of crushed pistachios, top your tart with toasted coconut flakes or edible flowers for a stunning, eye-catching presentation.
-
Spice it Up: Add a pinch of cinnamon or ginger to the custard filling for a warm spice note that beautifully complements the orange, bringing a hint of warmth.
-
Fruity Fusion: Mix in other fruits, like raspberries or blackberries, into the filling for a surprising burst of flavor and color. These berries will contrast nicely with the sweet citrus!
As you explore these variations, don’t forget to pair this treat with a lovely scoop of sorbet or slices from my Classic Chocolate Chip Cookies for a delightful dessert spread!
Expert Tips for Classic Orange Tart
- Chill Ingredients: Always chill your butter and dough to preserve a flaky crust, avoiding any sogginess in your Classic Orange Tart.
- Mixing Technique: Be careful not to overmix the dough; aim for a tender texture to elevate your tart’s quality.
- Strain for Smoothness: Straining the orange juice before adding it to your filling ensures a silky custard without any pulp, enhancing the overall experience.
- Baking Precision: Keep a close eye on baking times to prevent underbaking or overbaking; a toothpick test can help you check for doneness.
- Zest Matters: Don’t skip the orange zest; it’s a crucial ingredient that greatly enhances the tart’s flavor and aroma!
Classic Orange Tart Recipe FAQs
What type of oranges should I use for the best flavor?
Absolutely! For the best flavor, I recommend using navel oranges as they are sweet and juicy. If you can find them, blood oranges can also add a unique twist with their beautiful color and slight berry undertones. Make sure the oranges are blemish-free and heavy for their size, which indicates juiciness.
How should I store the Classic Orange Tart?
You can store the Classic Orange Tart in an airtight container in the refrigerator for up to 3 days. This helps to keep the custard fresh and creamy while maintaining the crust’s texture. Just remember to place a piece of wax paper between the container lid and the tart to prevent any moisture from accumulating.
Can I freeze the Classic Orange Tart?
Certainly! To freeze your Classic Orange Tart, wrap it tightly in plastic wrap followed by aluminum foil. This method protects it from freezer burn, allowing it to stay fresh for up to 2 months. When you’re ready to enjoy it, thaw the tart in the refrigerator overnight for the best results.
What if my custard doesn’t set properly?
Very! If your custard doesn’t set properly, it could be due to underbaking or not using enough cornstarch. After pouring the filling into the crust, bake until the center jiggles slightly but is not liquid, which usually takes around 30 minutes at 325°F (160°C). You can also use a toothpick test by inserting it in the middle—if it comes out clean, your custard is set!
Is the Classic Orange Tart suitable for those with allergies?
The Classic Orange Tart uses several common allergens, including gluten and dairy. For a gluten-free version, swap all-purpose flour with a gluten-free baking blend. For dairy-free options, substitute the butter and cream with vegan alternatives. Always double-check with guests for specific allergies, and I often make adjustments to accommodate everyone!
How long before serving should I make the Classic Orange Tart?
I often suggest making the Classic Orange Tart at least a few hours ahead—ideally a day in advance. This allows for optimal flavor melding and ensures the tart is thoroughly chilled before serving, enhancing its delightful taste and texture. The longer it sits, the more the citrus notes will shine through!
Classic Orange Tart: Your Elegant Citrus Escape
Ingredients
Equipment
Method
- Preheat your oven to 350°F (175°C). In a large bowl, combine all-purpose flour, powdered sugar, almond flour, salt, and optional orange zest. Blend in chilled butter until resembling coarse crumbs. Add egg yolk and cold water, mixing until a dough forms. Press into a tart pan and chill for 30 minutes.
- Remove the chilled tart crust from the refrigerator and bake for 20-25 minutes until edges are lightly golden. Allow it to cool completely on a wire rack.
- In a mixing bowl, whisk together orange juice, egg yolks, superfine sugar, cornstarch, vegan gelatin powder, and softened butter until smooth.
- Pour the smooth orange custard filling into the cooled tart crust. Reduce oven temperature to 325°F (160°C) and bake for about 30 minutes until the custard is set.
- Allow the tart to cool completely for about 1 hour. Refrigerate for at least 2 hours.
- Whip heavy cream with powdered sugar until soft peaks form, optionally folding in bitters. Set aside in the fridge.
- Remove the tart from the refrigerator, top with whipped cream, garnish with orange segments, crushed pistachios, and fresh mint leaves. Slice and enjoy!
Leave a Reply