
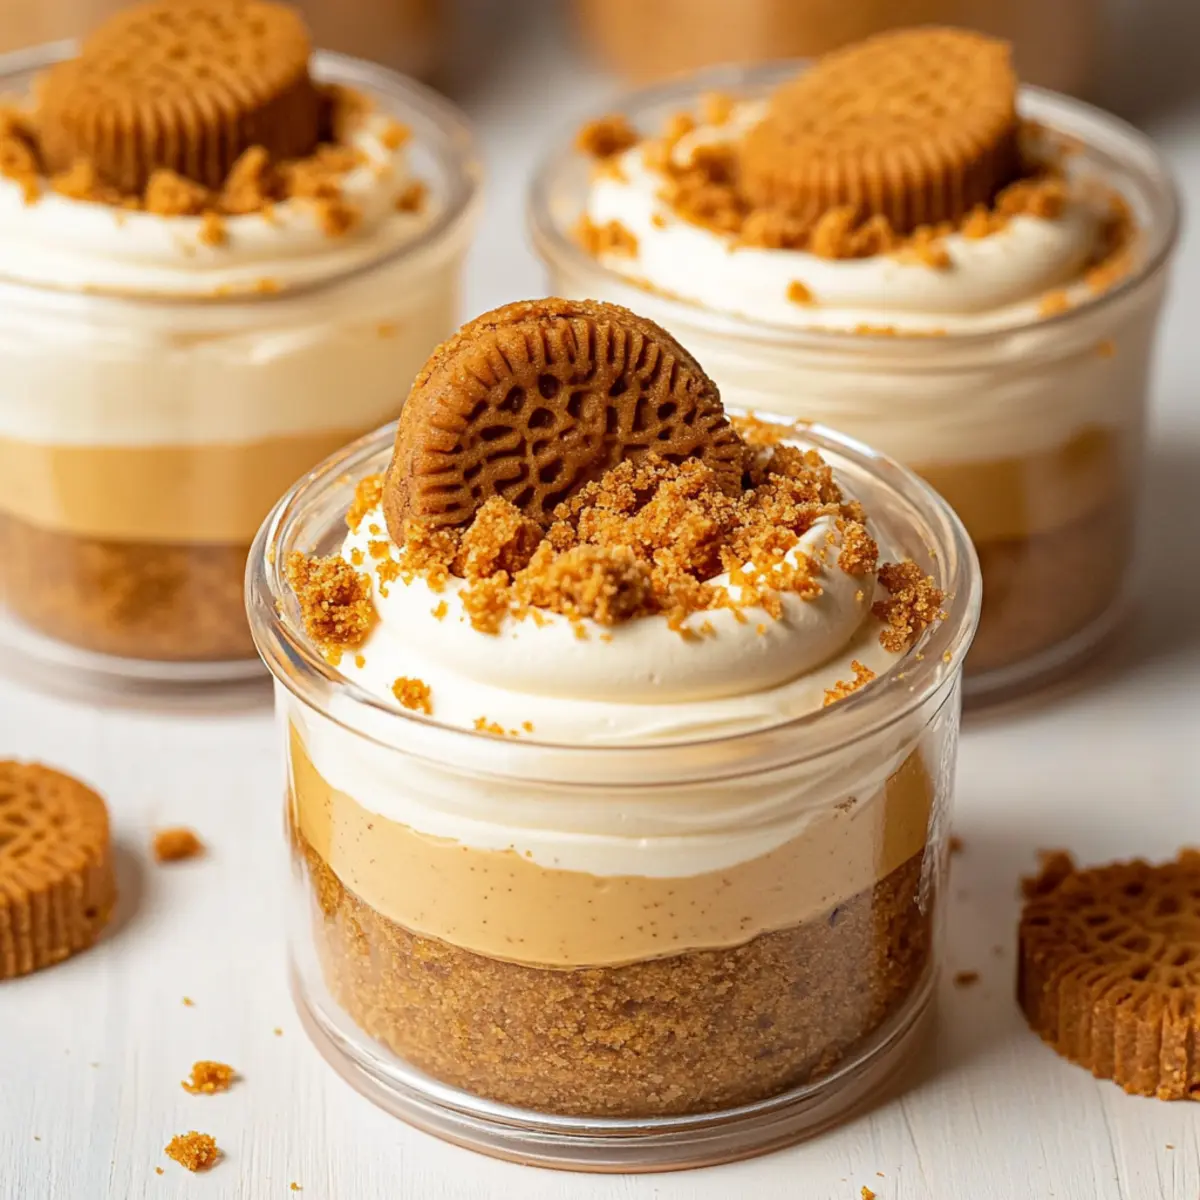
As the sun sets and the aroma of sweet nostalgia fills the air, I often find myself reaching for a little indulgence that doesn’t require an oven. Let me introduce you to my new favorite creation: No-Bake Biscoff Cheesecake Cups. These delightful treats come together in just about 20 minutes using only five ingredients, making them a superb option for effortless entertaining or a cozy night in. With their creamy cheesecake layers perfectly paired with a crunchy Biscoff cookie crust, they’re not only a crowd-pleaser but also a lightened-up dessert that leaves you feeling satisfied without the heaviness of traditional cheesecakes. Whether you’re celebrating a special occasion or simply treating yourself, these cheesecake cups are sure to delight your taste buds. Are you ready to experience this no-bake magic?
Why Are These Cheesecake Cups So Special?
Simplicity shines through in just five easy-to-find ingredients. Decadent Flavor combines with the rich, caramel notes of Biscoff cookies for an indulgent experience. No-Bake Ease means you can whip these up in about 20 minutes—perfect for busy home chefs. Versatile Options allow you to mix in flavors like mocha or fruits, making these cups your canvas for creativity. Plus, they are a crowd favorite, ideal for gatherings or a cozy night in. If you love cheesecakes, you’ll definitely want to check out our Apple Crumble Cheesecake for another irresistible treat!
No-Bake Biscoff Cheesecake Cups Ingredients
For the Cookie Crust
• Lotus Biscoff Biscuits – Essential for a crunchy base; if unavailable, substitute with speculoos or similar caramel-flavored cookies.
• Unsalted Butter – Helps bind the cookie crumbs; make sure it’s melted for smooth mixing.
For the Cheesecake Filling
• Heavy Cream – Creates a light and fluffy texture; light cream can work, but it may affect the final cheesecakes’ creaminess.
• Cream Cheese – The heart of the cheesecake, providing richness—use full-fat for the best experience.
• Powdered Sugar – Adds sweetness while stabilizing the filling; avoid granulated as it can be grainy.
• Biscoff Spread – Boosts the Biscoff flavor in the filling; it can be swapped for other delicious spreads like Nutella.
• Vanilla Extract – Enhances the overall taste; feel free to omit if you don’t have it.
For Garnish
• Additional Biscoff Biscuits – Perfect for topping off your cups, adding both flavor and visual appeal.
Delight in creating these No-Bake Biscoff Cheesecake Cups that are as enjoyable to prepare as they are to eat!
Step‑by‑Step Instructions for No-Bake Biscoff Cheesecake Cups
Step 1: Make the Base
Begin by crushing 200 grams of Lotus Biscoff biscuits into fine crumbs using a food processor or zip-top bag and rolling pin. In a medium bowl, mix these crumbs with 100 grams of melted unsalted butter until fully combined. Reserve a tablespoon of the crumb mixture for garnish. Divide the mixture evenly among dessert cups, pressing it down firmly to create a sturdy crust.
Step 2: Prepare the Cheesecake Filling
In a large mixing bowl, whip 300 ml of heavy cream using an electric mixer until soft peaks form, which should take about 3-5 minutes. In another bowl, combine 250 grams of softened cream cheese, 100 grams of powdered sugar, 150 grams of Biscoff spread, and 1 teaspoon of vanilla extract. Blend these until smooth and creamy before gently folding in the whipped cream to maintain the airy texture of the filling.
Step 3: Assemble the Cups
Transfer the creamy cheesecake filling into a piping bag or a sturdy zip-top bag with the corner snipped. Carefully fill each dessert cup with the cheesecake mixture, layering it over the cookie crust. For an extra touch, melt an additional 50 grams of Biscoff spread in the microwave for about 20 seconds until smooth, then drizzle it over the filled cups for a beautiful finish.
Step 4: Chill
Place the assembled No-Bake Biscoff Cheesecake Cups in the refrigerator and let them chill for at least 4 hours to set properly. This chilling time allows the flavors to meld together while firming up the cheesecake mixture. For the best taste and texture, consider refrigerating the cups overnight before serving, drawing out the delightful Biscoff flavor.
Make Ahead Options
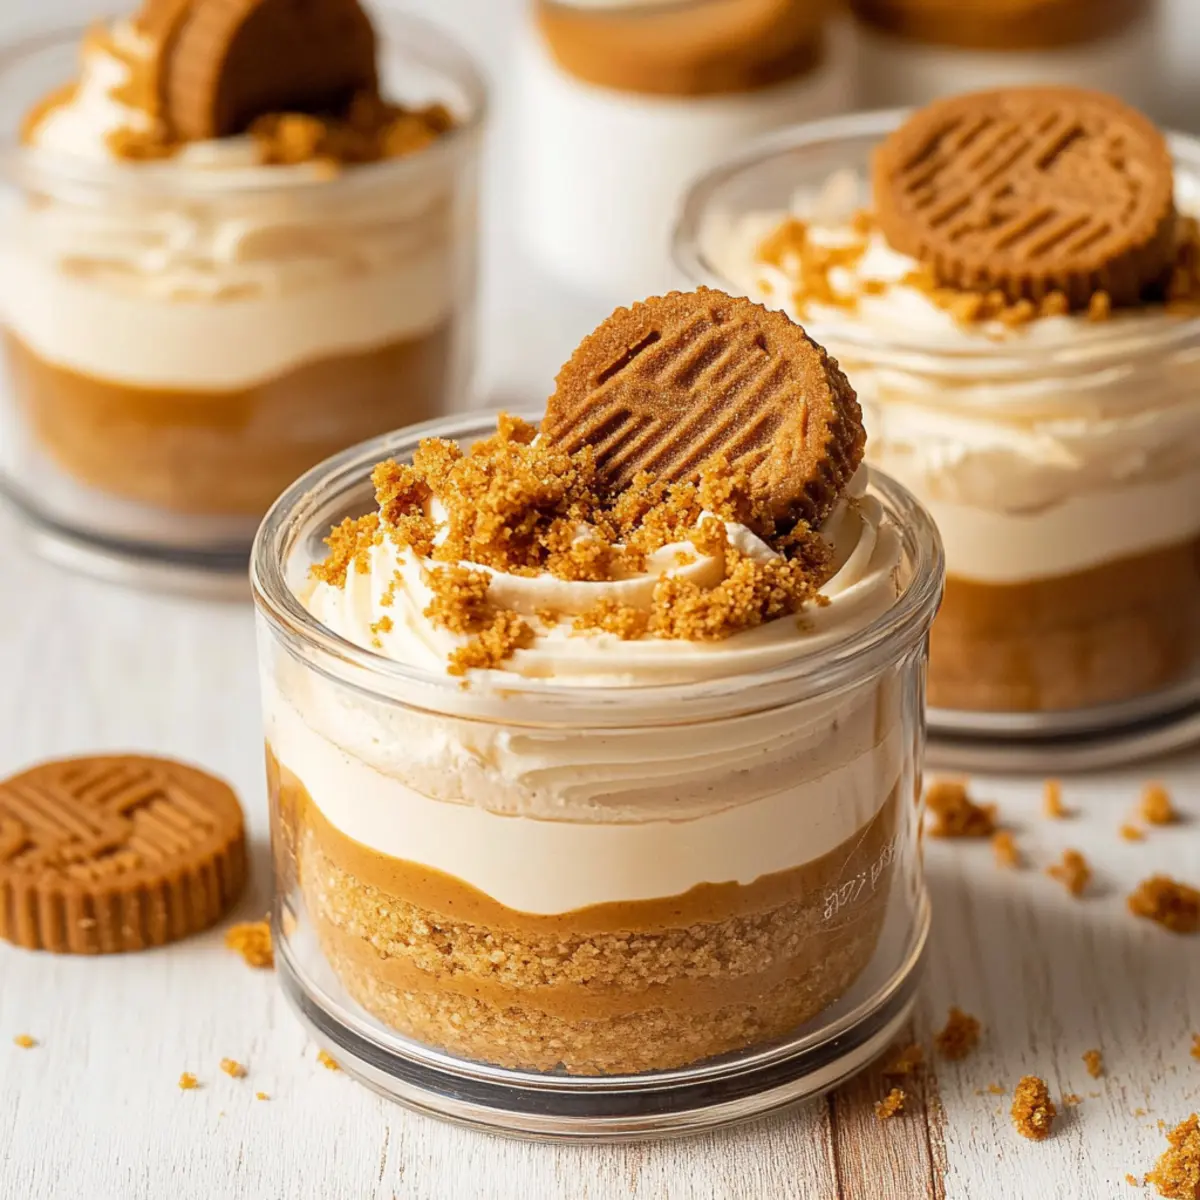
These No-Bake Biscoff Cheesecake Cups are perfect for meal prep enthusiasts! You can prepare the crust and cheesecake filling up to 24 hours in advance. Simply crush the Biscoff biscuits and mix them with melted butter, then store the crust tightly covered in the refrigerator. The filling can be made and kept in a separate container; just remember to gently fold in the whipped cream before serving to retain its airy texture. When you’re ready to enjoy, simply layer the filling into the prepped crust, drizzle with melted Biscoff spread, and garnish as desired. With this prep strategy, you’ll have a delicious dessert ready in minutes, making it an ideal choice for busy weeknights or last-minute guests!
No-Bake Biscoff Cheesecake Cups Variations
Feel free to explore these variations to personalize your cheesecake cups and enhance their flavor profile!
-
Mocha Twist: Add a splash of espresso to the cheesecake mixture for a delightful coffee flavor. This simple addition elevates the dessert to coffee-lover’s heaven.
-
Cookie Swap: Substitute the Biscoff biscuits with Oreos or chocolate chip cookies for a different flavor in your crust. This twist offers a fun way to mix up traditional favorites!
-
Fruit Compote: Layer some fruit compote or puree between the cheesecake layers for a fruity explosion. Berries or mango work particularly well, adding a fresh contrast to the creamy filling.
-
Nutty Crunch: Stir in crushed nuts, like pecans or hazelnuts, into the cookie crust for added texture and flavor. This creates a delightful crunch that pairs wonderfully with the smooth cheesecake.
-
Flavor Extracts: Experiment with different extracts—try almond or hazelnut—alongside or in place of vanilla for a unique twist. Such subtle variations can surprise and delight your palate.
-
Chili Heat: For a surprising kick, add a pinch of cayenne pepper to the cheesecake mix. The warmth from the heat complements the sweetness beautifully, making each bite intriguing.
-
Chocolate Drizzle: Drizzle melted chocolate over the top before chilling for an indulgent finishing touch. Dark or milk chocolate enhances the overall dessert richness while adding elegance.
-
Mini Portion: Serve in shot glasses for a fun, bite-sized dessert perfect for parties or gatherings. These mini versions are not only cute but also allow for easy portion control!
No matter which variation you choose, these no-bake cheesecake cups promise to be a crowd-pleaser. And if you’re feeling adventurous, consider making a complementary dessert like our No-Bake Samoa Cookies to create a delightful dessert spread!
Expert Tips for No-Bake Biscoff Cheesecake Cups
-
Room Temperature Cream Cheese: Make sure your cream cheese is at room temperature to avoid lumps in your filling and achieve a smooth texture.
-
High-Quality Heavy Cream: Using high-quality heavy cream will enhance the fluffiness of your cheesecake filling; avoid light cream if you want that rich mouthfeel.
-
Avoid Grainy Texture: Stick with powdered sugar for sweetening the filling—granulated sugar can result in an unpleasant graininess that affects the overall enjoyment of your No-Bake Biscoff Cheesecake Cups.
-
Refrigeration is Key: Allow the cheesecake cups to chill for a minimum of 4 hours, or even better, overnight. This helps achieve the perfect firm yet creamy texture that will wow your guests.
-
Substitution Awareness: If you decide to use a different cookie for the crust, ensure it has a similar texture and flavor profile as Biscoff to maintain the delightful taste you desire.
How to Store and Freeze No-Bake Biscoff Cheesecake Cups
- Fridge: Store these cheesecake cups in an airtight container; they will stay fresh for up to 3 days. Make sure to keep them well covered to maintain their creamy texture.
- Freezer: We recommend not freezing the cheesecake cups, as freezing can cause the filling to separate and lose its decadent creaminess once thawed.
- Make-Ahead: Prepare your no-bake Biscoff cheesecake cups one day in advance. They taste even better after sitting overnight, allowing the flavors to meld beautifully.
- Serving Tip: Always serve chilled; take the cups out of the fridge just before serving for the ultimate refreshing experience!
What to Serve with No-Bake Biscoff Cheesecake Cups
Elevate your dessert experience with delightful pairings that complement the rich, creamy flavors of your Biscoff cheesecake cups.
- Fresh Berries: Bright, tart berries add a refreshing contrast to the rich cheesecake, enhancing each delightful bite.
- Espresso or Coffee: A warm cup of coffee or a shot of espresso beautifully balances the sweetness and creaminess, making for a perfect after-dinner treat.
- Whipped Cream: Light, fluffy whipped cream provides an extra layer of indulgence and a beautiful presentation atop your cheesecake cups.
- Chocolate Sauce: Drizzling a bit of warm chocolate sauce offers a luxurious touch, deepening the flavor profile with each spoonful.
- Mint Leaves: Fresh mint leaves make for a vibrant garnish, bringing a touch of color and a refreshing kick to each indulgent bite.
- Ice Cream: A scoop of vanilla ice cream on the side creates a deliciously creamy experience, perfect for those who love layers of texture.
- Lemon Sorbet: This zesty sorbet will cleanse the palate while offering a light and refreshing contrast to the rich flavors of the cheesecake.
- Caramel Drizzle: A sweet caramel drizzle enhances the flavors of the Biscoff and adds a sophisticated touch to your dessert.
- Sparkling Water: For a refreshing drink option, sparkling water with a splash of lemon creates a light contrast that won’t overshadow your dessert.
No-Bake Biscoff Cheesecake Cups Recipe FAQs
What type of Biscoff biscuits should I use?
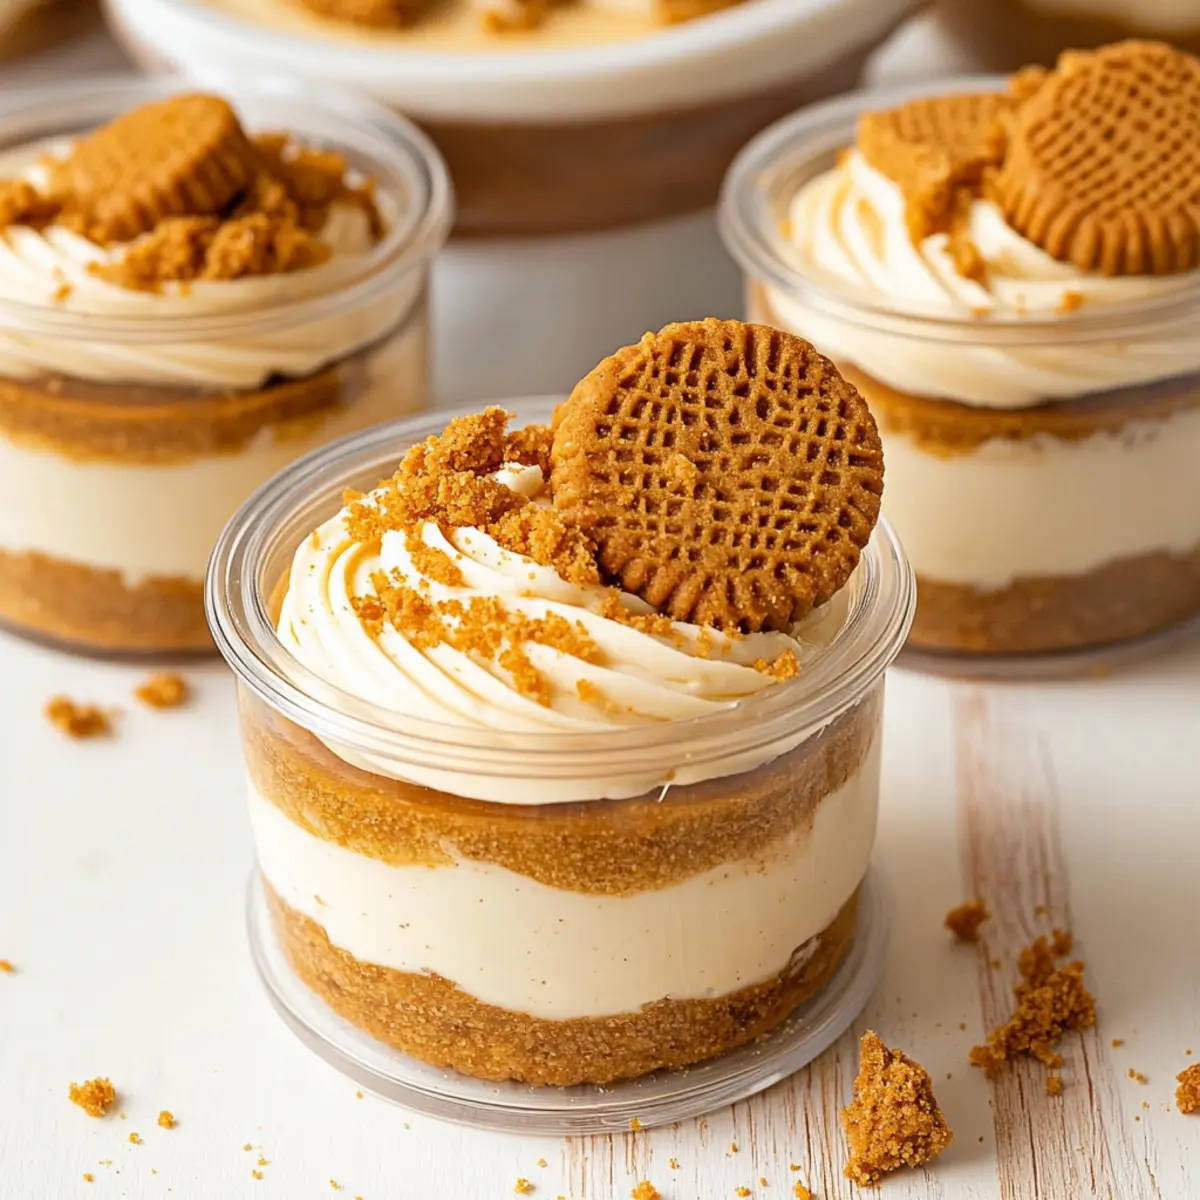
You should use Lotus Biscoff Biscuits for the best flavor and texture. If you can’t find them, similar caramel-flavored cookies or speculoos can be used as a delightful alternative.
How should I store my No-Bake Biscoff Cheesecake Cups?
Store your cheesecake cups in an airtight container in the refrigerator. They will stay fresh for up to 3 days. Just ensure they’re well covered to maintain their creamy texture and flavors.
Can I freeze No-Bake Biscoff Cheesecake Cups?
Unfortunately, I wouldn’t recommend freezing these cheesecake cups. Freezing can cause the creamy filling to separate, losing that decadent texture upon thawing. Instead, enjoy them fresh or make them a day in advance for the best results!
My cheesecake filling turned out lumpy. What should I do?
No worries! If your filling turns out lumpy, it’s likely due to the cream cheese being too cold. Always make sure your cream cheese is at room temperature before mixing. If you’ve already combined it, you can try beating the mixture again to smooth it out. Mixing gently is key to keeping that airy texture!
Are these cheesecake cups suitable for people with allergies?
These cups contain gluten (from the biscuits) and dairy (from the cream cheese and cream). For a gluten-free option, you can use gluten-free cookies instead of Biscoff biscuits. However, always check all ingredient labels carefully if you’re accommodating specific allergies!
Can I prepare No-Bake Biscoff Cheesecake Cups ahead of time for a party?
Absolutely! In fact, they’re perfect for make-ahead desserts. Prepare your cheesecake cups up to a day in advance. Just chill them in the refrigerator for at least 4 hours, or overnight, to allow the flavors to develop and the filling to set properly.
Irresistible No-Bake Biscoff Cheesecake Cups
Ingredients
Equipment
Method
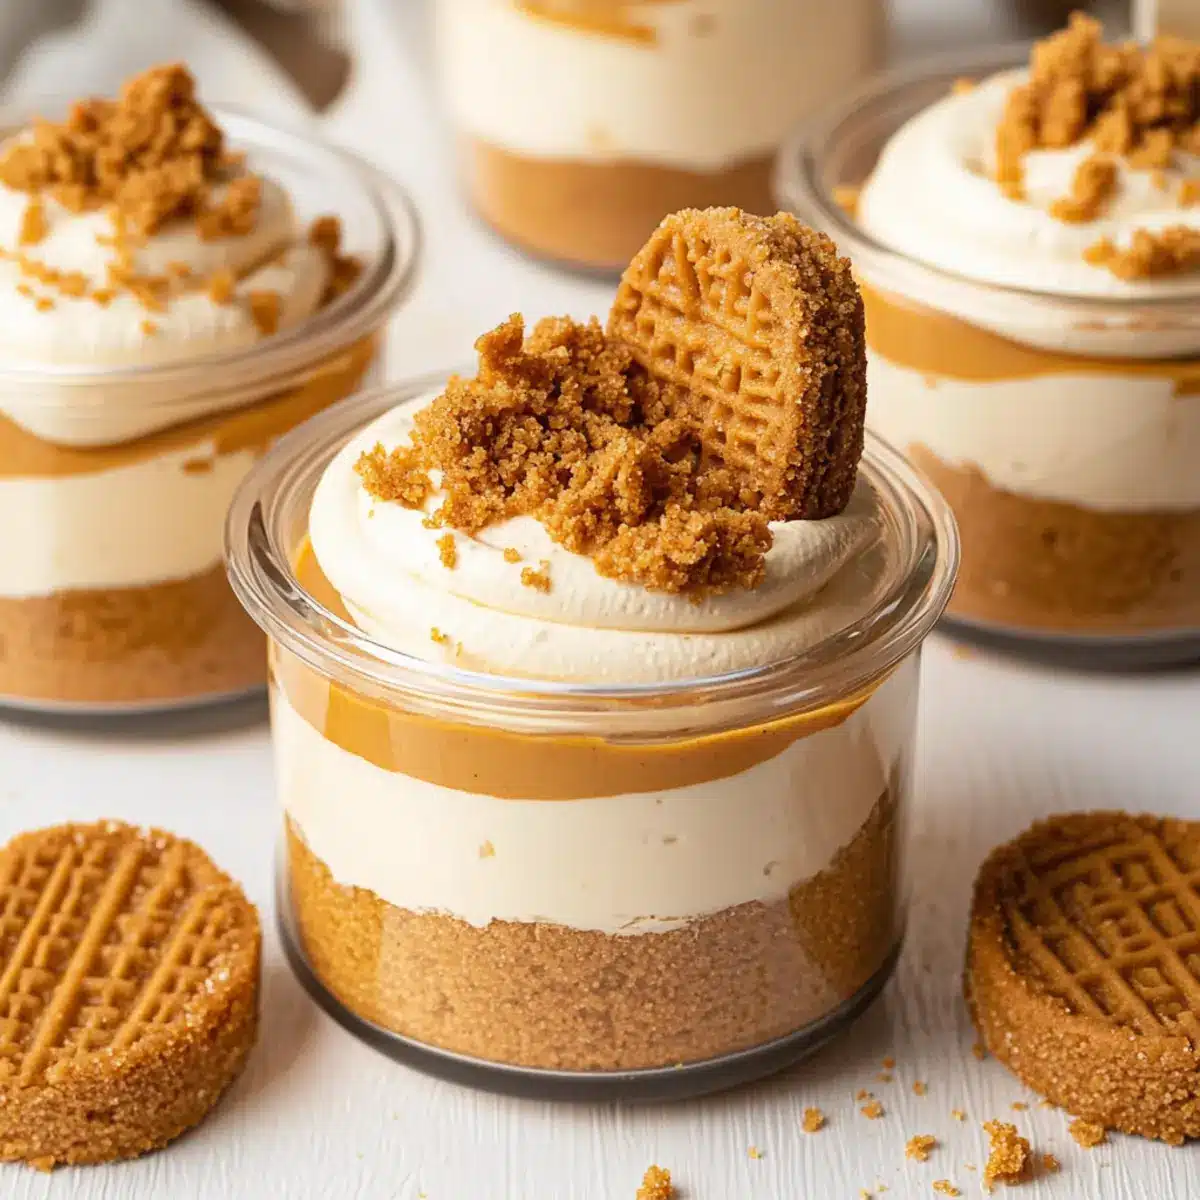
- Crush Lotus Biscoff biscuits into fine crumbs and mix with melted unsalted butter. Press into dessert cups to form the crust.
- Whip heavy cream until soft peaks form. In another bowl, combine cream cheese, powdered sugar, Biscoff spread, and vanilla. Fold in the whipped cream.
- Transfer the filling into piping bag and fill dessert cups over the cookie crust. Melt additional Biscoff spread and drizzle on top.
- Chill the cups in the refrigerator for at least 4 hours to set.
Leave a Reply