
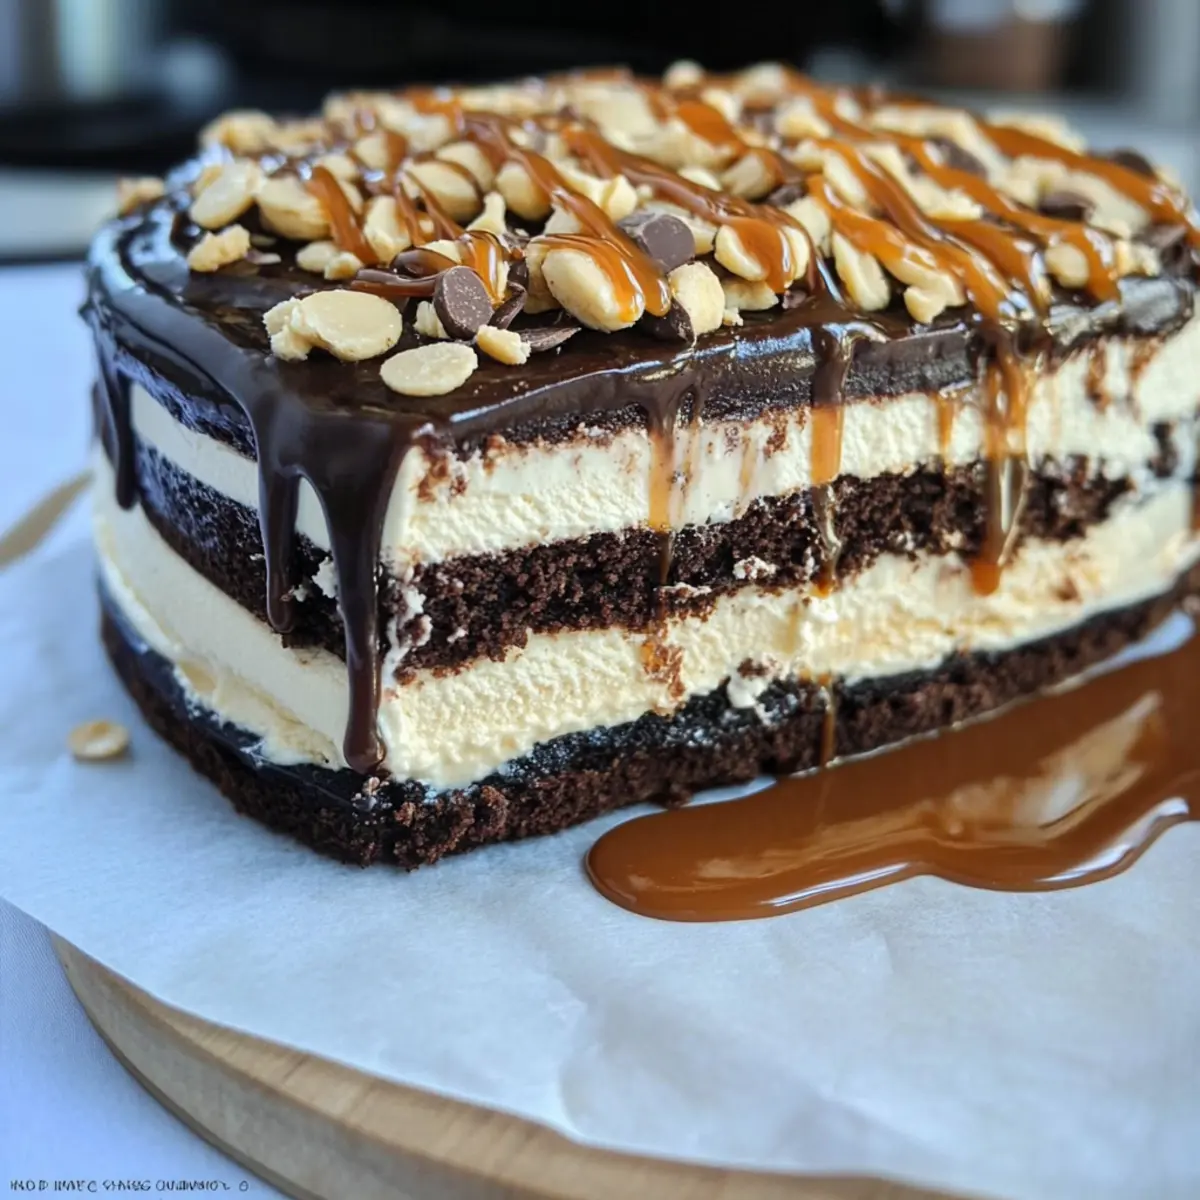
Lately, I’ve been dreaming of summer celebrations filled with laughter, sunshine, and, of course, indulgent desserts. Enter the Homemade Snickers Ice Cream Cake—an irresistible layered wonder that takes dessert to new heights! This show-stopping cake features creamy peanut butter ice cream atop rich, fudgy brownies, all drizzled with luscious salted caramel and topped with crunchy peanuts. Not only is this cake a delightful treat for warm-weather gatherings, but it’s also a guaranteed crowd-pleaser that can be made ahead of time, freeing you up to enjoy the party! So, who’s ready to dive into a slice of this heavenly, chocolatey goodness that echoes the familiar flavor of your favorite candy bar? Let’s explore how to create this refreshing dessert together!
Why is This Cake a Must-Try?
Decadent Layers: Each slice reveals a stunning blend of creamy peanut butter ice cream and fudgy brownie, creating a harmony of flavors that will leave your taste buds singing.
Easy Preparation: With just a few simple steps, you can whip up this magnificent dessert, allowing you to impress family and friends without the hassle.
Perfect for Celebrations: This cake is a standout centerpiece, ideal for summer gatherings or celebrations, making it an instant crowd favorite.
Versatile Variations: Customize your dessert by swapping in different nuts or ice cream flavors, ensuring it fits your guests’ preferences perfectly. Plus, if you adore Velvet Gothic Cake or Chocolate Poke Cake, you’ll be thrilled with this one!
Make-Ahead Friendly: Freeze it ahead of time, and you’ll be the star of the party without the last-minute stress. Just slice and serve when it’s time to indulge!
Snickers Ice Cream Cake Ingredients
For the Ice Cream Base
• Half and Half – Adds creaminess and richness to the ice cream; substitute with whole milk or a mix of milk and cream.
• No-Stir Peanut Butter – Provides a creamy base and flavor for the ice cream; creamy almond butter can be a tasty alternative.
• Sugar – Sweetens the ice cream, balancing flavors; try coconut sugar or honey for a different note.
• Salt – Enhances flavor and balances sweetness; there’s no direct substitute.
• Vanilla – Adds depth to the ice cream’s flavor; you can switch to almond extract for variety.
For the Cake Layers
• Fudgy Brownies – Acts as the base layer, providing chewiness; feel free to use store-bought brownies for convenience.
• Salted Caramel – Adds a sweet and salty dimension to the cake; if homemade isn’t available, store-bought caramel will work well.
• Hot Fudge – Drizzled between layers to enrich the flavor; chocolate sauce can be used in its place if needed.
• Chopped Peanuts – Delivers crunch and nutty flavor; almonds or walnuts can be used for different textures.
Get ready to indulge in this Snickers Ice Cream Cake, a delightful dessert that perfectly complements any summer gathering!
Step‑by‑Step Instructions for Snickers Ice Cream Cake
Step 1: Prepare the Ice Cream Base
In a mixing bowl, combine the half and half, no-stir peanut butter, sugar, salt, and vanilla. Blend on medium speed until the mixture is completely smooth, about 2-3 minutes. Once blended, cover and chill it in the refrigerator for 2-3 hours to help develop the flavors and achieve a creamier texture in your Snickers Ice Cream Cake.
Step 2: Process Ice Cream
After chilling, pour the mixture into your ice cream maker and churn according to the manufacturer’s instructions. This will usually take about 20-30 minutes until the ice cream reaches a soft-serve consistency. Once ready, transfer it to a container and allow it to firm up in the freezer for an additional 1-2 hours while you prepare the cake layers.
Step 3: Prepare Pan
Line a 9-inch round baking pan with plastic wrap, ensuring there’s enough overhang to cover the top later. This will make it easy to remove your Snickers Ice Cream Cake once it’s fully frozen. Make sure the plastic wrap is smooth against the sides to avoid folds in your cake, which can affect how it looks when served.
Step 4: Layer the Cake
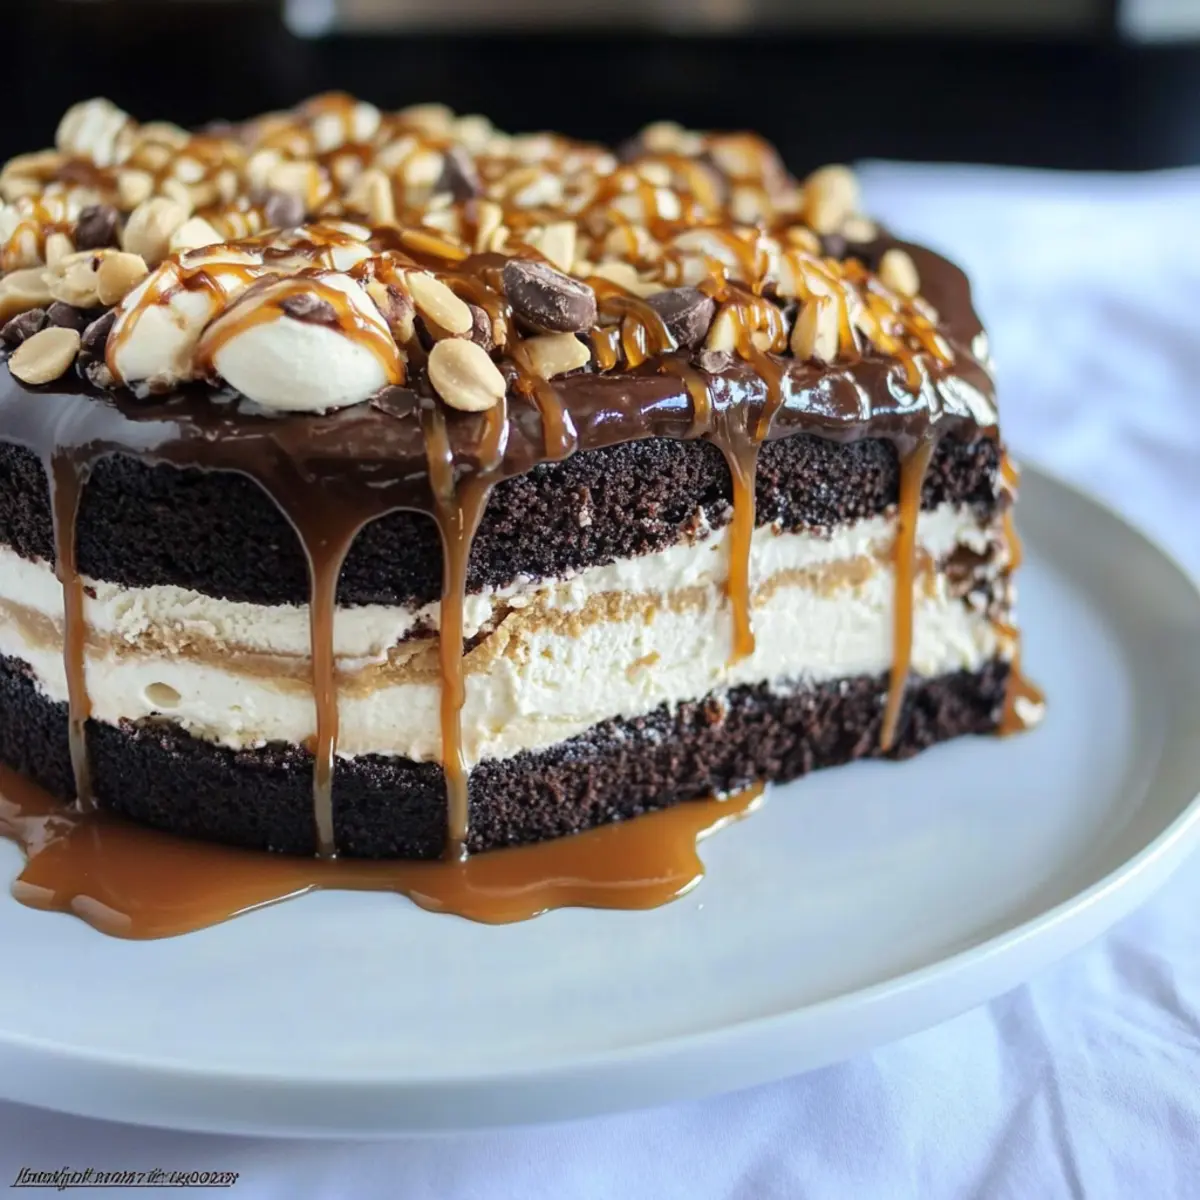
Begin by placing the cooled fudgy brownie layer at the bottom of the prepared pan. Drizzle this with hot fudge and salted caramel, then sprinkle a generous layer of chopped peanuts atop. Next, add a layer of your creamy peanut butter ice cream. Repeat the layering process until all ingredients are used, finishing with a layer of ice cream on top.
Step 5: Finalize the Cake
Once you’ve added the final layer of ice cream, generously drizzle more hot fudge, salted caramel, and an additional sprinkle of chopped peanuts on top for an appealing finish. Cover the pan tightly with the overhanging plastic wrap and freeze the cake for at least 4-6 hours, or until it is completely firm and ready to slice.
Step 6: Serve
When you’re ready to serve your Snickers Ice Cream Cake, remove it from the freezer and let it sit at room temperature for about 5-10 minutes. This slight thawing will make slicing easier. Using a sharp knife, cut through the layers for a beautiful presentation, and enjoy a slice of this delightful, layered dessert that’s perfect for summer celebrations!
Make Ahead Options
Preparing the Snickers Ice Cream Cake ahead of time is a game-changer for busy cooks! You can make the ice cream base and churn it up to 24 hours in advance and store it in the freezer. Additionally, the brownie layer can be baked and cooled up to 3 days prior; just keep it tightly wrapped to maintain its freshness. For optimal texture and flavor, assemble your cake layers the day before serving, then freeze overnight. When ready to enjoy, simply top with extra fudge, caramel, and peanuts, allowing it to sit for about 5-10 minutes at room temperature for easier slicing. This way, you’ll savor all the deliciousness without last-minute stress—perfect for summer celebrations!
What to Serve with Snickers Ice Cream Cake
Indulging in a slice of this creamy, layered delight sets the perfect scene for a memorable feast, making every bite even more special.
-
Fresh Berries: The tartness of strawberries and raspberries beautifully complements the sweetness of the cake, adding a refreshing contrast.
-
Warm Chocolate Sauce: Drizzling warm chocolate sauce over each slice enhances the chocolatey goodness and adds a decadent finish.
-
Whipped Cream: Light and airy whipped cream balances the rich flavors and offers a delightful texture play with each bite.
-
Toasted Almonds: Adding some toasted sliced almonds provides a nutty flavor while enhancing the cake’s crunchy elements.
-
Iced Coffee or Espresso: The boldness of coffee balances the sweetness of the cake, making it an ideal pairing to enjoy post-dinner.
-
Mint Ice Cream: For those extra hot days, a refreshing scoop of mint ice cream served alongside delivers a cool contrast to the rich cake.
This dreamy dessert pairs wonderfully with a variety of textures and flavors, creating a truly enchanting experience!
Snickers Ice Cream Cake Variations
Feel free to tweak this delightful cake with these fun and tasty twists!
- Nut-Free: Substitute the peanut butter with sunflower seed butter for a nut-free version that’s just as creamy.
- Dairy-Free: Use coconut milk and dairy-free chocolate to make this treat suitable for those avoiding dairy.
- Crunchy Twists: Add crushed pretzels between layers for an extra salty crunch that complements the sweetness perfectly.
- Cookie Base: Replace brownies with crumbled chocolate sandwich cookies for a different flavor profile that will surprise and delight!
- Fruity Layers: Incorporate fresh banana slices or strawberry puree in between layers for a fruity twist that brightens the dessert.
- Spicy Kick: Mix in a dash of cayenne pepper or chili powder into the brownie mix for a surprising hint of heat that pairs well with chocolate.
- Flavor Exchange: Introduce flavors by using salted caramel ice cream instead of peanut butter ice cream for a rich variation.
- Gourmet Touch: Drizzle with high-quality bourbon caramel sauce or even a splash of espresso for a fancy touch that elevates the entire cake.
And if you’re loving these delicious adaptations, don’t forget to check out my Homemade Chocolate Peanut Creami or explore the decadence of a classic French Butter Cake!
Expert Tips for Snickers Ice Cream Cake
• Chill Thoroughly: Ensure the ice cream base is fully chilled before churning for a creamier texture in your Snickers Ice Cream Cake.
• Cool Brownies: Let your brownies cool completely before assembly to prevent them from melting the ice cream layers.
• Layer Generously: Don’t skimp on the hot fudge and salted caramel when layering; these add essential flavor and richness to your cake.
• Sharp Knife: Use a sharp knife to slice the cake easily; this will help achieve clean cuts through the layers for an appealing presentation.
• Storage Solutions: Wrap any leftover cake tightly in plastic wrap and store it in the freezer to keep it fresh and avoid freezer burn.
How to Store and Freeze Snickers Ice Cream Cake
Fridge: Store leftovers in the fridge for up to 3 days, but for the best texture, keep it in the freezer.
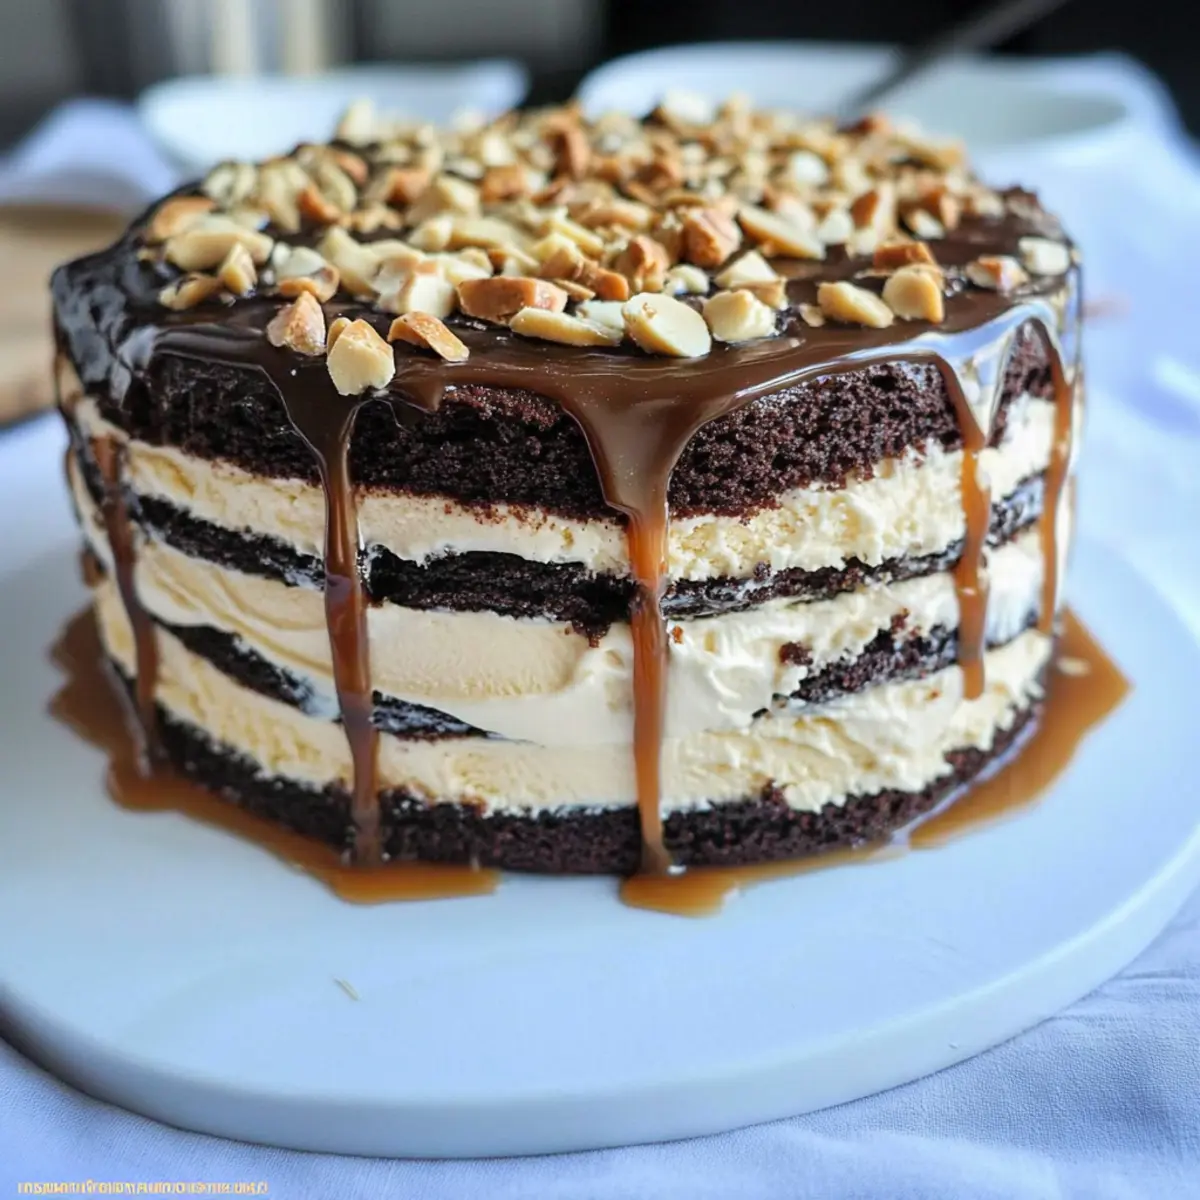
Freezer: Wrap the Snickers Ice Cream Cake tightly with plastic wrap and store it in the freezer for up to 1 week. This prevents freezer burn and preserves its creamy goodness.
Reheating: When ready to serve, let the cake sit at room temperature for 5-10 minutes to soften for easier slicing.
Leftover Usage: If you have leftover ice cream base, you can freeze it in a separate container and enjoy it as a standalone treat!
Snickers Ice Cream Cake Recipe FAQs
What is the best way to select ripe ingredients for this recipe?
Choosing the best ingredients is very important! When selecting your half and half, look for a fresh, high-quality product with a creamy texture. For peanut butter, choose a no-stir variety that is smooth and free of added sugars for the best flavor. If you can find salted caramel, opt for a brand that lists natural ingredients, and be sure to double-check for freshness on your sugar and salt—these don’t really spoil, but knowing they’re new always helps!
How should I store leftovers, and how long will they last?
Absolutely! Leftovers should be tightly wrapped in plastic wrap and stored in the freezer for up to one week. This prevents freezer burn and keeps the cake flavorful. However, for the best taste and texture, it’s recommended to enjoy the cake within a few days. If you find yourself not finishing it, just thaw it in the fridge for a bit before serving to maintain its delightful creaminess.
Can I freeze this Snickers Ice Cream Cake for longer?
Certainly! If you want to enjoy this treat even later, you can freeze the cake tightly wrapped in plastic wrap for up to 3 months. To do this, ensure the cake is well-covered to prevent freezer burn. When you’re ready to enjoy it, remove it from the freezer and let it sit at room temperature for about 20-30 minutes before slicing, which will help with a smooth cut through the delicious layers.
What if my ice cream didn’t churn correctly?
Very! If your ice cream isn’t achieving the right consistency, it could be due to the base not being cold enough before churning. Ensure you chill the mixture for at least 2-3 hours. If it’s just not thickening after churning, you may want to try a little extra time in the freezer to help it firm up afterward. Another tip is to make sure your ice cream maker is completely frozen if required; a warm canister can prevent proper churning.
Are there any dietary considerations I need to be aware of for this cake?
Yes, definitely! If you’re serving this Snickers Ice Cream Cake to guests with allergies or dietary restrictions, be mindful of the peanut butter and tree nuts, as some may have allergies to these ingredients. For a nut-free version, try swapping the peanut butter with sun butter. Always check the labels on your fudge and caramel to ensure they’re free from any allergens that may concern your guests, such as dairy or gluten, especially if you’re using store-bought products.
Irresistible Snickers Ice Cream Cake That Will Wow Everyone
Ingredients
Equipment
Method
- In a mixing bowl, combine the half and half, no-stir peanut butter, sugar, salt, and vanilla. Blend on medium speed until the mixture is completely smooth, about 2-3 minutes. Once blended, cover and chill it in the refrigerator for 2-3 hours to help develop the flavors.
- After chilling, pour the mixture into your ice cream maker and churn according to the manufacturer's instructions for about 20-30 minutes until it reaches a soft-serve consistency. Transfer to a container and freeze for 1-2 hours.
- Line a 9-inch round baking pan with plastic wrap, ensuring there's enough overhang to cover the top later.
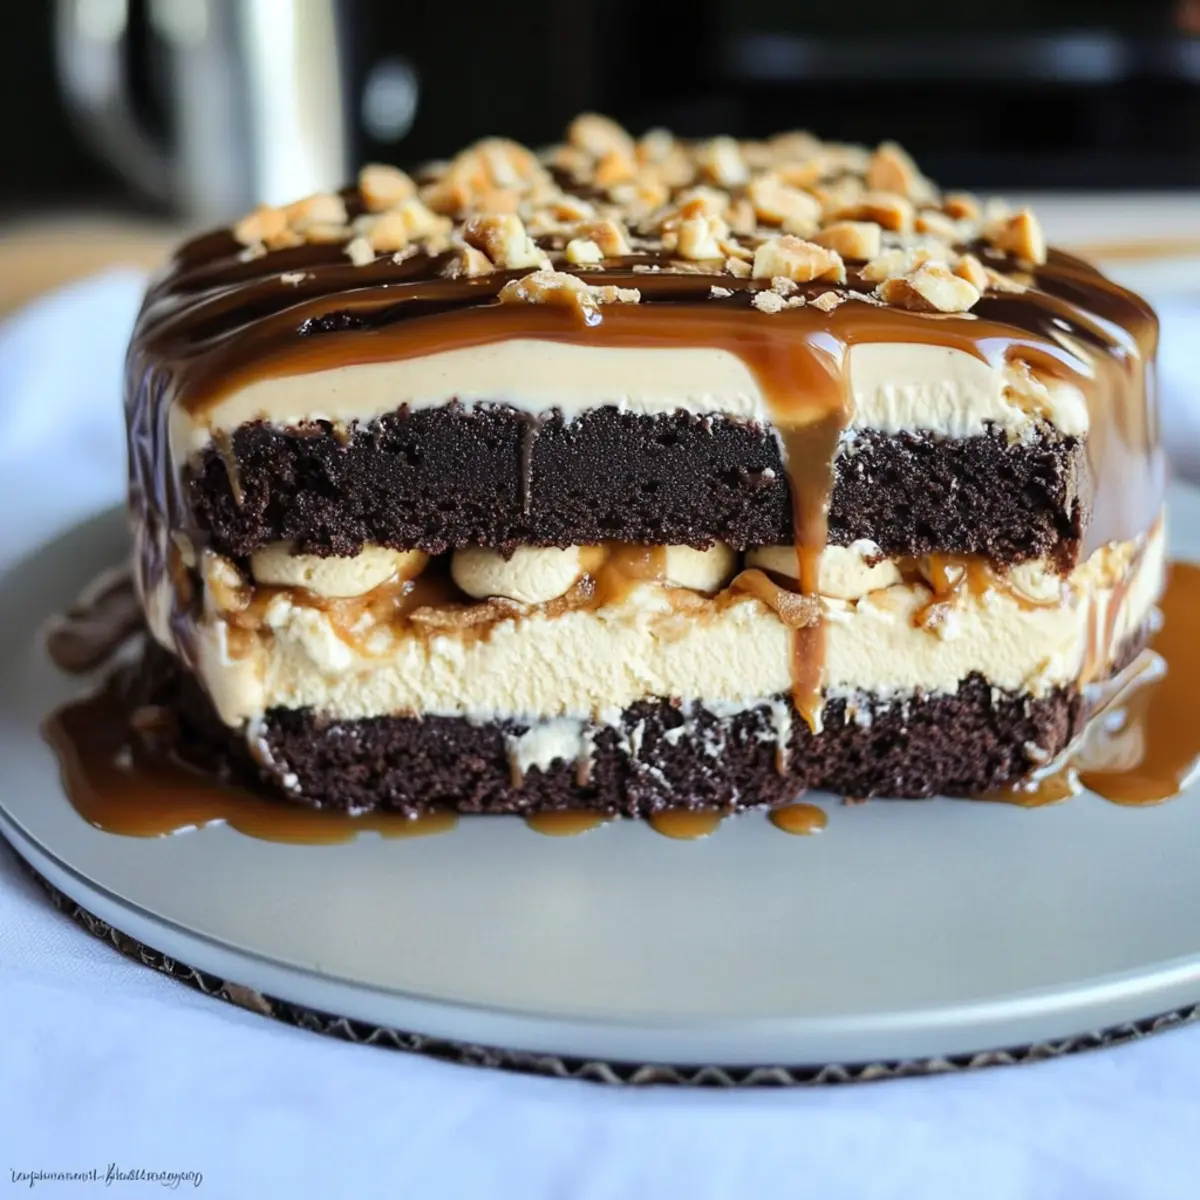
- Place the cooled fudgy brownie layer at the bottom of the prepared pan. Drizzle this with hot fudge and salted caramel, then sprinkle with chopped peanuts. Add a layer of peanut butter ice cream, and repeat until all ingredients are used, finishing with a layer of ice cream on top.
- Drizzle more hot fudge, salted caramel, and sprinkle additional peanuts on top. Cover the pan tightly with plastic wrap and freeze for at least 4-6 hours or until completely firm.
- When ready to serve, remove the cake from the freezer and let it sit at room temperature for 5-10 minutes for easier slicing.
Leave a Reply